
 You might also like
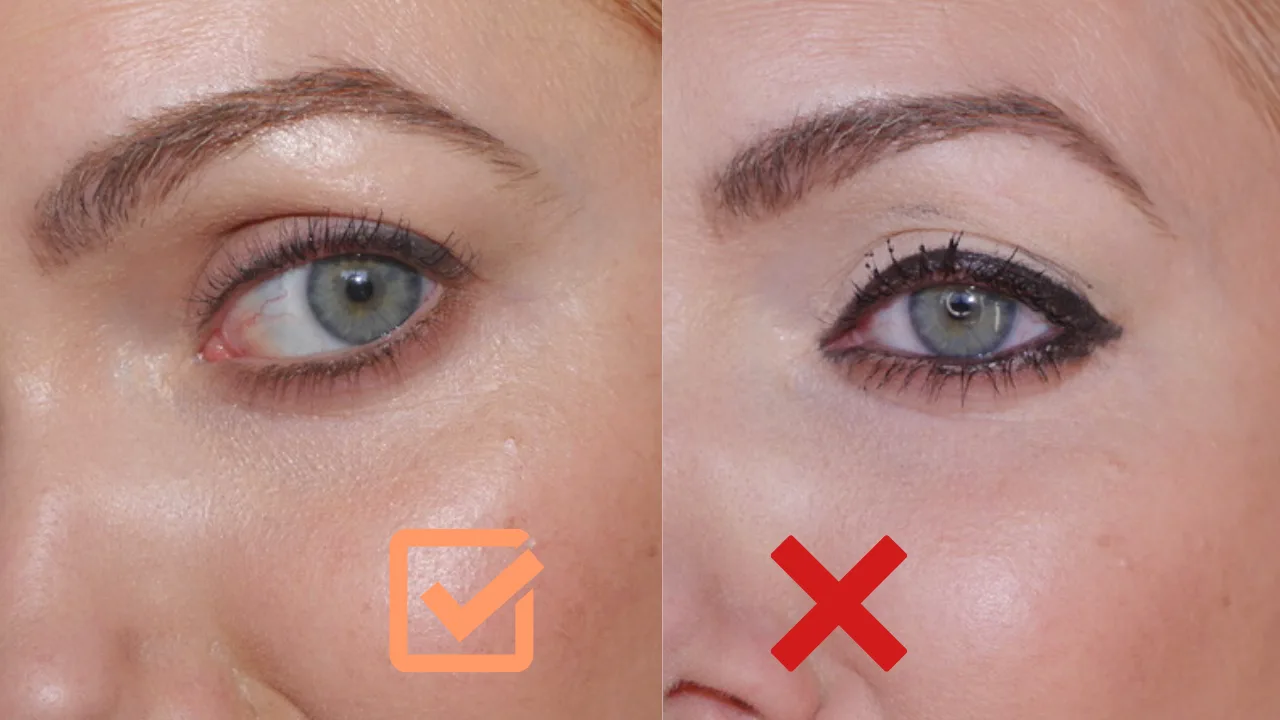 Makeup
Makeup
Makeup 


Welcome to the GirlGetGlamorous blog!
Subscribe for monthly emails of the latest
blog posts and videos, sent right to your inbox.
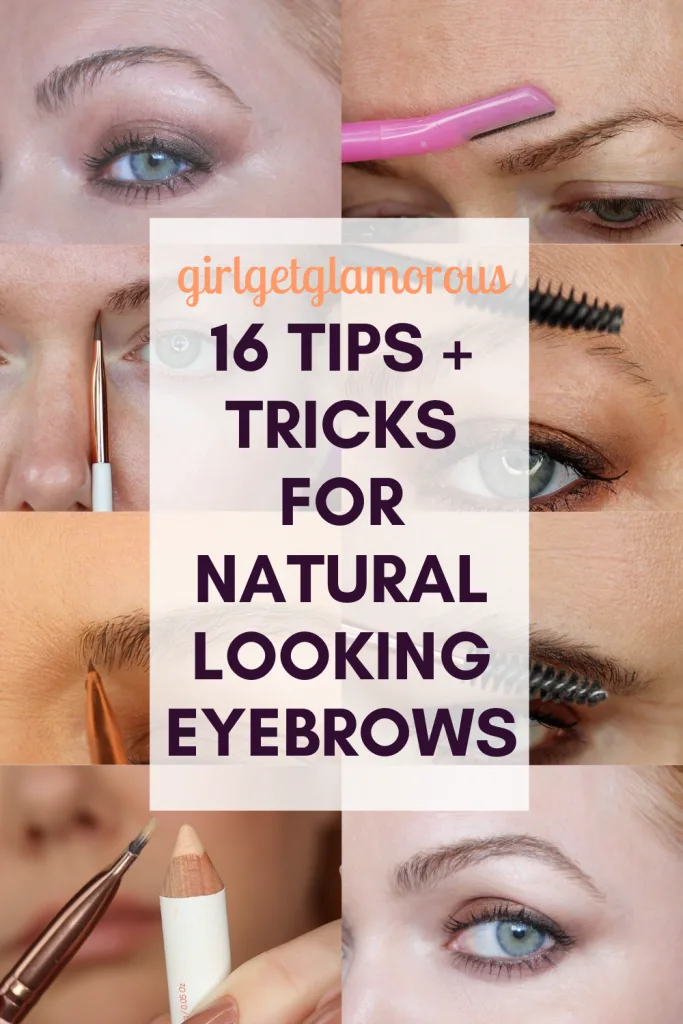
This eyebrow tutorial has all of my best tips and tricks! This is everything that I wished I had known about filling in brows forever, complied in one post + video.
Last year, I started growing my brows back in and they are really coming along! I went through the 90’s super skinny brow trend and – oof – 18 years later and I’m still regretting that phase and what it did to my brows!
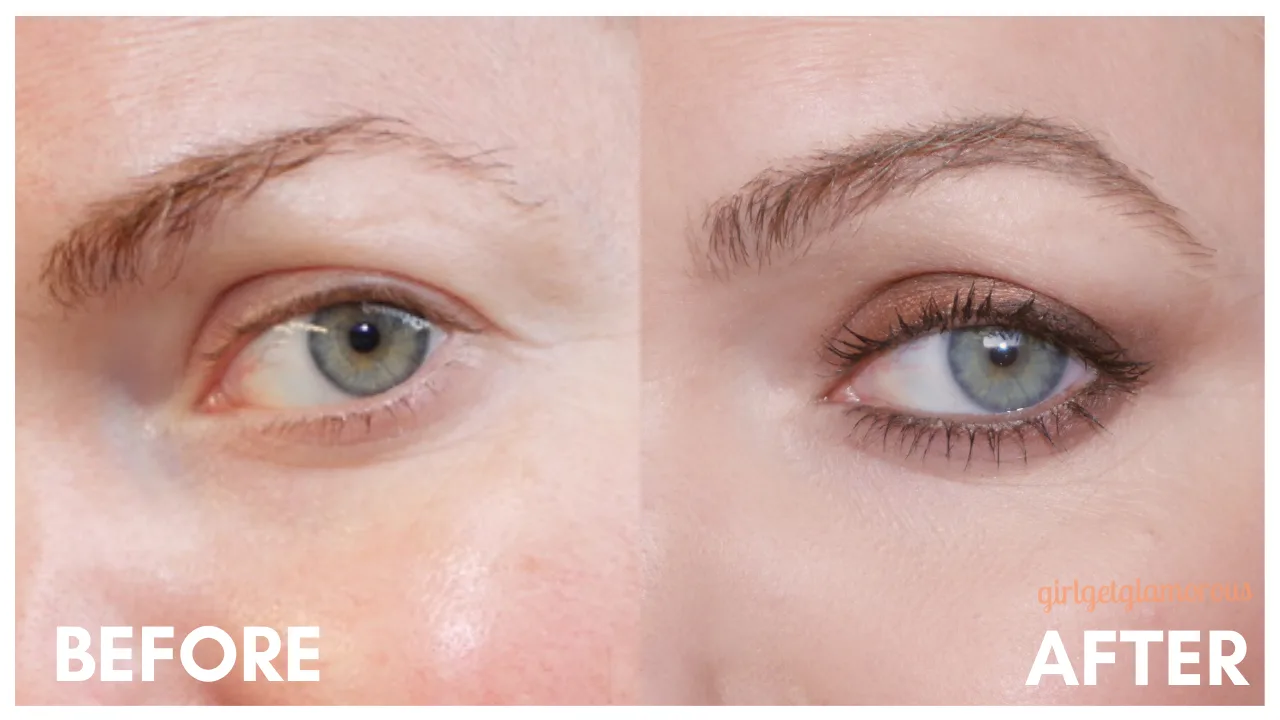
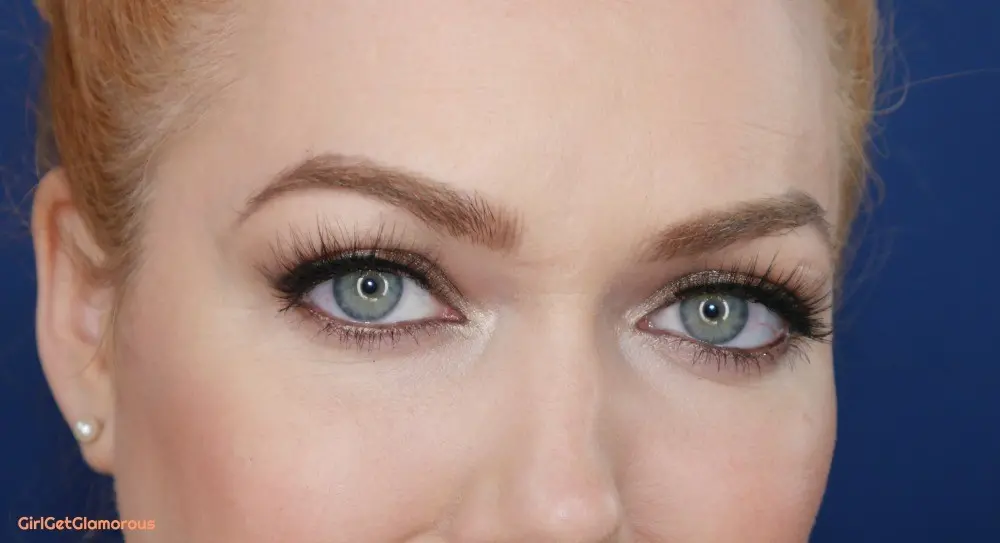
My brows have really filled in, but I still do have some sparse, patchy spots and the video shows how I do my best to make them even in size and coordinate with my much warmer hair color.
I’m using a technique called “feather stroke” where I recreate individual brow hairs, drawing them in the same direction the naturally grow. This technique has worked really well for me and has looked the most natural out of all the techniques I have tried.
The feather stroke has a more sheer finish than a traditional brow fill technique, where the whole eyebrow is drawn in.
There are A TON of tips – 16 total – but it does move quickly and I go over everything again on the second side in real time(ish.) Read these tips then watch the video to see them in action!
HIT PLAY OR CLICK HERE TO WATCH ON YOUTUBE
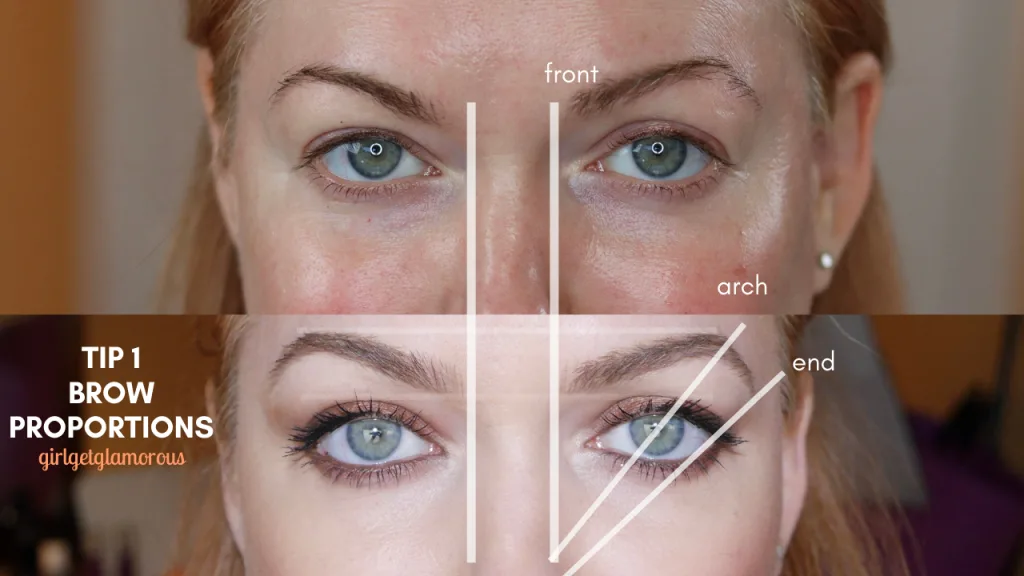
TIP 1 | The start of your brows should line up with sides of your nostrils (not nose, but nostrils). This has been a game changer for me, it balances my face.
Arches line up with nostrils and pupil of eye and the tail of your brow will line up with the edge of your nose and the lower lash line.
TIP 2 | Look through old photos to figure out what works best for you.
When I worked with new models, I would always study their photos the day before so I could find their best looks (example: do they look better in natural shades vs smokey eye).
TIP 3 | Clean up around brows with peach fuzz razor. Makes brows look super polished!
TIP 4 | Apply eye shadow primer and powder on your brows, especially on bald patches to give brows products longevity.
TIP 5 | Glycerin brow gel is easier to apply and safer ph for skin and brows vs soap brows, but adds similar volume. Watch the video to see how much texture this gives my brows!
TIP 6 | Using an ultra thin brow brush vs a wider brush makes a huge difference in creating lines that are thin enough to look like real brow hairs.
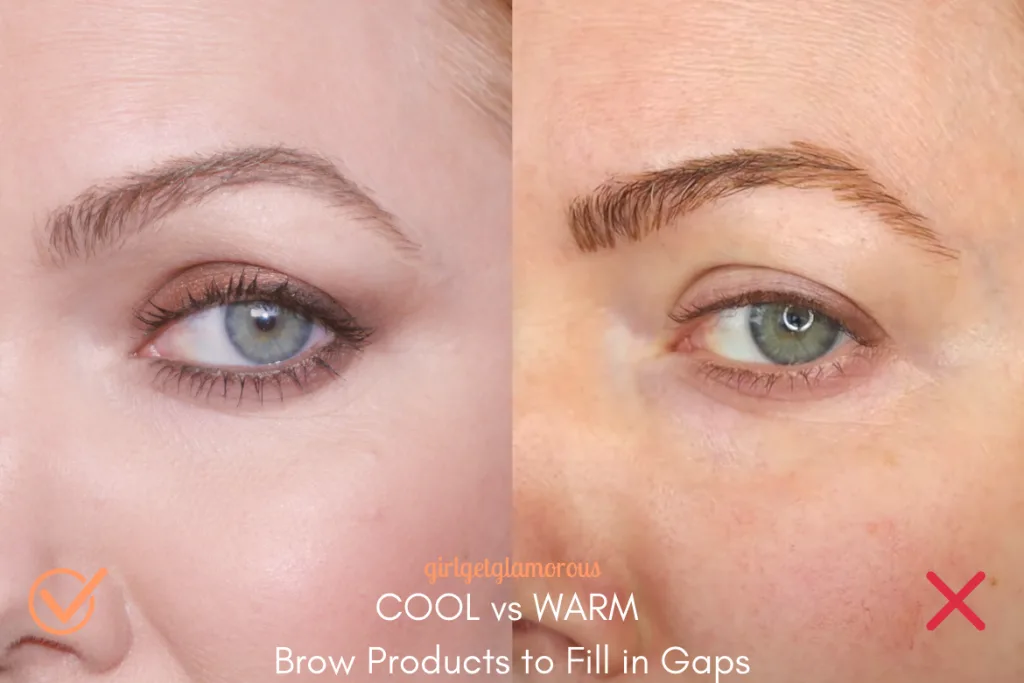
TIP 7 | For filling in gaps and sparse areas, match your natural brow color and undertone, not your hair color. This has made a huge difference for me!
Your brows will either be cool or warm. If most brow products have looked too warm and each stoke is noticeable, you probably have cool toned brow hairs.
TIP 8 | Take a small amount of the pomade out of the pot with your brush and place it on top of the dipbrow lid. Draw strokes across the lid to wipe off product, until the brush has the correct amount of pomade to create thin brow-like strokes.
Dip back on to the lid as needed and repeat the wiping motion. This helps control how much product you have on your brush and will be easier to work with. It’s always easier to add more pomade vs blend out too much.
TIP 9 | Keep brow strokes under 1/4 of an inch. Tiny strokes will look more natural than a few big, long lines.
TIP 10 | Use light to medium pressure to draw small lines in the same direction your brow grow, to create brow like “hairs.” Fill in the gap areas fist.
I end up using less product this way and get more natural results. I start at the arch, then move to the other sparse areas.
TIP 11 | If needed for very unruly brows, draw a light line under the arch of your brow to polish the look. Try holding your brush as close to the spoolie as possible to keep the pressure light.
TIP 12 | If you need to build up the arch of your brows, brush the top of your brow arch down, then draw 1/4″ strokes down and towards your ears. Space these lines out wider to start, then full in.
Again, it’s much easier to fill in more lines after, then to blend too much product out.
TIP 13 | At the front of your brows, draw the brow strokes straight up and a bit spaced out. Following the direction that your brows naturally grow will make each brow stroke look the most realistic.
TIP 14 | If your hair color is different than your brow hair shade, now you can add a brow gel that matches your hair color. I use a caramel shade. Use light pressure to not disturb or blend out the dip brow strokes.
This method of filling in the sparse areas with a cooler tone, then adding the warmer tones on top has been the best way for me to get my brows to coordinate with my Strawberry Blonde hair.
TIP 15 | Clean up under the bottom arch of your brow with matte highlighter brow pencil or concealer one shade lighter than your skin tone. This cleans up the look of my brows. It’s a quick step that adds a lot of impact.
TIP 16 | Spray setting spray to help keep product in place all day so that brows won’t rub off in the balding areas.
1 | Laura Mercier Brow Gel
This is my new favorite brow gel. It has all the grip and volume building of soap brows, without the mess. The brush pulls out the perfect amount of product and brows stay where you put them.
shop Laura Mercier Brow Gel | neiman marcus

2 | Anastasia Beverly Hills Tinted Brow Gel
If your brows are warmer or cooler than your hair color, these tinted gels are a good way to get your brows to coordinate with your hair. Pick the shade closest to your hair color.
Also, it has a really unique sheen, which catches the light like natural hair would and really makes this gel a stand out product for me.
shop ABH Tinted Gel | ulta . sephora . revolve (free shipping)
3 | Anastasia Beverly Hills Dipbrow
I LOVE this brow pomade because it sheers out beautifully to create natural looking brow “hairs.” This product is very pigmented, use a smaller amount for better results.
Also, the range of tones and undertones in the ABH line is unmatched. Ash Brown perfectly matches my natural brow hair color.
shop ABH dipbrow | | ulta . sephora . nordstrom (free shipping) . revolve (free shipping)
4 | Ulta Thin Brow Brushes
A super thin brow brush will give you strokes that look the most like brow hairs. This is a brush you will want to splurge on, as a thin brush stroke makes a huge difference in how natural your brows turn out.
shop brow brushes | Dose of Colors . The Brow Gal . IT Cosmetics #217 . ABH 7B
5 | Matte Brow “Highlighter“
You can also use concealer for this, just make sure to set concealer with a powder!
I’m using this light, matte, peachy brow definer to clean up the lines underneath and over the arch of my brows.
This is such a quick step, that adds such a nice visual lift to the brows and cleans up the edges without making your brows look too “done.”
shop matte brow highlighters | amazon . macys . ulta . sephora
6 | Flat Liner Brush
This is a great brush for quickly and precisely blending out brow highlighter. This is my favorite one, it’s the perfect width, stiffness, and so durable. I’ve had this one for 6+ years and it still looks new!
shop liner brushes | amazon
SHOP THE POST
These are my affiliate links and if you decide to make a purchase, I make a small commission at no additional cost to you. This helps support the blog so that I can create more posts. I appreciate when you choose to use them!
READ MORE
SOCIAL LINKS
SOCIAL LINKS
Thank you for reading. As always, I hope this post was helpful!


LEAVE A COMMENT
I am absolutely loving all your tutorials, I am binge watching and taking notes on everything! 🙂 This is exactly what I have been looking for true honest advice and tips of application along with how to choose products. I cannot wait to try out this on my brows as I really have not been doing them correctly!