
 You might also like
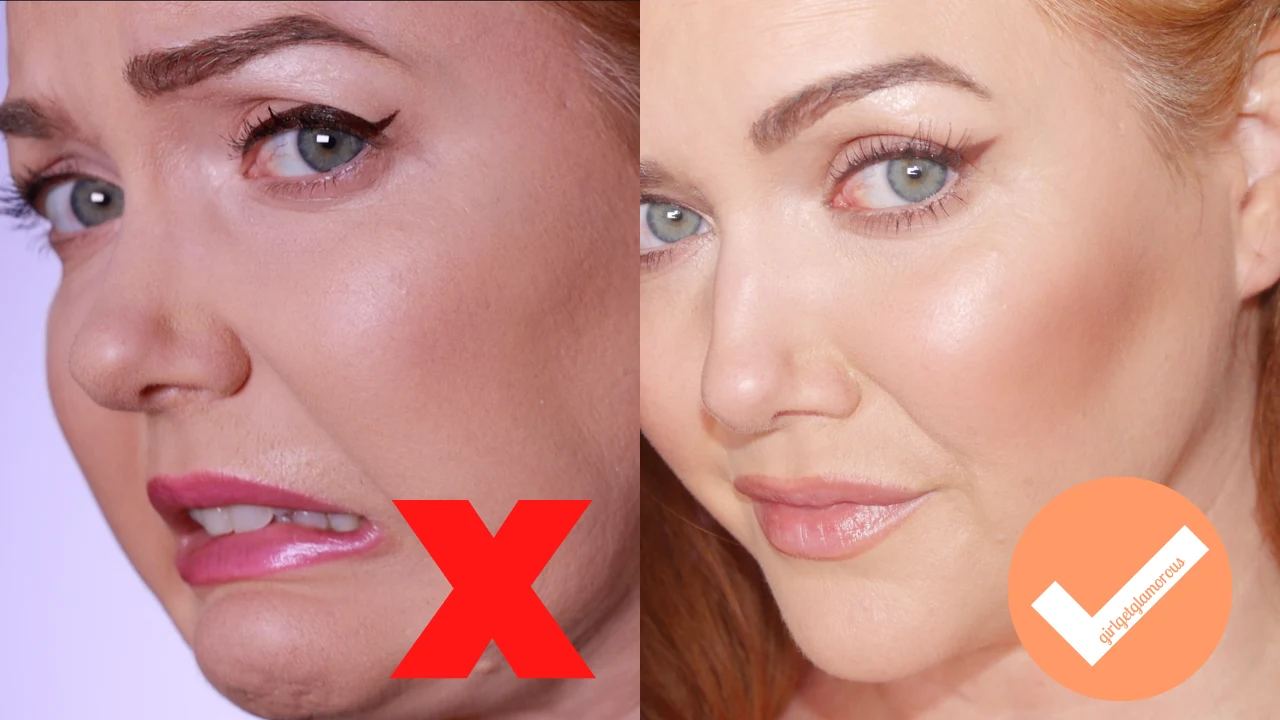 Makeup
Makeup
Makeup 


Welcome to the GirlGetGlamorous blog!
Subscribe for monthly emails of the latest
blog posts and videos, sent right to your inbox.
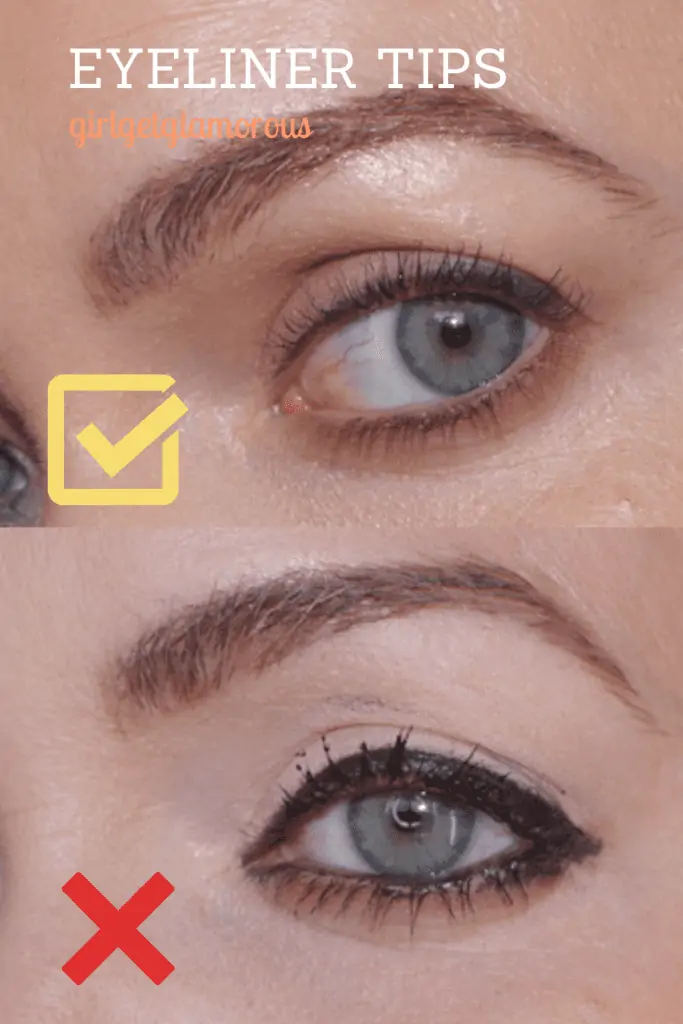
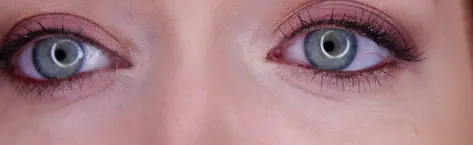
This tutorial goes in to how to apply eyeliner to lift the look of your eyes. I also have tips to keep in from smudging or transferring.
As a makeup lover and a professional makeup artist, I’ve been lucky enough to 1: make every mistake on myself as a person with partially hooded eye lids and downturned eyes and 2: to get to work on a variety of lid and eye shapes.
In this post, I’ve gathered all my best tips and tricks, as well as a step-by-step guide on how I apply my eyeliner for a lifted look that lasts all day. I hope it helps you!
Eyeliner is used to fill in the gaps in between lash hairs, which makes the lashes look more full.
The outer edges of liner can be shaped up and out to visually lift the look of your eye. This is an especially great technique for down turned eye shapes.
I personally prefer a gel or kohl formula for my liner. I find it easier to smudge and manipulate. Liquid liners are wonderful to add intensity on days I want a very pigmented eye look.
TIP 1 | SHADE
Finding the right shade and finish for your complexion makes a big difference.
Black and brown eyeliners can be nice for deeper complexions or for a more dramatic look on fair to light complexions.
I prefer to use bronze and taupe pencils for more natural looks on myself. I fall into the fair to light skin tone category.
Switching to a taupe liner made such a big difference for me, it enhances my lash line without overwhelming my eyes.
TIP 2 | FINISH
A matte finish liner is a great base for smokey eye looks and for everyday looks.
A shimmer finish eyeliner can help make eyes sparkle and have a brightening effect on tired eyes. This is one of my go-to tricks for days when my eye area needs a pick-me-up.
TIP 3 | SHARPEN
If I’m using a pencil liner, as I do most days, I make sure to sharpen it before applying on each eye. A sharper pencil will always perform better and get more clean and precise looking lines.
TIP 4 | PLACEMENT
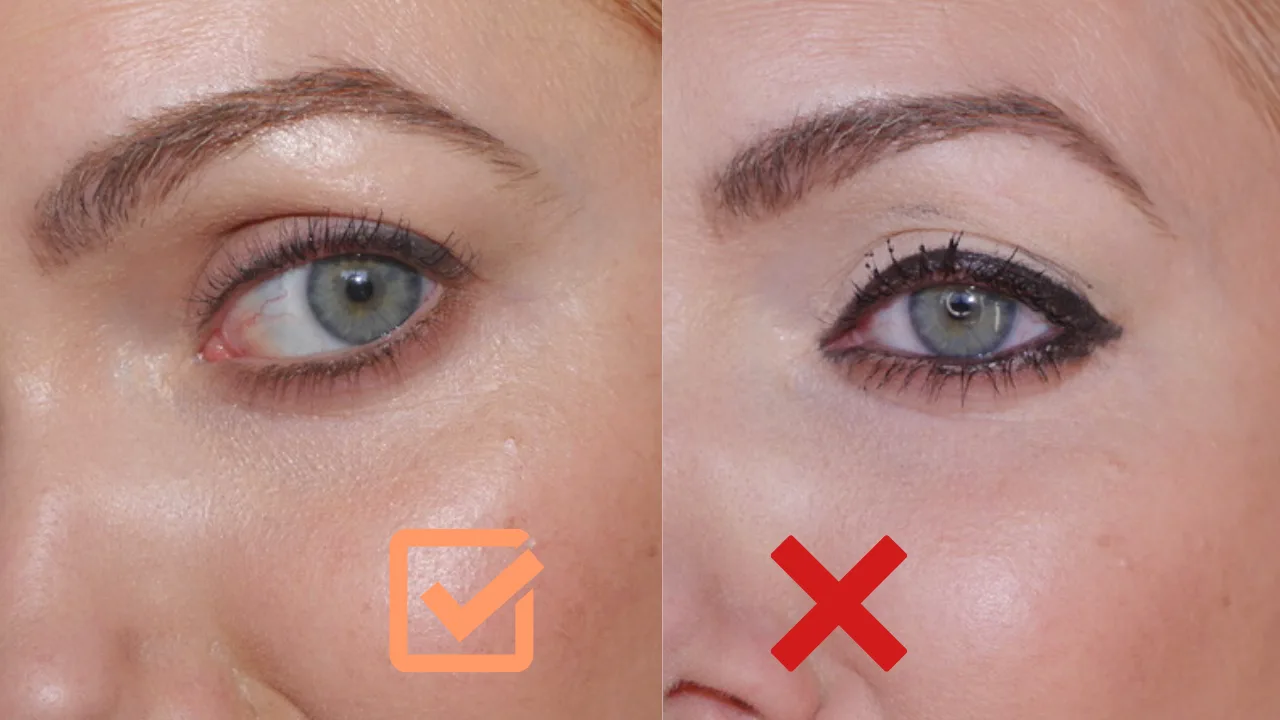
I try to keep the liner as close to my lashes as possible. Sounds simple, but has made the biggest difference for me! This goes back to the purpose of eyeliner and using it to make the lash line look more full.
TIP 5 | 3/4 LINER
For my downturned eye shape, starting the liner at the iris (colored portion) of my eye – instead of at the inner corner – has made a big difference in opening up the look of my eyes. By lining only the outer portion of my eye, it deepens and lifts that area.
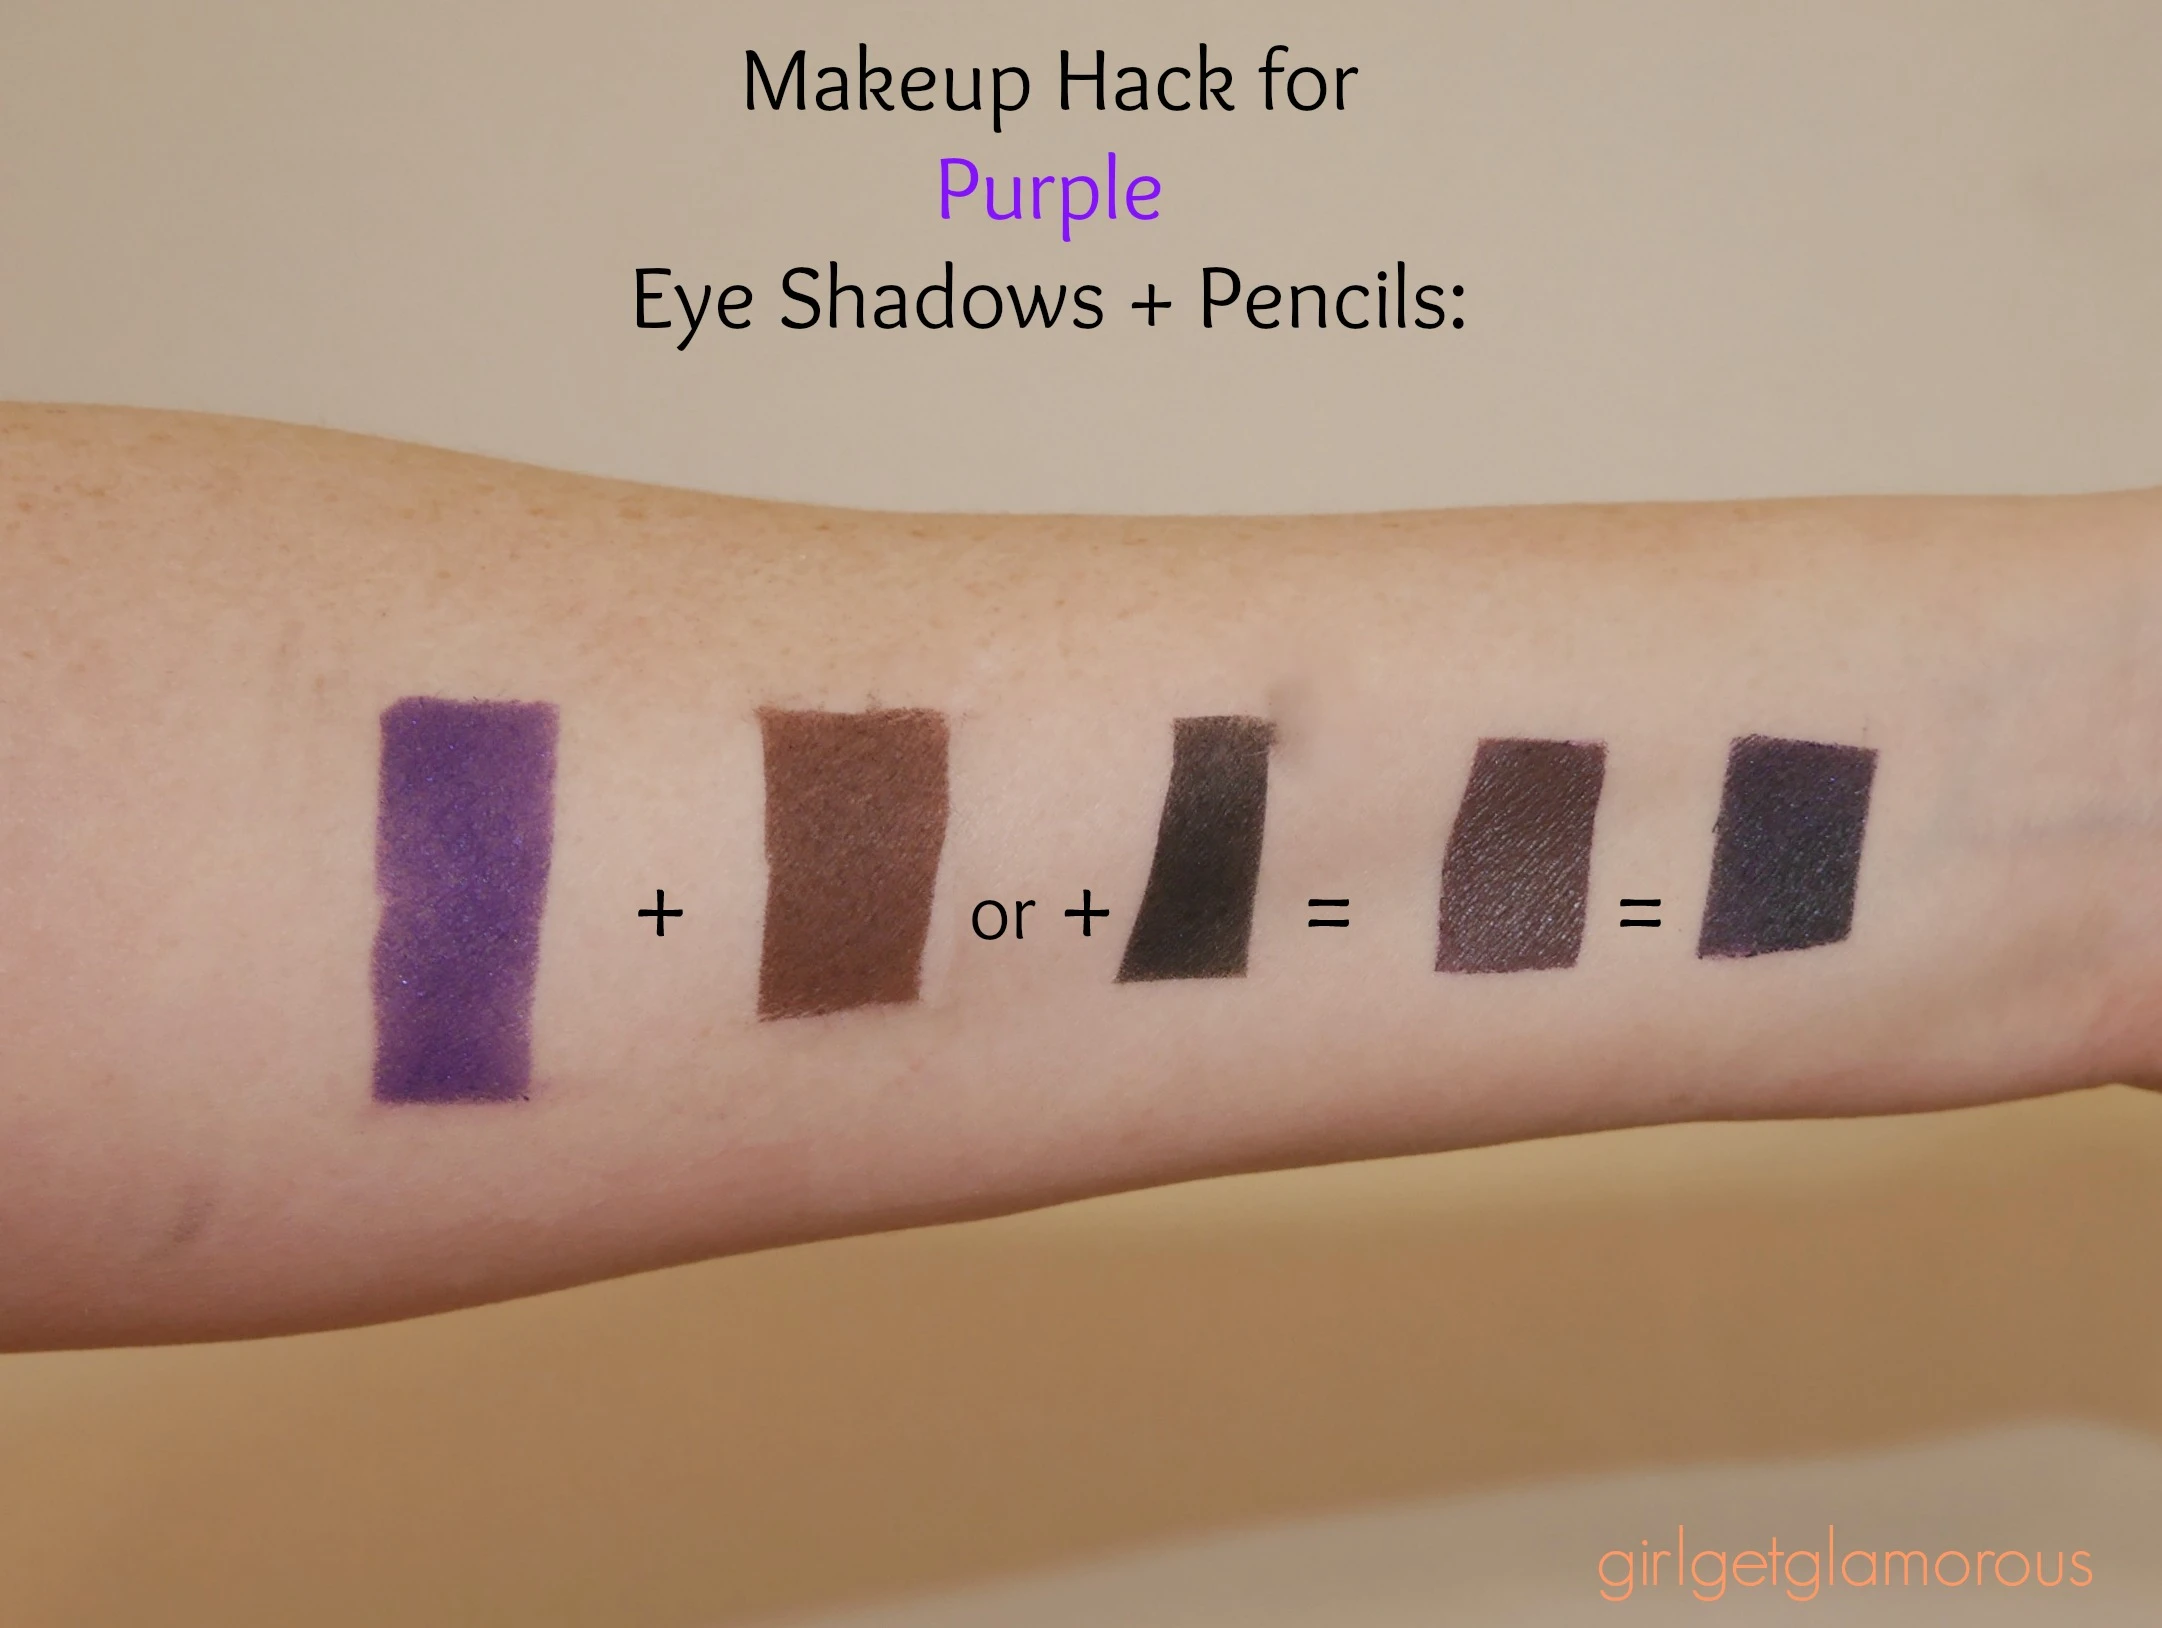
I place a little taupe shadow at the inner portion, which is softer looking than a liner and doesn’t take up as much lid space.
TIP 6 | DASHES VS. ONE LINE
Instead of trying to draw one long, even line, I draw small little lines, like dashes that connect. Trying to draw one long line can make the liner skip.
TIP 7 | LIGHT LAYERS
Use the least amount of product possible. You can always go back over an area to build up and layer a bit more liner on, but one heavy layer takes longer to dry and is more likely to transfer to your upper lid.
TIP 8 | LOWER LASHES AS GUIDE
Another huge game changer for me was following the direction of my lower lash line up and out to figure out where my liner on the upper portion of my eye should go.
Before, I would follow the shape of my upper lid. But because I have downturned eyes, this made the outer corner look heavy and it made me look tired. By following the lower lash line as a guide, I get a lifted look now at the outer edge of my eye.
TIP 9 | SET LINER
Set your gel liner with a powder eye shadow in the same shade as the liner. This helps prevent smudging. Press gently over the liner using a smudge or liner brush.
TIP 10 | ONE SIDE
I prefer to do one side completely first, before applying to the other eye, so that I can smudge and blend it out, before the formula sets.
TIP 11 | BOTTOM LASH LINER
For a smokier eye, I love liner and deeper shades under my eye. But for everyday, switching to a skin tone colored nude liner for the inner rim and a light taupe powder eyeshadow placed in between my lashes with a pencil brush has made a huge difference for me.
This brightens my eyes and covers any redness on the skin that can make me look tired.
This cream liner + taupe eyeshadow combination still makes my eyes pop, but without adding a ton of “heavier” tones with a darker liner.
TIP 12 | SETTING SPRAY
Priming the eye really helps keep liner in place, but setting spray was the game changer for me. When all my makeup is done, but before mascara, I spray setting spray over my face and eyes. Then, I apply my mascara quickly. Setting spray helps all your makeup last hours longer, including eye liner.
TIP 13 | SANITIZE
At least once a month, spray 70% isopropyl alcohol over your eyeliner and allow that to dry before your next use. This keeps eyeliner sanitary and protects your eye health.
I recommend doing this alcohol sanitation routine after you’ve finished your liner so that the pencil has a full 24 hours to dry. Then sharpen the next time before you use your liner (a must!)
1 | Pat McGrath Gel Liner in Shade | $28
The perfect taupe color, in a smooth formula with rich pigment. Lasts! Once this gel pencil sets, it does not budge until you take it off. I get around 30 seconds to blending and then it’s on my kid, with zero transfer.
Slightly pricier pencil, but because the pigment is so intense, I don’t have to apply a lot of product, so each pencil ends up lasting me almost a full year. This also comes with a free sharpener (made in Germany – the sharpest blades) which has become my go-to pencil sharpener. I love getting a fresh sharpener each time I replace my liner!
2 | Julep Gal Meets Gel in Taupe Shimmer + Clay | $12
Another amazing taupe shade, in one of the creamiest formulas I have ever used. The Taupe Shimmer shade is my go-to on days where I look tired and need a little pick-me-up! The subtle shimmer gives my eyes some sparkle.
Clay is a great lighter taupe shade, really well done. This eye liner formula is an absolute gem and the price is incredible.
3 | Makeup By Mario Master Pigment Pro in The Perfect Brown | $22
These liners are a brand stand out, they are richly pigmented, smooth, and the formula really lasts. I love that there is a brush on one end to make smudging easier. They also come with a pencil sharpener, which makes them a great value!
4 | Lord & Berry Line/Shade in Bronze + Black | $22
These Lord + Berry liners are incredibly pigmented and so smooth. They don’t tug at all, which is great for the skin around my eyes. These are soft formulas, so they do need to be set with a powder eyeshadow to avoid transferring.
I highly recommend all of their eyeliner formulas, they are very high quality.
5 | Lord & Berry Silk Kajal in Nude | $18
I especially like how smooth this liner is for the inner rim of my eye. The silky texture and formula are really gentle on my eyes. This liner shade really brightens my inner rim, but always stays natural looking.
6 | Makeup by Mario Brightening Pencil | $22
I’ve really fallen for Mario’s liner formulas. They set after about 30 seconds and do not budge all day! I love this for my inner rim, it’s nice when I’m going to be out of the house all day long. This formula is safe for sensitive eyes and a great bright peachy tone.
1 | BK Beauty #208 Precision Liner Brush
This small liner brush from BK Beauty is the most precise liner brush I have ever used. It’s a must have!! This is a rockstar brush in my collection.
A smudge brush is an essential. It sets the liner and helps soften the edge of liner to give a soft focus effect on my eyes.
I use the smudge brush to apply eyeshadow to the inner 1/4 of my eyes and the liner brush to define and pull out my liner for more simple and clean liner looks.
READ MORE
SOCIAL LINKS
Thank you for reading and being a part of the blog! – Molly


LEAVE A COMMENT
Fantastic video/tutorial! I appreciate you taking the time to thoroughly explain everything, and all of the tips are super helpful.
Makeup looks fantastic, by the way!