
 You might also like
 Product Reviews
Product Reviews
Product Reviews 


Welcome to the GirlGetGlamorous blog!
Subscribe for monthly emails of the latest
blog posts and videos, sent right to your inbox.
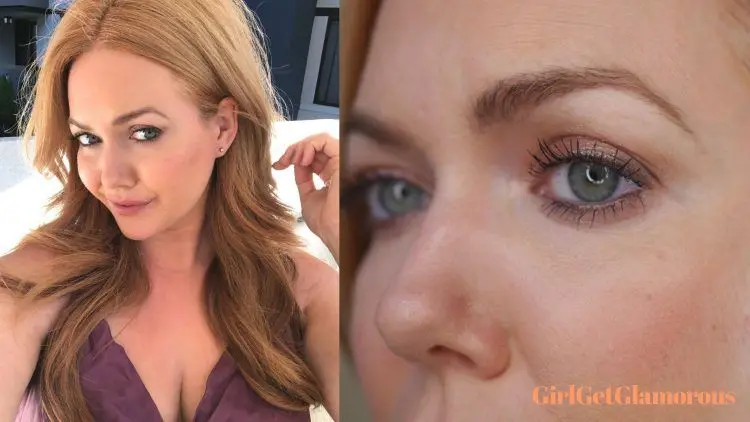
This shimmering taupe eye shadow look is my go-to for everyday and for work. It’s super flattering on all eye colors and most skin tones.
For medium to deep skin tones, you’ll just want to scale up your shadow crease shades to be one shade deeper than your skin color. The taupe lid shadow stays the same!
The video goes in-depth with my application and placement tips.
Here are the steps so you can either follow along or give yourself a quick refresher after watching.
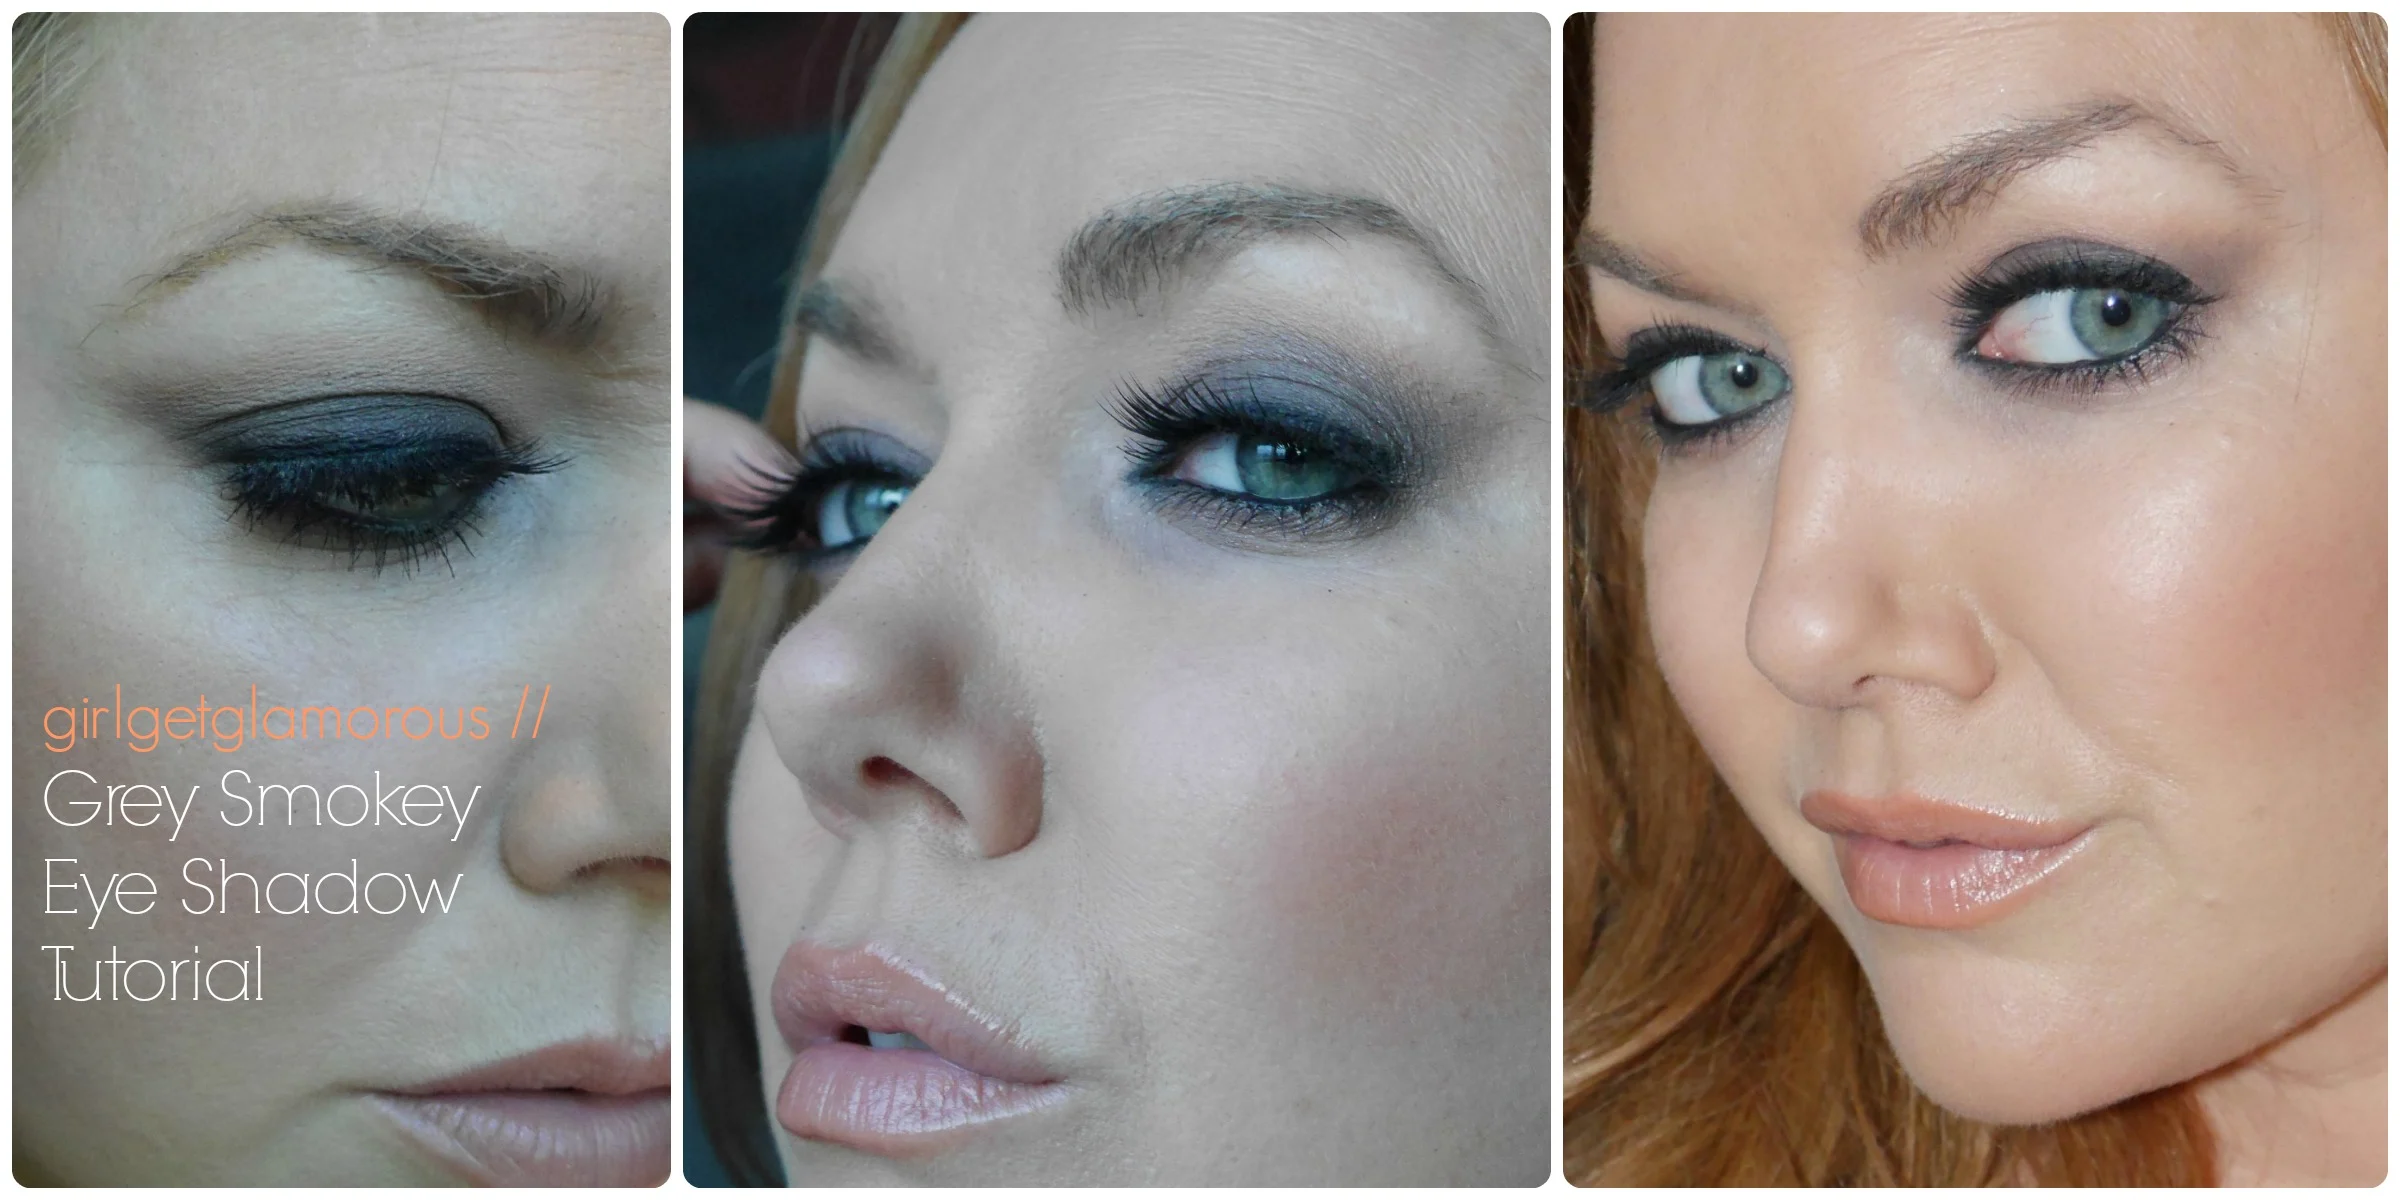
– Shimmering Taupe Eye Shadow Tutorial –
Step 1 | Apply eye primer to help the shadow grab and stay all day. Dust a very light amount of powder over the primer and lid to help the eye shadows apply more smoothly.
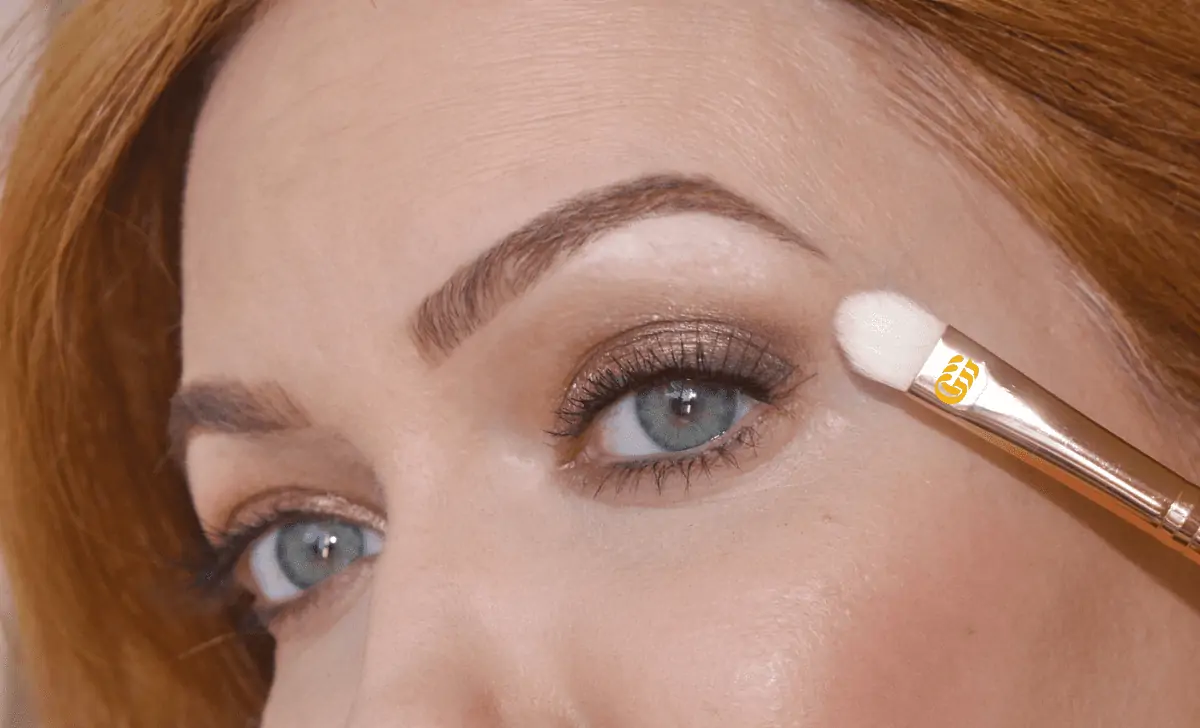
Step 2 | With a fluffy crease brush, work your soft taupe shade into the crease, applying with a swiping motion first, then switching to small circles to blend the shadow out.
Step 3 | Apply a gel taupe eye liner as close to your lashes as possible. For downturned eyes, tilt your shadow up on the ends to give your eyes a lift. Blend immediately with a buffer pencil or smudge brush before the liner sets.
Step 4 | With the same pencil brush, work a little shadow into the outer “V” of the eyes, blending it in towards your lid.
Step 5 | Using a synthetic brush that has been wet (but with all water squeezed out), start tapping your wet/dry (baked) shadow over the lid of your eye.
Step 6 | Add a slightly warmer crease shade to the front 3/4 of your crease to intensify the look.
Step 7 | Using your ring or middle finger, tap a clear or rosy shimmer shadow into the center of your eye on the lid and bottom center of the eye.
Step 8 | Finish the look with individual lashes (if you’d like) and mascara. I always set my face with setting spray once I’m finished my whole makeup look.
Once you get the look down, it goes fairly quickly. This look takes me around five minutes total, eight if I do individual lashes.
Similar post | How To Make Your Makeup Last 12+ Hours
________
Video |
________
Shop the Post |

I make a small commission if you make a purchase using them. These commissions helps support the blog so that I can create more posts for you. Thank you!
________
Similar Posts |
________
Social Links |
YouTube | Facebook (I use this a lot for flash sale links) | Instagram @girlgetglamorous | Instagram hair extensions @girlgetglamorousHAIR | Pinterest (join over 1.3 million other monthly views!) | Subscribe (free!) for the latest posts straight to your inbox
Thank you for reading and being a part of the blog!


LEAVE A COMMENT