
 You might also like
 Makeup
Makeup
Makeup 


Welcome to the GirlGetGlamorous blog!
Subscribe for monthly emails of the latest
blog posts and videos, sent right to your inbox.
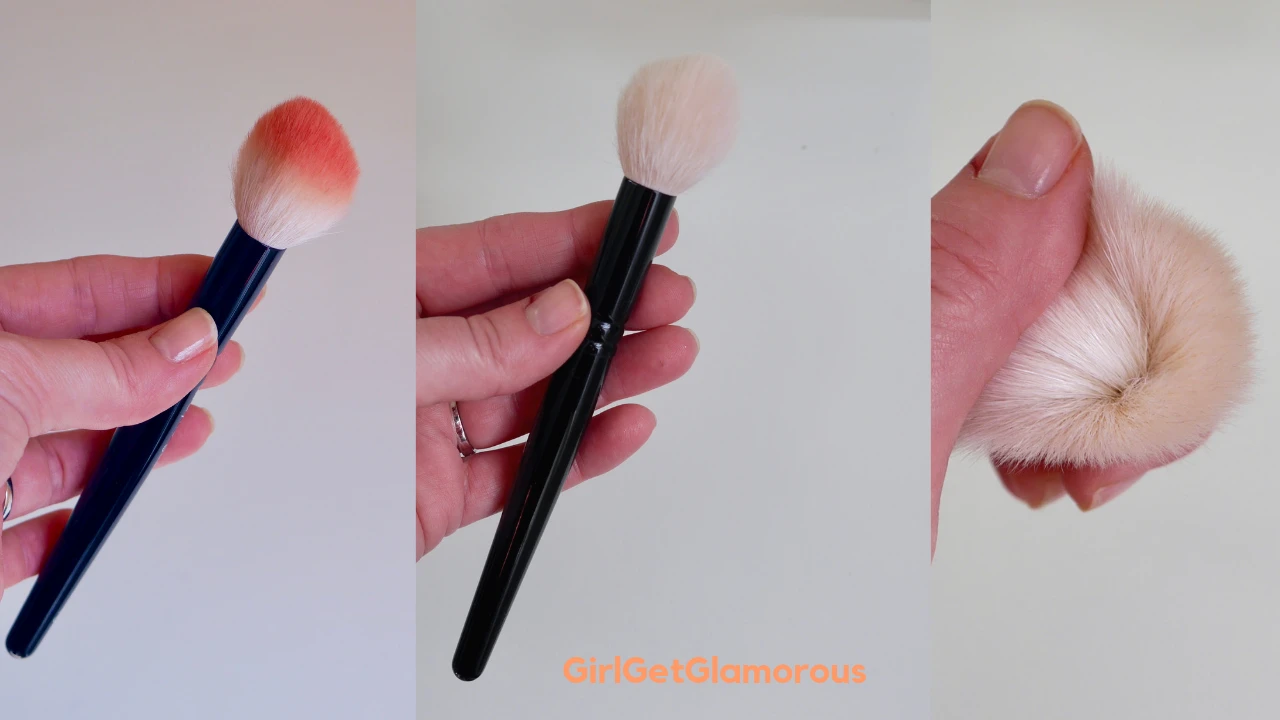
My Gals. My People. How often are you washing your makeup brushes? The general consensus among my friends is never…(hard gulp).
When I asked my friends why they weren’t washing their brushes more often, the three biggest responses were 1: time, it felt epic, like it was going to take forever 2: they didn’t what product to use to clean them and 3: they’d wash their brushes and there would be makeup still stuck inside the brush.
I’ve been using my brush cleaning method for so long that I’d forgotten that makeup used to get stuck inside the brush! It’s so gross to find that makeup mixed with soap remnants stuck inside your brush. I promise you, my method gently but thoroughly gets rid of all makeup, leaving your brushes looking as new as the day you bought them.
Why Washing Your Brushes Is Important
It’s important to wash your brushes because:
1 | Makeup applies better. Dirty brushes create muddy, indistinct colors and streaky makeup. Think about if you mixed every eyeshadow you owned together. You’d probably get a brown shade that looks like mud. That’s what’s going on your face if you don’t keep them fresh.
Keeping your brushes clean will make doing makeup so much easier and faster, with better results.
2 | Brushes can harbor bacteria. Imagine if you always applied makeup with your hands and never washed your hands. YUCK. That’s whats happening when you don’t wash your brushes. Those germs and that dirt are going on your face, skin, and into your eyes.
The best, most expensive skincare in the world is a complete waste if you are brushing germs, bacteria, and old makeup into your skin and letting it sit there for 12 hours or more.
How To Save Time
Washing your brushes doesn’t have to be an all-or-nothing full hour of cleaning. Once a week, pick 3-5 of your brushes and wash them. It will take less than five minutes. By the end of the month, you’ll have washed all your brushes at least once.
Also, (if you are an all-or-nothing type person) my method gets them so clean that you won’t waste time rewashing the same brush.
Best Cleansing Products
My golden rule for brush cleaning is to never use anything on your brushes that you wouldn’t use to wash your face.
This means no washing with dawn dish soap or other harsh cleansers. They will strip your natural bristle brushes and dry them out. Any remnants of soap will get on your skin. No one wants dish soap sitting on their skin all day.
I use cleansing oil from DHC for my natural bristle brushes and beautyblender sponge and baby soap for my synthetic brushes.
Why: Brushes with natural bristles (squirrel, goat, etc) need cleansing oil to keep soft, just like your hair. Synthetic brushes are man-made materials and don’t need oil to stay soft or keep their shape.
The cleansing oil gently removes makeup and hydrates the bristles so that they stay soft. Baby soap is also gentle and effective at removing makeup. It’s less hydrating than cleansing oil, but synthetic fabrics don’t need conditioning.
Shop DHC oil | baby wash | silicone mat | drying rack
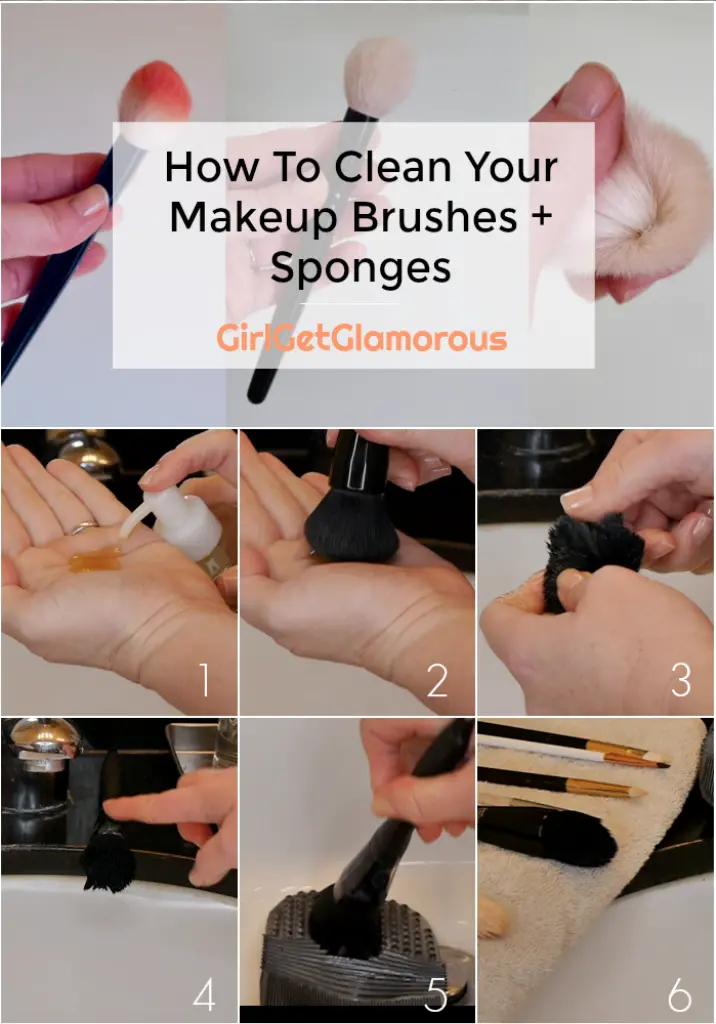
How To Clean Your Brushes
Step 1 | Make sure your hands are dry. Put one pump of cleanser into your palm.
Step 2 | Swirl your brush around in the cleanser.
Step 3 | Gently massage the cleanser into the center of the brush and all around the sides, working in a clockwise motion to make sure you get all the way around the brush. Open the bristles and make sure that your soap has really gotten into the inside of the brush. This is the key to making sure all the makeup dissolves.
Step 4 | * SUPER IMPORTANT * Set the brush down horizontally with the edge over the sink and let it sit there for 1-5 minutes. This gives the cleansing oil or soap a chance to really dissolve every last bit of makeup. Think about it this way, you don’t put a pot of water on the stove and expect it to instantly boil, right? Soap and cleansing oils also need some time to work their most efficiently.
Step 5 | It’s time to rinse! Using lukewarm water, hold the silicone mat in one hand and lightly run the brush back and forth over the bumps. If you don’t have a mat, you can gently massage the bristles with your hands. The mats are really affordable though and in my opinion, help get brushed cleaner vs hands only rinsing. Continue to rinse the brush until the water runs clear.
Step 6 | Lightly squeeze the brush into a dry towel to get out any excess water. Reshape the bristles with your hands if needed and lay the brush horizontally with the bristles hanging over the edge of the sink. They need air to dry properly. It’s also really important that they be dried horizontal or with the bristles facing down if you have a brush drying rack. You don’t want any water to get in where the bristles are attached to the base of the brush as this can cause the glue to loosen and allows mildew and mold to grow. So dry them horizontal or downward! I let mine dry overnight and then put them back in their storage containers.
_________
(Pin this for later!)
Video Tutorial
I kept this video quick, but wanted to share a video as seeing each step can be really helpful!
________
Shop the post |

_________
Similar Posts |
________
Social Links: Facebook (I use this a lot for flash sale links) | Instagram @girlgetglamorous | Instagram hair extensions @girlgetglamorousHAIR | Pinterest (join over 1.2 million+ other monthly views!) | Join 30,000 + other readers and subscribe to the (free!) mailing list to get the latest blog posts straight to your inbox.
Thank you for reading and being a part of the blog!


LEAVE A COMMENT
I clean my brushes the same way as far as picking some , not all, that need to be cleaned. This is also a great way to see which brushes you might want to give away because you just do not use them. The ones that are left I will often buy a second of, ya know, because washing…