
 You might also like
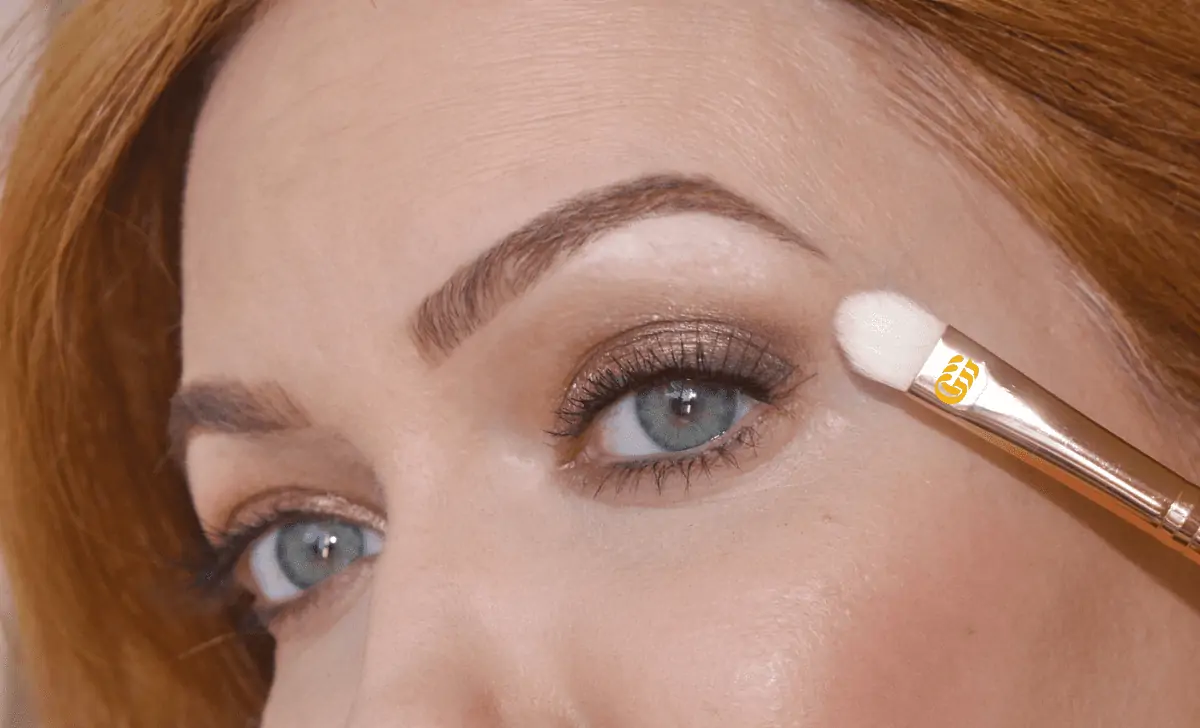 Makeup
Makeup
Makeup 


Welcome to the GirlGetGlamorous blog!
Subscribe for monthly emails of the latest
blog posts and videos, sent right to your inbox.
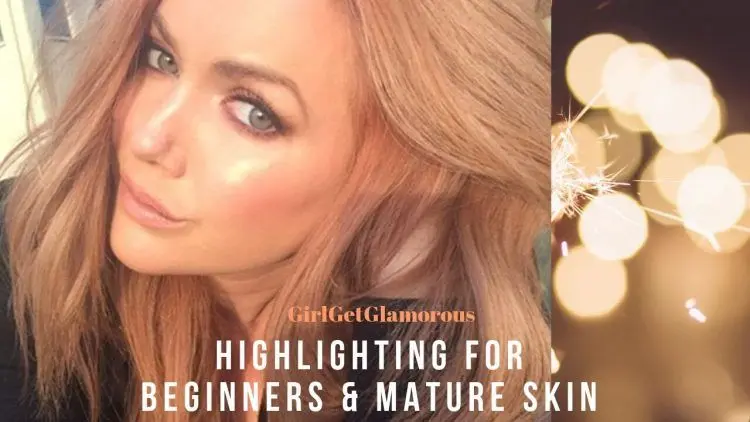
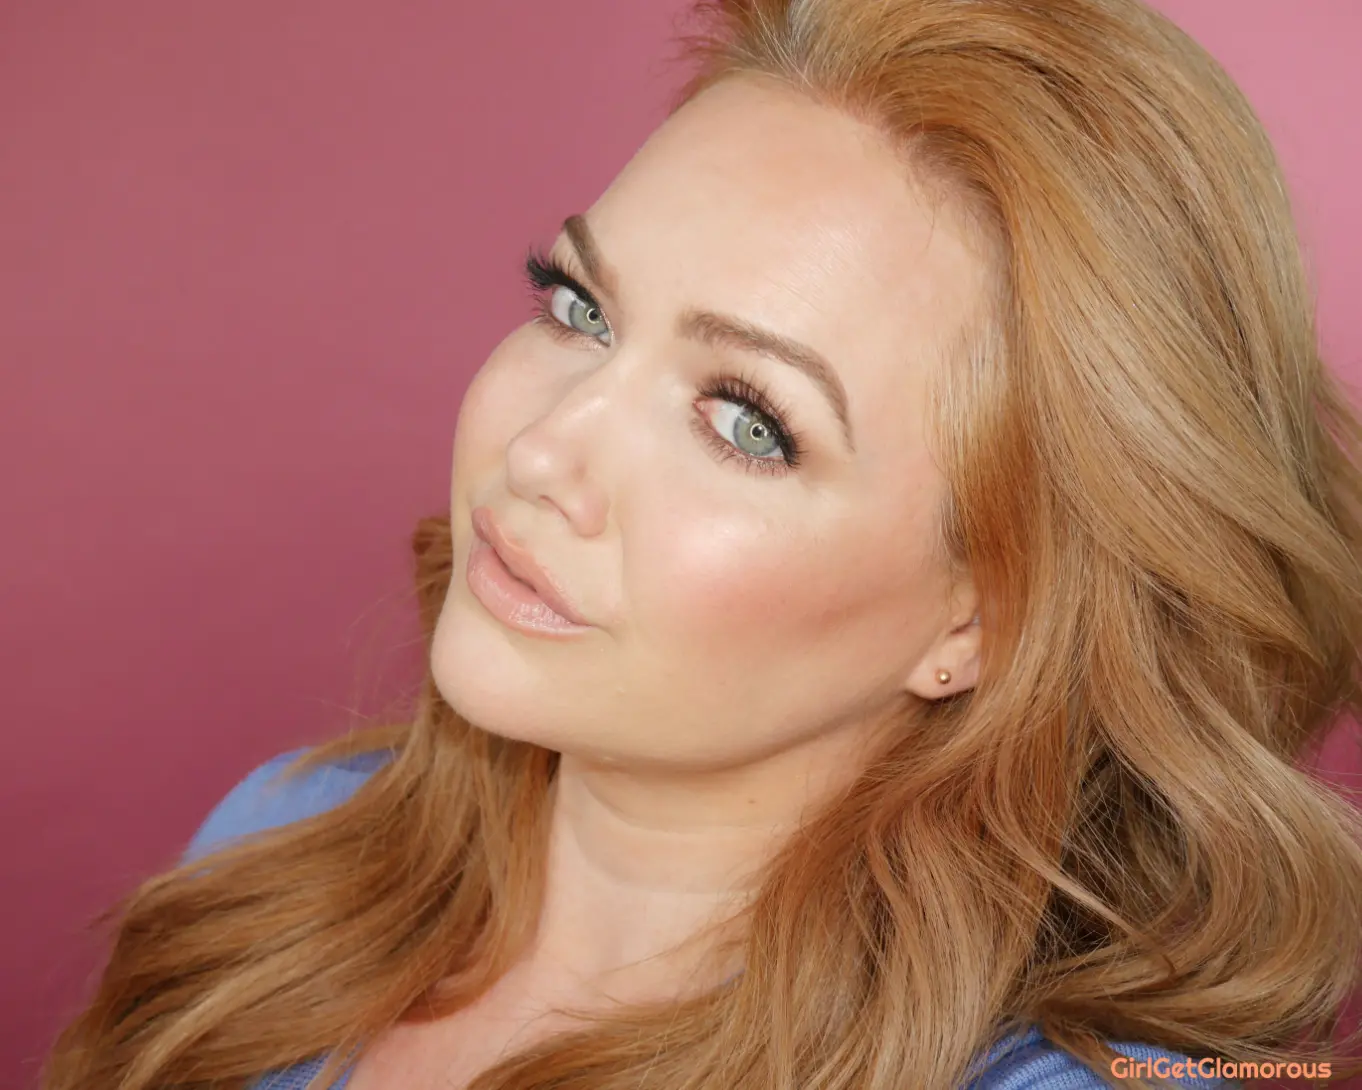
Highlighter is an incredible beauty product. It can brighten, visually lift the face, and you look more awake. Even on my most minimal makeup days, I’ll use highlighter along with a tinted moisturizer and some mascara and it makes a big difference!
Also, highlighters are one product category where there are a ton of great options at every price point. I actually have so many highlighter picks, that I am going to a separate post on my favorite highlighters and swatches – stay tuned!
As intimidating as highlighter can seem, it’s actually a super easy product to use when you know where to place it.
Types of Highlighter
There are three different textures to pick from: liquid, cream, and powder.
Liquid + Cream |
Liquid and cream highlighters are the most beginner and mature skin friendly, in my opinion. These textures tend to blend easily with most skin types and become like a second skin.
Liquid and cream formulas are applied after foundation and concealer, but before powder products (setting powder, powder blush, bronzer, etc.).
Powder |
Powder highlighters are quick to apply and can add major, blinding highlight, which looks beautiful in photographs.
The texture can sometimes be a bit harder to wear on dry or mature skin, as some products can emphasize fine lines more than cream products. I do find certain powder formulas are creamy enough to wear on mature skin, however, and I will wear powders for flash photography.
Powder highlighters are applied after foundation, concealer, blush, and bronzer.
Matte vs Shimmer |
A matte or satin finish concealer will give a more natural effect in certain areas vs using a shimmer. Under the arch of the eyebrows and above the cupid’s bow, I always reach for a matte concealer over a shimmer highlighter formula.
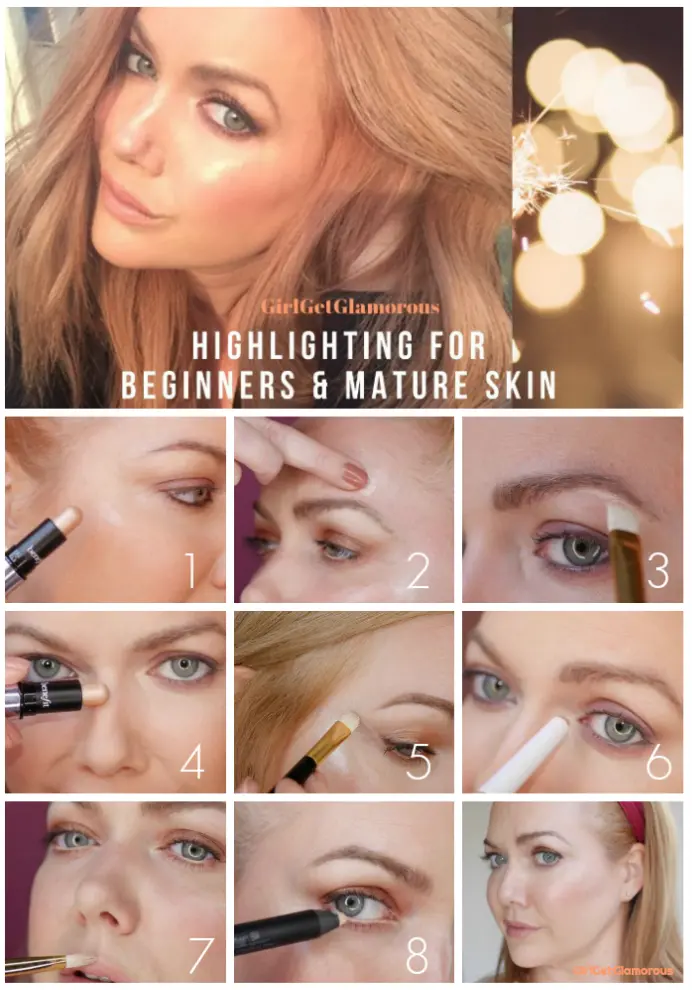
Where + Why To Use Highlighter
Just like with contouring, you’ll want to personalize where you highlight based on your bone structure and face shape. It might look great on you to highlight your cheekbones, but not the “v” above your lips. Play around with each area and decide what combination looks best for you personally.
__
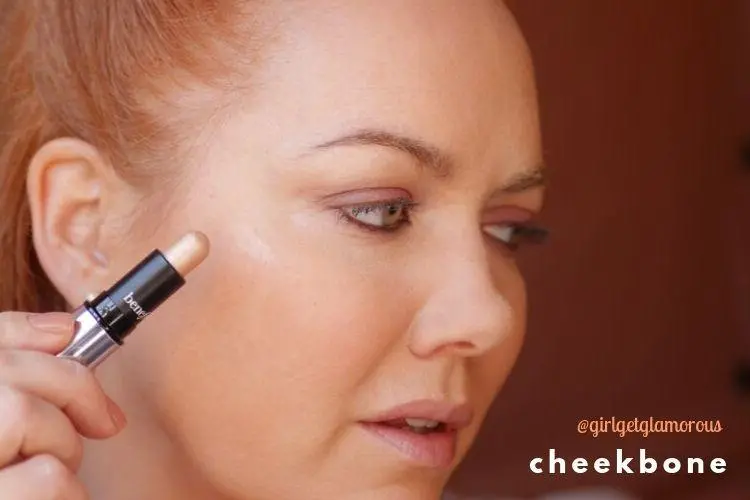
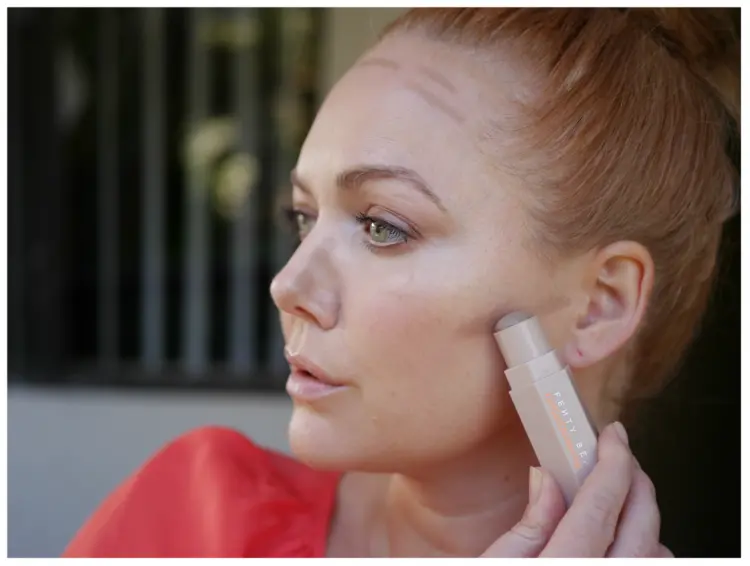
Cheekbones |
To find the area on your cheekbones to highlight, with no product on your hands yet, gently press against the top of the cheekbone, under the eye.
When you feel the spot where the bone comes out the most, that is where you’ll apply your highlighter. I start applying highlighter about an inch directly below the outer edge of my eye and blend out and up towards my hairline, stopping about 3/4 of an inch from my hairline.
Effect: this will give your cheekbones a visual lift and also add a healthy-looking glow.
__
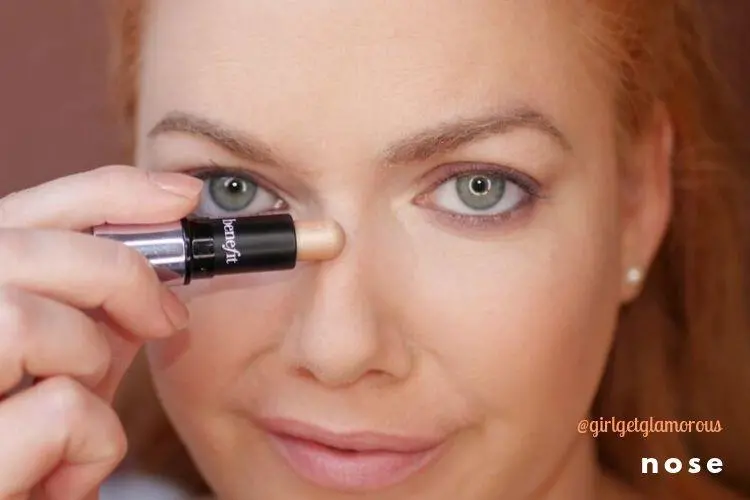
Nose |
On your nose, you’ll apply highlight on a one inch area down the center. Start a half an inch below the eyes and finish at least a half inch above the end of the nose.
Effect: gives eyes extra sparkle.
__
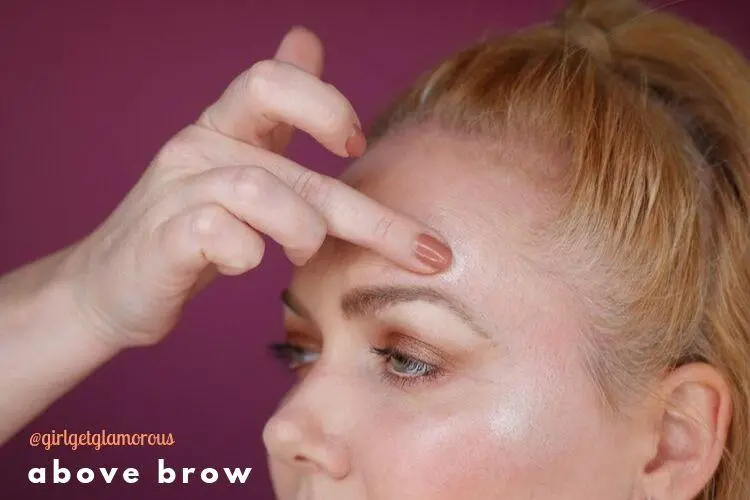
Brows |
Above the arch of your eyebrow, dab a bit of shimmer highlighter and blend up and out, towards your hairline.
Under the arch of your eyebrow, take a satin or matte concealer and draw a thin line directly under the arch. Blend with a clean finger.
Effect: gives a visual brow lift. Lifts the look of eyes.

__
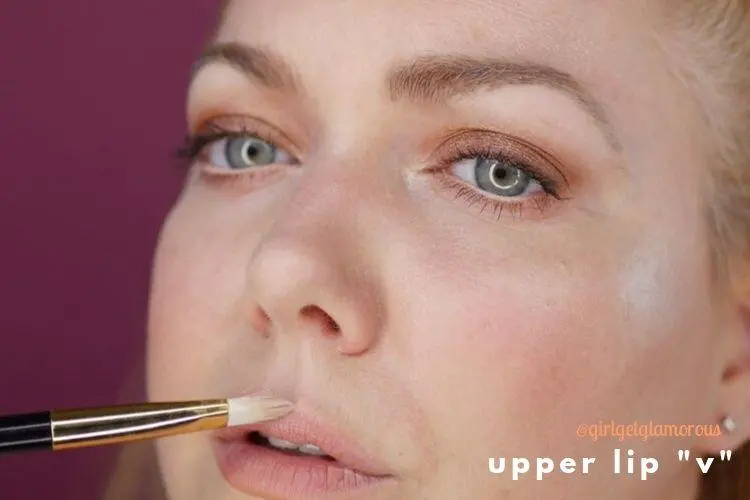
Upper Lip “V” |
If you want to make your top lip look a bit bigger, blend a very small amount of matte or satin finish concealer in a shade lighter than your skin into the cupid’s bow, the small “v” area between the high points of your top lip.
You don’t want shimmery highlighter here, as it will look too unnatural and give a “milk mustache” effect.
A matte or satin finish concealer will give the lip plumping effect and still look natural.
Effect: plumps the look of the upper lip.
__
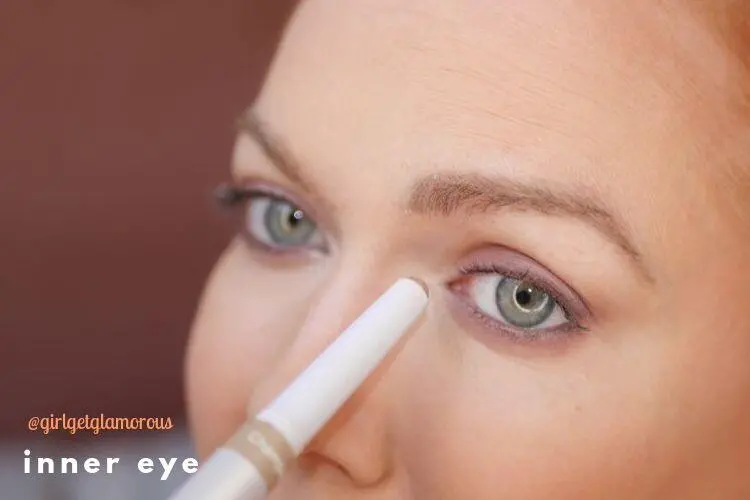
Inner Corner of Eyes |
Taking a smaller pencil or brush, dab a little highlighter or shimmer eyeshadow at the inner corner of each eye, directly where the top and bottom parts of your eye meet. Blend out towards the colored iris of your eye.
Effect: gives eyes extra sparkle and makes you look more awake.
__
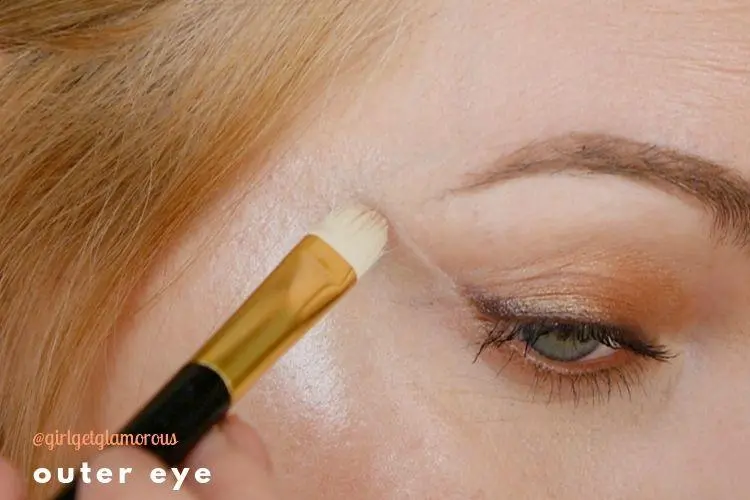
Outer Corner of Eyes |
Using a fine tipped concealer or liner brush, take a small amount of satin or matte concealer and draw a thin line from the outer eye up towards the outer edge of your brow.
Start the line where your upper and lower sections of the eye meet and draw your line upward, using the direction of your lower lash line to guide your line.
If this doesn’t seem clear, the video gives an up close demonstration of sing your lower lash line as a guide.
Effect: lifts the cheekbones and eyes.
 __
__
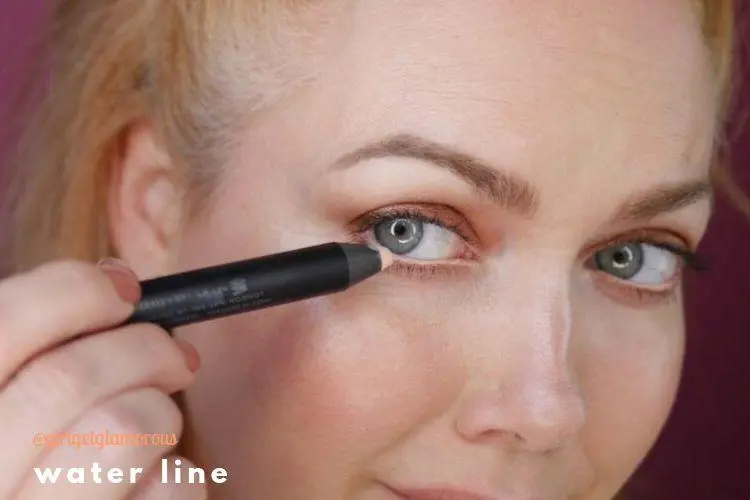
Water Line |
Using an eye pencil or crayon that is one shade lighter than your own skin tone, line the lower lash line. This eliminates redness after a long flight or a late night.
Effect: brightens eyes.
How to Apply Highlighter Seamlessly
Step 1 | For liquid formulas, I like to dab a bit of highlighter onto the back on my left hand (I’m right handed). With creams, I apply either directly from the tube or get a bit on my fingers and apply. Powders I will apply with my fingers or a brush.
Step 2 | Then, using my clean (no product on it) ring or middle finger, I’ll start blending the highlighter. I like to press and lift with a dabbing motion to stipple the highlighter into my skin.
Step 3 | After I’ve blended best as I can with my fingers, if I need even more blending, I’ll take a clean, damp beauty blender and gently dab around the edges of the highlighter.
This makes the highlighter look seamless with your skin, so there is no starting and stopping point. You can also dab the edges with a finger to get the highlighter laying seamlessly on your skin.
Video Tutorial
__
A Few Of My Favorite Highlighters:
Liquid |
1 | Benefit High Beam – .33oz, $26
2 | Becca Shimmering Skin – .68 oz , $19 – 1.7oz, $41
Cream |
3 | Colourpop Super Shock Highlighter – .15oz, $8
4 | Pat McGrath Stick – .23oz total, $55
5 | Benefit Watts Up Stick – .33oz, $30
6 | (Limited Edition) Benefit Highlighter Mini Size Trio – $18
Powder |
7 | Becca Shimmering Skin Pressed – .085oz, $22 – .25oz, $39
8 | Wet N Wild – $5
9 | Colourpop Pressed Powder in Angel Food – .23 oz, $7
10 | Diorskin Nude Luminizer Skimmering Glow Powder in shade 01 Nude Glow – .21 oz, $48
Concealer for Matte Highlighting |
11 | Colourpop No Filter Matte Concealer – $6
_____
I know this can seem like a lot of information and might feel overwhelming at first, but once you get the hang of highlighting, it takes me about forty seconds to apply and blend for my cheekbones and above eyes and around two minutes if I do the whole sha-bang.
Think of it this way: Tap, Blend, Bounce. Tap the product in, blend, and then bounce your beauty blender over the highlighted area to blend seamlessly into your skin.
__
__
I hope this post helps. Feel free to leave any comments or questions below, I’d love to hear from you!
__
Shop the post |

__
Similar Posts |
__
Social Links: Facebook (I use this a lot for flash sale links) | Instagram @girlgetglamorous | Instagram hair extensions @girlgetglamorousHAIR | Pinterest (join over 1 million+ other monthly views!) | Join 60,000 + other blog readers and subscribe to the (free!) mailing list to get the latest posts straight to your inbox.
Thank you for reading and being a part of the blog!


LEAVE A COMMENT