


 You might also like
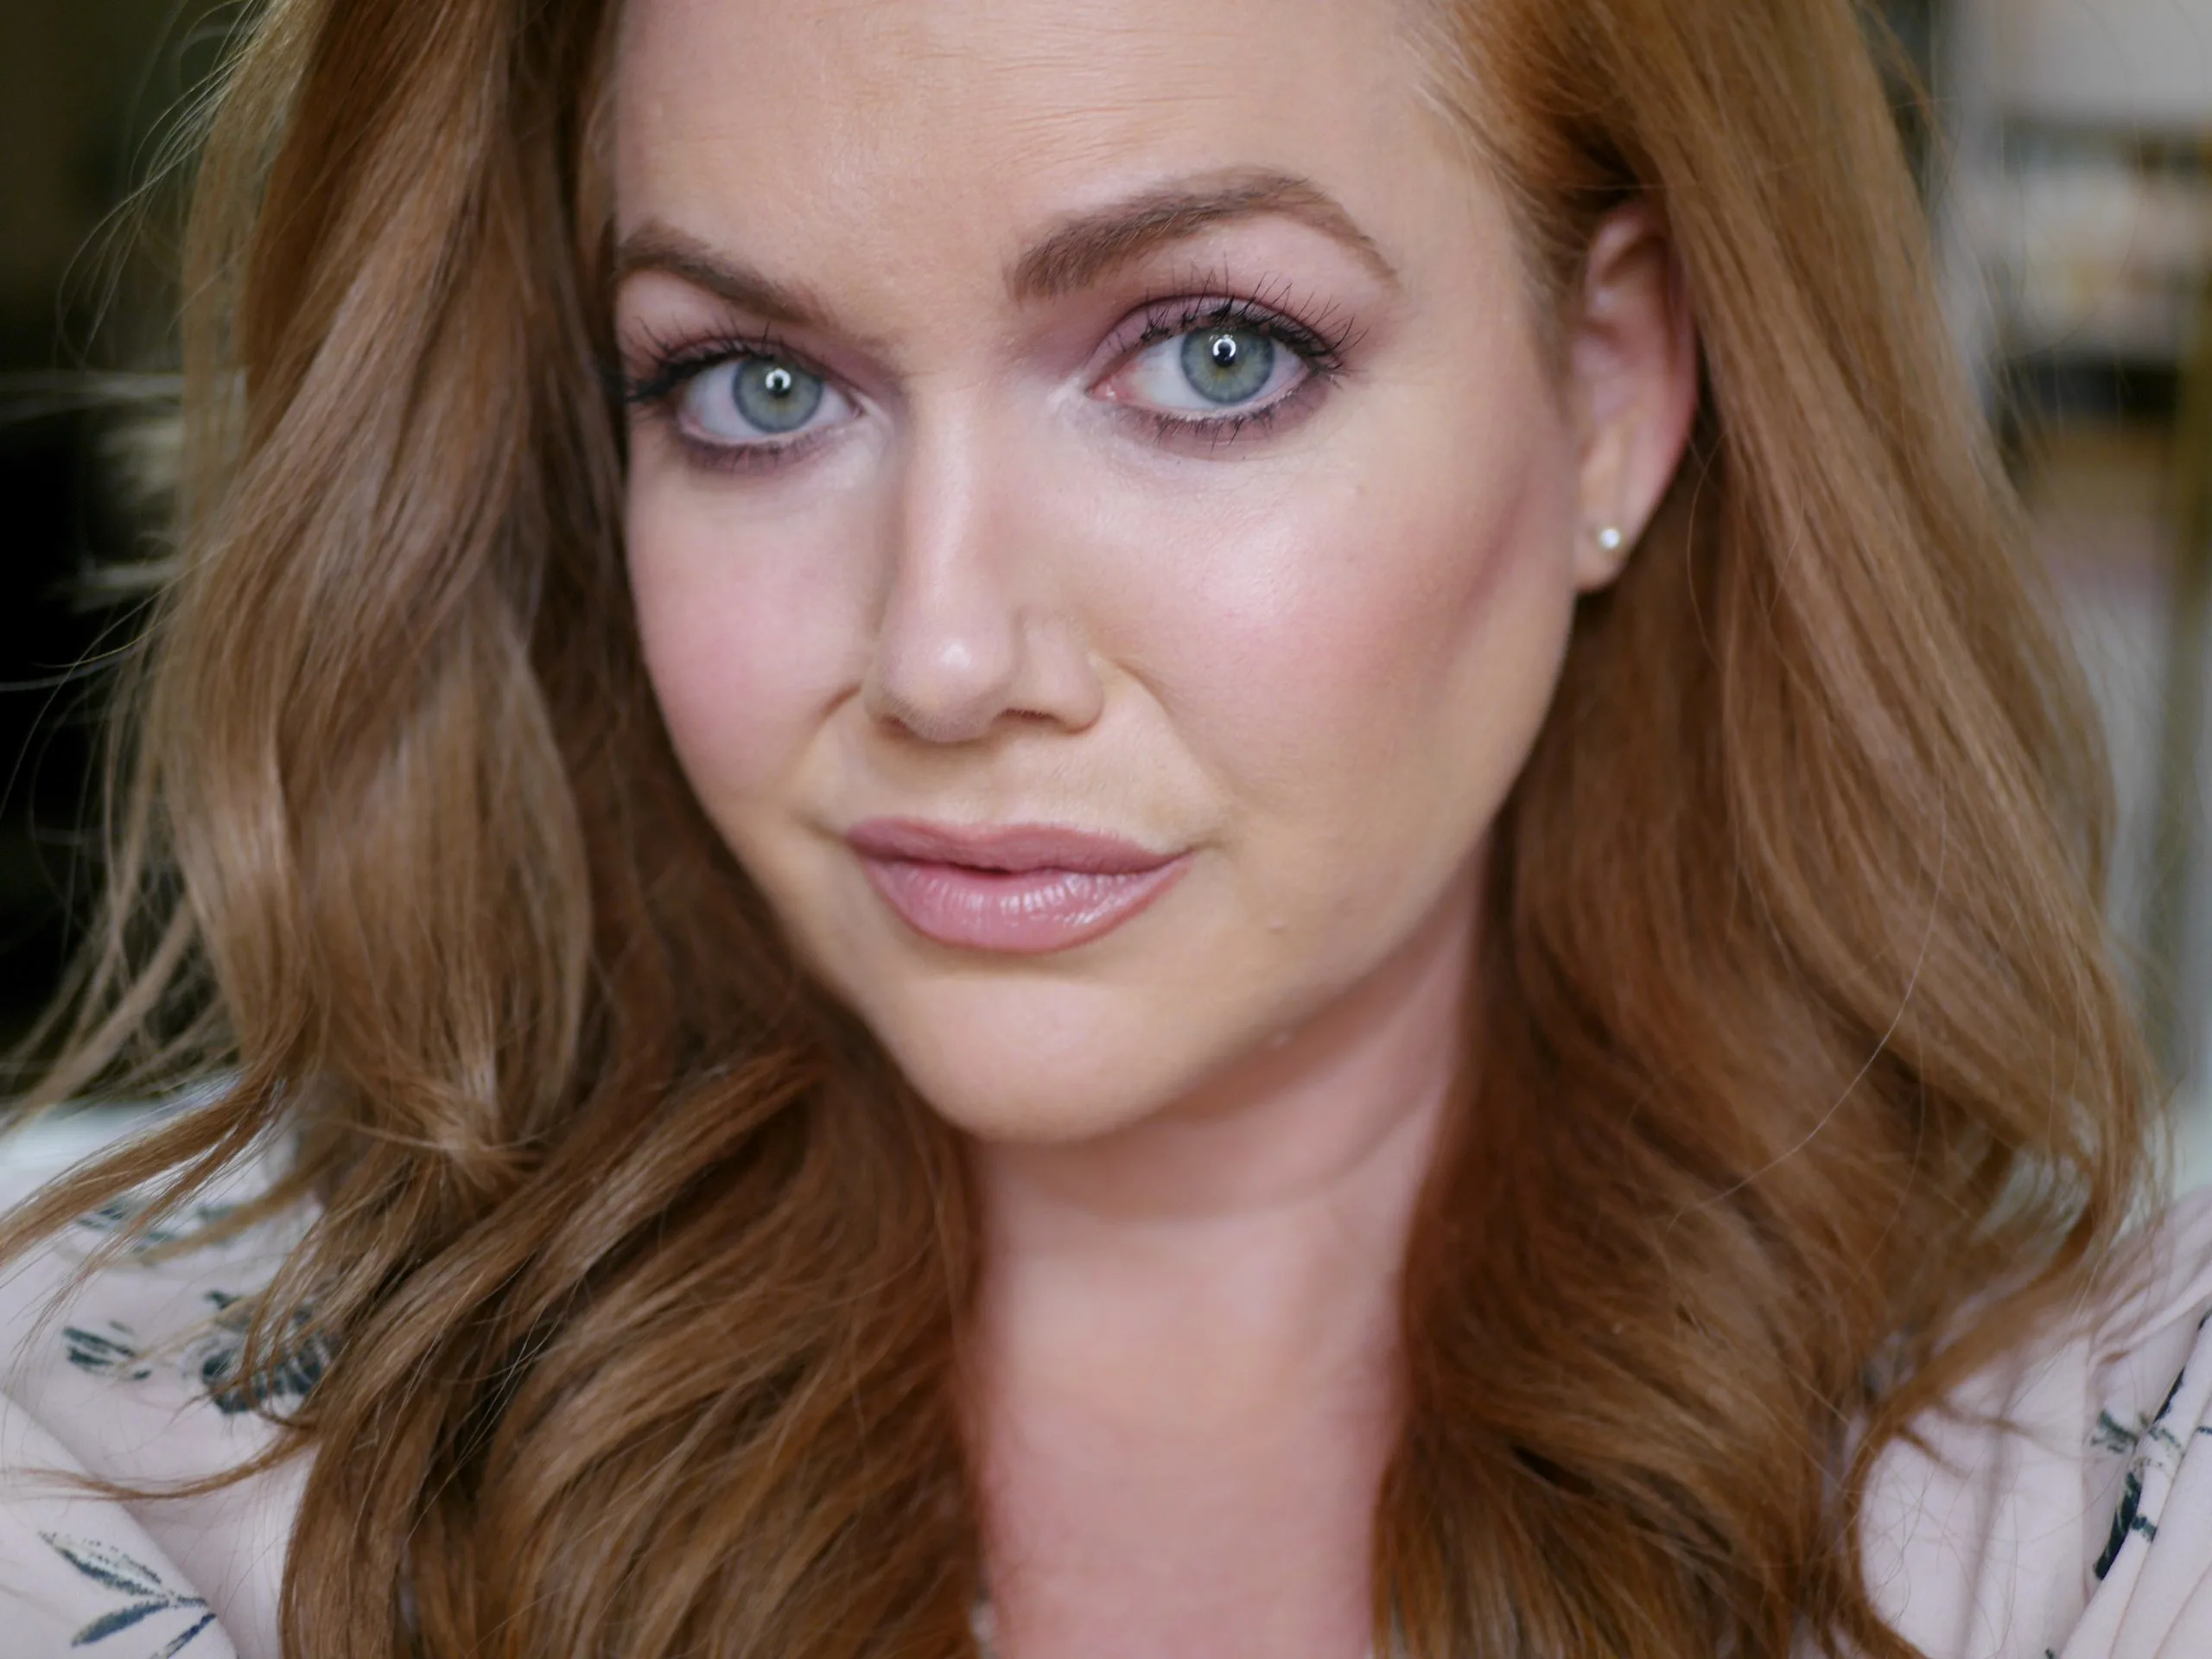 Makeup
Makeup
Makeup 


Welcome to the GirlGetGlamorous blog!
Subscribe for monthly emails of the latest
blog posts and videos, sent right to your inbox.
This post and video are part of my new Makeup 101 series on the blog and my YouTube channel that will simplify how and where to apply your makeup for the best results. This step-by-step tutorial is all about under eye concealer.
Makeup can feel overwhelming when you are starting out, so I hope this tutorial makes applying concealer easier. Even if you’ve been wearing makeup for a while, sometimes it’s nice to just get back to the basics.
Concealer is one of my favorite products to use. With the right technique, it can light up your entire complexion and make your eyes sparkle.
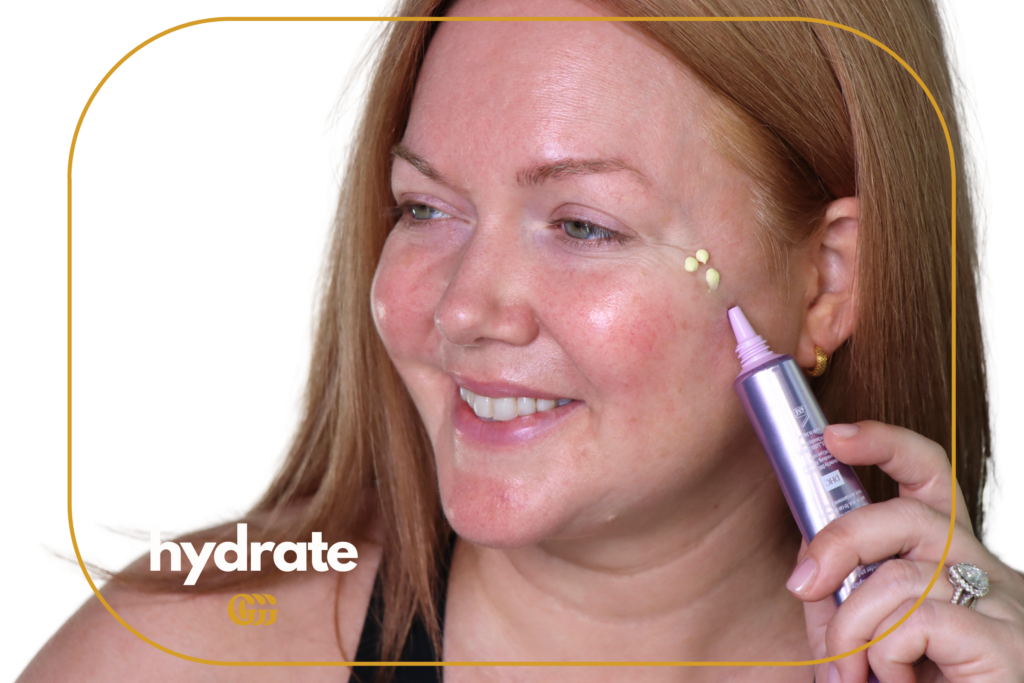
Hydrating your under eye area with extra moisture, beyond just your face lotion, is one of the most essential things you can do to have your concealer look great all day.
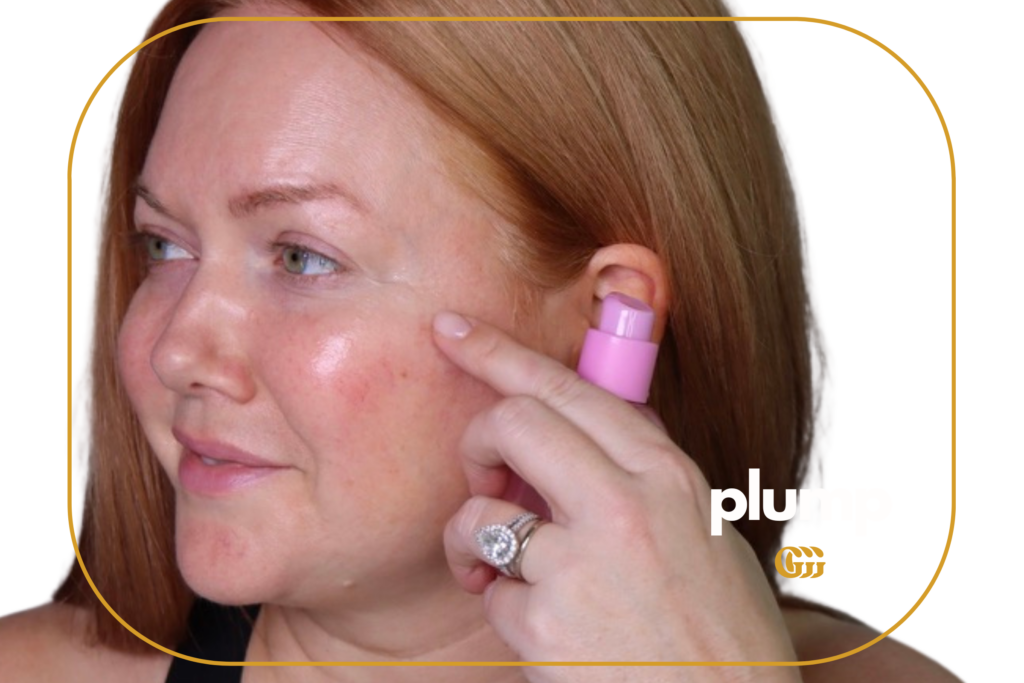
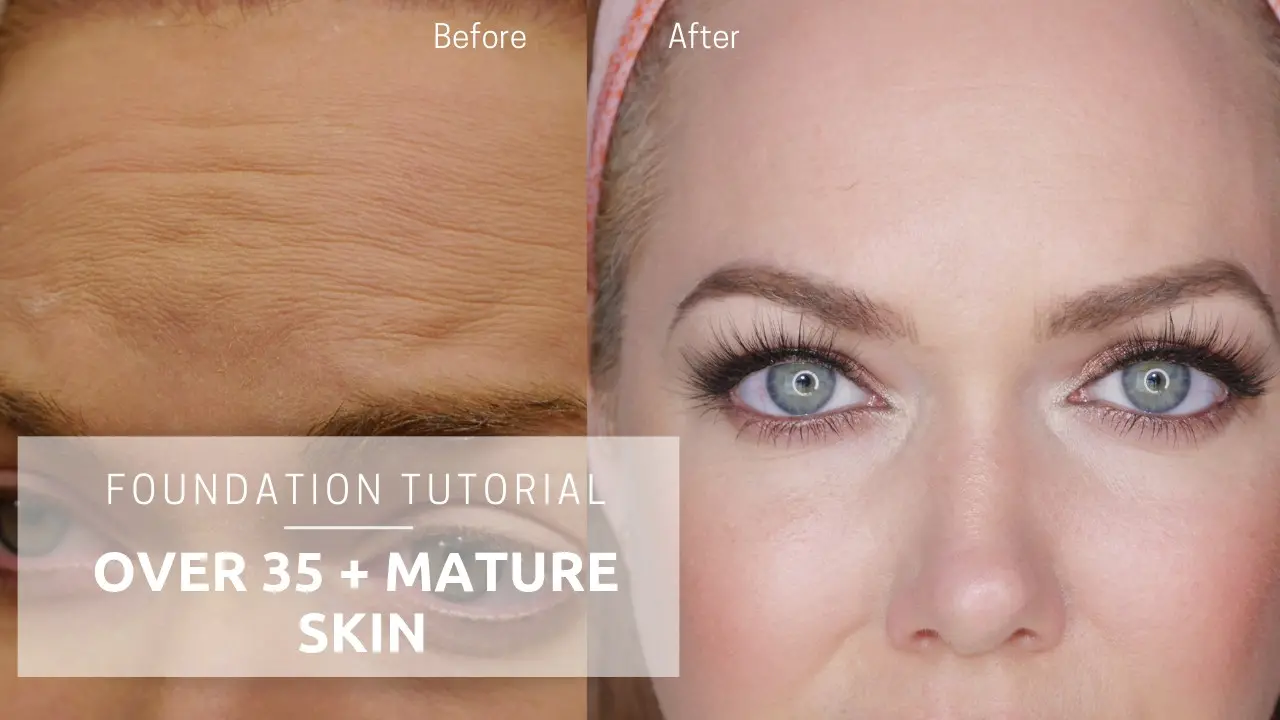
As far as plumping skin care tools, I rotate between my ZIIP device for plumping and these K-Beauty eye patches for immediate plumping on my under eye area (see my before + after here). I’ll pick and choose based on my skin needs that day.
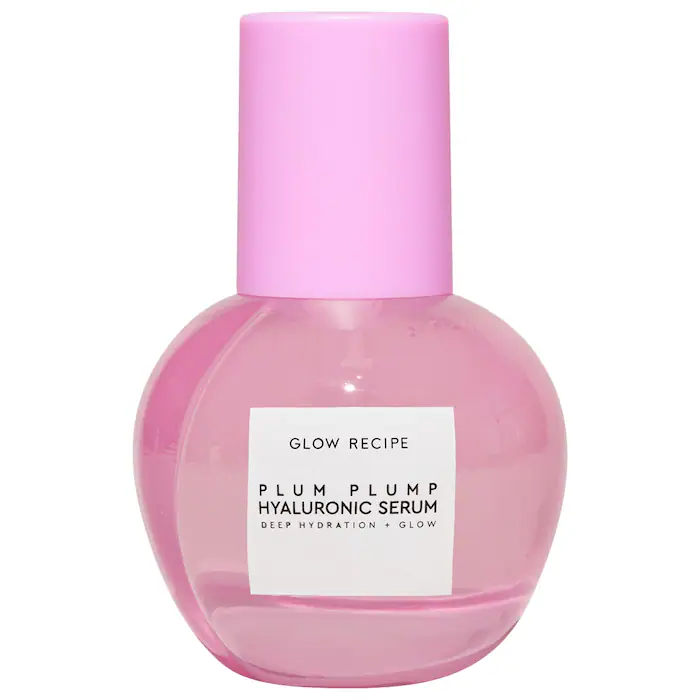
Then, for skincare, I like to start with a Hyaluronic Acid serum, which acts as a sponge keeping moisture in your skin and plumping fine lines throughout the day. This helps prevent those mid afternoon dry skin patches that can occur.
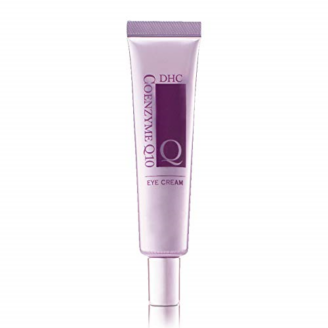
After the serum sinks in, I recommend using a pea size dot of a thicker eye specific cream, I personally prefer this one with shea butter.
TIP | If you have dry skin or fine lines at the outer corners of your eyes, I recommend starting starting application at the outside of your eyes. This has been big game changer for me.
I’m not using any more product than before. Just starting to apply at the outside in seems to really help plump up those fine lines, though!
Related Post | My A.M. Skincare Routine for Perfect Makeup Prep
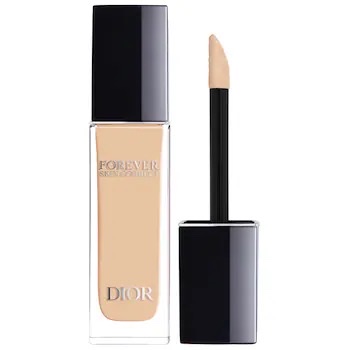
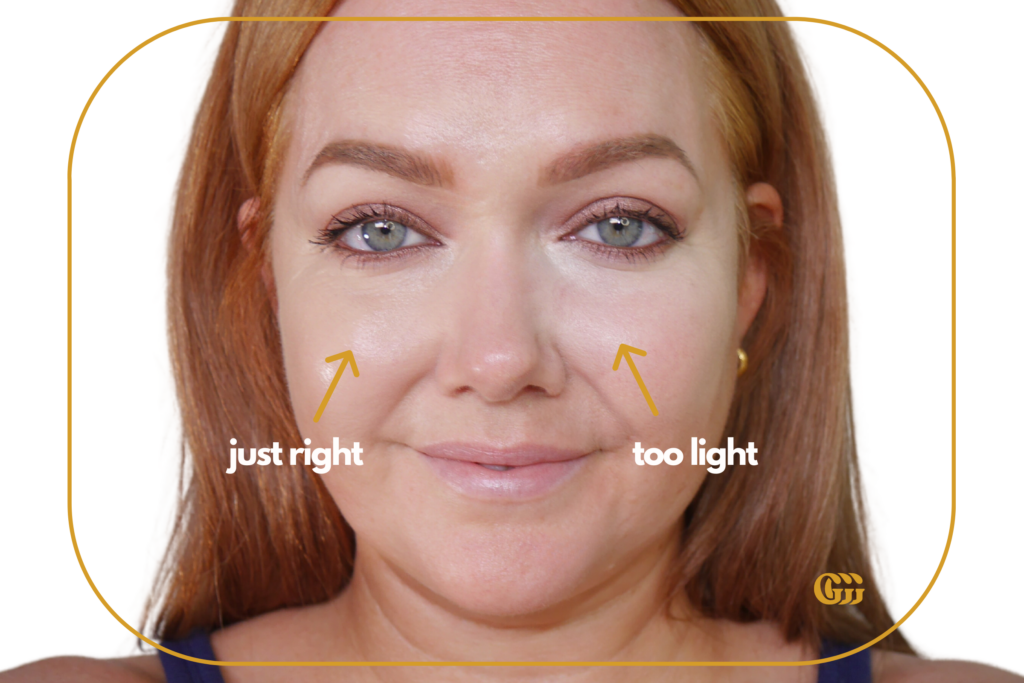
I recommend picking a shade that is only one to two shades lighter than your skin tone. If you go too light, the coverage won’t look as natural.
Light brings features forward (think concealer) and shadows recede areas (think of contour). The slighter lighter shade will bring out the under eye area and gives them a lifted, lit appearance.
You’ll want to choose a concealer that is the same undertone as your foundation. If you need help figuring out your undertone, this post and video go into a lot more detail.
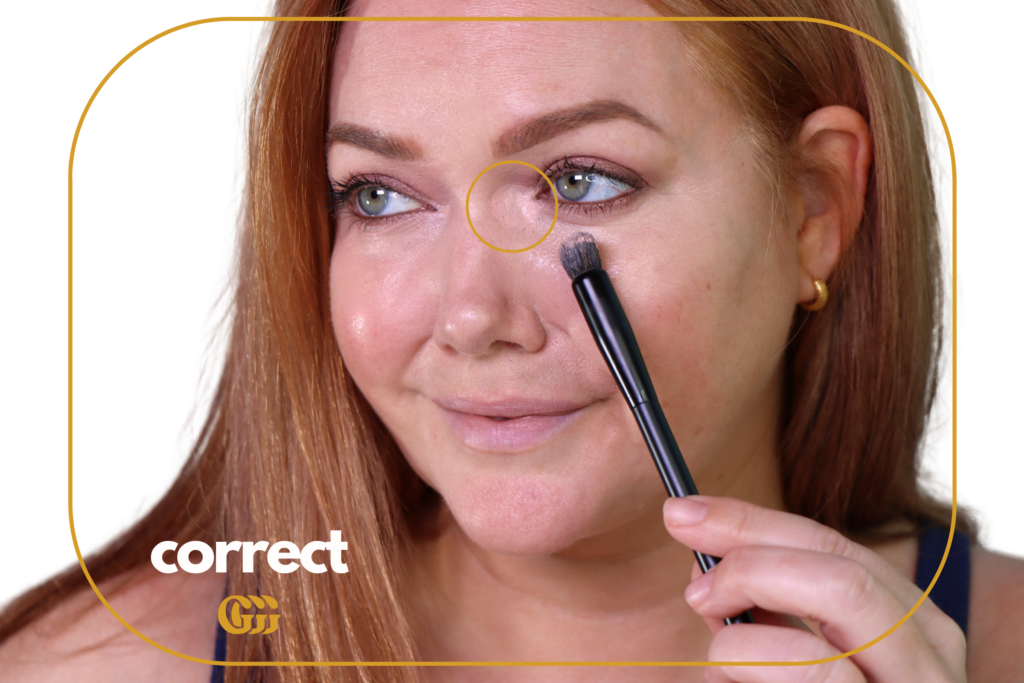
If you have areas either at the inner corner of your eyes, near your nose, or under your eye that are a different color than the rest of your skin, you’ll want to color correct before applying concealer.
Color correcting will even out those areas with the rest of your skin, before you apply concealer to lighten.
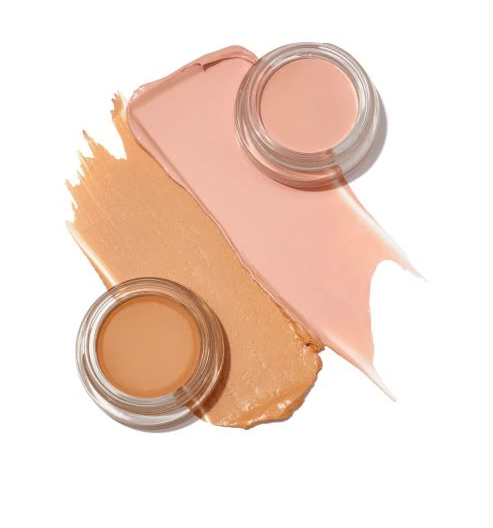
Shade selection: If your under eye circles are blue or purple, you’ll want to go with a light peach or peachy-pink tone. If your under eye circles are more brown, you’ll want to go with a darker salmon tone.
Texture: I prefer a cream texture for my under eye corrector, as creams tend to have more pigment vs liquid formulas.
Related Post | Trying the Top 10 Under Eye Color Correctors
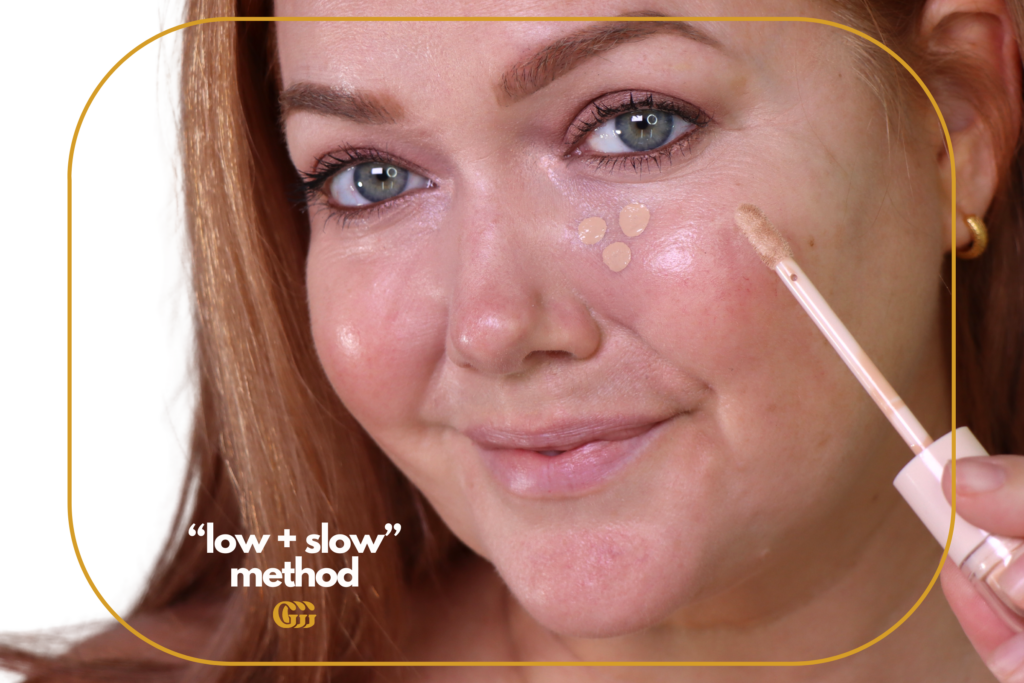
I like to start applying my concealer about one inch below the inner corner of my eye. That’s generally a very smooth area for most people. Think of the area where baseball players put their black marks.
I usually start with three dots of concealer. Start with less product, you can always add more, but it’s harder to take away product that has already been applied.
Whenever I do one heavier swipe, instead of the three dots, I always feel like my concealer ends up looking too heavy.
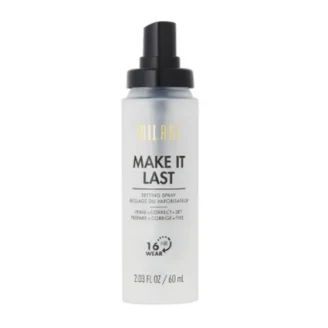
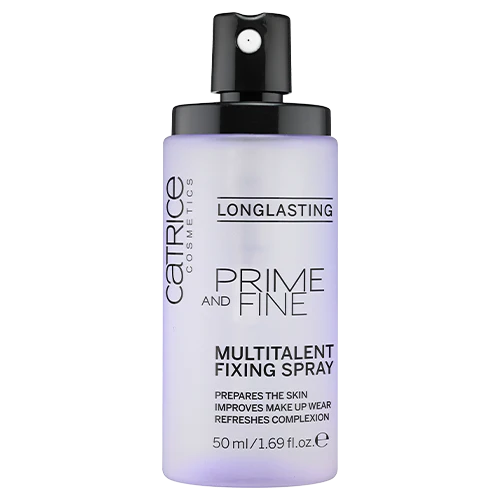
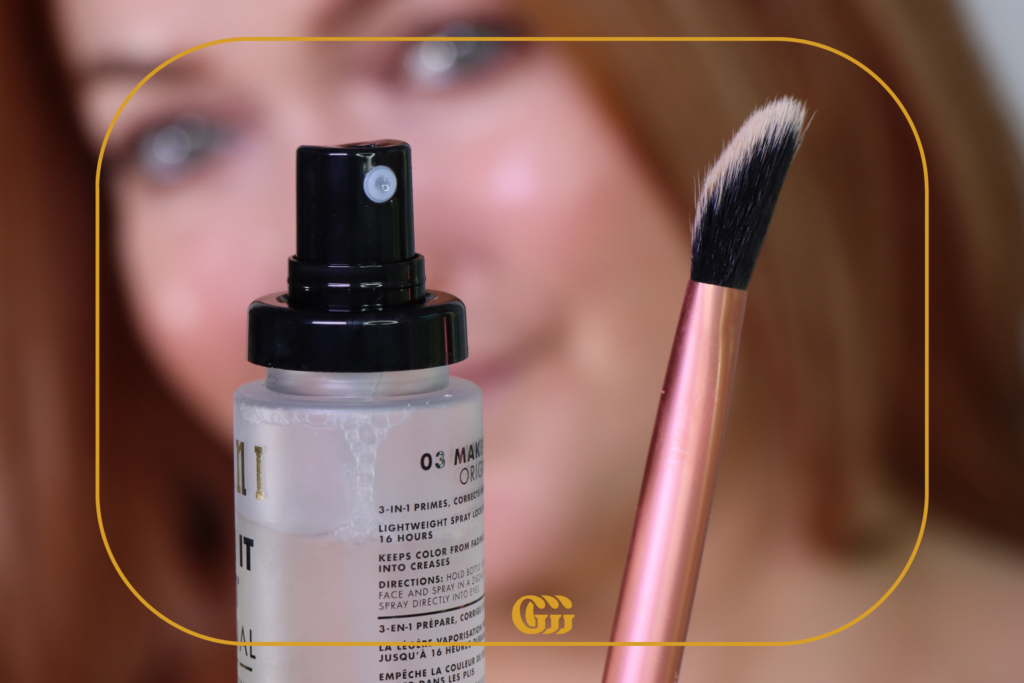
My preferred method for setting my concealer as someone with dry skin, in my 40’s, is to first set concealer with a setting spray, then finish with the lightest dusting of powder, only as needed.
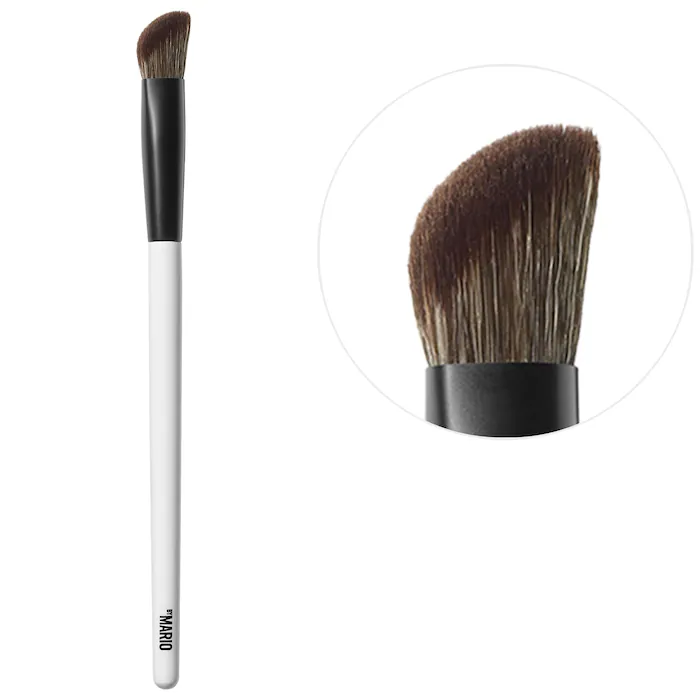
I use a concealer brush sprayed with setting spray to both blend and set my concealer at the same time.
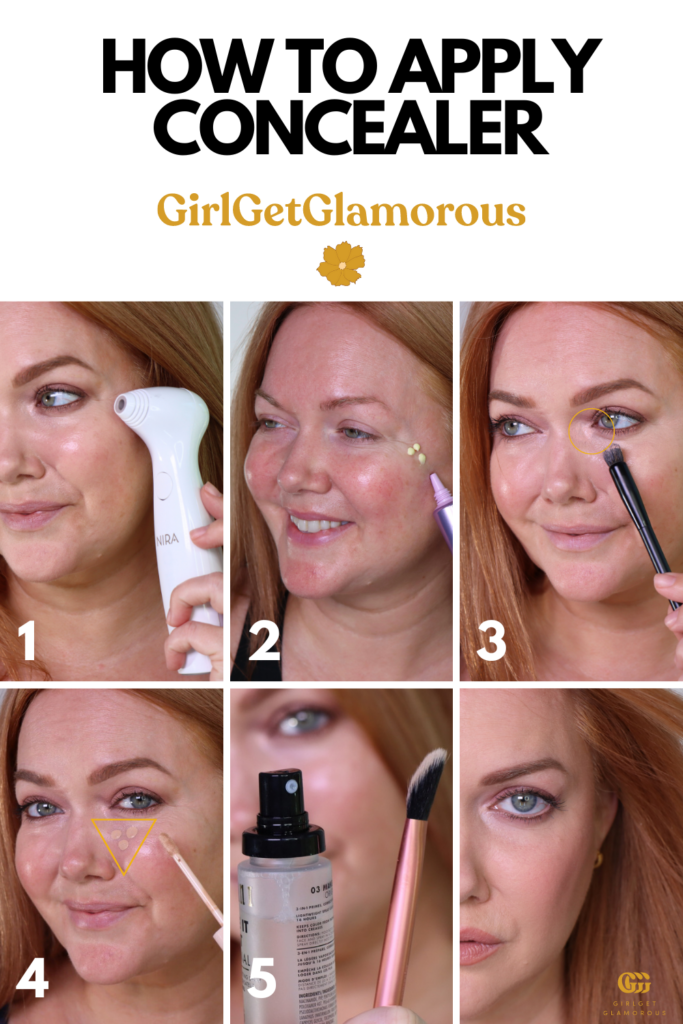
1: I spray one spritz of setting spray directly into my concealer brush, then I’ll start blending up towards the inner corner of my eye. I like to stop before hitting the lower lash line, for a more natural finish.
2: Then, I’ll move the brush to the outside edge of my eye and tap whatever is left on the brush up and out, going up towards my hair line. This visually lifts the face, without adding a ton of product at the outside edge.
3: Then I move the brush to the center of my under eye and blend the rest of the concealer there.
Then I spray one more spritz of setting spray into the brush and repeat this motion of the other eye: inner corner first, then outer corner, finish application in the center.
4: I let the concealer and setting spray completely dry down (you’ll feel it start to dry) then if I need it, I’ll grab a smallest amount of powder. Grab a little powder on a setting brush and gently dab it under the eye.
I prefer this loose powder, but it is a slightly pricier option.
Baked powders will have a similar effect to loose powders and be more cost effective in the long run.
I hope this tutorial helps you get perfect concealer every time! – Molly


LEAVE A COMMENT