 Strawberry Blonde Hair
  Strawberry Blonde Hair
You’ve just got your girlgetglamorousHAIR clip ins fresh out of the mail! You open that gorgeous coral box and feel the silky goodness that is about to become your unbeweavable weave! It’s all happening!
Unless, like me, the first time I took them out of the package I realized I had no idea what order they clipped in. Then I sort of got them in my hair but the ends looked uneven and they tugged and hurt my head and I could only wear them for a few hours at a time.
You Will Need
Extensions Tricks to Make Them More Comfortable
Once you’ve parted your hair where your extension is going to go, spray a little hairspray along that line. This will give the extension something to grip onto, so it’s not slipping down your hair and tugging. This makes the extensions wearable all day for me.
I also love the light as HAIR seamless wefts, they feel lighter at the top, but are just as thick on the ends. They are super comfortable!
How to Clip-In Your gggHAIR Extensions
1 | Start by using the pointed end of the rat tail comb to divide a nice, sharp horizontal line from ear to ear. Twist and clip the extra hair up and out of the way. I like to start my first piece right above my ear.
2 | Spray a light mist of hair spray along that line.
3 | Clip in your 2nd widest piece first (3 clips).
4 | Move about a half inch to a full inch up your head above that piece. Repeat steps 1 + 2, then clip in your widest weft ( 4 clips) directly in the back of your head.
5 | Move about a half inch to a full inch up your head above that piece. Repeat steps 1 + 2, then clip in the three smaller pieces in a spaced out horizontal row.
6 | Move a half inch above those pieces. Repeat steps 1 & 2, then clip in your final two pieces slightly closer to your face. Still about 3 inches from your face though, to make them look more natural.
7 | Clip in your 1 ” wefts to blend the front of your hair with the extensions.
8 | Tease the crown and right above the top pieces. This will create volume so you don’t have the look of heavy extensions at the bottom and also help conceal any clips, if you are nervous about them showing.
9 | Gather all the hair and your real hair in a ponytail in one hand and gently use your other hand to comb through the ends to blend the hair together.
10 | Finish with a drop of oil to add shine and moisture to the ends.
_________
With gggHAIR Extensions
________
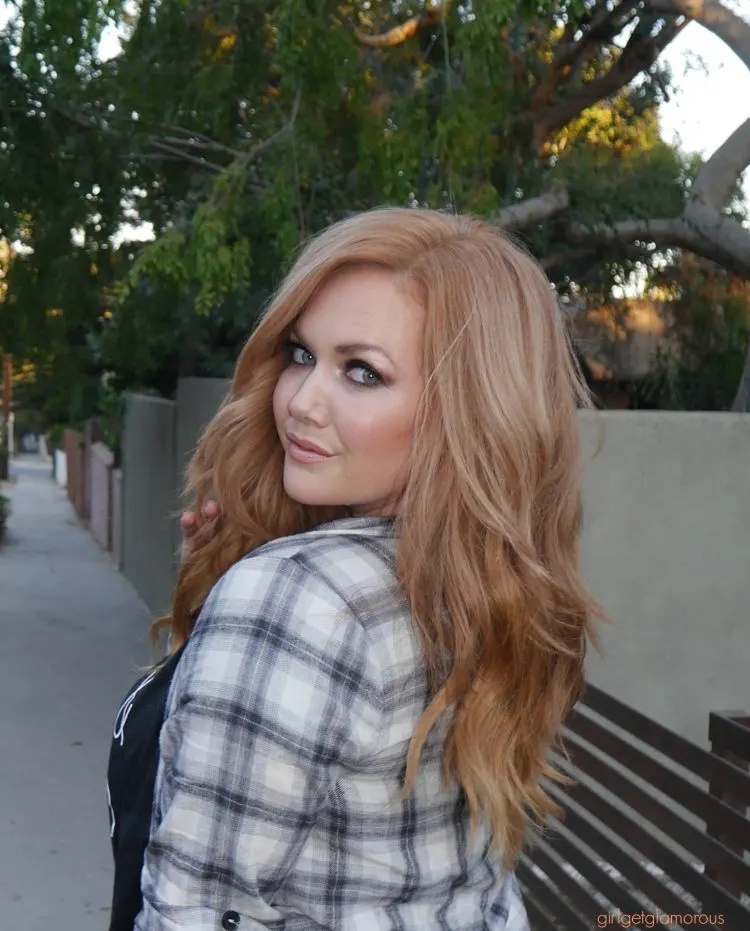
Strawberry Blonde hair extensions: www.girlgetglamorousHAIR.com
________
Similar Posts |
________
As always, thank you for reading and being a part of the blog!
Social Links | YouTube | Facebook | Instagram @girlgetglamorous | Instagram @girlgetglamorousHAIR | Pinterest (join 1.2 million other monthly viewers)
xo – Molly
 You might also like
LEAVE A COMMENT
Where can I find hair extensions to match your hair color formula?
Hi Amanda! I am starting to try new extension brands and if I find anything I will update you! – Molly
Amazing, This blog is really amazing. hanks for sharing.
I am blown away by your AMAZING extensions! Do extensions work better if you have layered hair to begin with? You look just gorgeous!!
What brand and color extensions do you use….I’m having the hardest time finding good red one!!
Ok, so I’m working to come out with my own line of extensions, but it’s taking forever. For now, I use proextensions.com sets and just color and cut them to fit with my hair. They have great sets starting at $99 and the quality on all levels of their hair is amazing. I hope this helps!