 Tutorials
  Tutorials
In my previous foundation post (that was way overdue for an update) I talked about using a BB cream under a foundation or powder foundation. What has changed, you ask? I don’t love how my skin looks with a powder mineral as much anymore, so I rarely use it, and I’ve started to love a slightly more full coverage look.
This is my updated routine to achieve a full coverage, yet hydrated and natural looking face full o’ foundation.
1. Moisturize.
Always. I don’t care if you have oily skin. Use a light moisturizer. I highly recommend the Kera Moisturizer from Mario Badescu. It never makes my foundation ball up, sinks in immediately, and works on all skin types. I’ve used this on every client from the oiliest skin to the driest skin. Your foundation will look a zillion times better with a good base layer of moisture. It will make your makeup way easier to blend and your makeup will sit better on your skin overall. Let it sink in for a minute before the next step.
2. BB Cream
I use BB Cream as primer. Sometimes my skin looks too “blurred” with traditional primer, and not as much like skin, so I use primer very sparingly on forehead lines and only occasionally. But BB cream provides a bit of color and helps keep my makeup looking more natural and more like real skin. I apply and blend BB cream with my fingers.
3. Foundation
I have a small arsenal of foundations because I like different looks (dewy, matte, etc.) on different days. I’m using Tarte’s Amazonian Clay foundation because it gives such a flawless finish, uses natural ingredients, and is a great price for the high quality. I blend the foundation right over the BB cream, using my fingers again to both apply and blend as best I can.
4. Blend
Ok, now it’s serious blending time. I take a beautyblender, get it wet, it will double in size, then squeeze out the excess water into the sink, then squish it between a towel to get out any extra water. This is what I mean when I say I’m using a “damp” beautyblender. I then use the damp beautyblender to blend the foundation into my skin, around the edges of my face, and down into my neck.
5. Concealer
I love concealer. I love all makeup, but concealer is truly magic, right? I take my Amazing Cosmetics concealer and dot the concealer in a triangle starting at the inner corners of my eyes, down the sides of my nose, and out to the outer edge of my eye. I use a very tiny amount, as this is full coverage concealer, and build from there, adding more concealer as needed. I also go over the light acne scars and anything else that didn’t get covered up by the BB cream and foundation.
6. Blend Concealer.
I blend out the concealer as much as I can with my fingers, then, starting at the edge of my concealer, blend it by tapping the beautyblender gently (so I don’t lift up too much concealer) at the edges of the concealer first, then all over.
7. Highlight.
This is the step that makes everyone say “you have amazing skin.” Highlighter draws your eyes to it. Applied to the top of your cheekbones, bridge of your nose, and above your cupid’s bow on your top lip, it will make your skin look fresh and glowing. I blend with a light tapping motion and then tap the beauty blender as well just to make sure it looks like a natural glow.
8. Contour.
Contour, you rock my world. Contouring has been the biggest changes to most women’s makeup in the past couple of years. It makes your face look slimmer. I tap my brush gently, in a straight line along the underside of my cheekbone, then curve it up slightly at the apples of my cheeks. I go around my forehead (I bring my contouring down slightly more because my forehead is a bit bigger) and then under my jawline. I blend with either the fluffy side of the Tarte contouring brush or with my Cargo Magic brush.
9. Set with Powder.
I don’t know why this step is so satisfying to me, but it is. I love when it’s time to set my face. Honestly, I could fist pump Jersey Shore style every time I get to setting. Weird but true. Using a powder brush with a loose, flat top, I tap that brush onto a powder, then gently tap the brush into my face. The tapping motion helps set the foundation without moving it around at all. You’re just gently pressing the powder into your skin. I only go into my t-zone, over my concealer, and under my contouring with the powder because I have dry skin. Setting powder right underneath the contour line helps the contouring pop and look more natural at the same time.
10. Bronzer.
I always use bronzer on my neck and collarbone. It’s a good way to make sure my neck and body look like they belong to my face. Then on my face, I sweep it in the number “3” or letter “E” along my forehead, cheeks, and jaw. I go super, super light with bronzer on my face now, because I contour and that adds a lot of color. But bronzer can really warm up the look of your skin and pull your blush and contour together.
11. Setting spray.
After all my makeup is on, and I mean even my lipstick, I use Urban Decay Setting Spray over my whole face. I never believed in setting sprays before, I always felt like it was just a bottle of lies, but after trying this one, I was a believer. My makeup looks almost exactly the same at the end of an 8 to 10 day as when I put it on. I brought this stuff with me to Miami recently and it’s the only reason I don’t look as sweaty as I felt the Entire. Trip. and yes I did talk about the heat until I had no friends left. Setting spray is also amazing for very dry or more mature skin types that want to skip powder altogether.
YOUR FACE IS DONE! Yay!
Listen, I know this seems like a lot of steps and it will take you anywhere from 8 to 15 minutes, depending on how fast you get (yeah, I’ve timed it…I wish I were cooler too), but this face part is so crucial to my makeup. If I follow these steps, I feel like I can do any eye or lip and make it look good. It truly is the “foundation” to good makeup. …Crickets? I thought that joke would kill. But seriously, after the face is done, the rest of my makeup flies. This is the bulk of the work and is truly worth it in my opinion. Do I do this everyday, even for trips to Target? No, that’s what baseball hats are for. But anytime I do my makeup, this is I how I do it. “This is how we do it, it’s Friday night!” That song pop into anyone else’s head?
Ok. I love you all. You are great. I hope this helps!
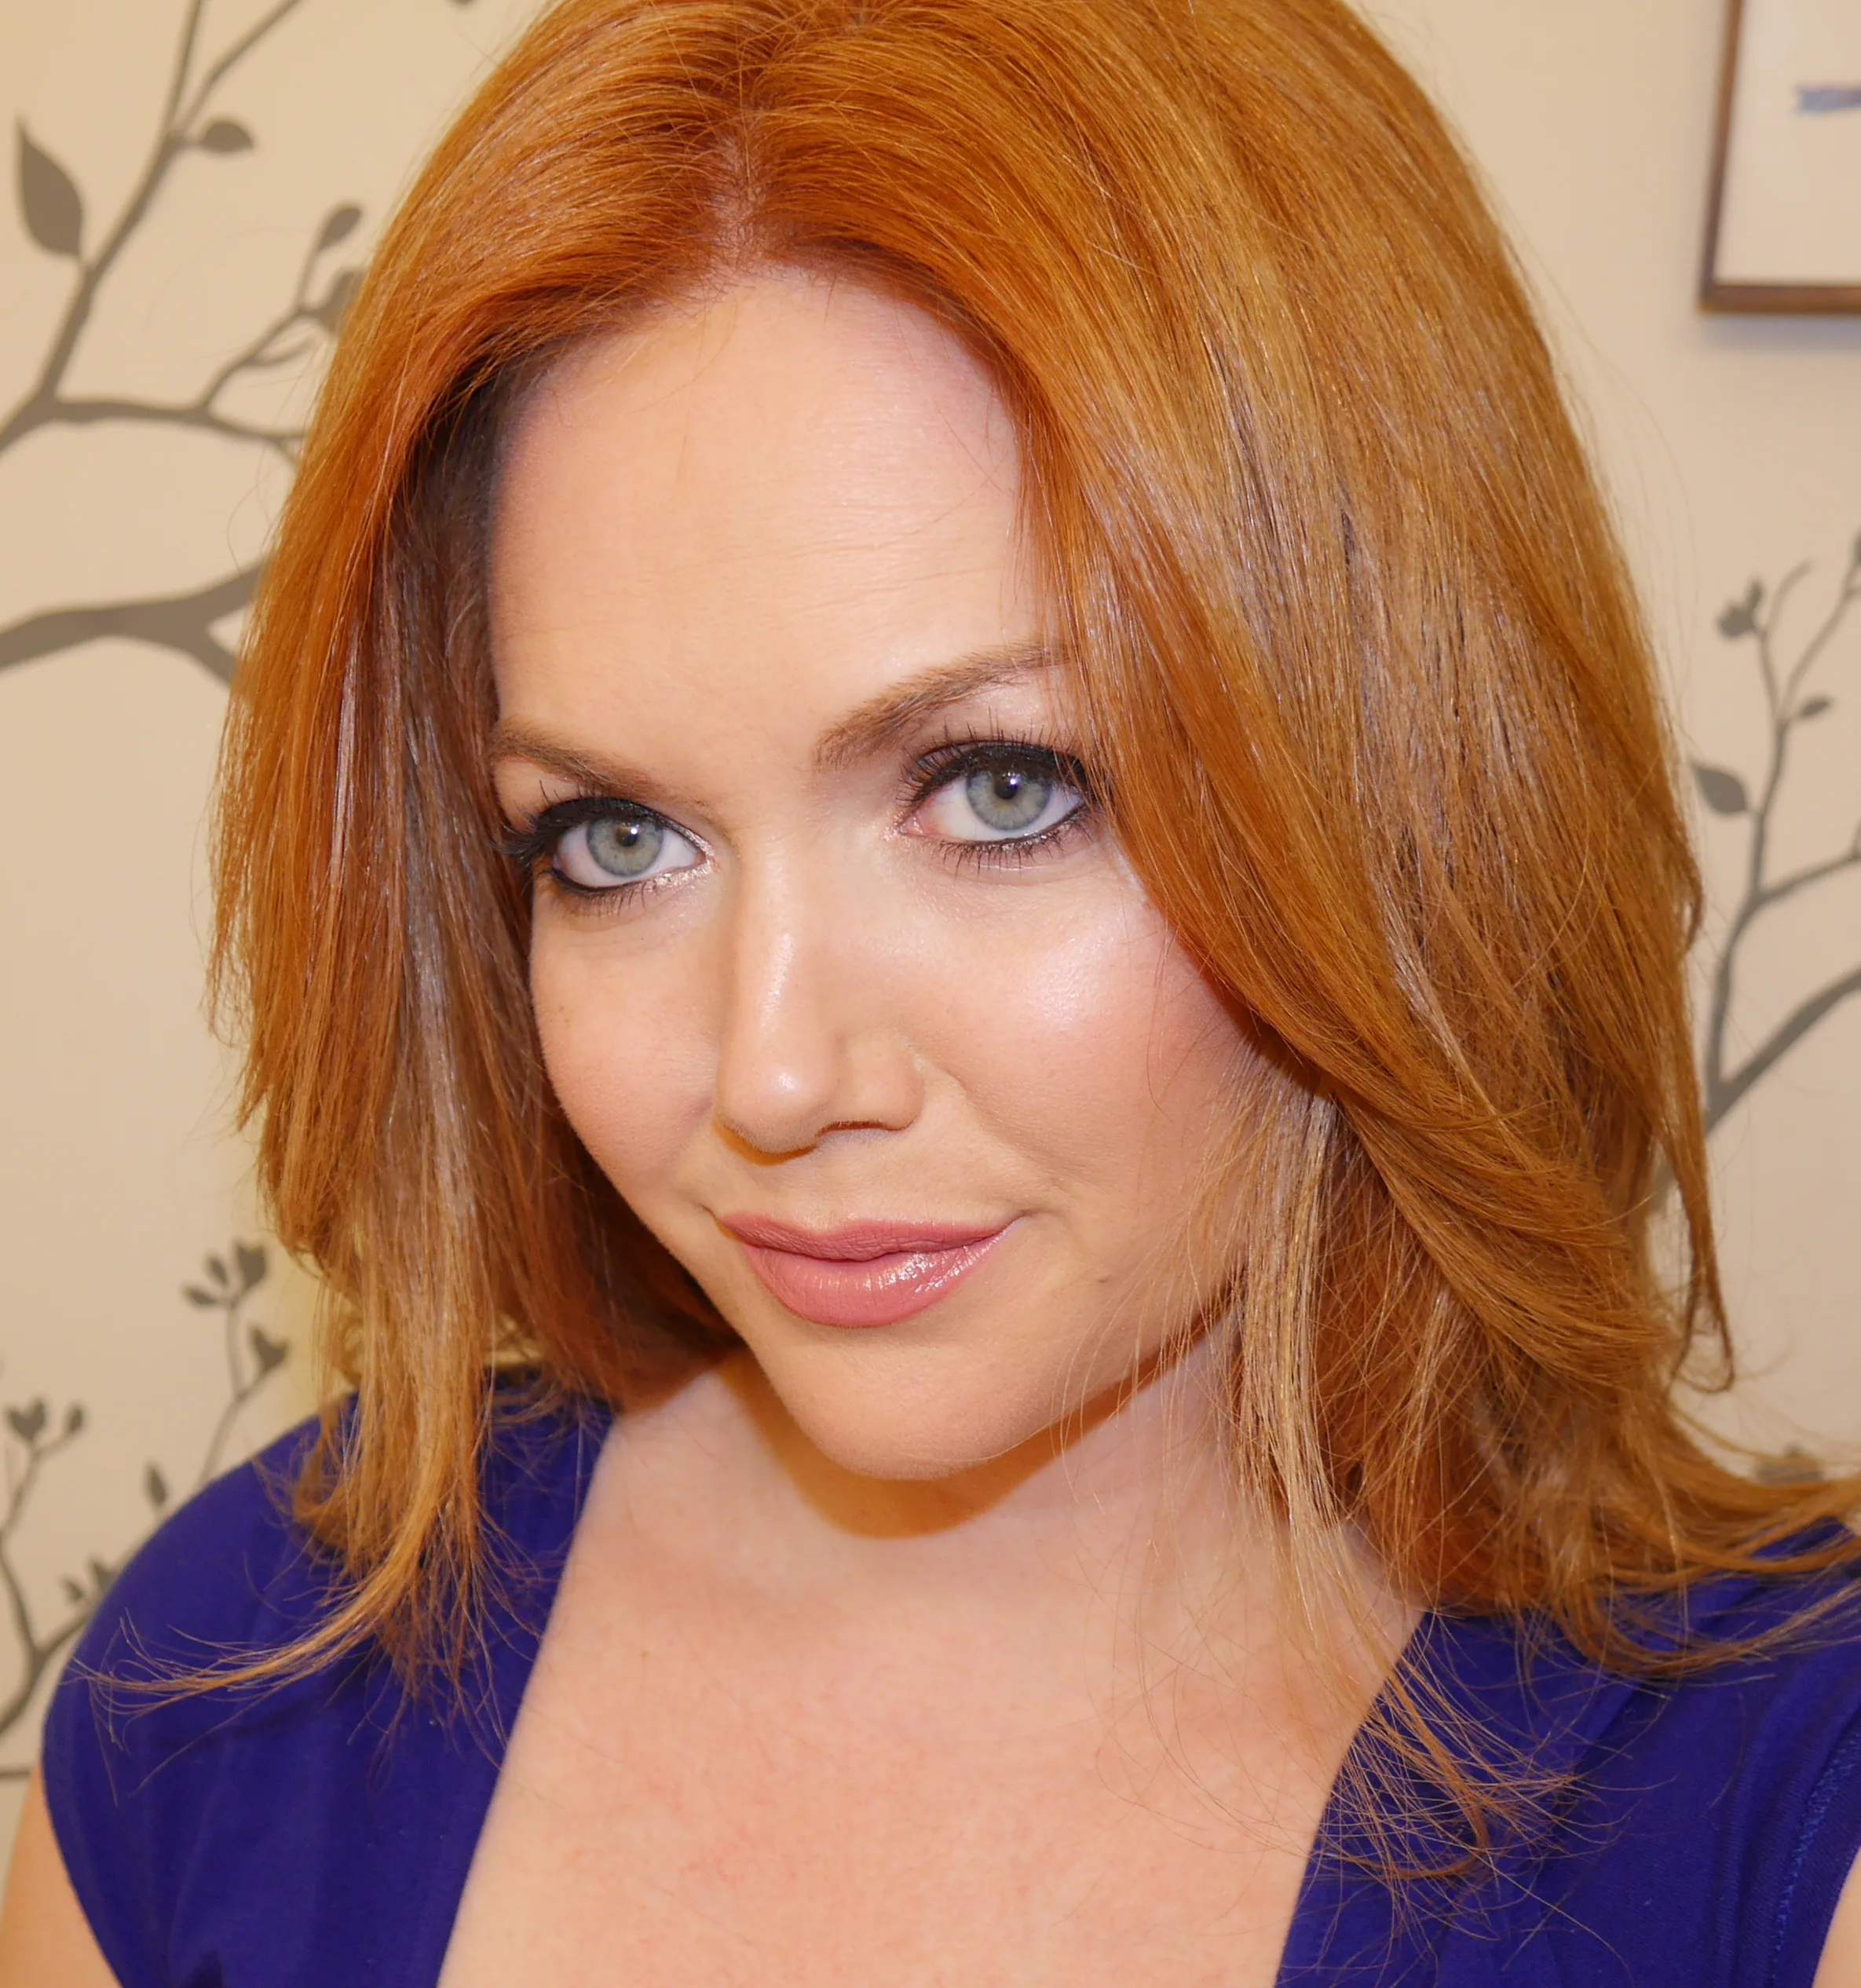
Here are the pics and an in-depth 9 minute video that goes through each of the steps to hopefully make everything really clear.
Products used/Recommended:
Moisturizer: Mario Badescu Kera Moisturizer or DHC Olive Virgin Oil (winter months and/or very dry skin).
BB Cream: Tarte BB Cream or Garnier Oil Control BB Cream (the original formula Garnier BB cream is great too, but just slightly too heavy for layering like this, in my opinion).
Foundation: Tarte Amazonian Clay is what I’m using in the video. Drugstore: L’Oreal True Match Lumi or L’Oreal Magic Nude (slightly more sheer coverage), Mid-Range: Tarte or Sephora Airbrush Foundation, High End: Giorgio Armani Luminous Silk or Koh Gen Do Moisture Foundation.
Blend: Beautyblender. There is no comparison or dupe for this product to me. It is $20, but worth every penny. It absorbs less foundation & concealer than the less expensive sponges, so over the long run, it is the better value.
Concealer: Amazing Cosmetics. This is the most full coverage and true to shade concealer I have found. It is also water proof and lasts all day. I also like Tarte Maracuja Concealer and It Cosmetics Bye Bye Under eye concealer. I find that concealer is a place I can not skimp. Also, you use the tiniest dot each time, so a tube will last forever.
Highlight: I love Benefit’s High Beam. It blends so well and looks so natural. 8 hours of sleep in a bottle. I’ve had that bottle for 2 years and it’s still half full. Other good picks are Maskcara’s Illuminator in Pretty in Pearl and Revlon’s Skinlights.
Contour: I’m using shade “Fawn” from the Anastasia Beverly Hills palette. For all my contouring recommendations, check out {this} post.
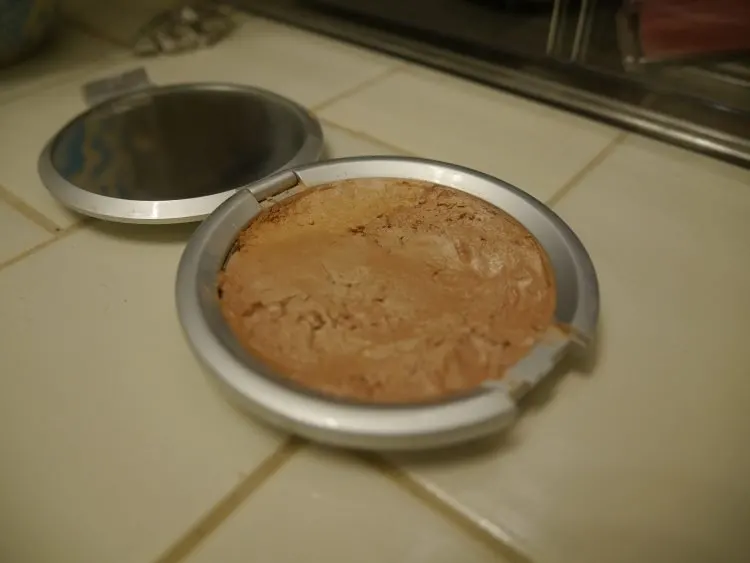
Powder: This Physician’s Formula “Nude Wear” powder is one of the best I have found, at any level. The four shades swirl together for a super natural look. The effect is matte, but not flat. Total drugstore fav!
Bronzer: Another Physician’s Formula win! The PH Matchmaker bronzer in Light always looks really natural. For a matte bronzer, I like the NYX matte bronzer in Light.
Setting Spray: The Urban Decay is the best I have found. My makeup doesn’t budge when I wear it and it doesn’t irritate my skin. I tried the E.L.F. setting spray and it does work, but it made my sensitive skin itch.
Thank you for reading! Please feel free to share on your Twitter, Facebook, Google+, Pinterest, whatever! Ha. Follow @girlgetglamorous on Instagram for daily hair and makeup pics.
Go Get Glam!
 You might also like
LEAVE A COMMENT
What brand and lip color do you wear? I have the exact same skin tone and hair color as you!
I can’t remember the exact shade here, maybe The L’Oreal JLo nude? I’ll do a full post soon on all my favorite lipsticks shades!
Hi Molly-I’m a longtime stalker of your fab blog 😉 Thanks for the informative post! Quick question-What brow product color are you wearing recently? They look very natural!
Thank you, Heather, so glad you love the blog!! I have been wearing the Anastasia Beverly Hills Dipbrow in Auburn applied super lightly and set with a clear brow gel. 🙂 I’m putting together a post on high-end makeup for Strawberry Blondes and this Dipbrow is at the top of the list!