
 You might also like
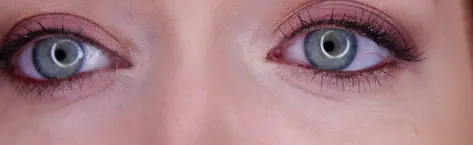 Beauty Deals
Beauty Deals
Beauty Deals 


Welcome to the GirlGetGlamorous blog!
Subscribe for once weekly emails of the latest
blog posts and videos, sent right to your inbox.
False lashes are one of those things most of us have had at least one great experience with and at least one terrible one. Right? Once you figure out how to apply and keep them on, they are a dream. But I feel like everyone has had that night…
The night I’ve gone into the bathroom of the restaurant halfway through a date and realized one lash was pointed straight up at the inner corner and I didn’t bring my lash glue in my purse – rookie mistake!
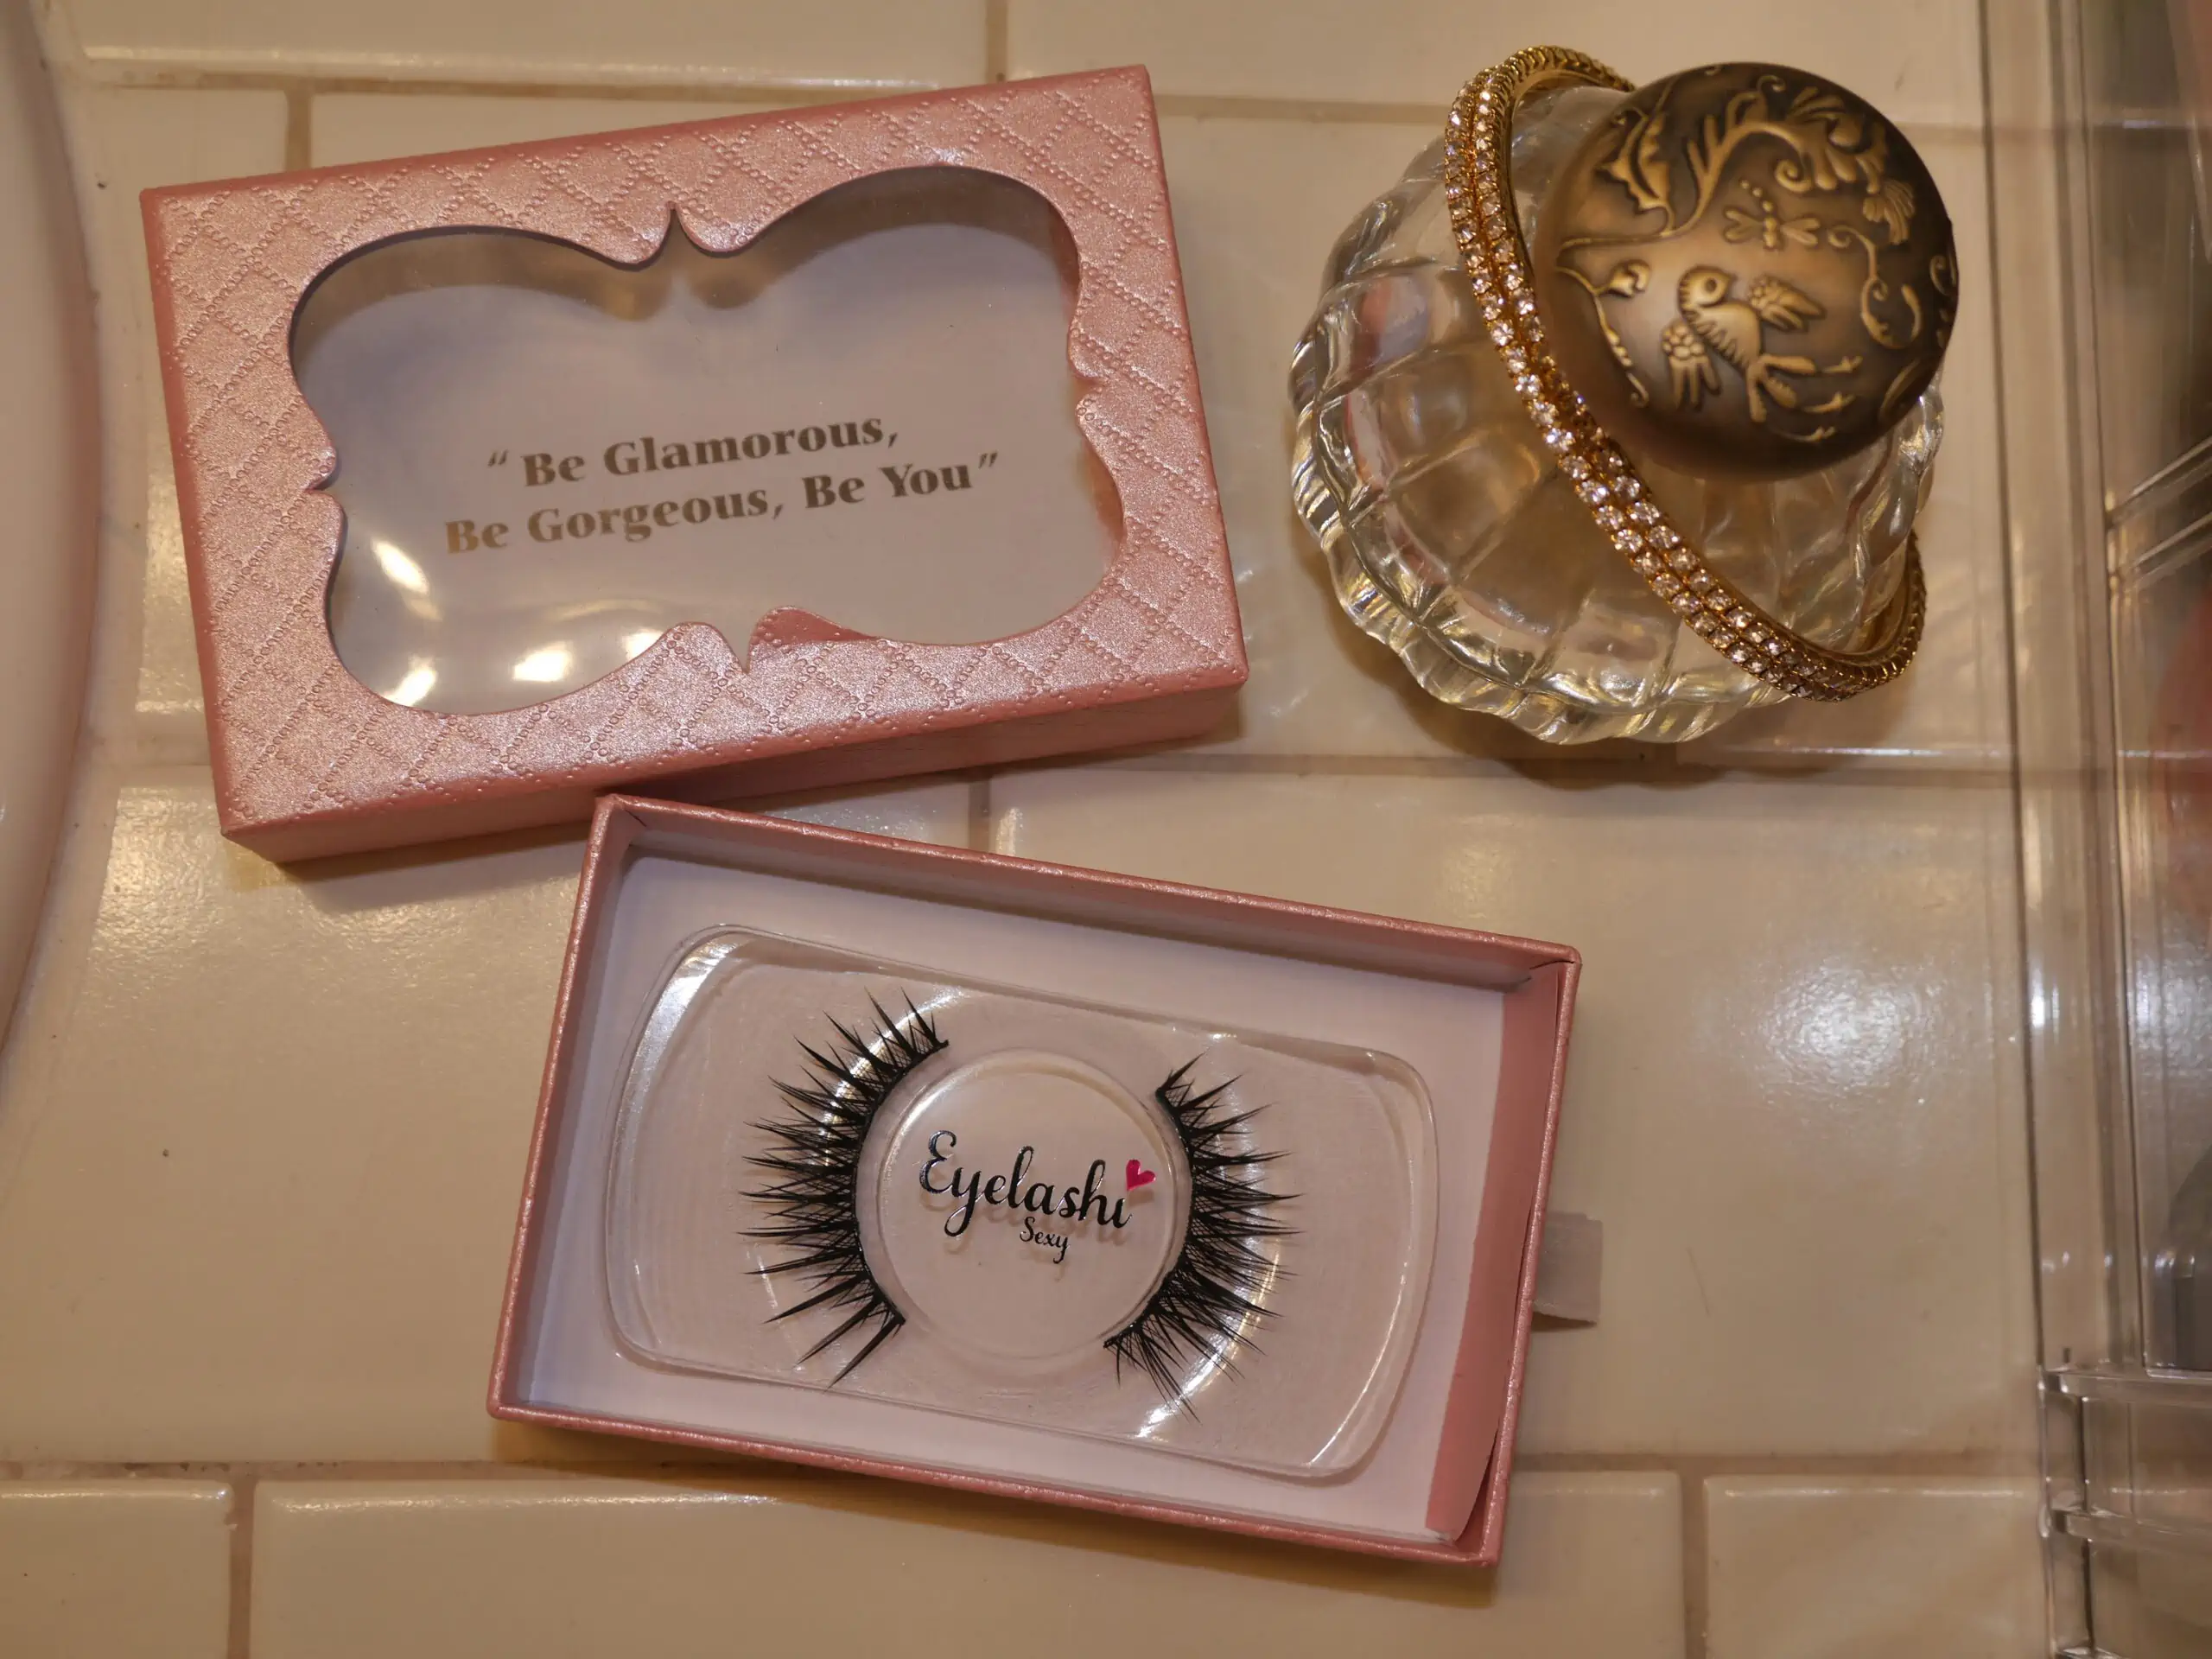
What You Need
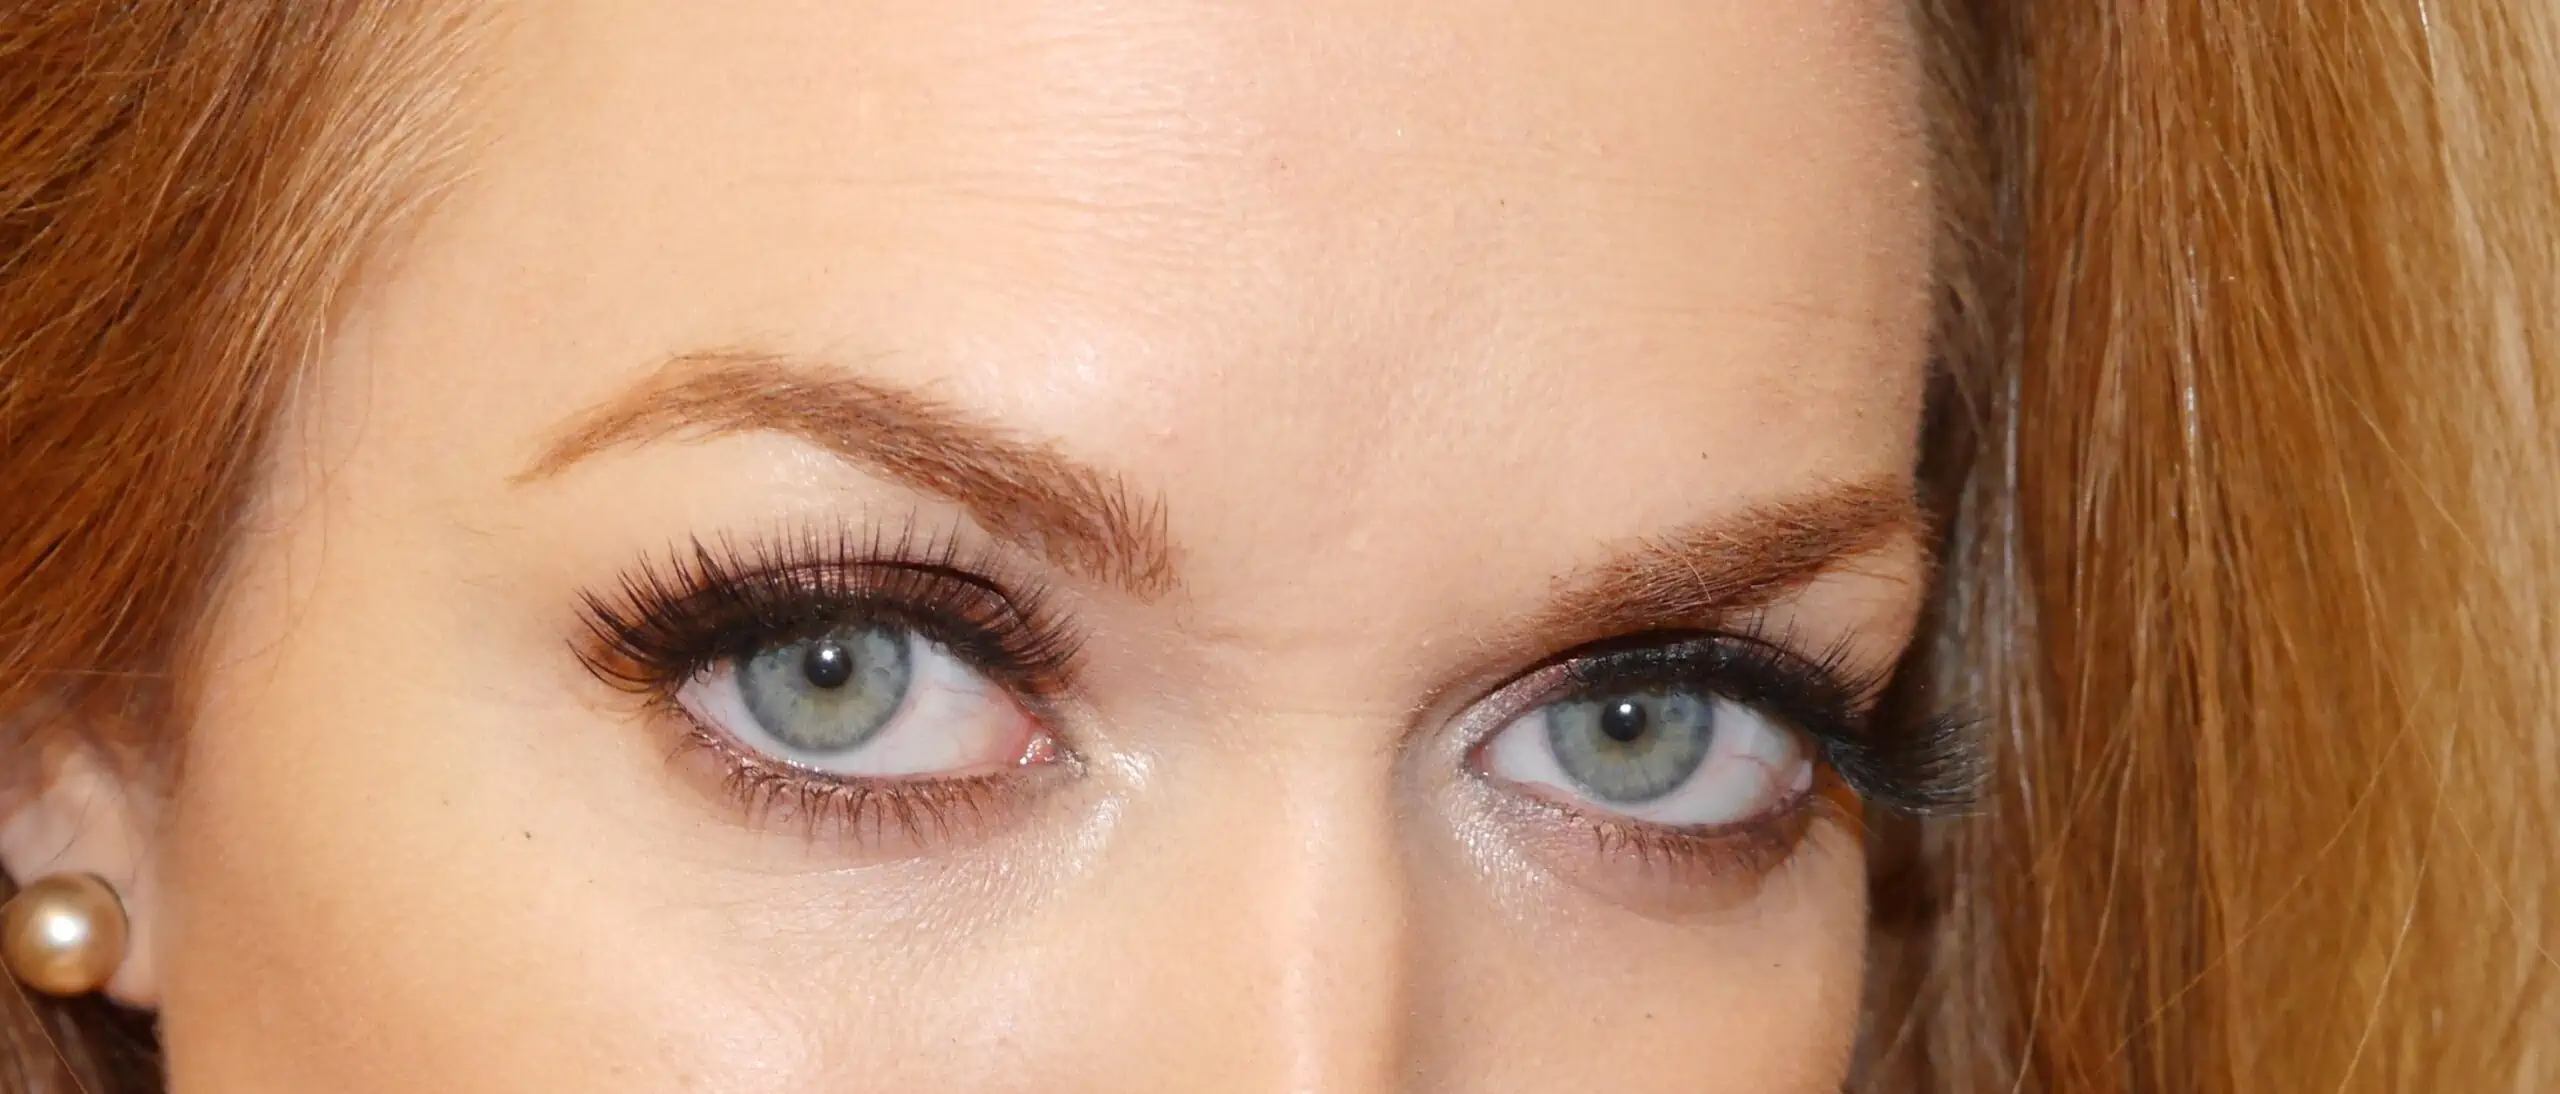
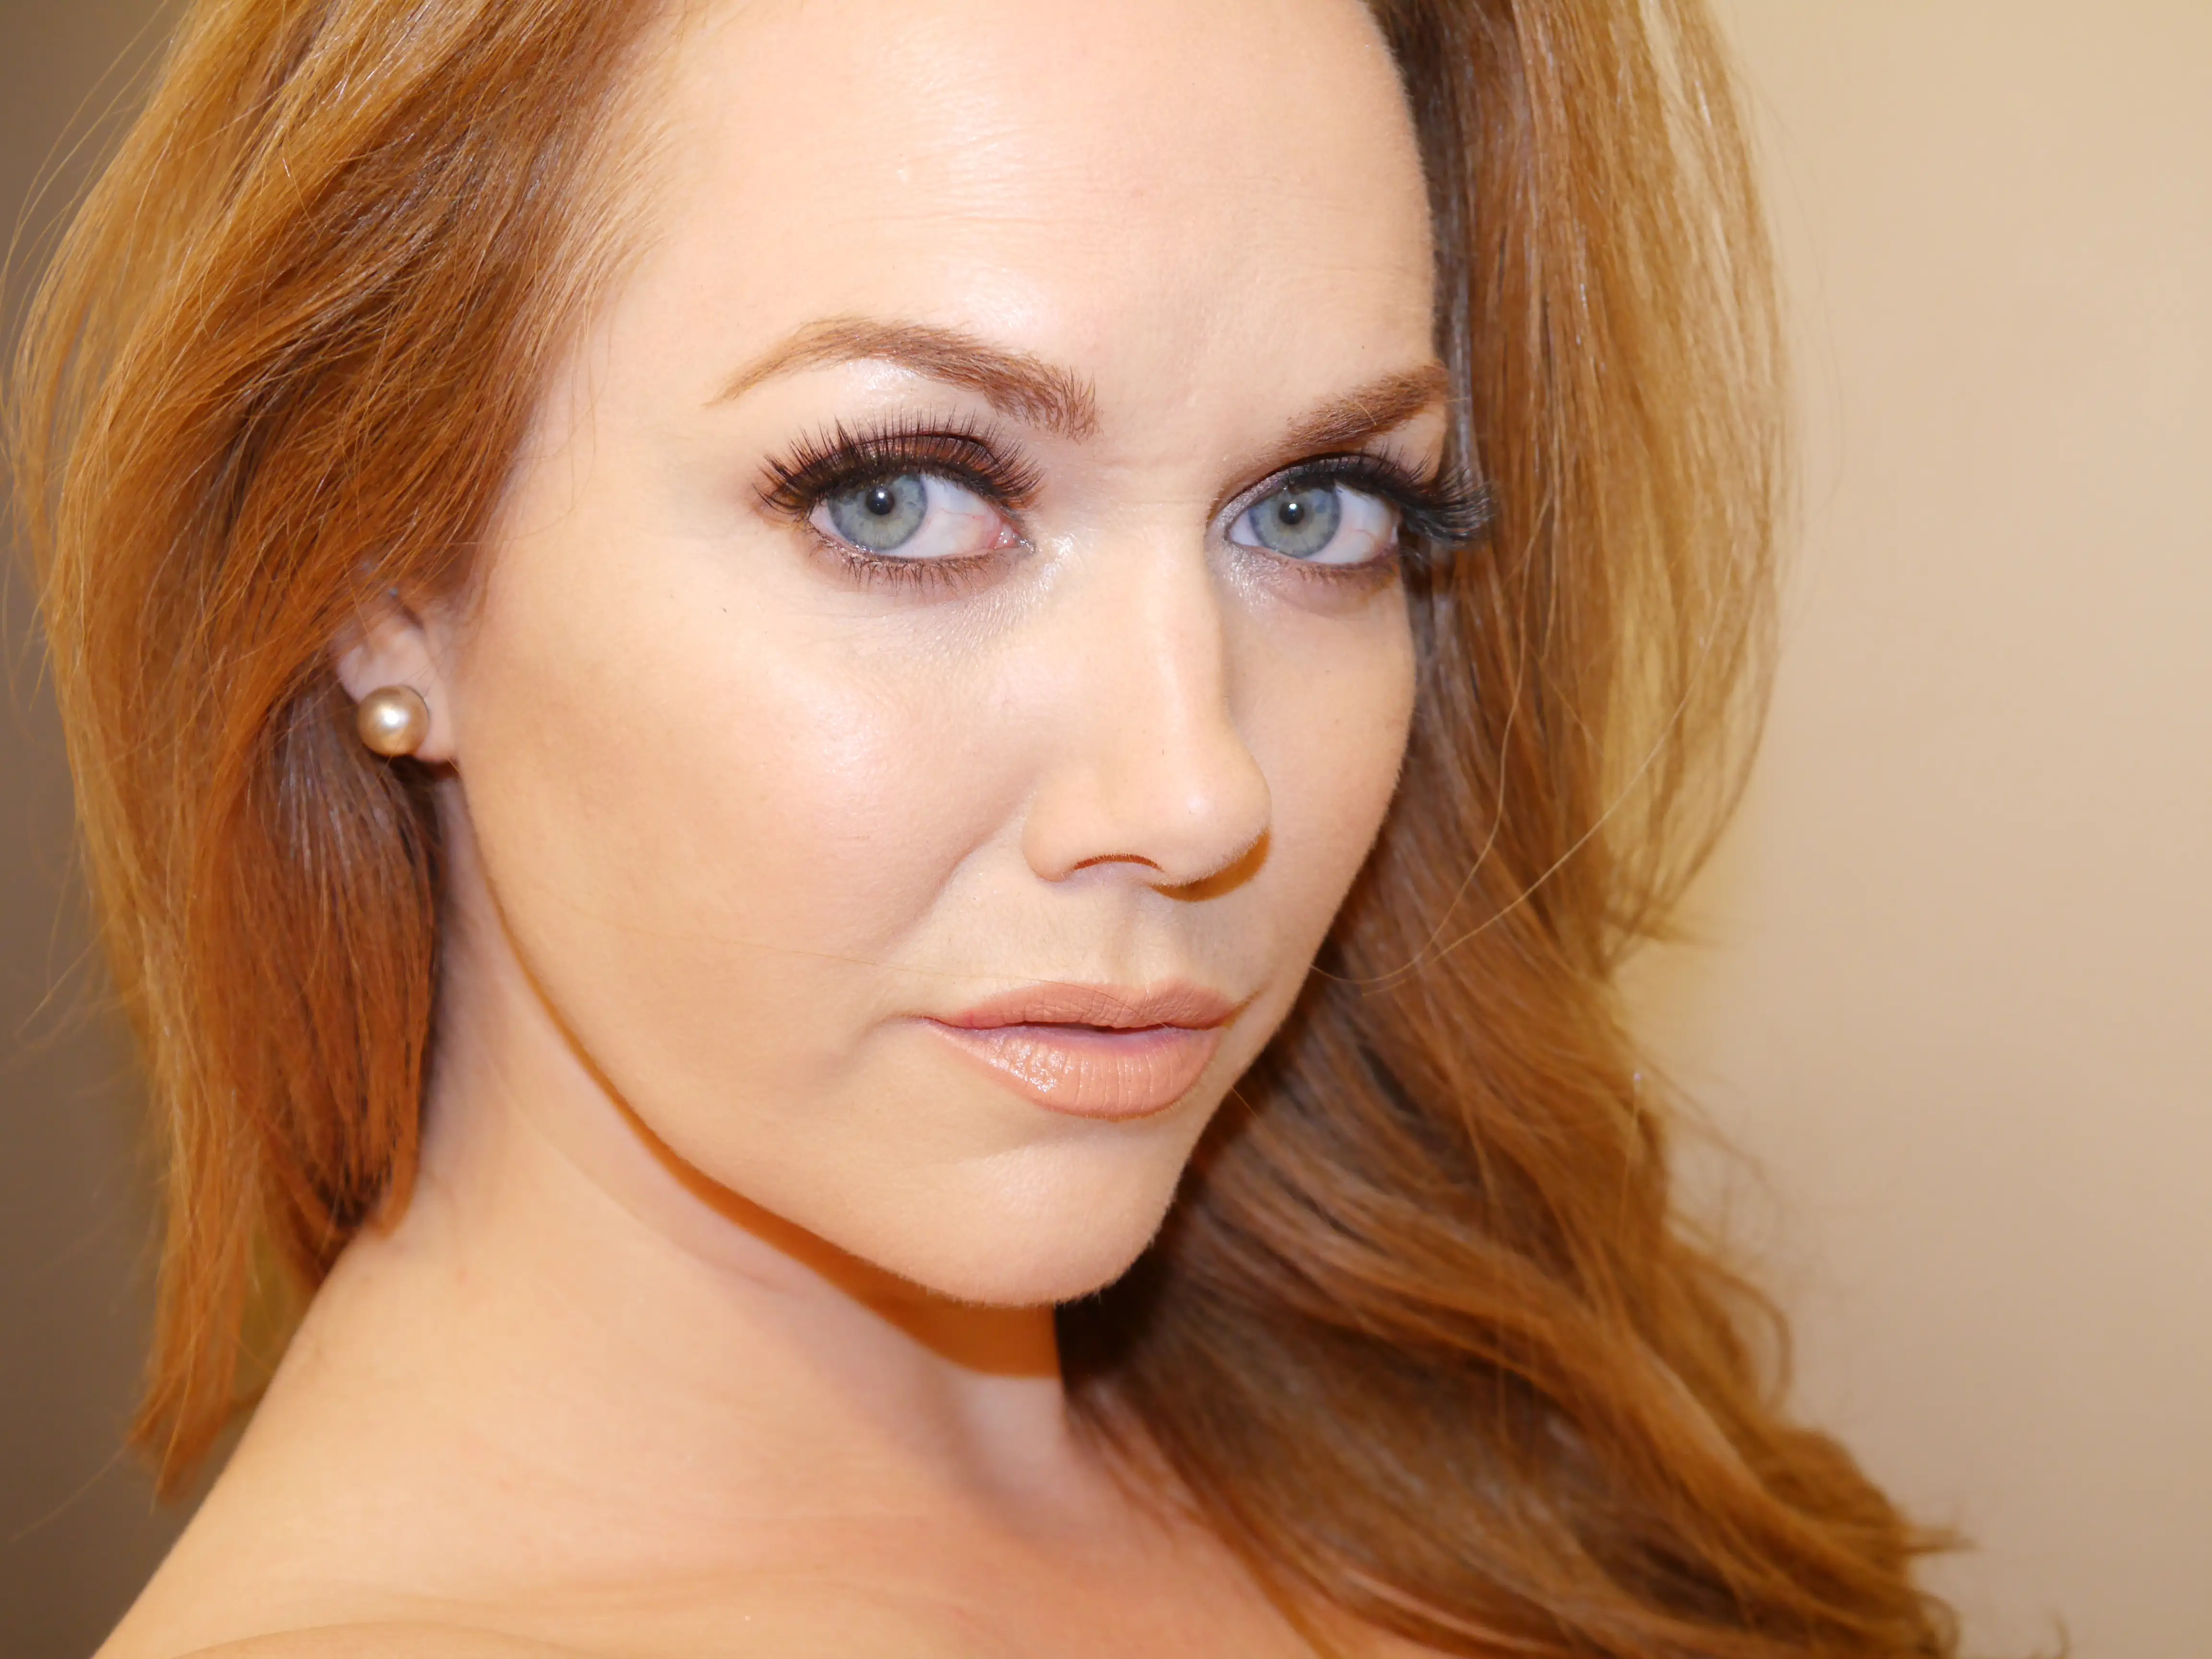
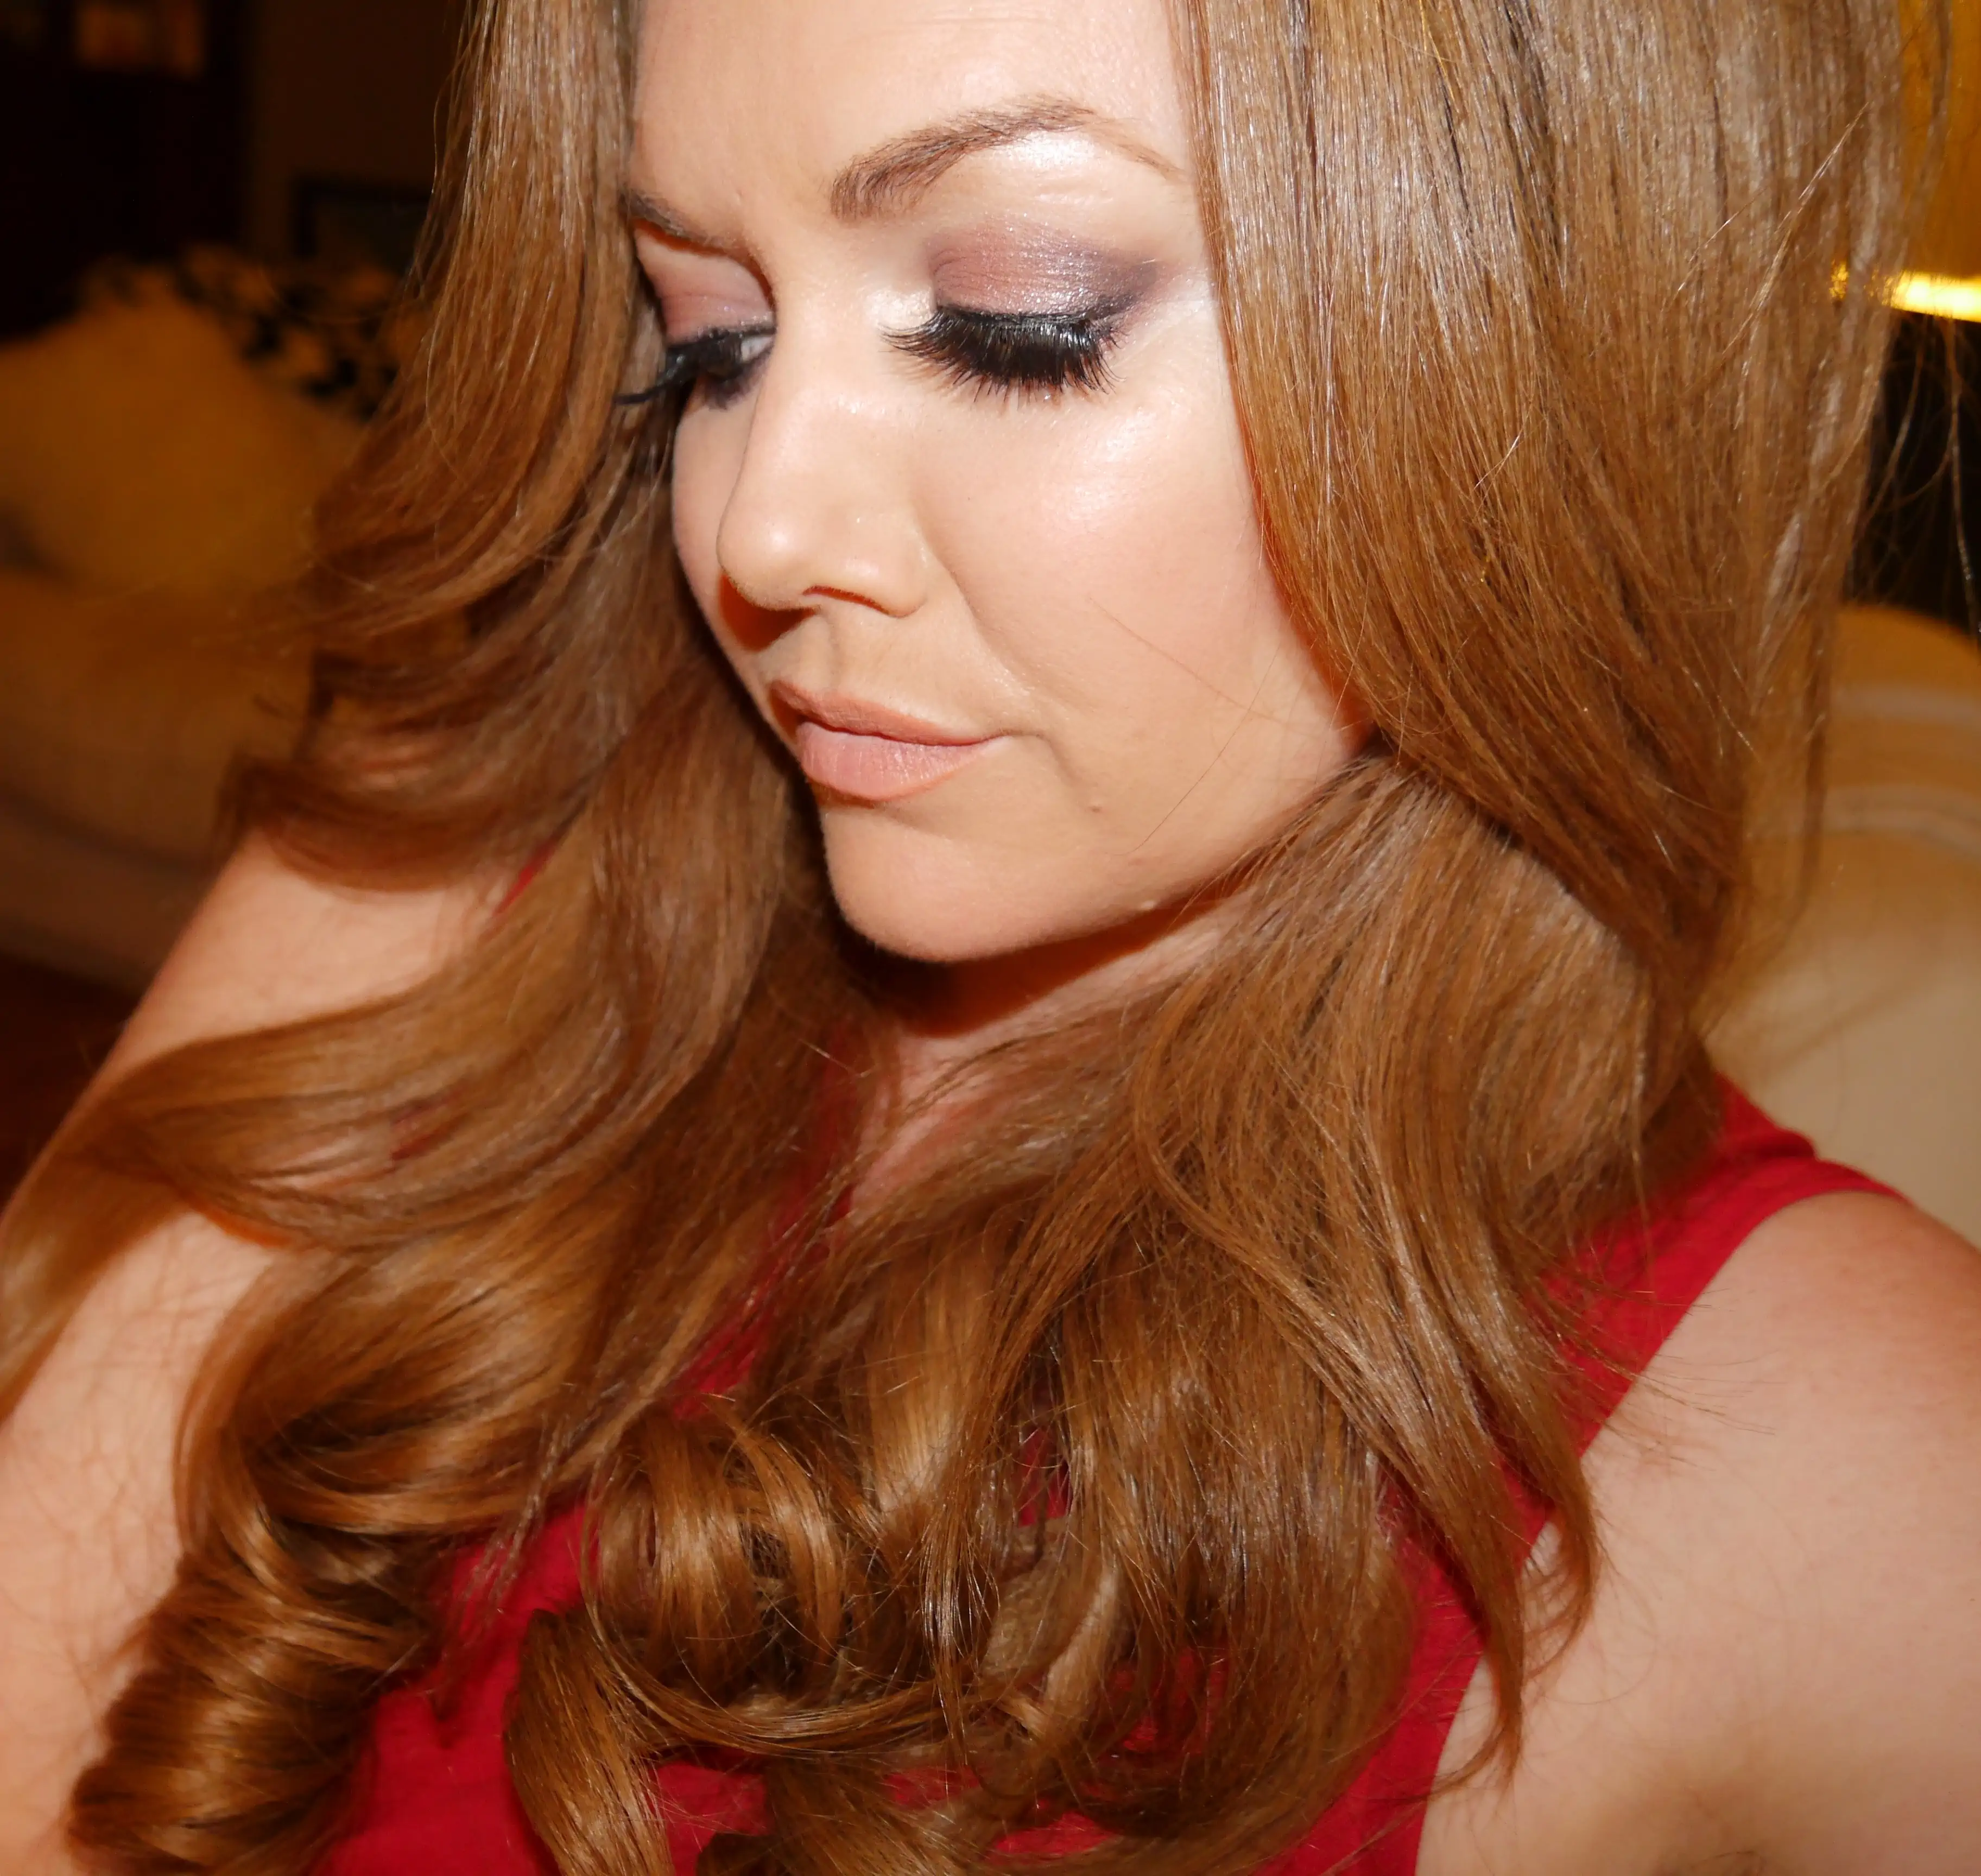
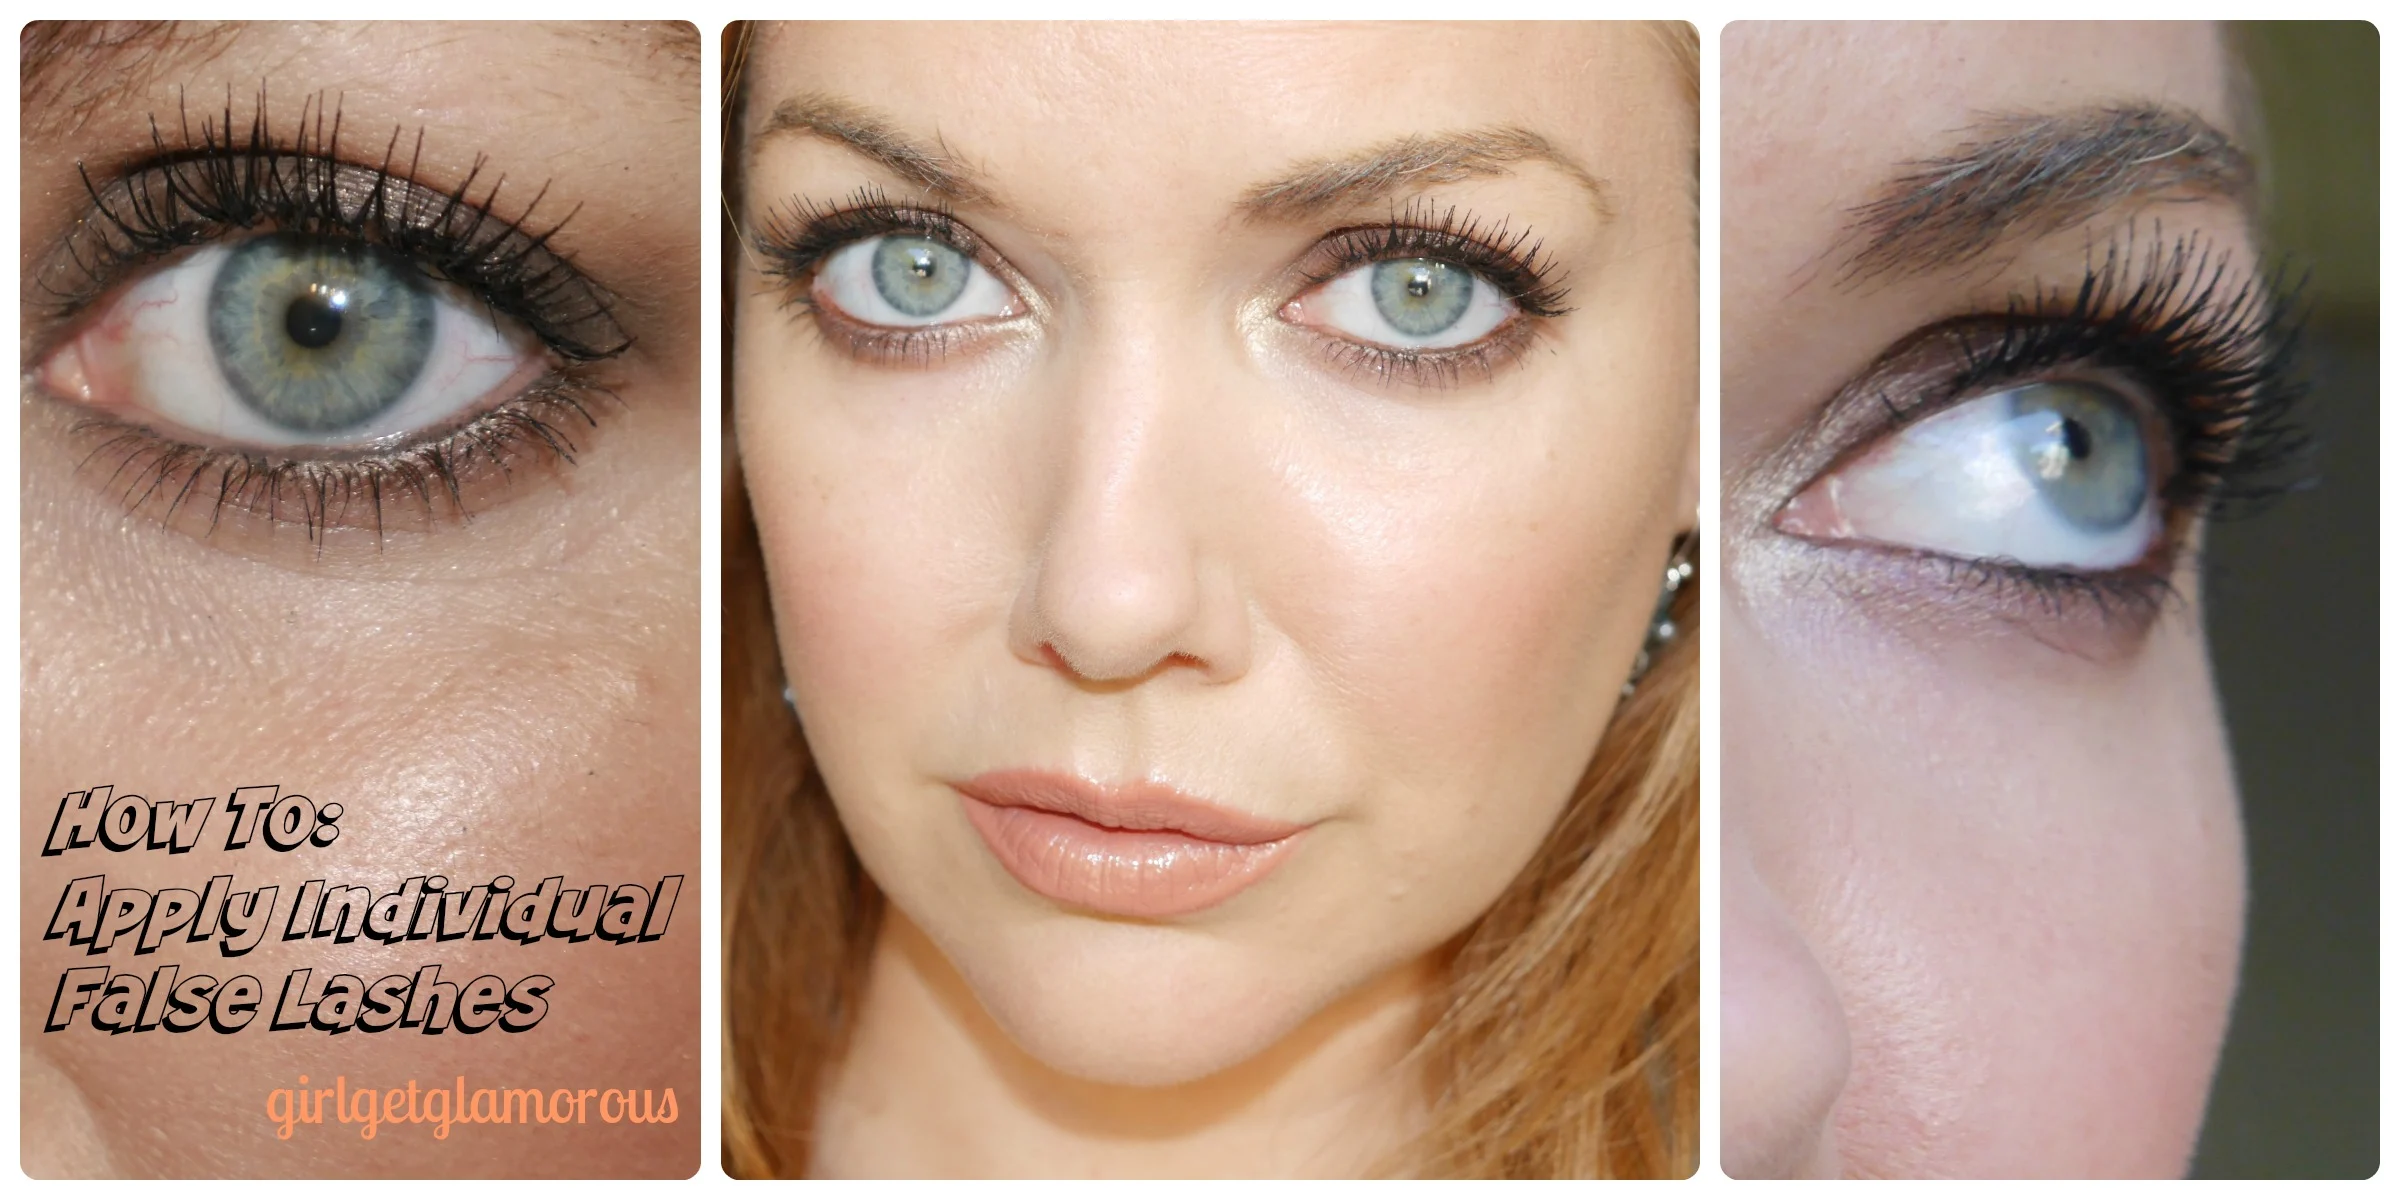
1 | False lashes, I’m wearing my gggLASHES in Double Tapped (natural drama and length) in most of these pictures and in Gimme Dat Rose (super dramatic style) on the bottom photo. These are my favorite lashes of all time because the ends are super wispy and look like natural lashes! They are cruelty-free and can be worn up to 25 times with proper care. You can use code: gggLASH for $5 off your first set at www.girlgetglamorousHAIR.com
2 | Glue, I like the glue with an ultra thin applicator, it’s easier to apply the glue and keeps things neater. I use Kiss lash glue which is latex free. I think that lash glues with latex might have even more grip, but my eyes are sensitive so I use the latex free version, which still lasts me all day with the routine below. I prefer the dark tone, but clear is great if you go for a more natural makeup look.
3 | A pair of tweezers or lashes applicator.
How To Make False Lashes Stay On
1 | Curl your real lashes.
2 | Apply mascara to the top and bottom lashes.
3 | Comb lashes.
4 | Trim false lashes (if needed) so they fit your eye length.
5 | Apply glue in a very thin strip, then ALLOW THE GLUE TO “SET” AND GET TACKY FOR ABOUT A MINUTE. Ok, yes, I just internet-shouted. But it’s a very important step. This is legit one of the “make-it-or-break-it” steps. If you don’t wait for the glue to get tacky, the lashes will just slide all around your eye, while you try desperately to hold them in place. I use this time to tweeze under my brows a bit.
6 | Set the lashes as close to your lash line as possible, while not being on your lashes. You don’t want to pull out any real lashes. Aim for the area where your lashes meet your skin.
I like to set the middle down first. Then, holding the middle in place, set down the outer edge, then the inner. I gently keep dabbing the band of the lash with the round (safe) side of my tweezers so that the glue has a really good chance to set.
7 | This is the trick that makes them stay on all night. Once they are on and the glue has dried, run another thin stripe of glue over the top of the false lash. I hold my finger over the lashes so that the glue doesn’t accidentally hit the wispy ends and glue them together. The thinner tip applicators will come in really handy here.
8 | Once this second layer of glue dries, go over it with your eye liner so that the glue is hidden.
9 | Comb your real and false lashes together.
10 | You can use a eyelash curler to lightly squeeze the falsies and real lashes together, just be careful to to squeeze too hard or you’ll lift up the glue.
P.S. Did you know you can reuse your false lashes? Yep. As long as you didn’t put mascara on them, just roll the glue off the band and place them back in the case for storage. If you are nervous about keeping them sanitary, just spritz them with a little bit of alcohol in a spray bottle. Here is a tutorial video.
Video Tutorial
____
Continue Reading |
____
Social Links: YouTube | Facebook | Instagram @girlgetglamorous | Instagram @girlgetglamorousHAIR | Pinterest (join 622,000 other monthly viewers)
Shop girlgetglamorousLASH | discount code: gggLASH for $5 off your first pair
As always, thank you for reading and being a part of the blog!
P.S. | remember to use #girlgetglamorous hashtag on Instagram, I love seeing all your pics!


LEAVE A COMMENT
Looks beautiful on you… Thanks, even without video it’s understandable. I was searching for the basic info for my cousine. As to me I avoid falsies since I ruined my own eyelashes because of them… I searched for various remedies after and only Cherish Lash serum helped. Hope everyone finds something useful in this tutorial
I only saw this now and I’m wondering if it’ll work with any glue, and any lashes
The lashes from the inner corner always end up comimg off after about an hour no matter what glue I use, have you for any tips for me
Thanks x
-Alina
Hi Alina,
Try the tips in this post and let me know what you think! Here is my favorite glue: http://rstyle.me/~8KPSg
Thank you!
Molly
Great post! Really good tips I need to stop being lazy and try this technique.
Ha, thanks girl!
I absolutely love your blog!
Thank you!! I don’t know how I only just saw this now, but you made my morning.
xo – Molly
Hi Molly! Love love your posts. I was so happy to find you. I have a question. I picked up Maybelline The Nudes today. Have you tried this? And do you think it compares to other high ends? Thank you
Girl, you need to buy a lotto ticket because you just read my mind! I also recently purchased this palette and was thinking of doing a review on it. I will for sure now!! In general, I was impressed with the quality, especially the metallics. I will do an in-depth review. I wear mine with Lorac eye primer and it lasts all day and night.
Oh wonderful! Can’t wait to see ! Thanks Doll!