
 You might also like
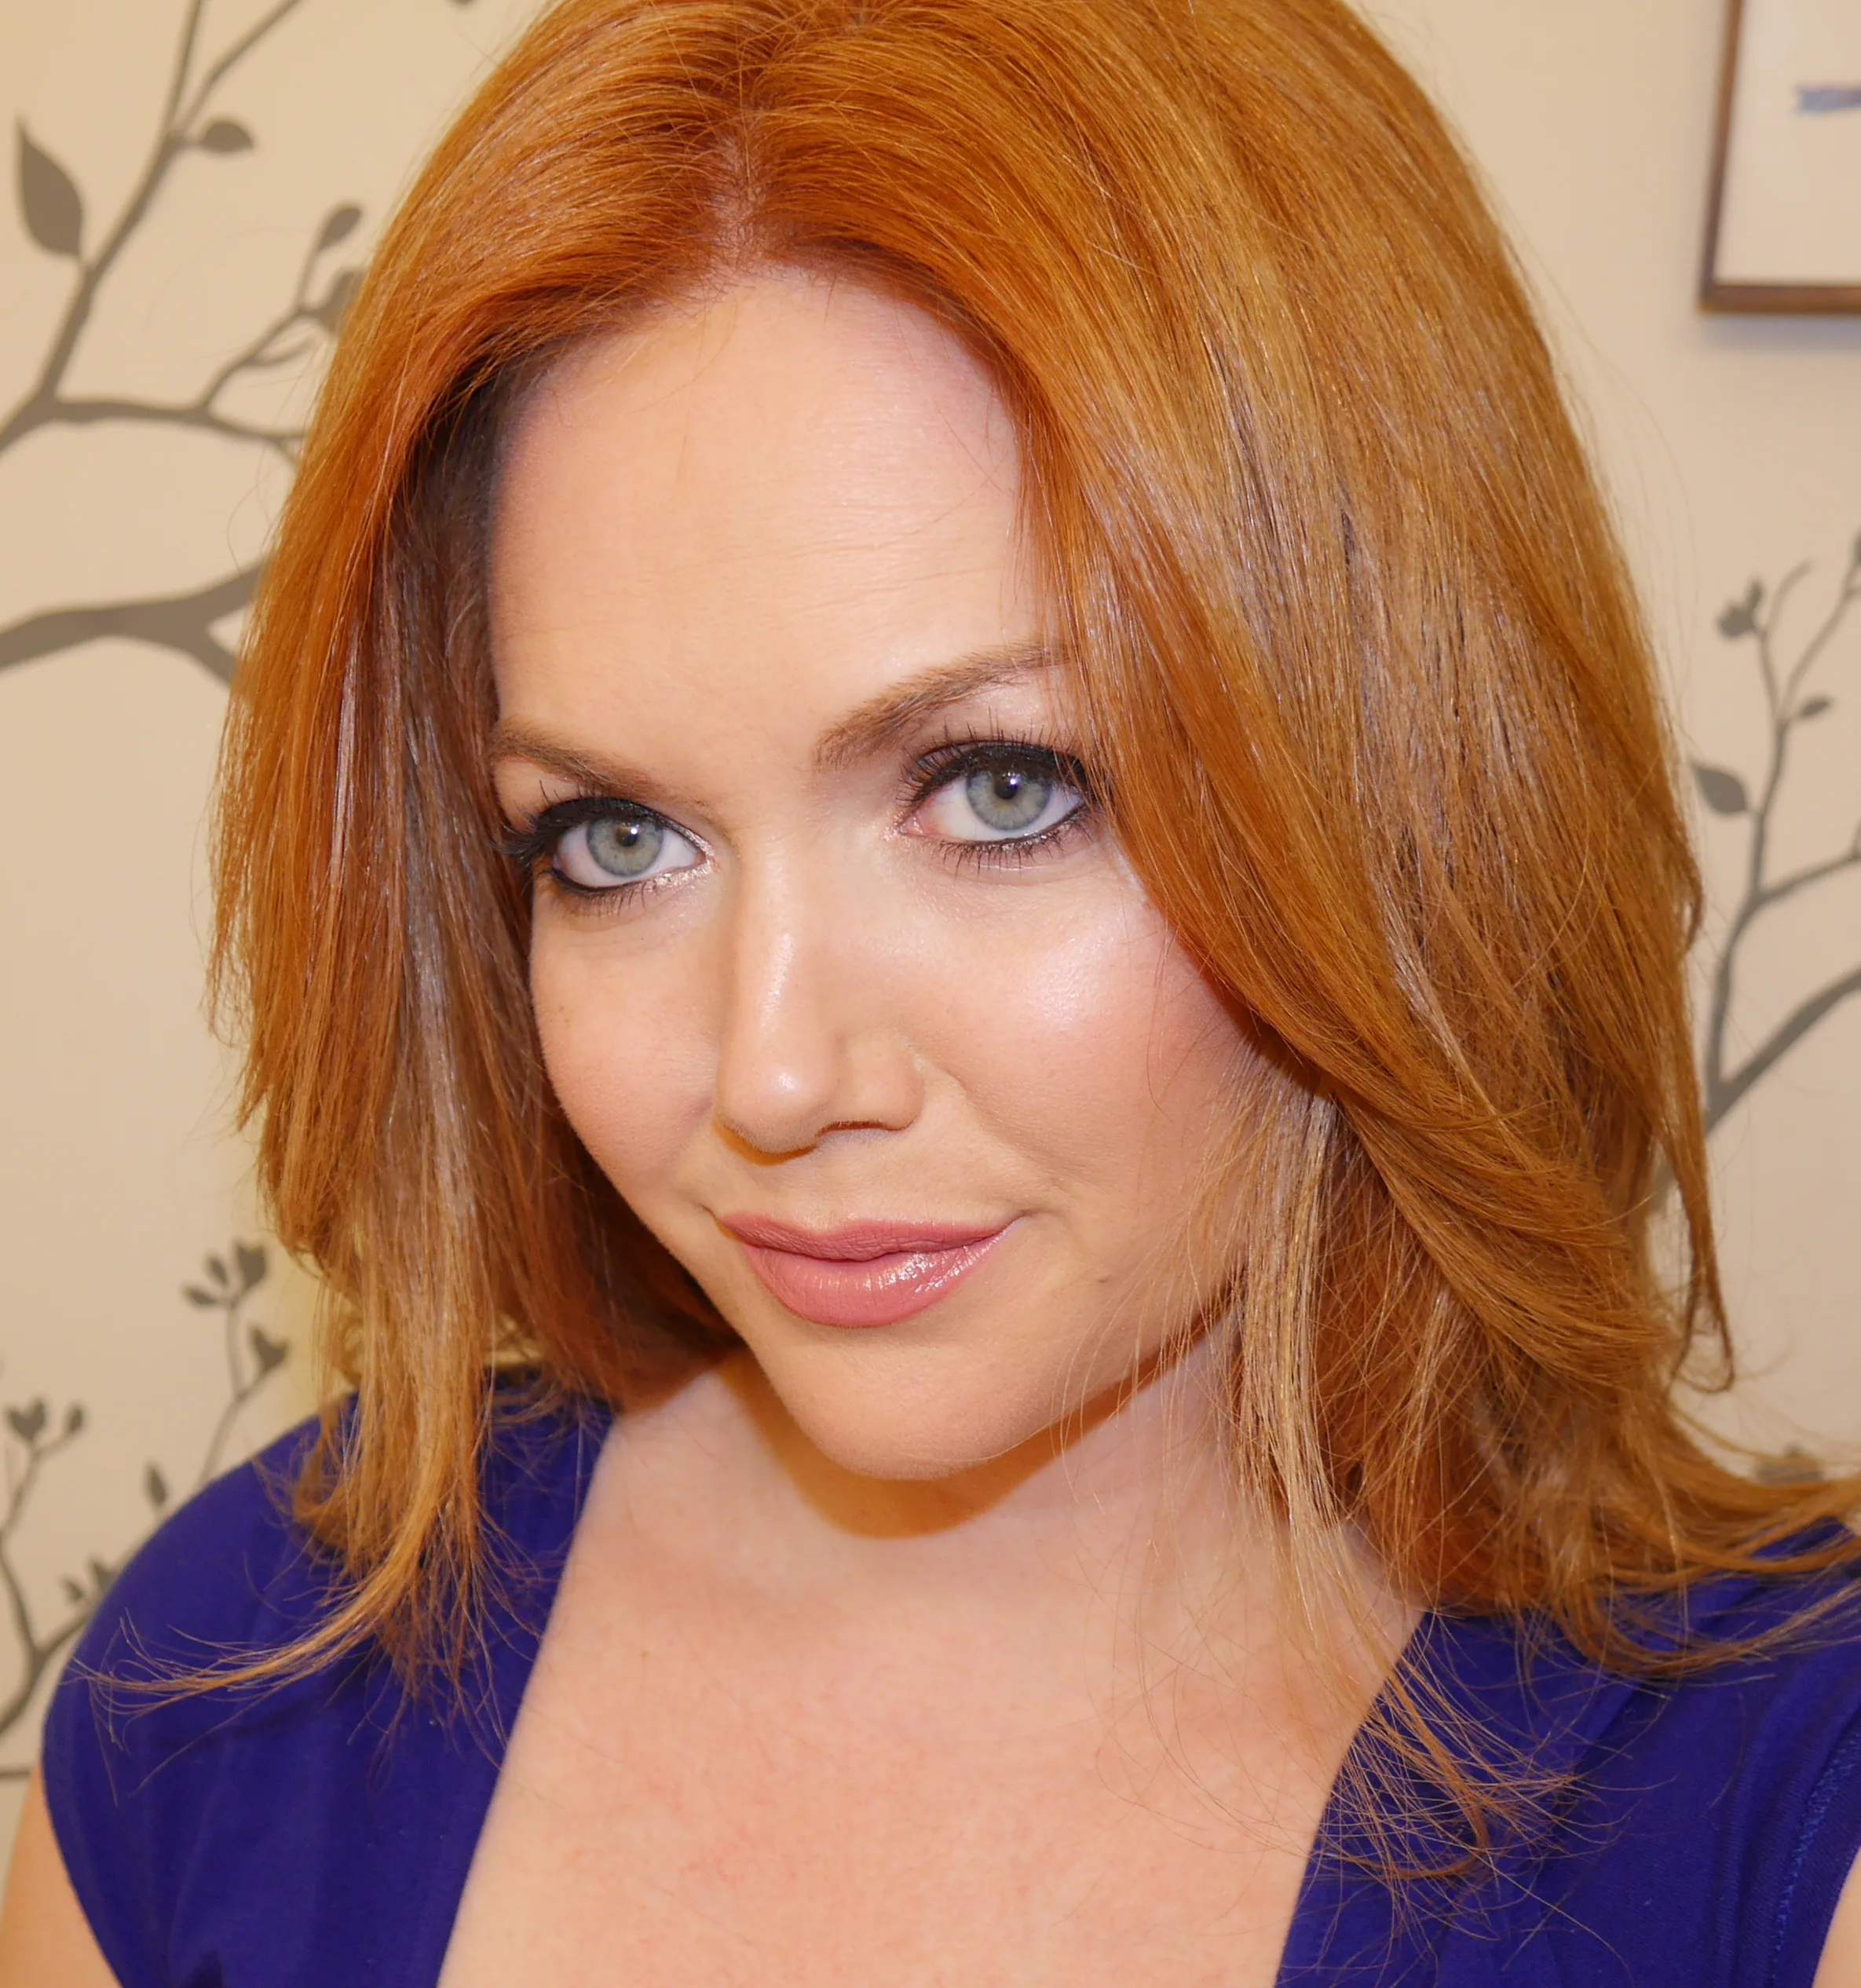 Makeup
Makeup
Makeup 


Welcome to the GirlGetGlamorous blog!
Subscribe for monthly emails of the latest
blog posts and videos, sent right to your inbox.
All these steps will seem overwhelming at first. This I Know. But once you have the routine down, it takes less than five minutes. I promise.
I’ve written out my daytime and nighttime foundation routines. For day, I like lighter, dewier skin and for nighttime/auditions/photos I like more matte skin with fuller coverage.
For daytime:
For a softer day time look, I start with Jergen’s Daily Glow self tanner for face, wait a minute to let in sink in, then use BB cream. I do have drier skin, so if you have a more normal to oily complexion, you might want to use just the BB cream. If you have dry skin like me, trust me, this is your jam. Your skin will feel amazing. I’m currently using the new Garnier Anti Shine BB cream. I like the sheerness of a BB cream, but that it still provides coverage. I follow the BB cream with a primer over the fine lines on my forehead. My next step is a mineral foundation. I go back and forth between bare minerals and e.l.f mineral foundation. Also, I just started using the Smashbox mineral foundation and I’m already completely obsessed!
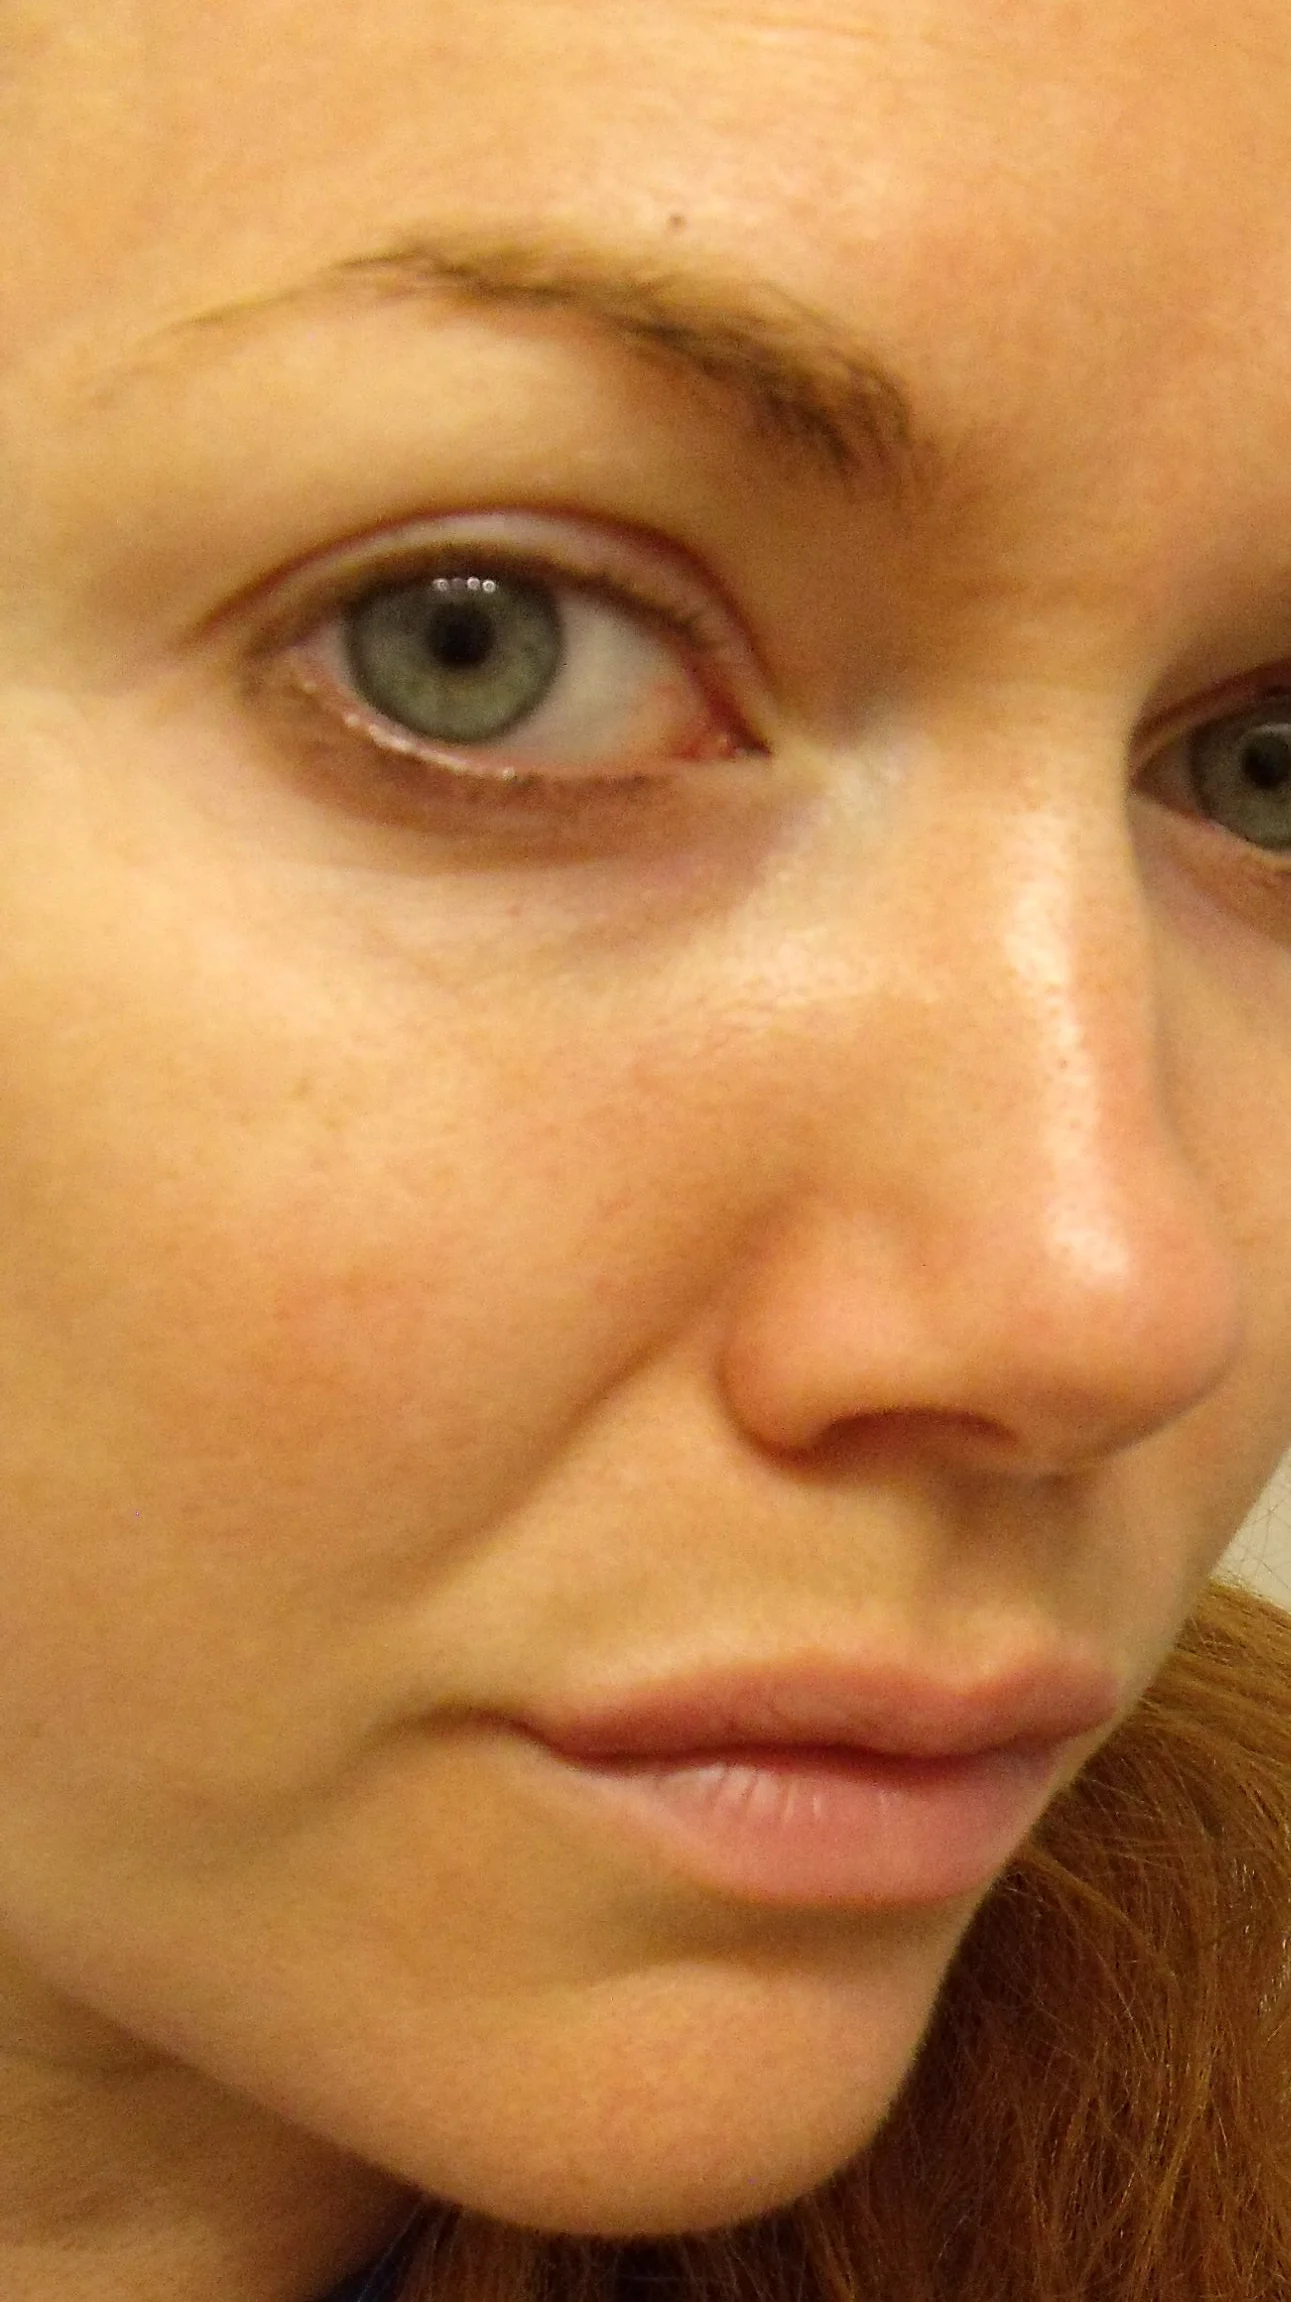
Bare Face. And so it begins…
With BB Cream.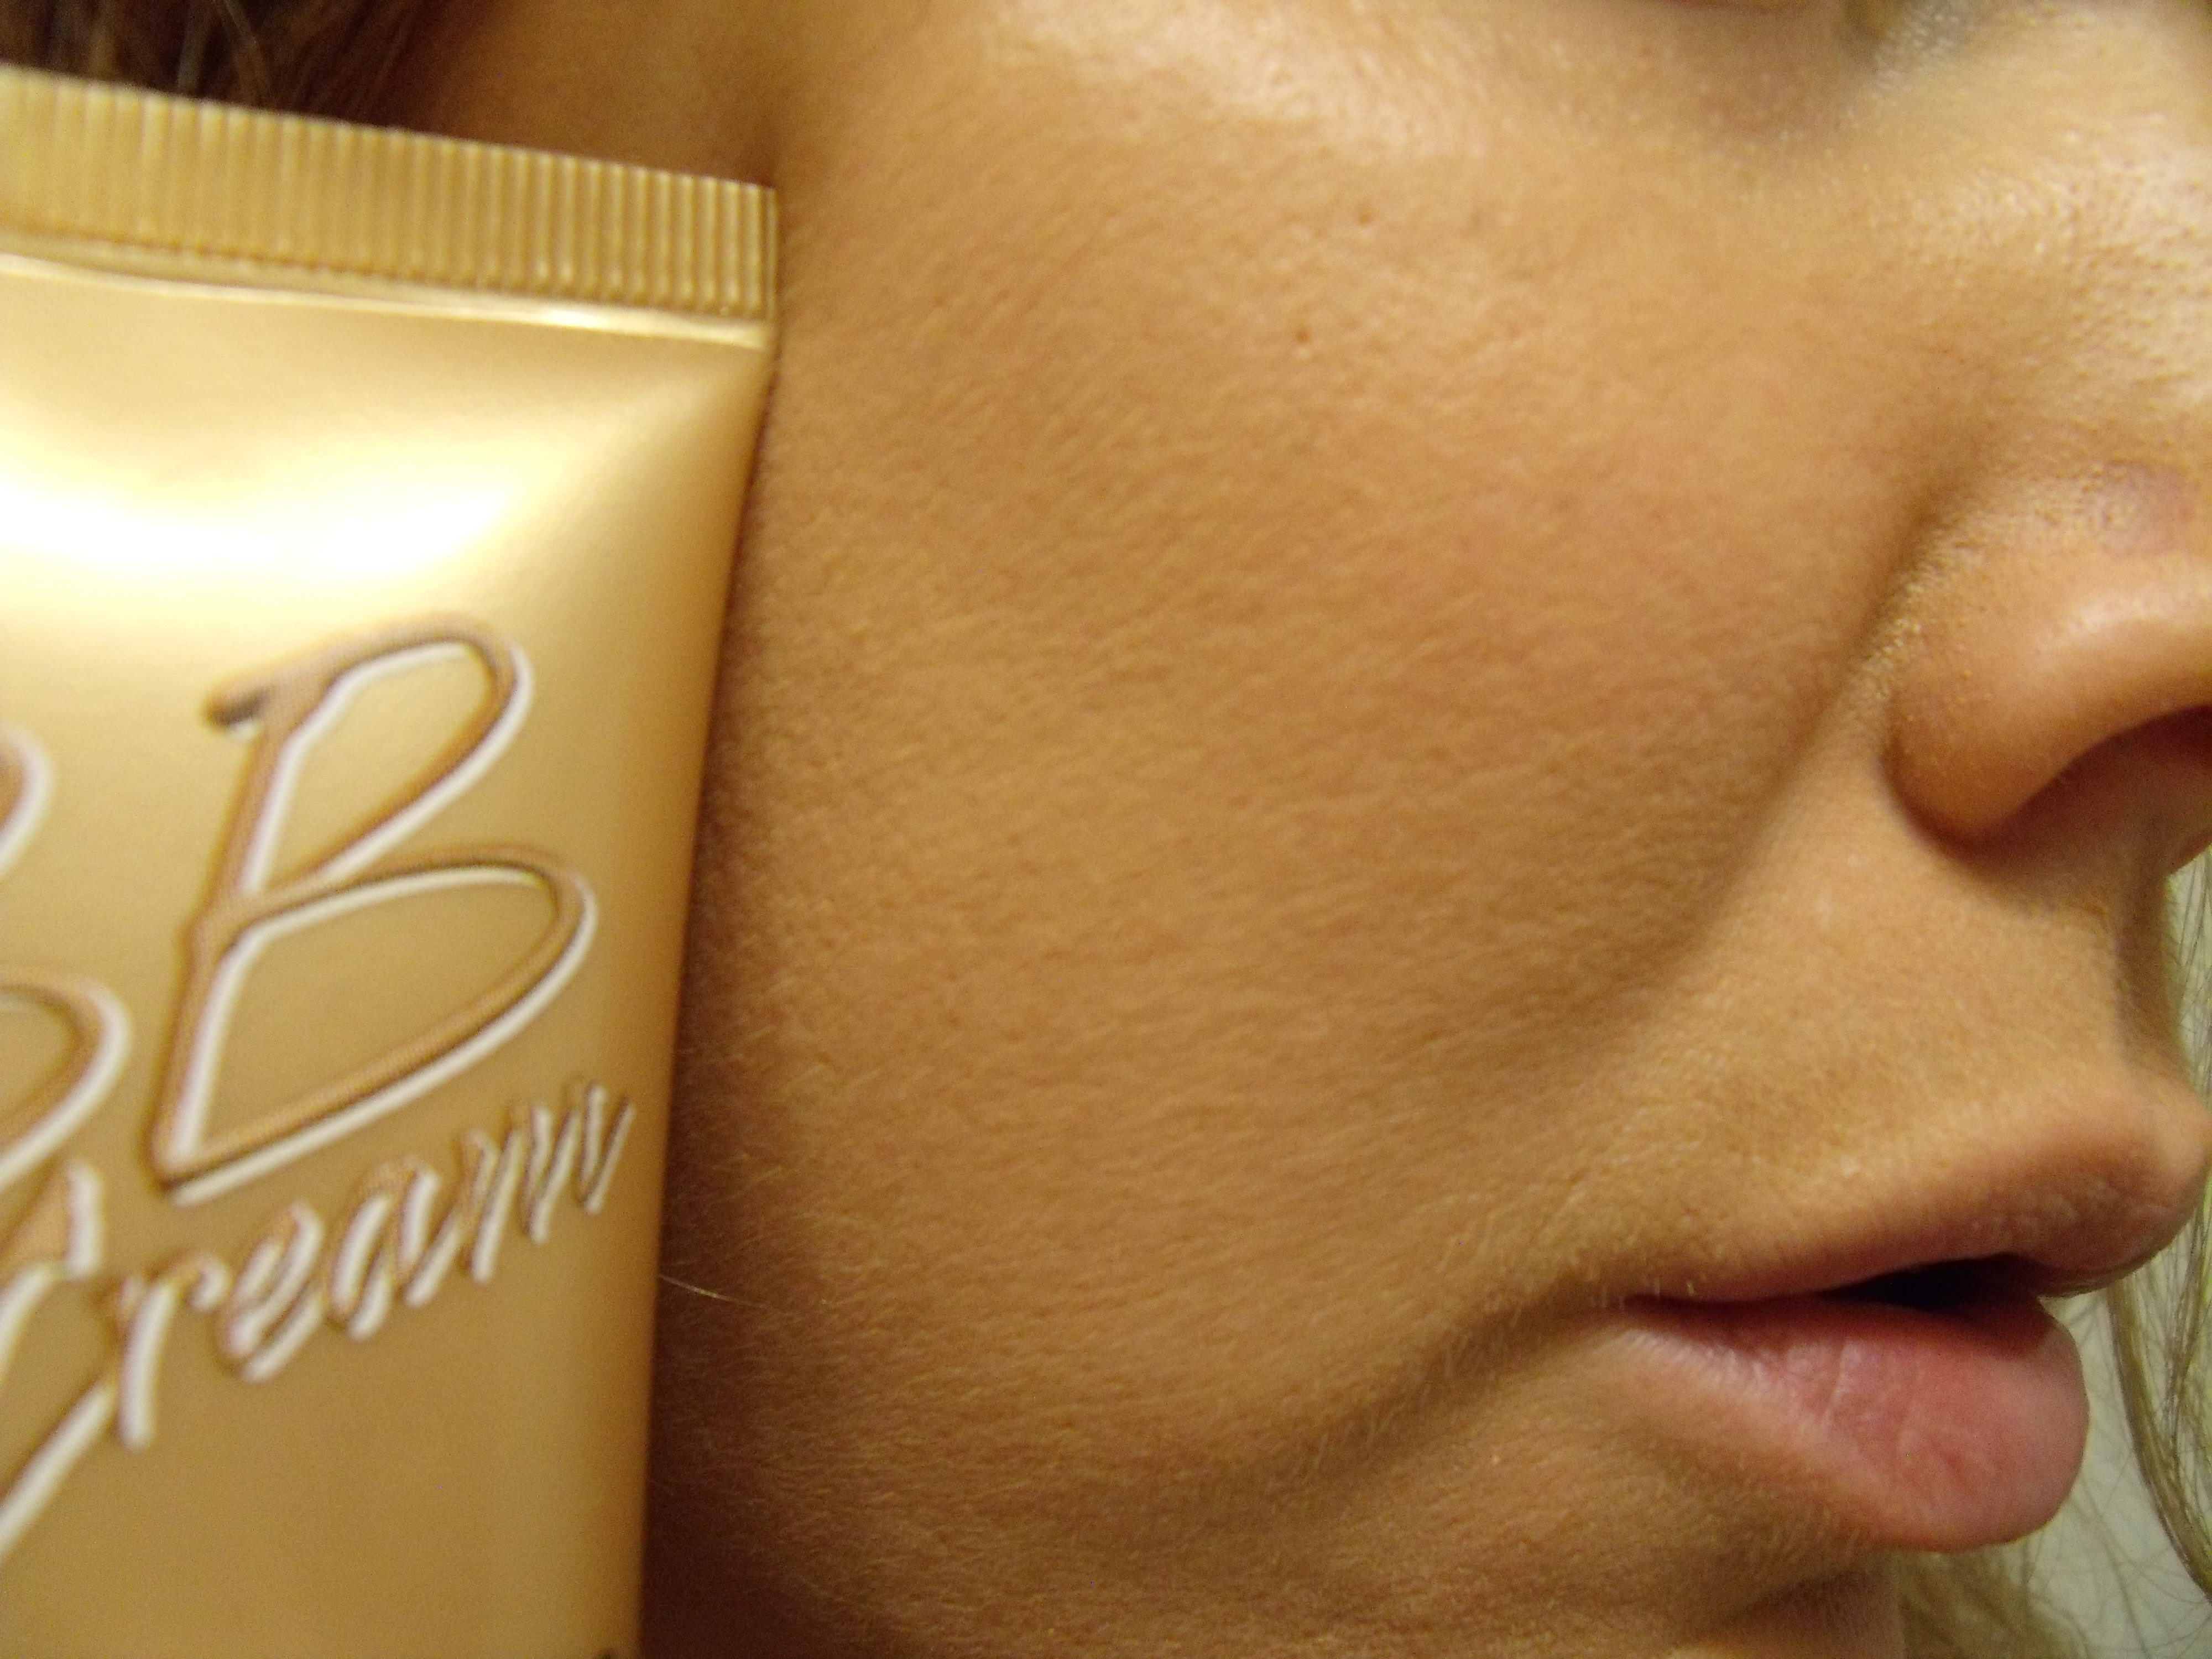
Primer
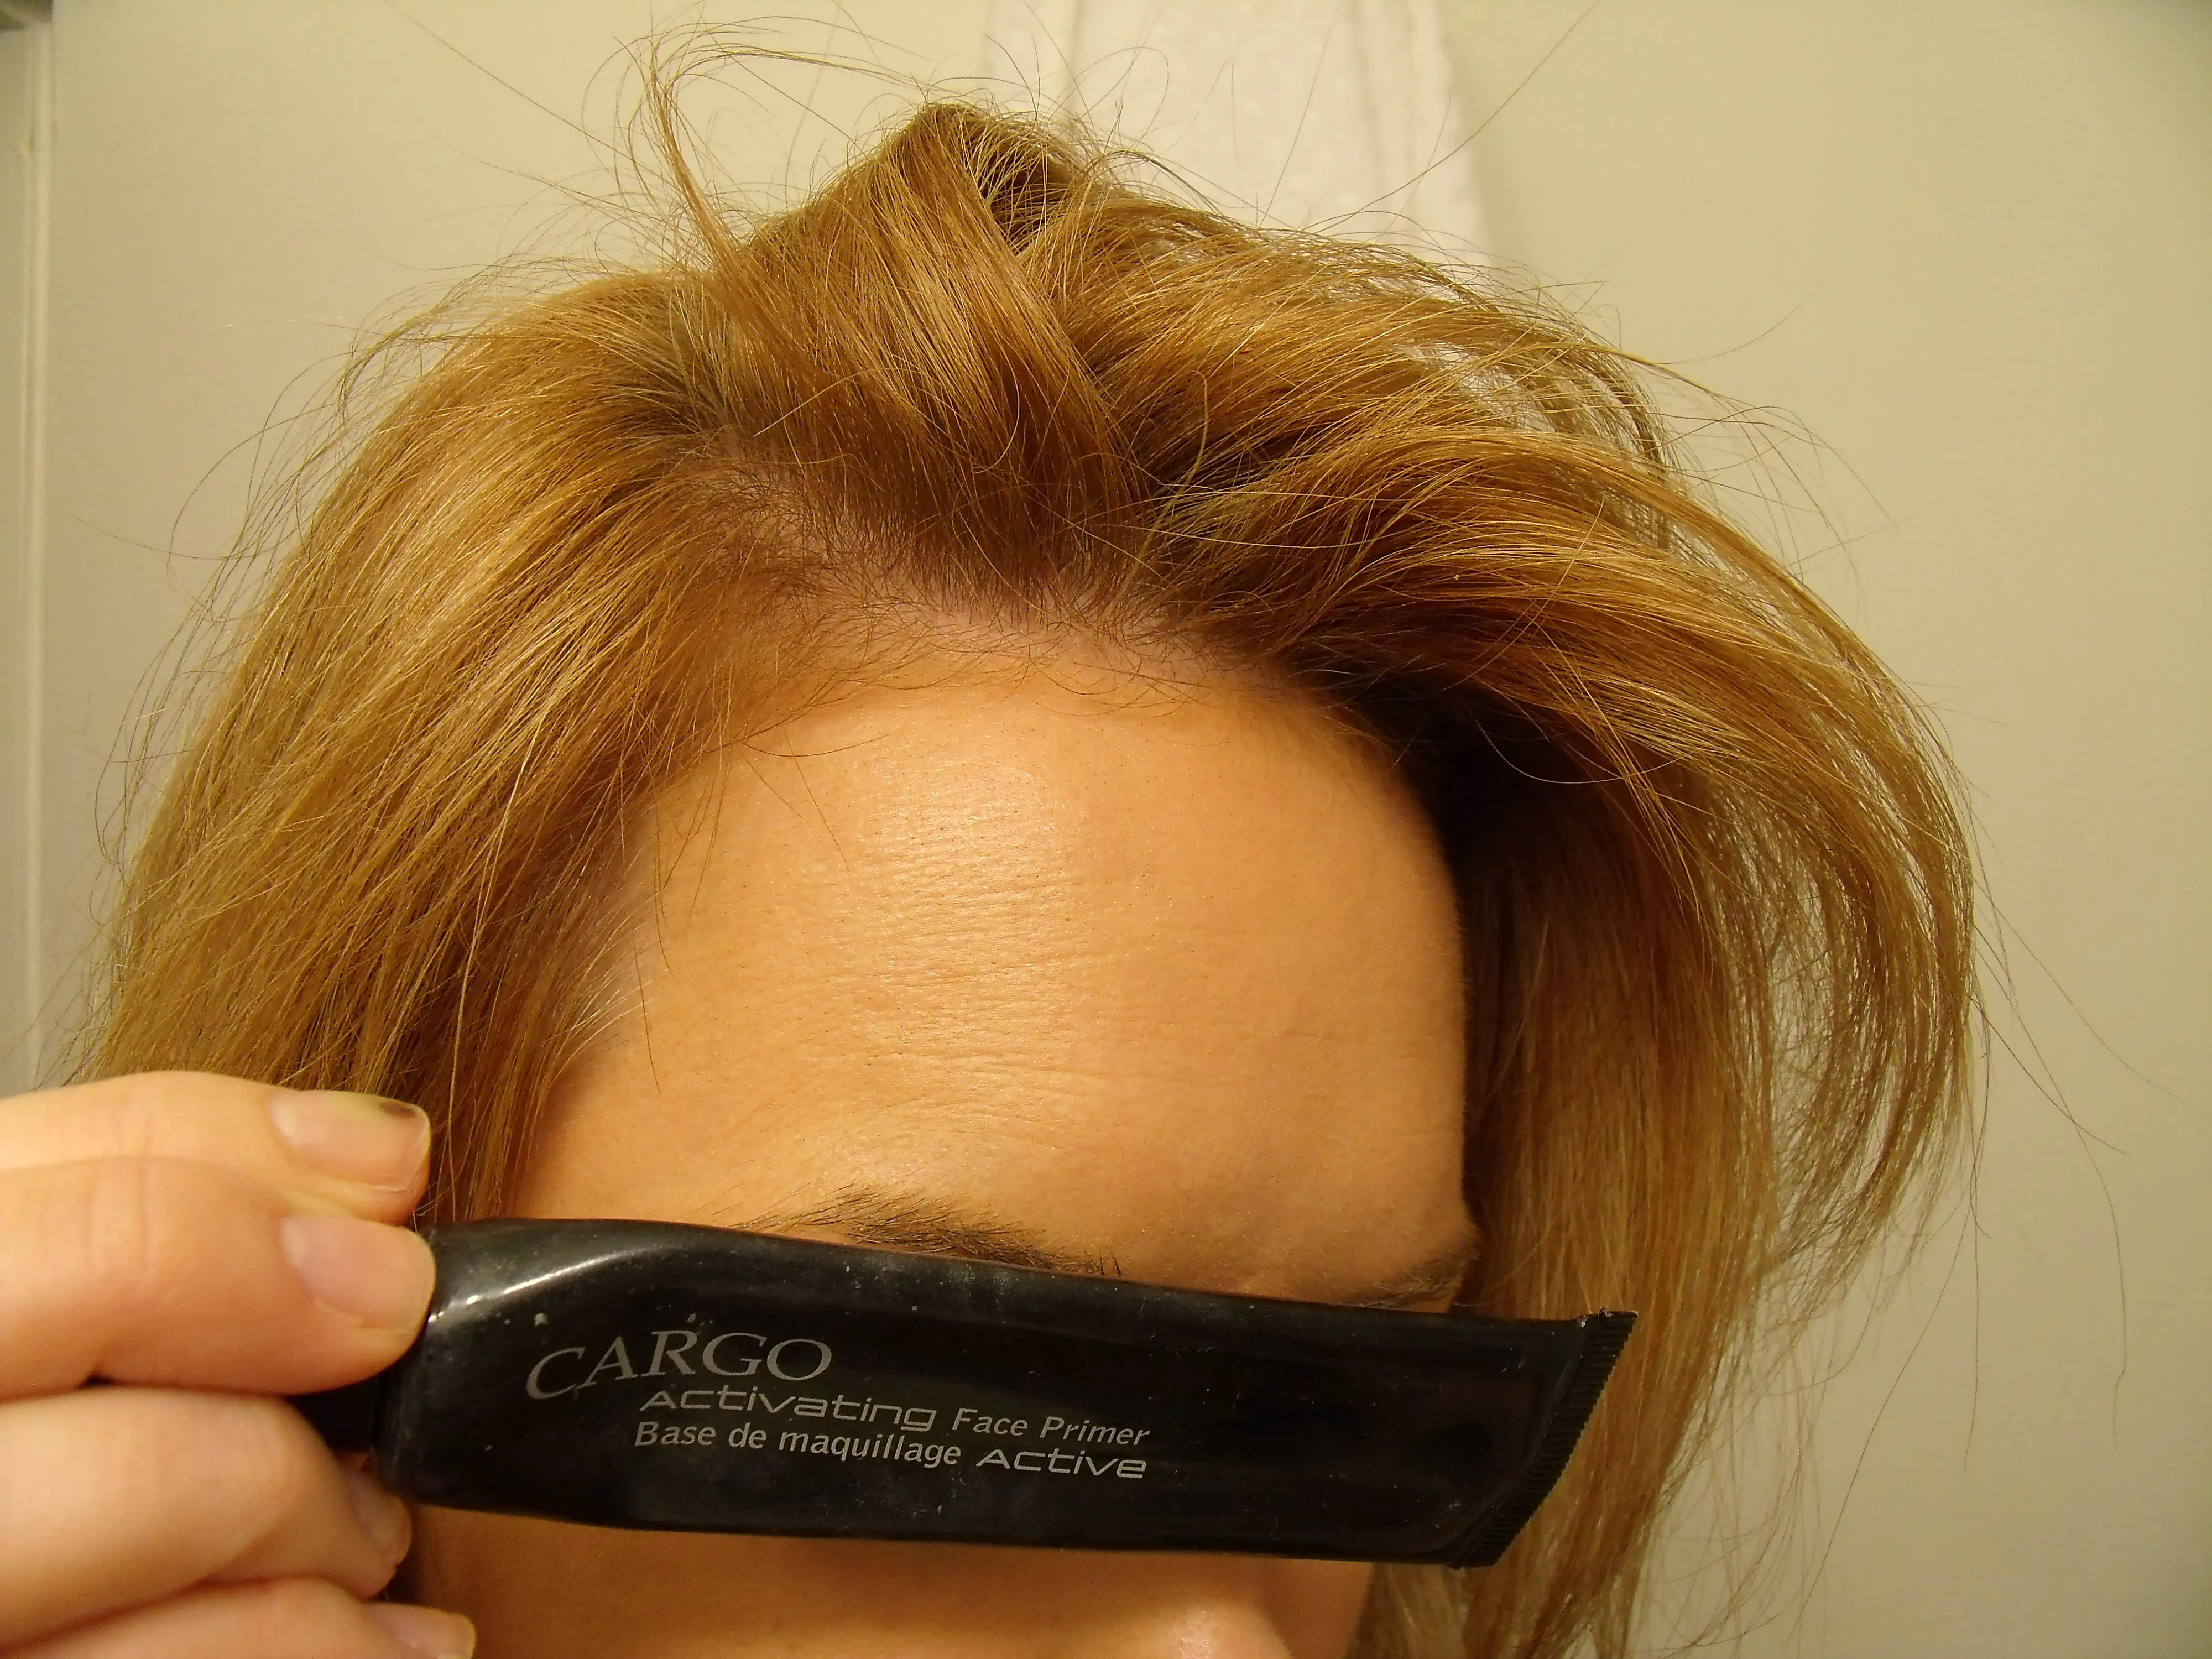
I found BB cream to make me a little greasy without the powder foundation on top, but just the mineral foundation made my skin look too dry and exaggerated my forehead lines.
I go a bit heavier with the powder foundation on spots that need it, light acne scarring, redness, etc. I go lighter on my forehead and around my eyes, to avoid accentuating fine lines.
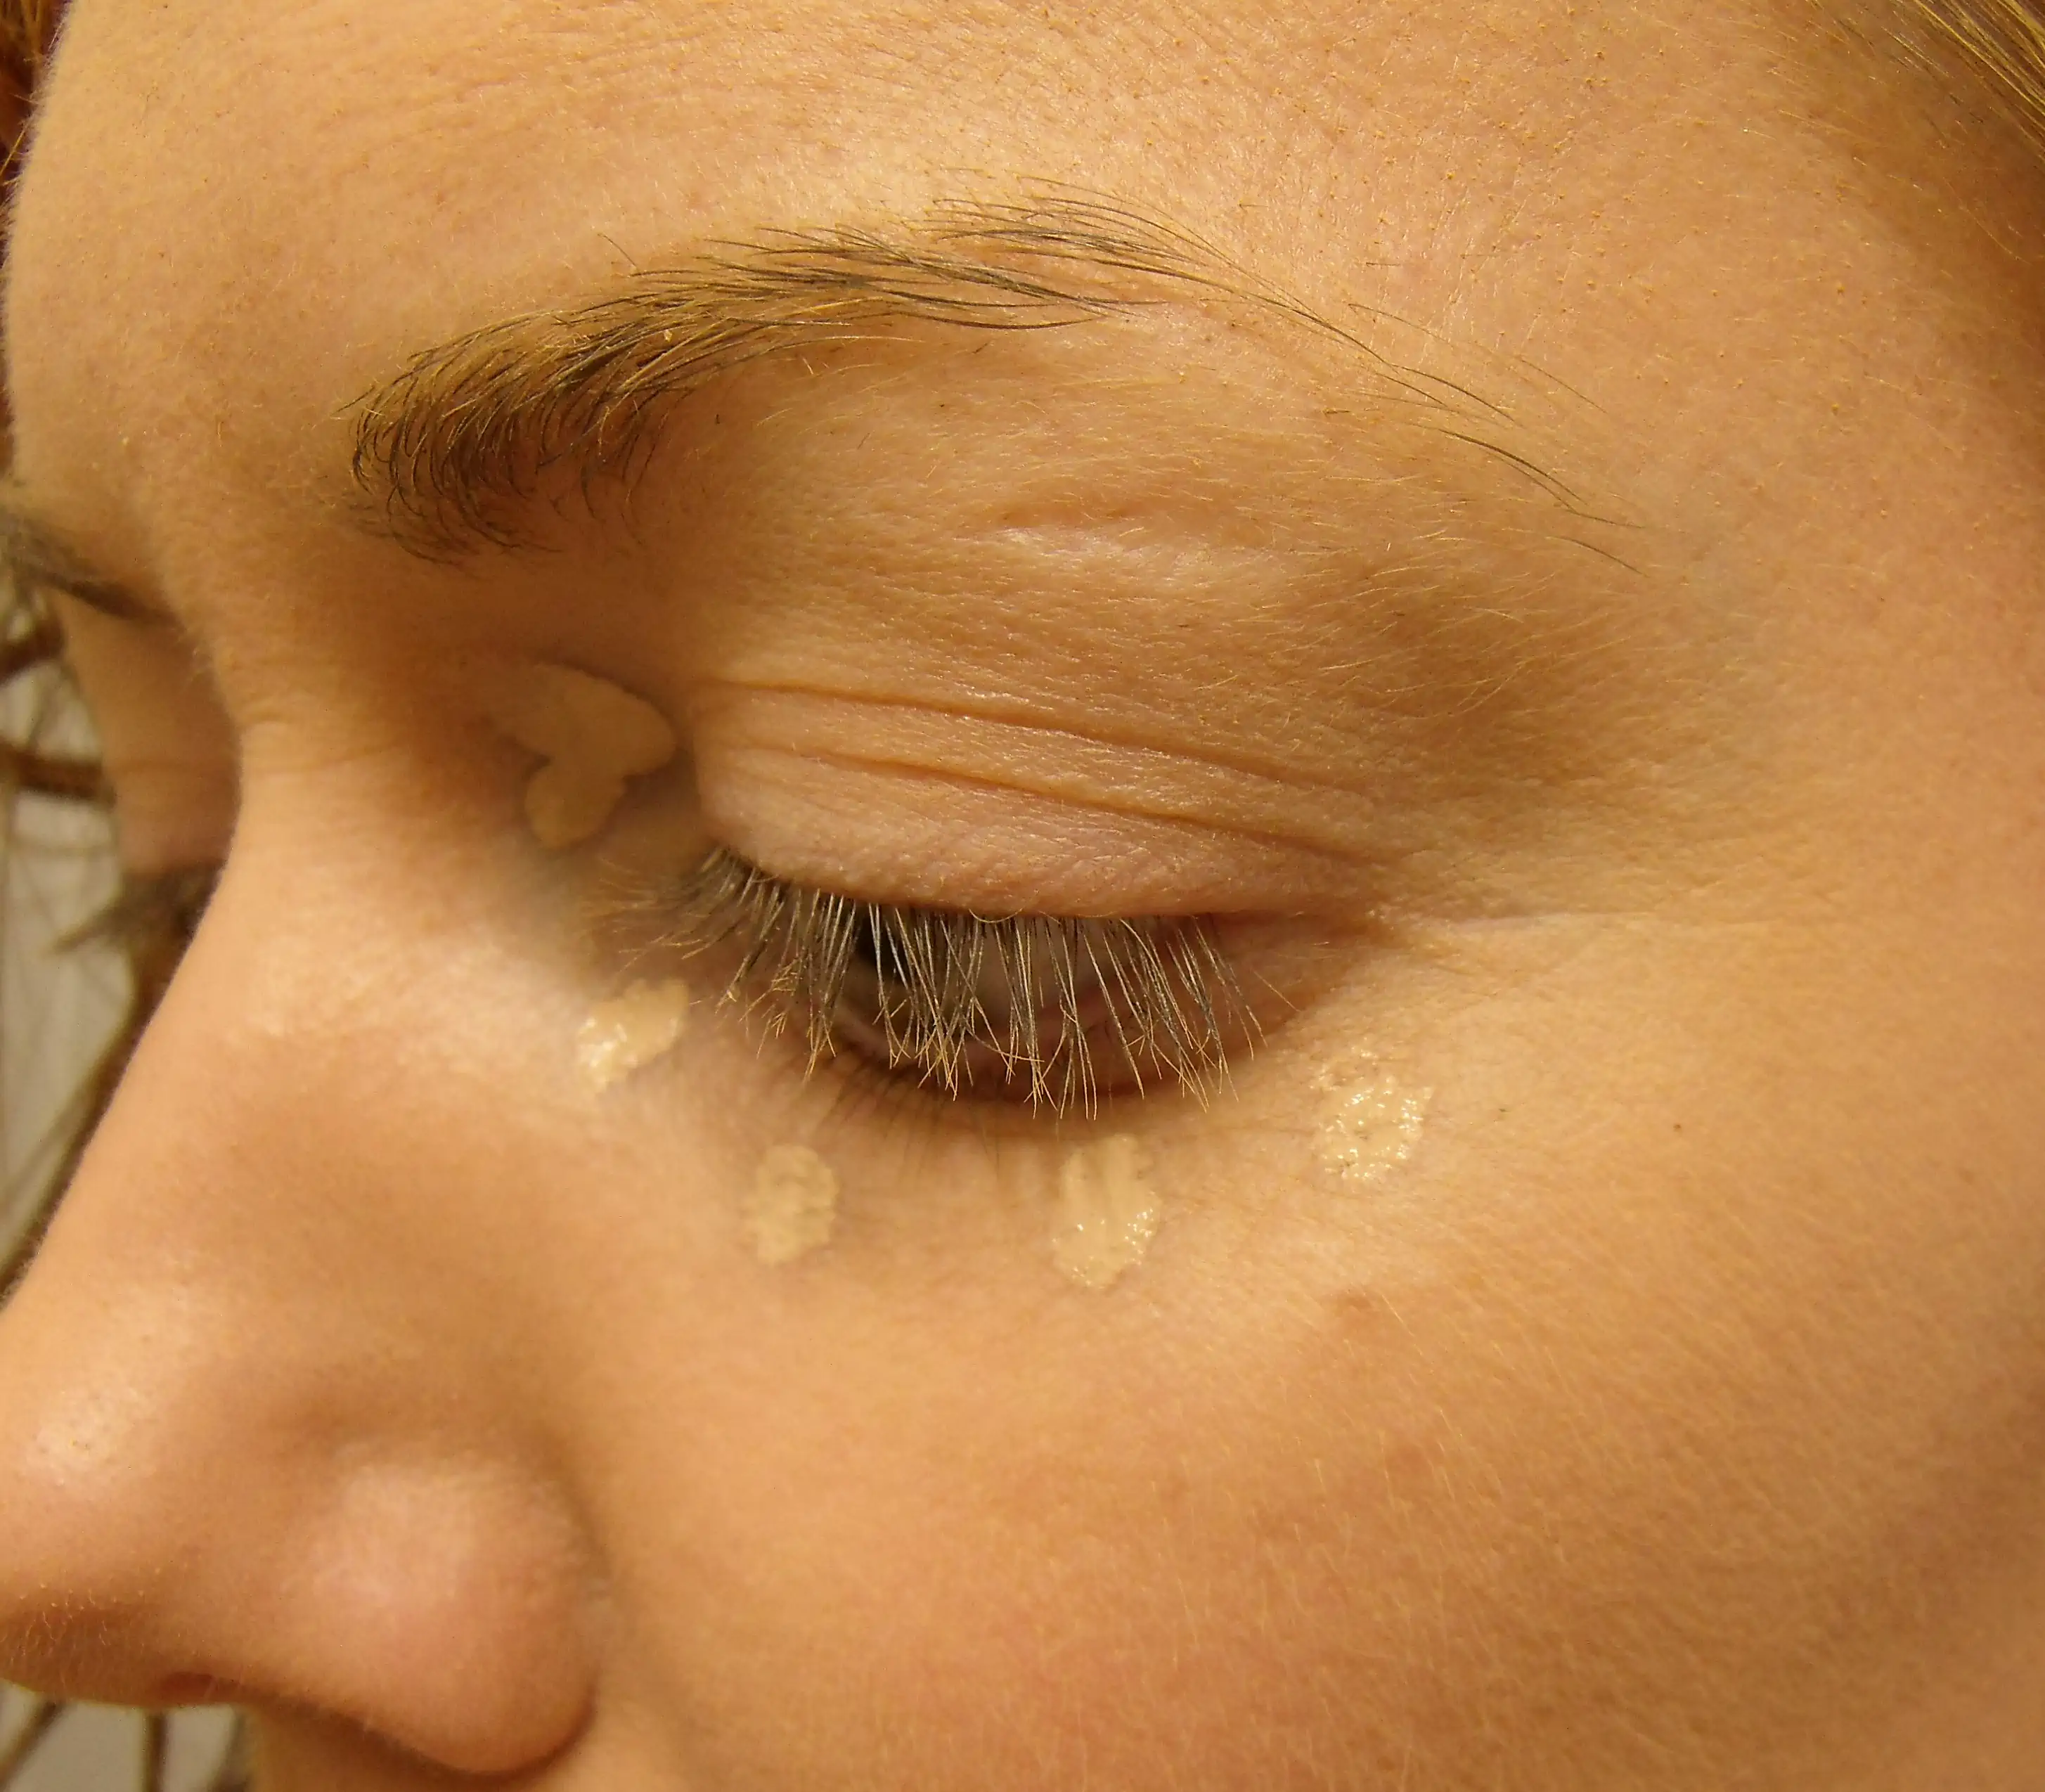
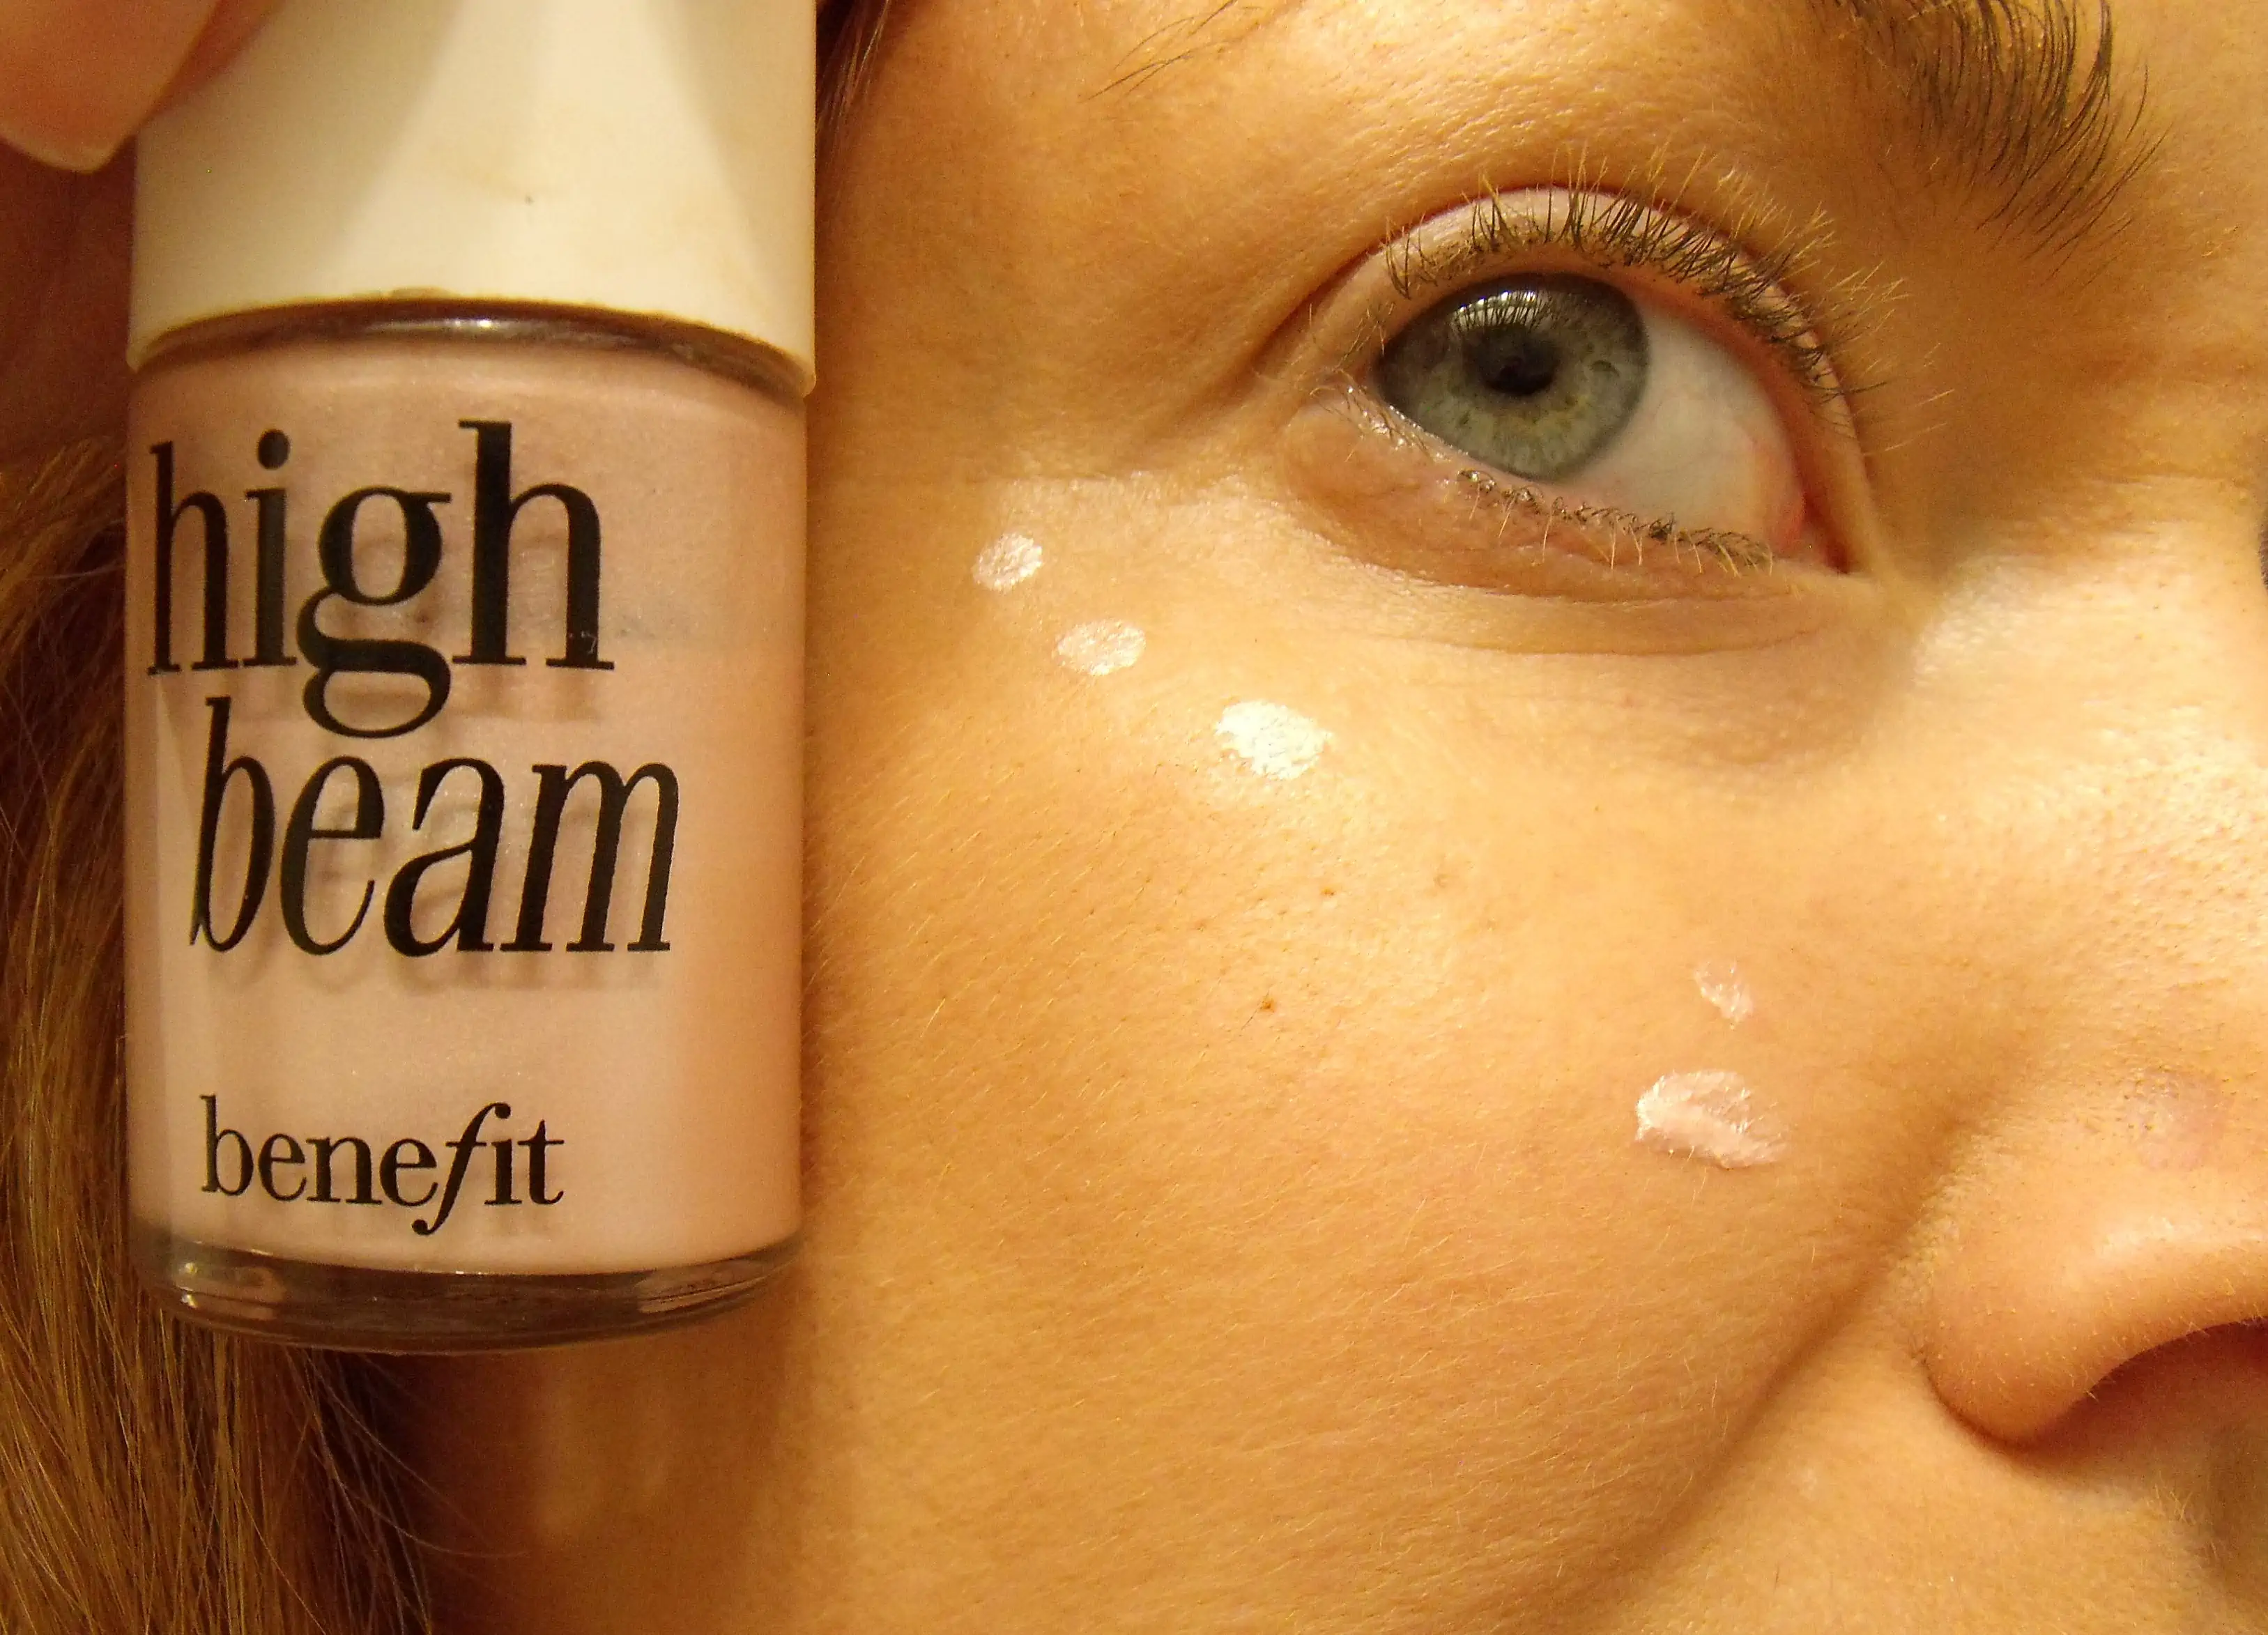
Then I add concealer, making sure to put one dot above my eye on each side, not just below my eyes. I blend that in, then using the same brush I used for powder, *but without redipping it in powder*, I lightly go over the concealer to help it set. I then add Benefit High Beam to the tops of my cheekbones. I use three dots on the tops of my cheekbones, right below the outer edge of my eyes, and two tinier dot on the tops of the apples of my cheeks. Blend quickly and in a gentle circular motion!
Light Concealer/Daytime

I also use this Cargo OneBase concealer when I need more coverage.

Adding Highlighter
Blend it in completely.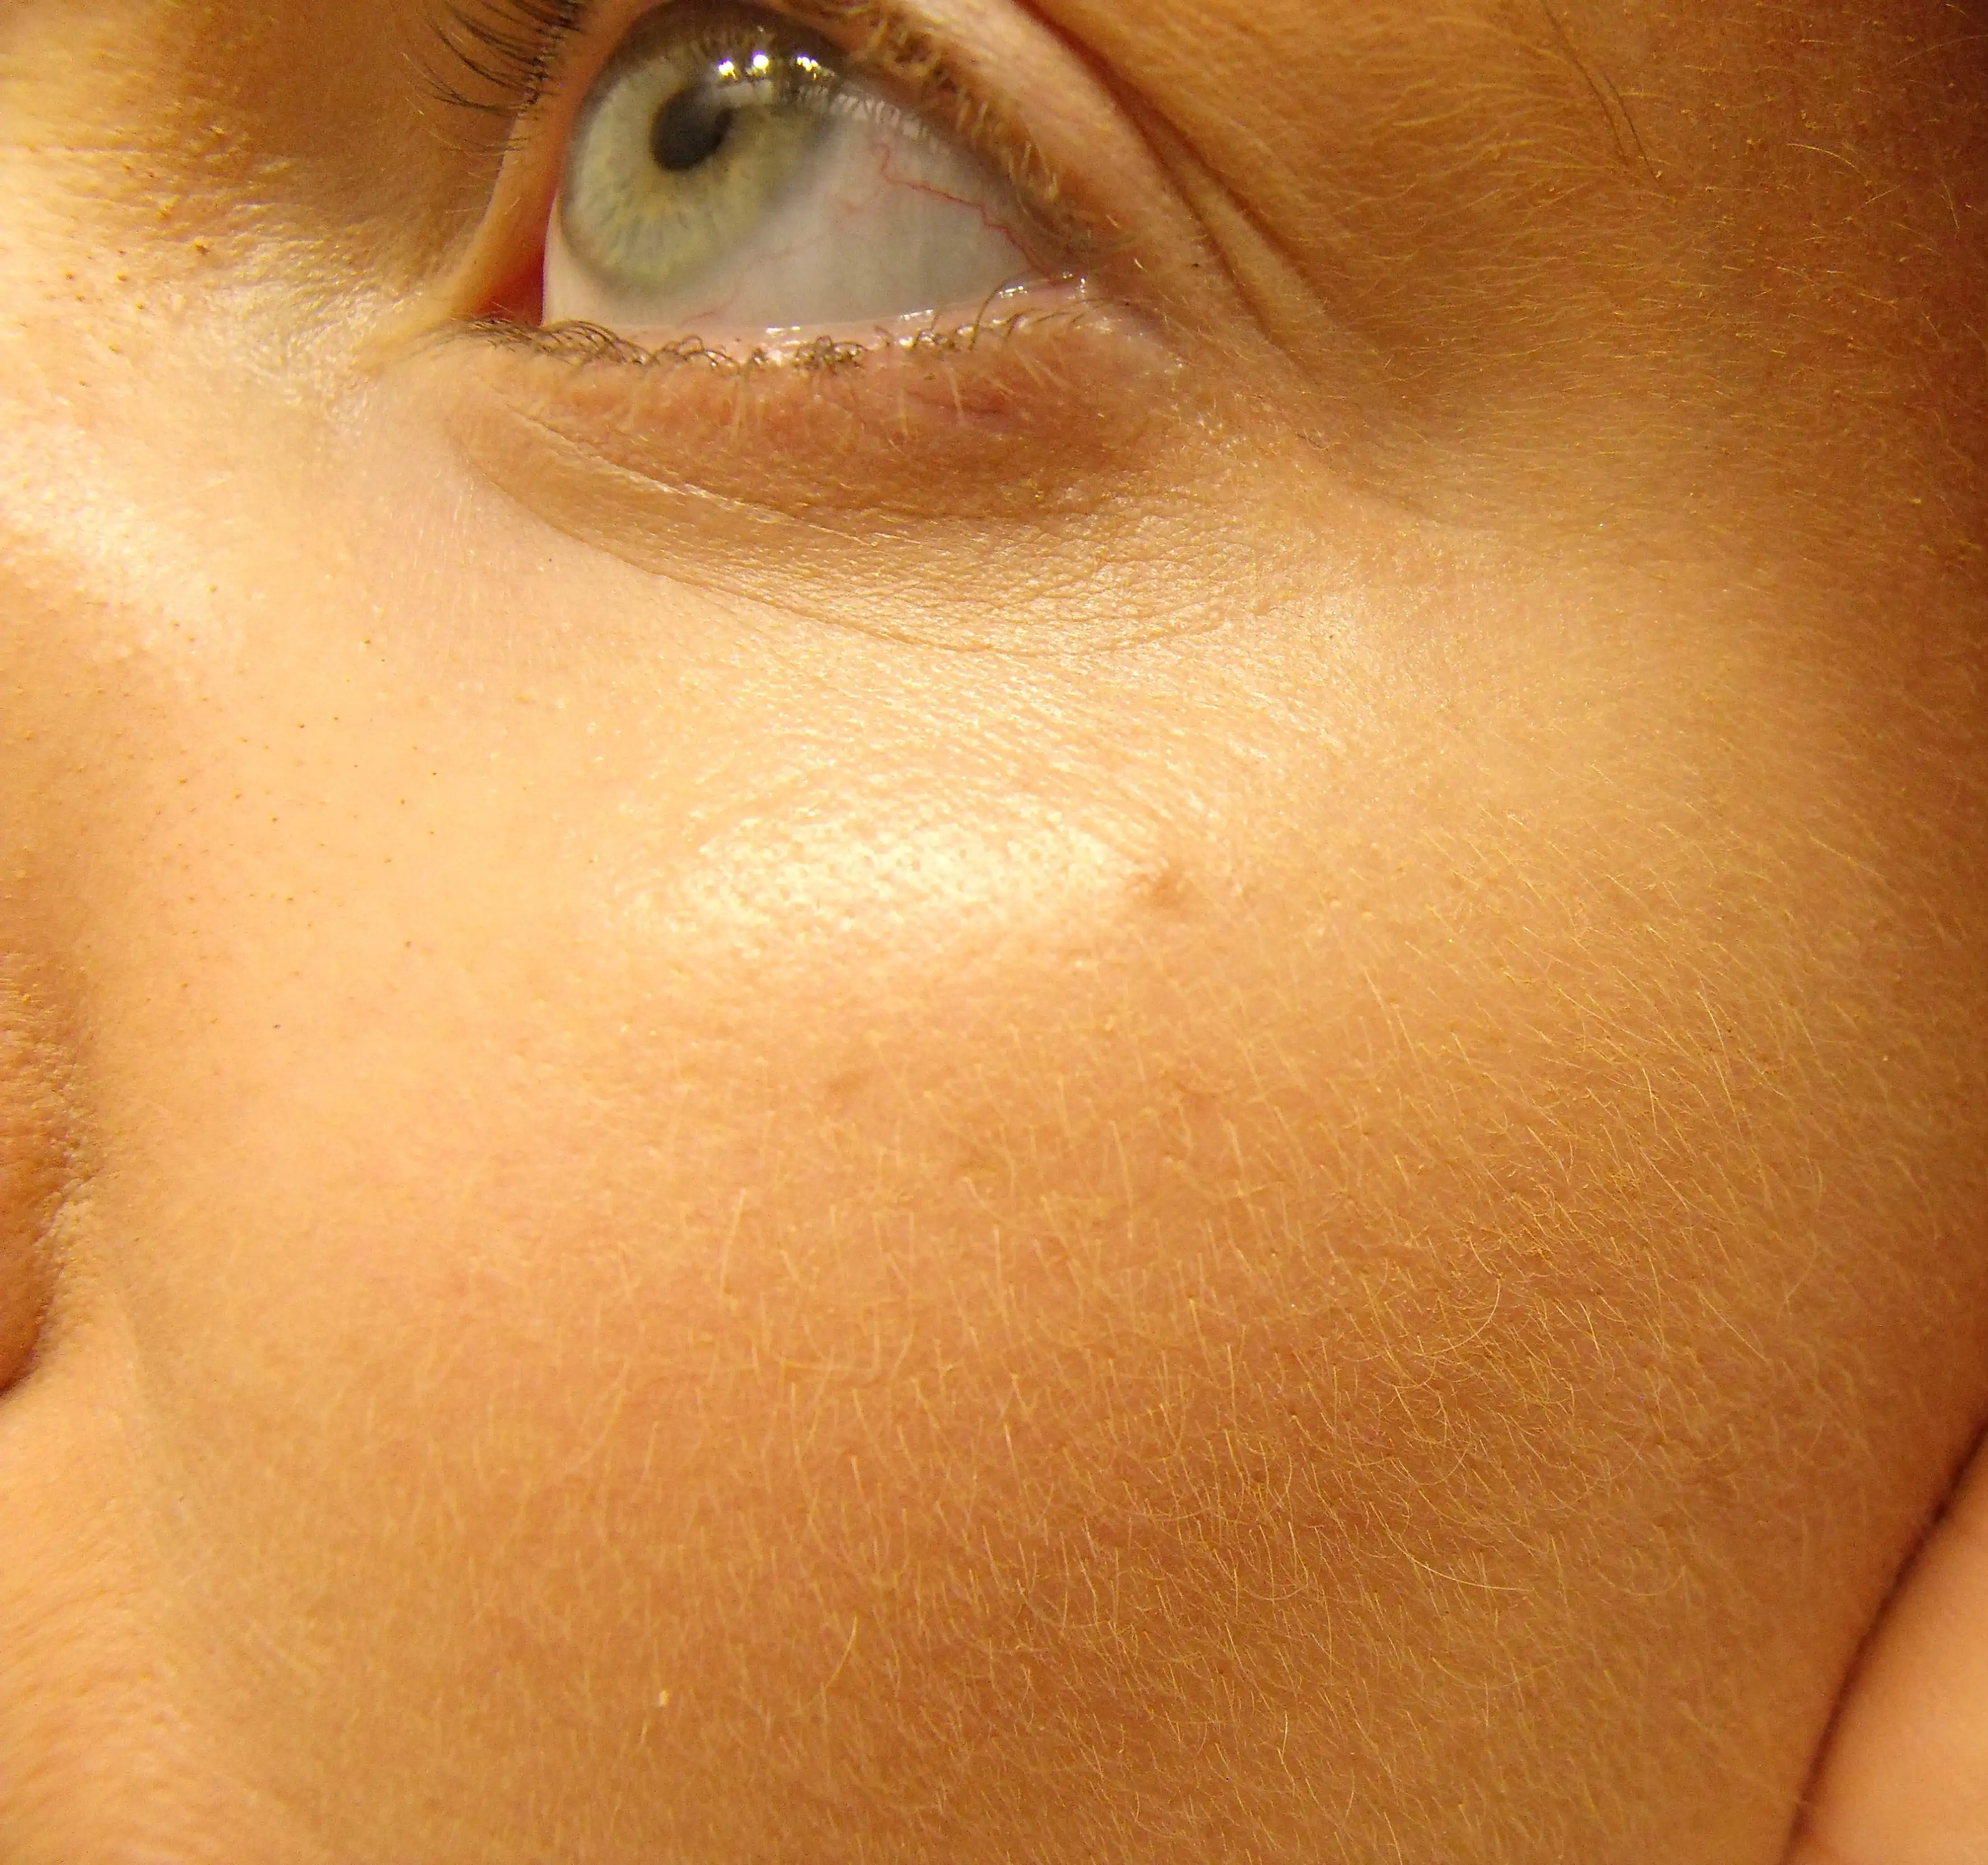
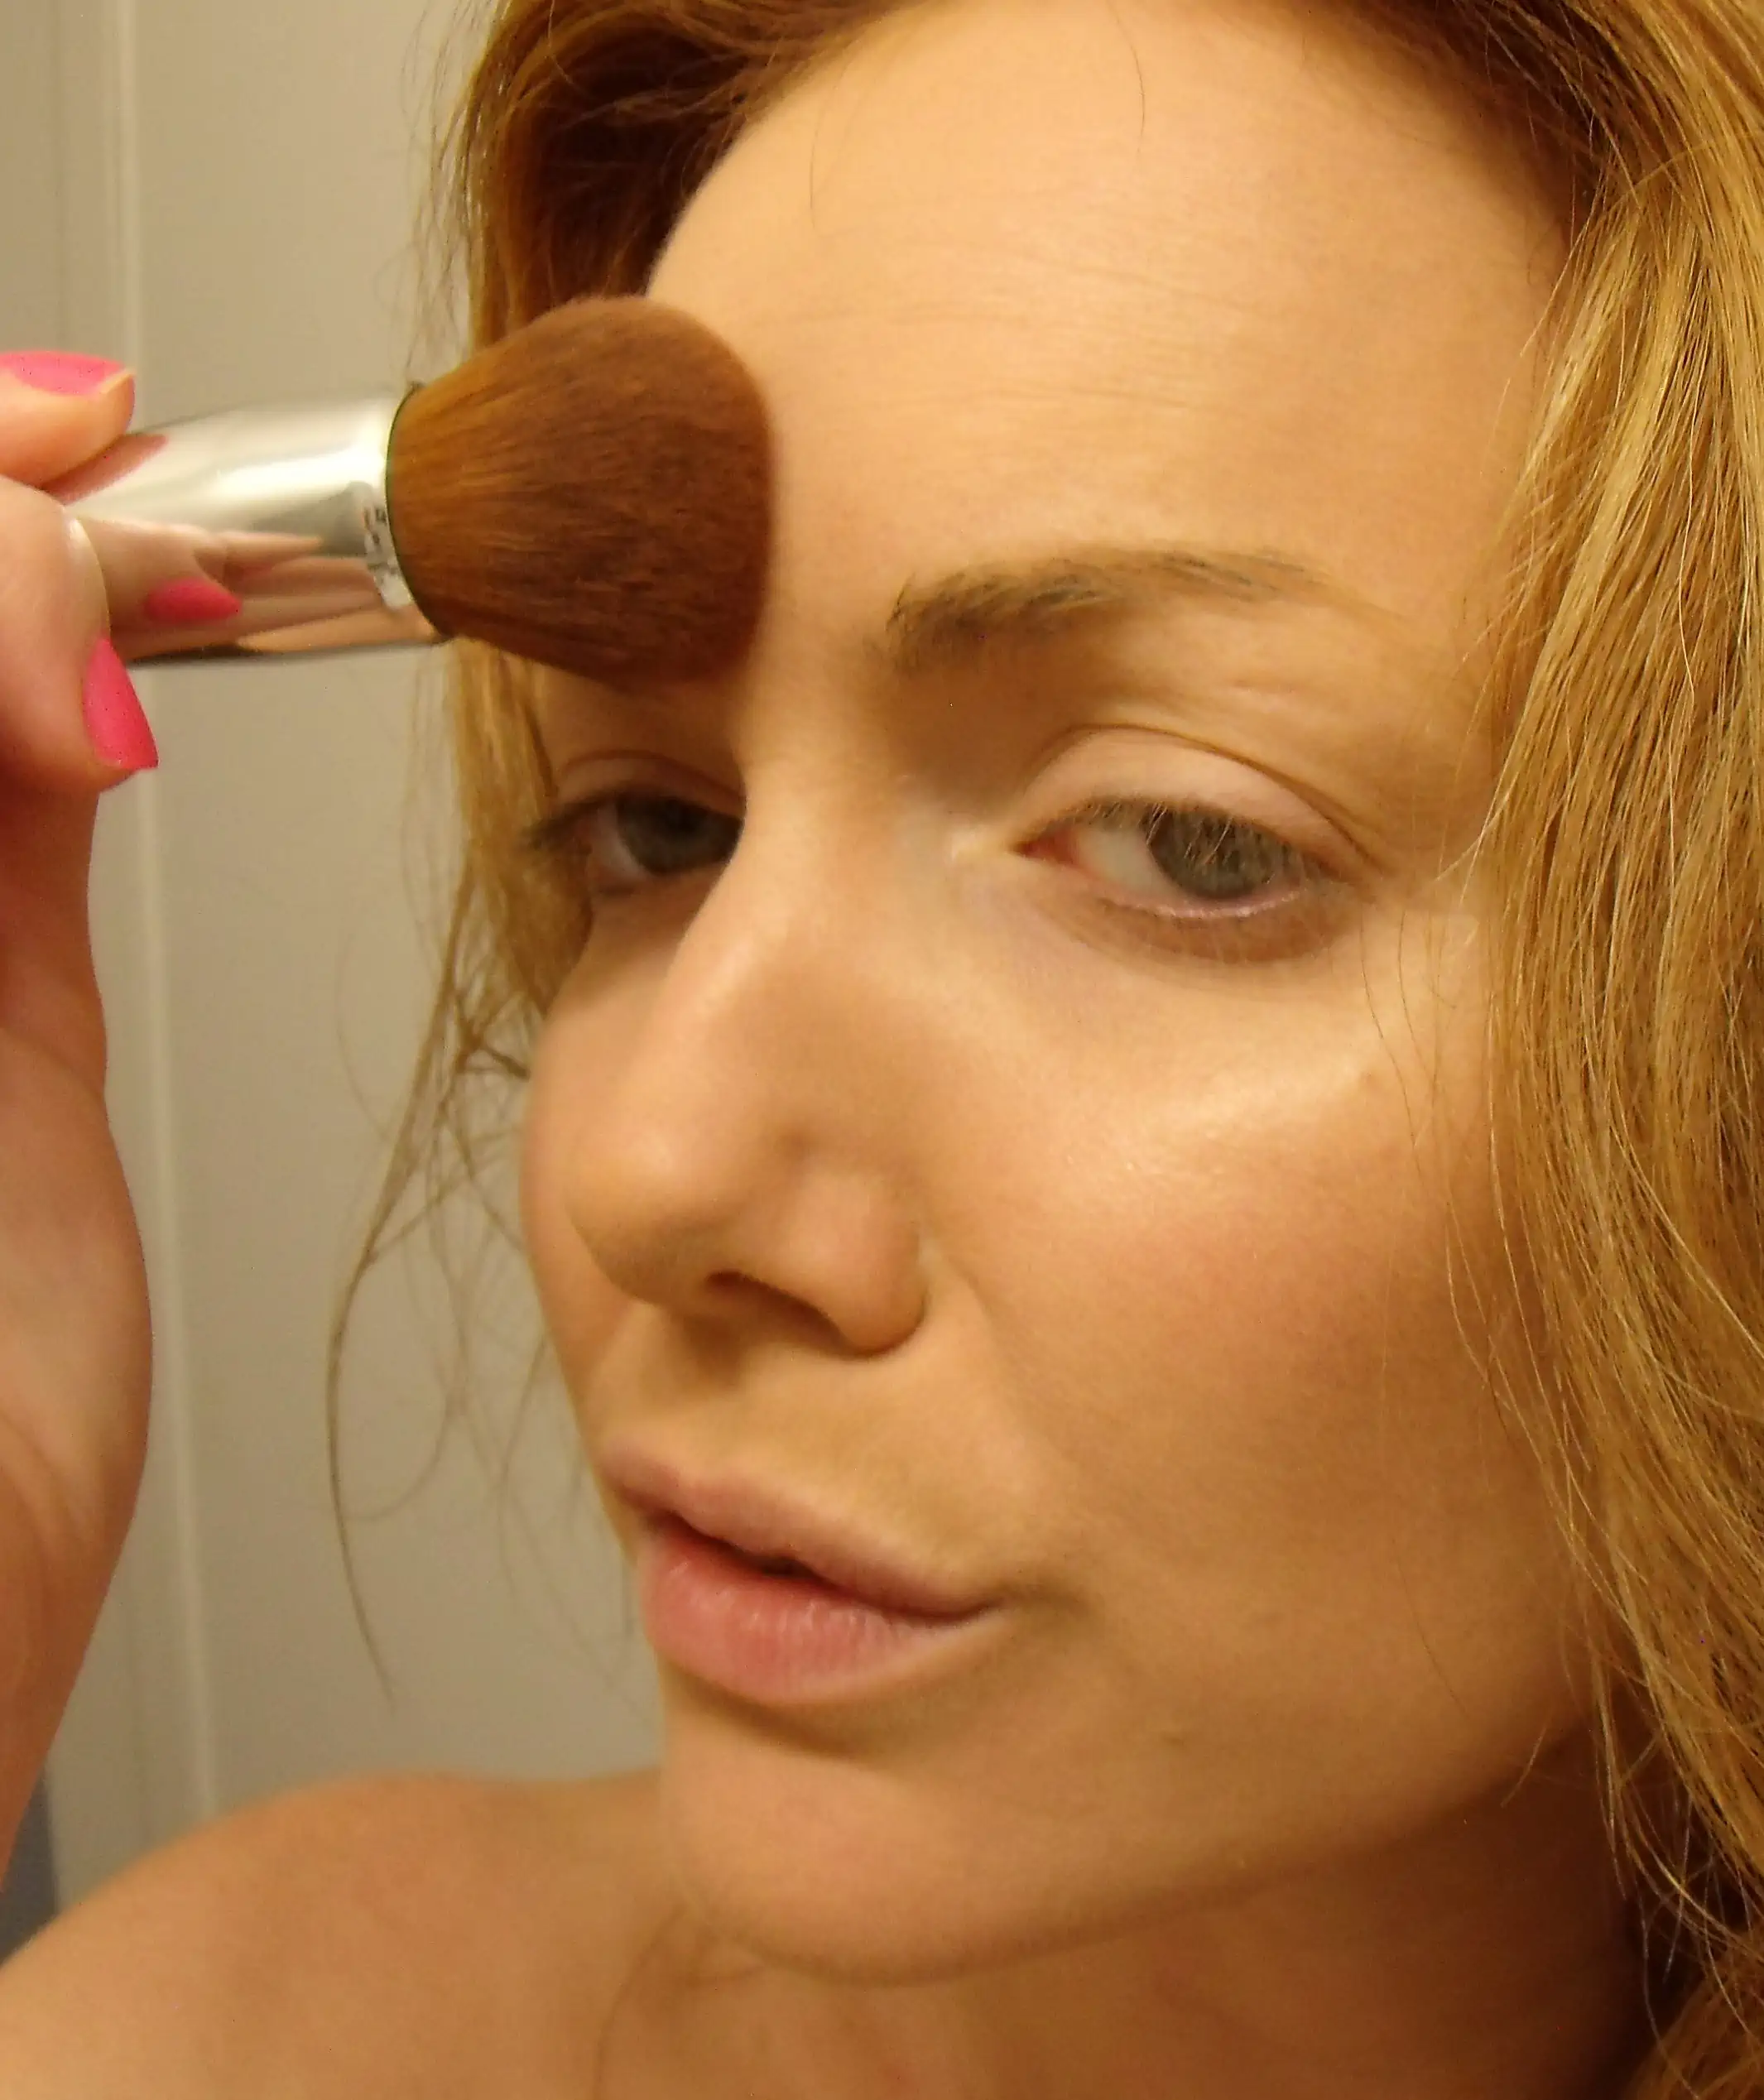
Moving onto bronzer, for light contouring, take a larger bronzing brush and dip it lightly in your bronzer. For summer, I like Tarte’s mattifying powder with tint because it keeps me shine free, but it is on the lighter shade for bronzers and only comes in one shade. A great inexpensive bronzer is NYX Matte Body Bronzer, I use it on my face and body and true to its word, it is completely matte, without any unnatural shimmer. I like a matte face, shimmer always seems a little “off” to me anywhere but the spots that should be highlighted.
Sucking your cheeks in and making a fish face, gently glide the bronzer brush back and forth over the hollow in your cheek, then bring it up your forehead and down your chin in the shape of a letter “E”.
I then add All The Other Makeups (yay!), but that concludes my daytime foundation routine. I find that if I do a careful job with foundation, I can go a little lighter with all my other makeup.
Nighttime Foundation:
For night’s out foundation, or when I have an audition during the day, I’ll use a liquid foundation.
I still start with Jergen’s Natural Glow face moisturizer, but I’ll use a little less, and also use a small amount of BB cream on my T zone and light acne scars. I then add primer across my forehead. I let this all sink in for a minute before adding a liquid foundation.
Lately, I’ve been obsessed with DiorSkin Airflash foundation. It’s pricey, at $62 a can, but in my opinion, completely worth it. Foundation is the one item I really don’t think you can skimp on. I have a TON of drugstore favorites that I use everyday, but foundation is my one splurge item. When foundation looks cakey, when you can see the foundation, it settles into lines or pores, changes color (oxidizes when it’s been on your face for a couple of hours) I just can’t deal. So foundation is one area that I tend to always Go Big on. Go Big or Go Home Early (because your skin turned orange from gross foundation).
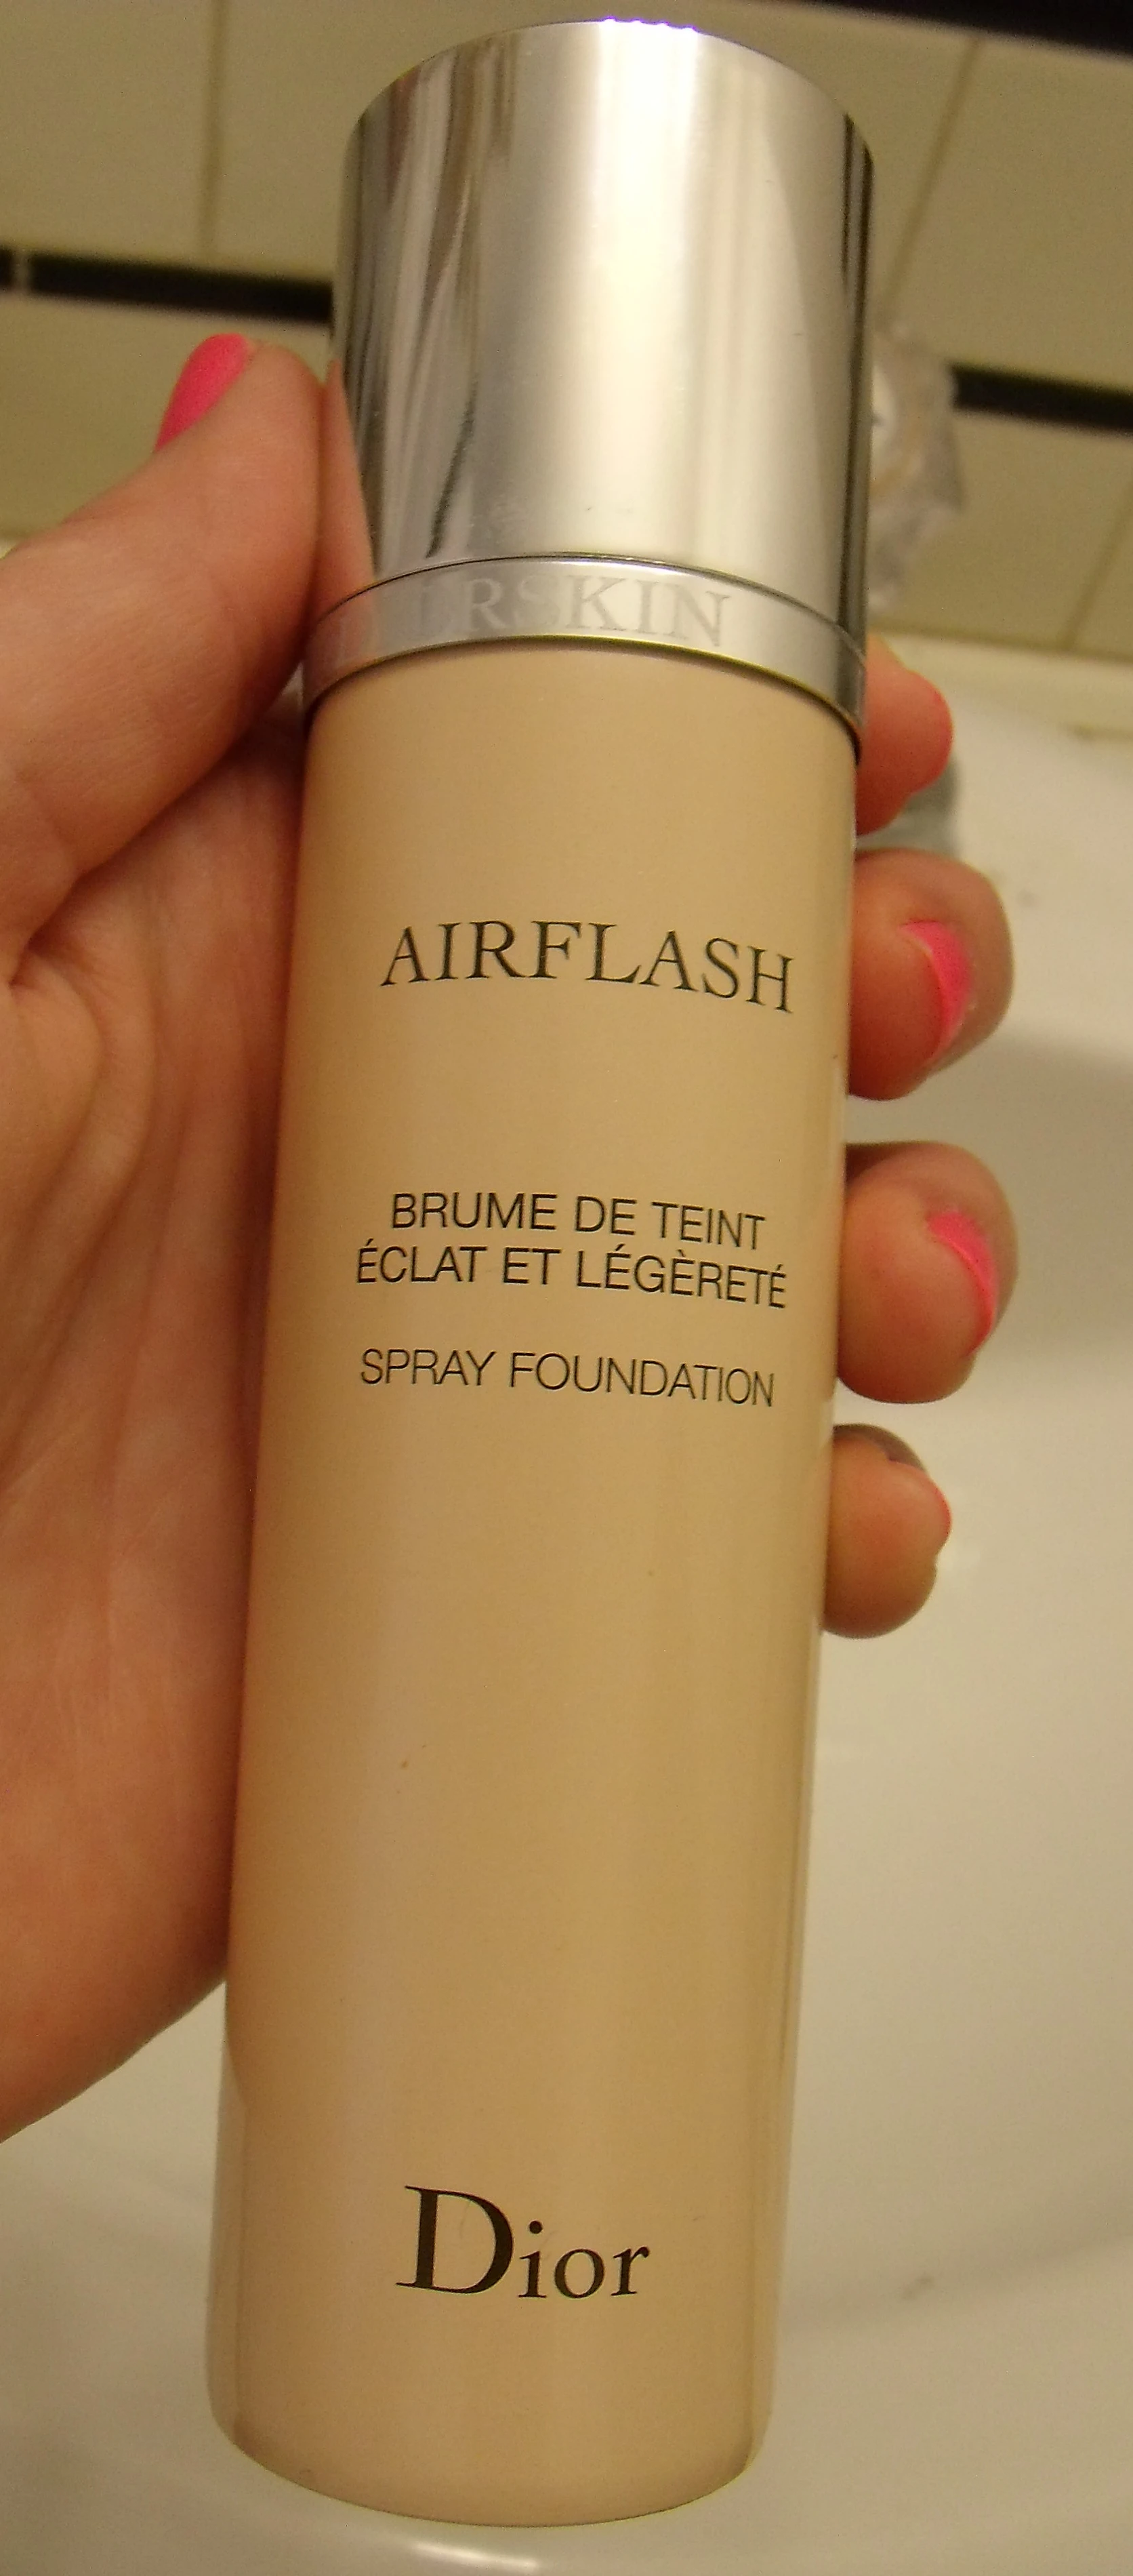
With AirFlash on: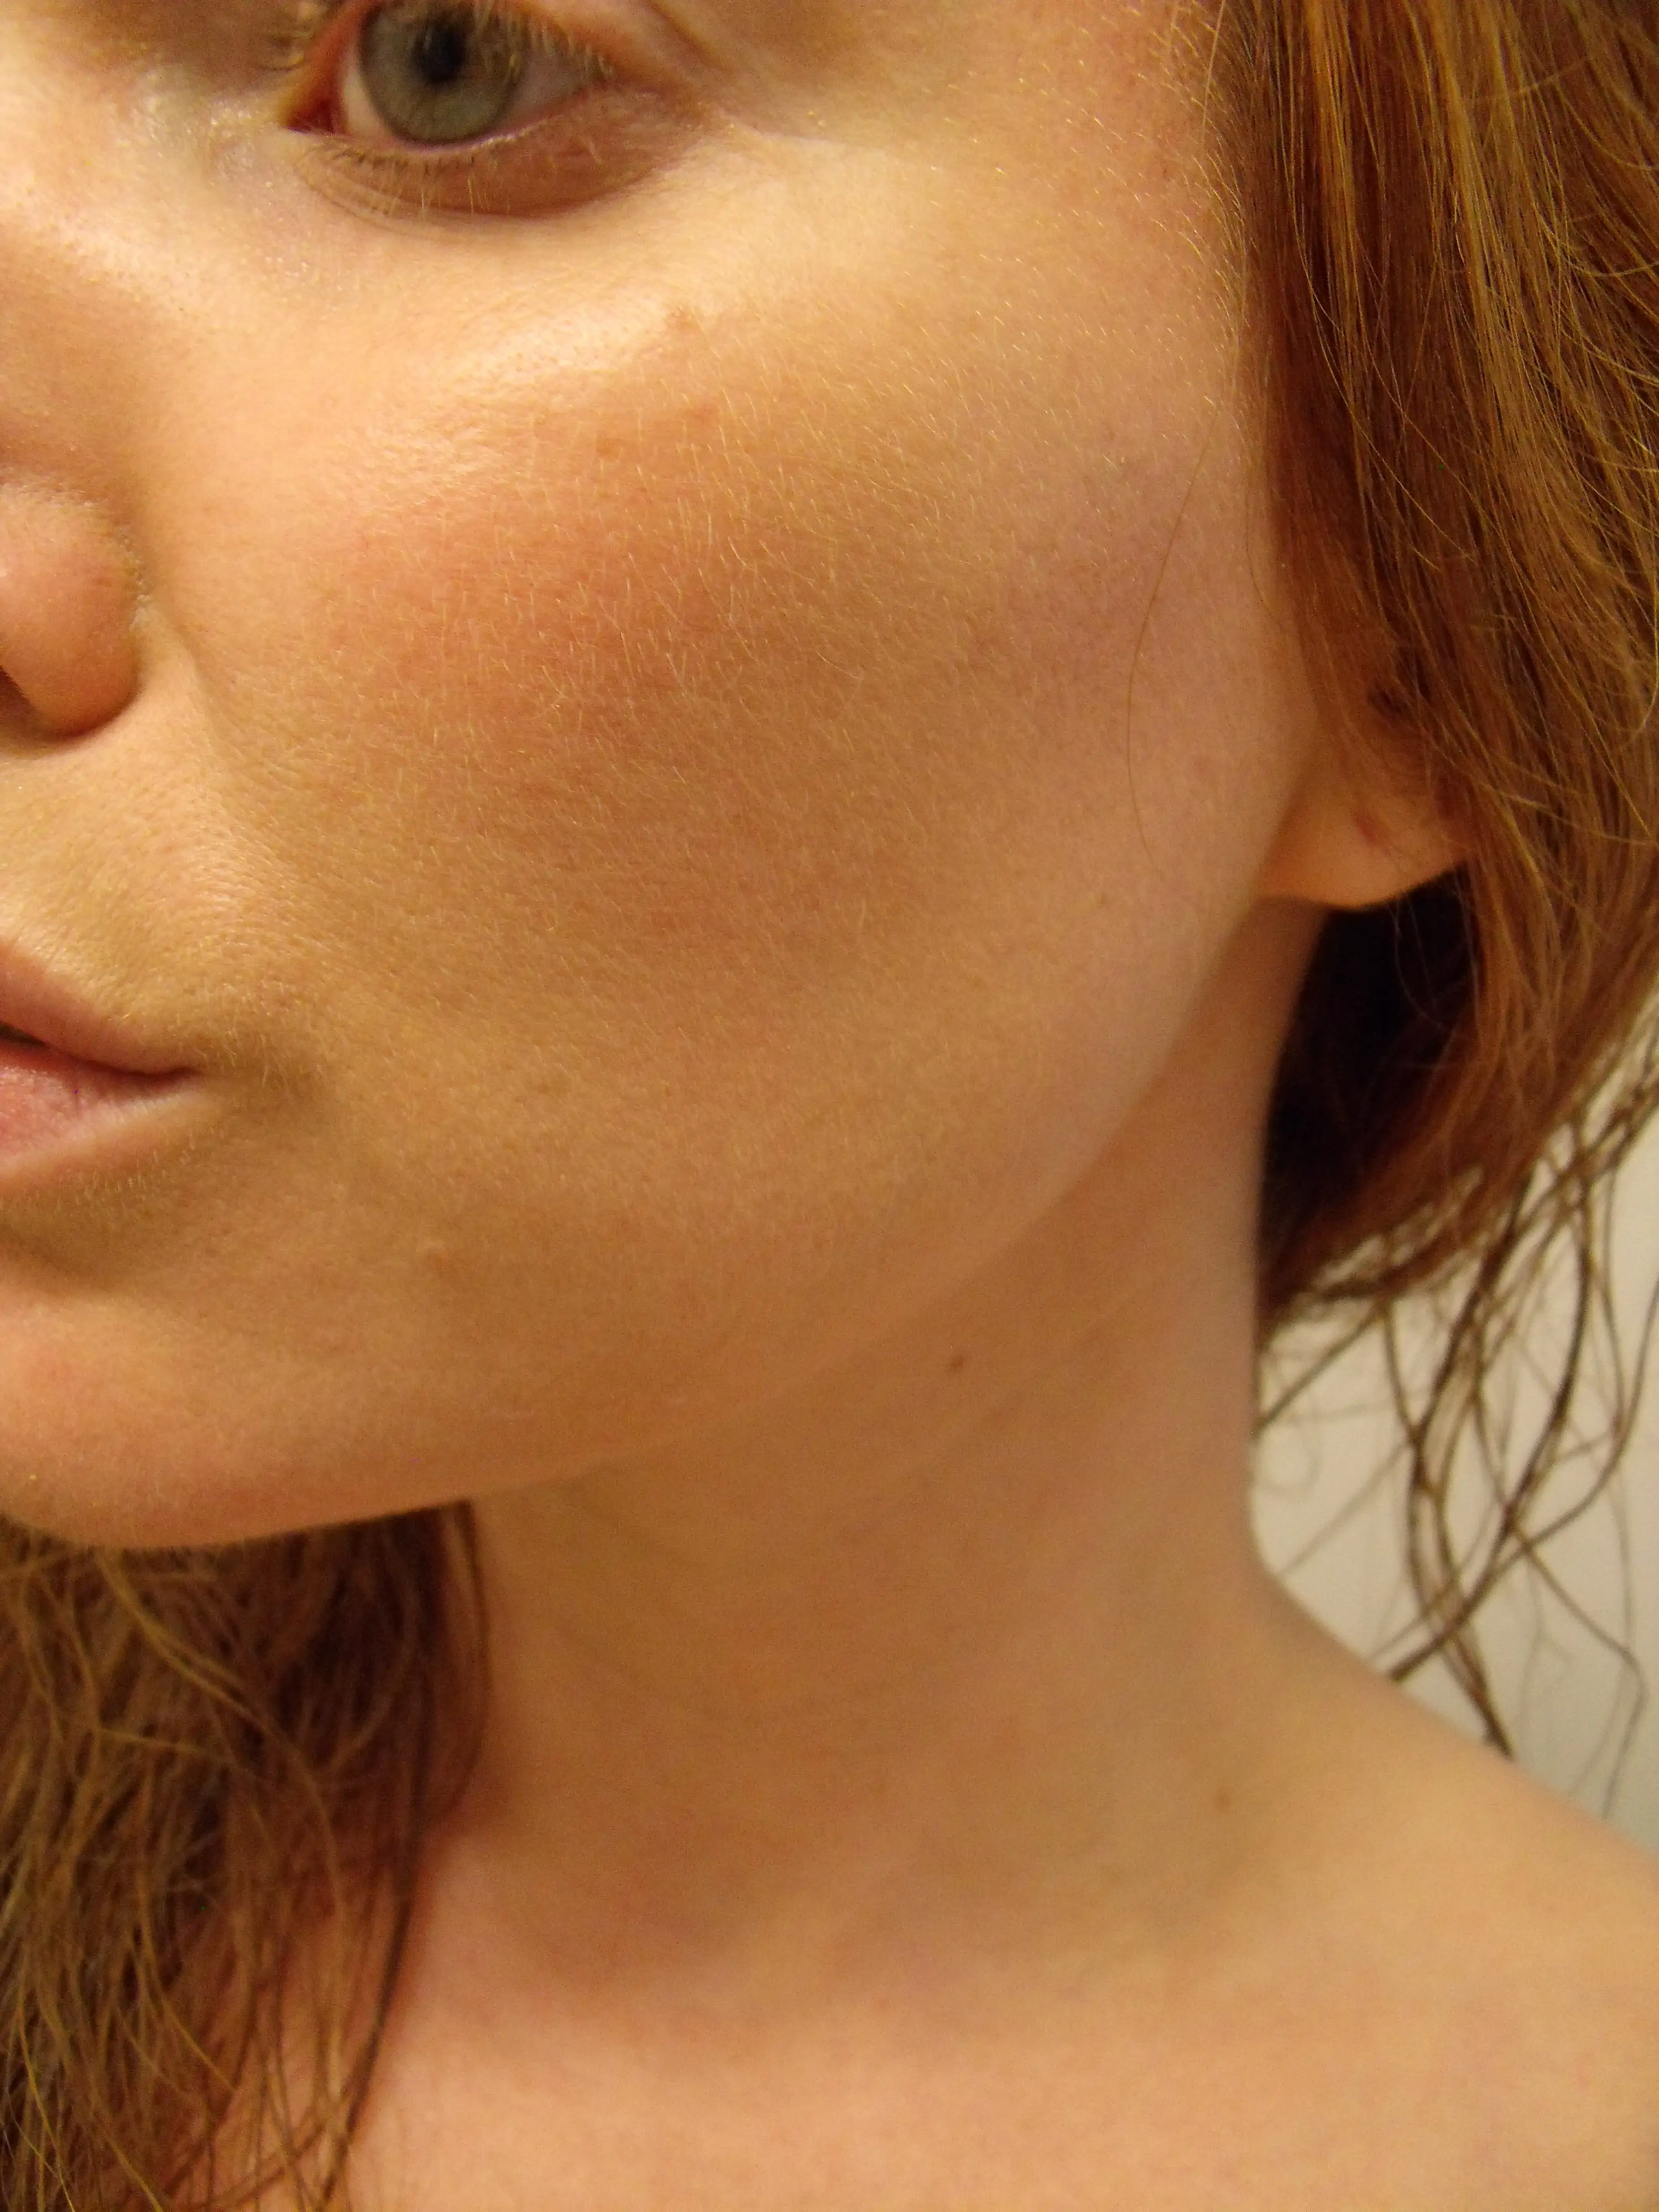
I spray on the foundation, or blend it in when I’m using a traditional liquid, always concentrating around my nose. I blend it in evenly, bringing it down my neck slightly to avoid that weird foundation jaw line you can get if you don’t blend properly.
I then use a foundation 2 or 3 shades darker than mine and take the tiniest dot of it. Sucking in your cheeks again, I dab the foundation in a straight line and blend, blend, blend! You definitely should not be able to see the line still, it should just look like you have naturally chiseled cheekbones. I run a little bit of the excess darker foundation into the corners and across the top of my forehead to make my forehead appear smaller. Again, you shouldn’t be able to SEE the darker foundation, your face should just look beautifully contoured.
I then lightly dust with loose powder. I’m currently using Make up Forever H.D. powder.
From there, I follow the same steps with High Beam highlighter and my bronzer and then of course finish with all the makeups again ohboyImexcitedeventhinkingaboutputtingmakeupon!
Finished Daytime look:
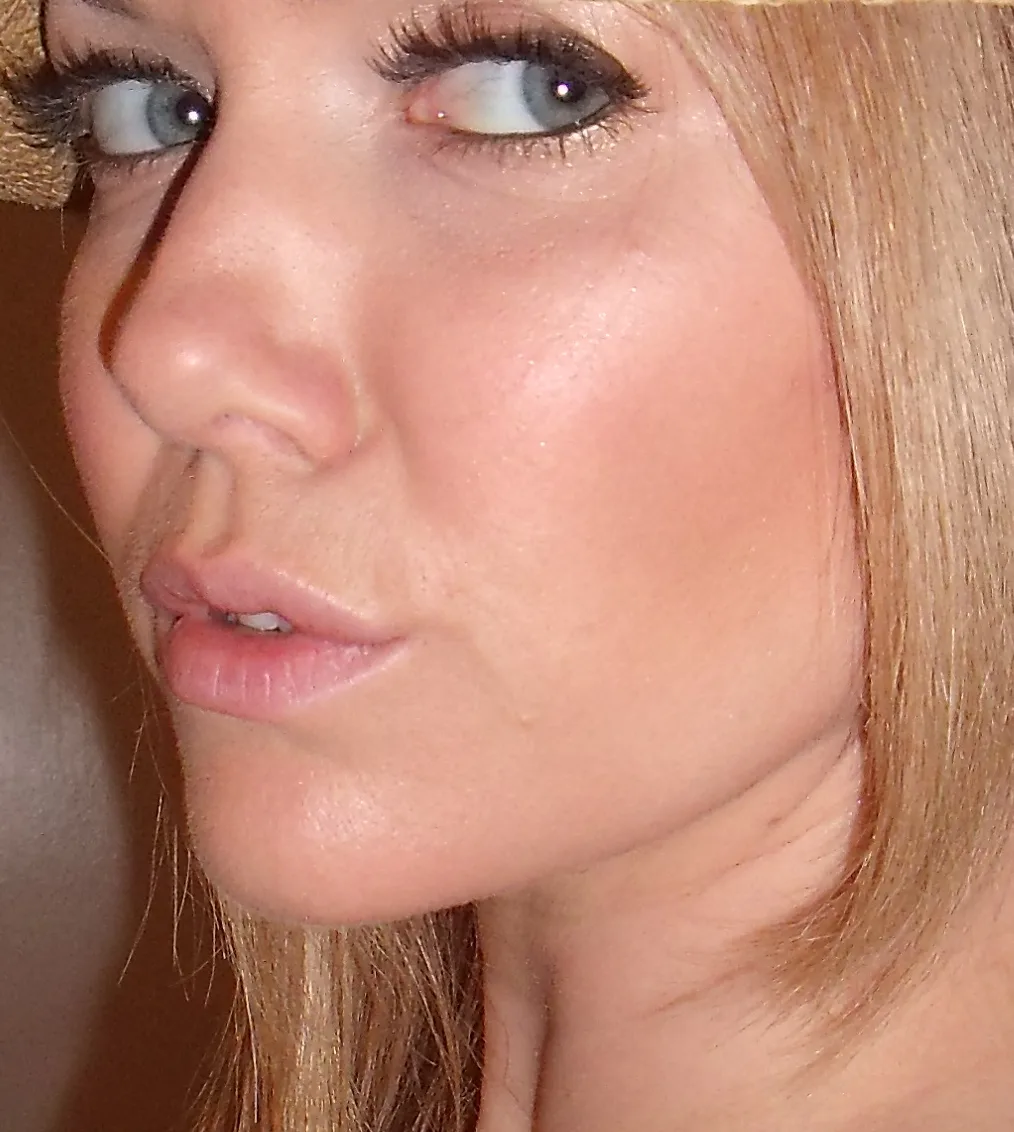
Finished Nighttime look:

I know it probably seems like a lot of steps and products at first, but trust me, you’ll get your foundation routine down to under five minutes in no time and like I was saying, often don’t need as much makeup everywhere else, saving you time in the end and making your look prettier and somehow also more natural! Double yay!
Just remember to always use a moisturizer before doing either daytime or night time foundation. It won’t make you oily, promise! It provides a great base so that your foundation never looks cakey, dry, or tight.
As always, thank you for reading my blog! I love comments and questions, please ask them below. Feel free to share this post on your facebook, twitter, or instagram, hashtagging it #girlgetglamorous. Thank you for reading and I hope you find this helpful!!
Stay Glam!


LEAVE A COMMENT
Love it. Can you tell me which products you used on your eyes? I have very fair skin and just found your website and I love the under eye color. I think I have many of the products you use – and I’ll be buying some more very soon. 🙂
Useful info. Hope to see more good posts in the future.
Thank you, Muhammad!
Would you be interested in exchanging links?
I love this! I use Garnier BB Cream during the day as well but never thought to put a mineral foundation over it, or a primer. Will try this soon! Great beauty tips and I must go get Benefit’s High Beam! Looks great! I love their products. xo
Thank you, Sharon! Yes, I started putting the mineral powder over bb cream when I was just playing with my makeup one day and it was a halo moment. 🙂
Oh Molly, you’re the best. I feel like I should print this out and stick in my makeup drawer.. I’m so much better with instructions. Can you write a blog on home pedicure, how to keep your feet looking hot in sandals? I swear I’ll try your foundation methods, and I’m totally gonna coconut oil my hair.
Thank you, Pam! Yes, I will do a post on my mani and pedi tricks!