


 You might also like
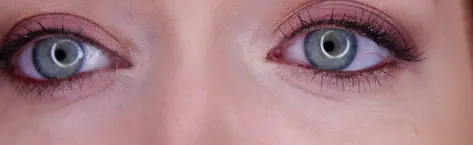 Beauty Deals
Beauty Deals
Beauty Deals 


Welcome to the GirlGetGlamorous blog!
Subscribe for monthly emails of the latest
blog posts and videos, sent right to your inbox.

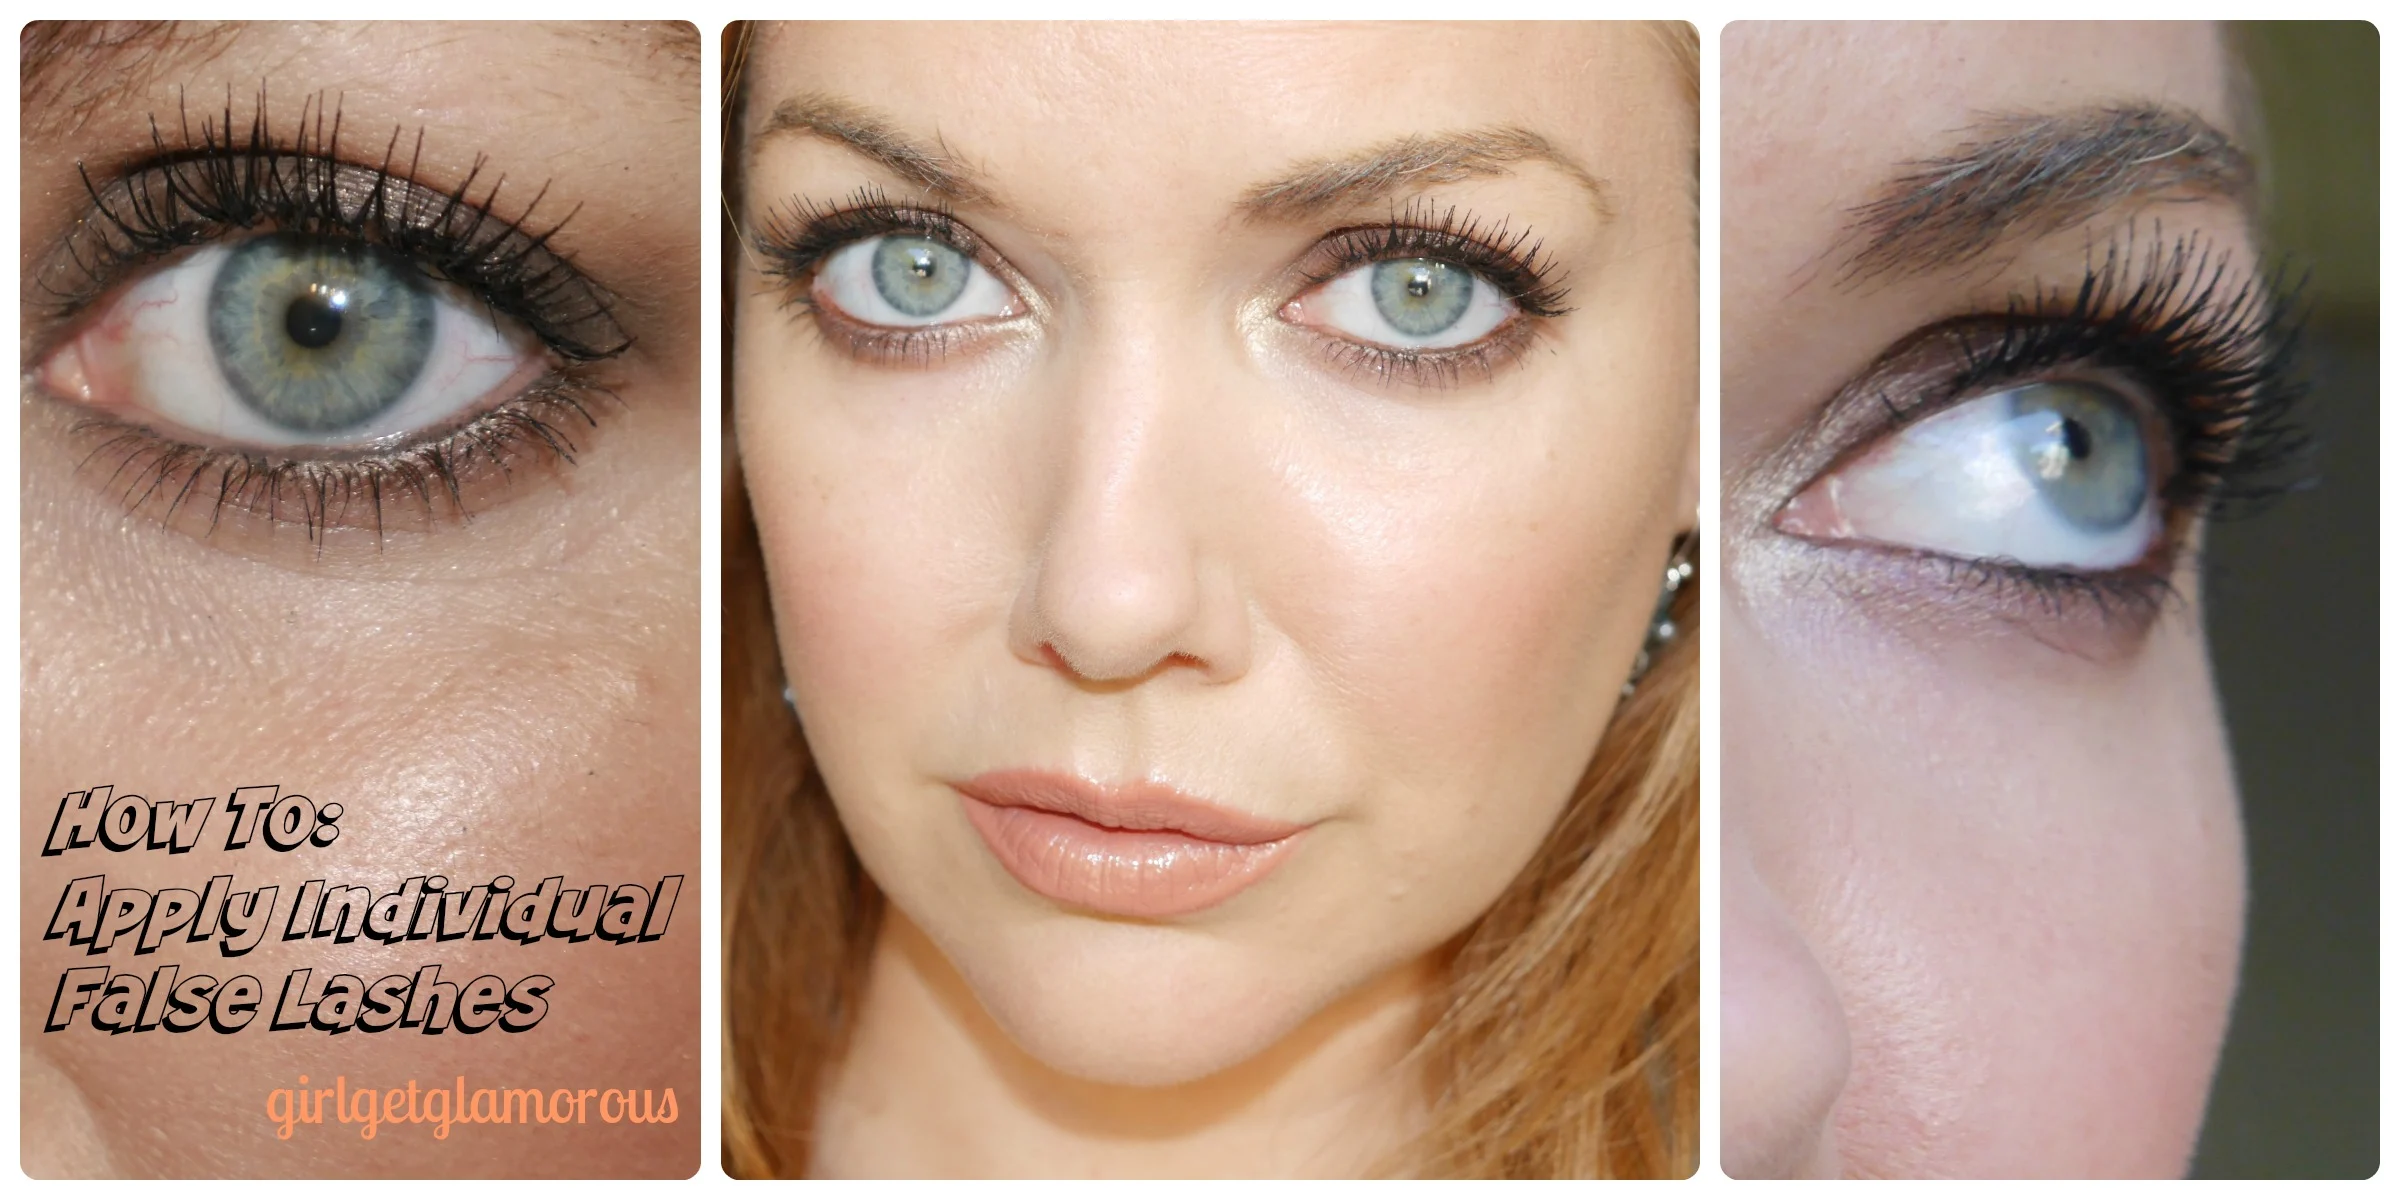
I absolutely love the look of individual false lashes. They can be bumped up for lots of drama or only worn at the outer corners for a subtle eye lift. They last all day with proper placement and if one does happen to fall out, it still looks more natural than a strip band lifting up.
For this reason, I wore individual lashes for my own wedding and did my mom’s makeup as well with individual lashes. I love that they last all day through heat, dancing, happy tears, etc. They are truly magical.
I wanted to share all my tips and tricks that I learned with individual lashes over the years of working with clients. I developed so many little tricks that worked beautifully every single time, regardless of eye shape. I have never shared these with anyone before, so I am thrilled to share them now!
1 | Lash glue
2 | Individual lashes (12mm are my favorite length)
3 | Mini scissors and tweezers
4 | Magnifying mirror (huge help!)
5 | Tubing mascara ( I like the “curling” version)
6 | Metal lash comb
shop my lash essentials | amazon
Step 1 | Trim Front Lashes
This is my biggest lash secret from when I was a makeup artist. I used this trick hundreds of times and haven’t told a soul until now! It’s the best trick for getting individual lashes to blend in with your natural lashes so they look real.
I like to trim mine when they are still in the case, I just pick a pair of lashes and trim one lash down for the right eye and one down for the left eye.
The shortest part of the lash will go closest to the inner corner of your eye. If you are nervous about putting them on the wrong eye, place it on your eye before putting glue on to check.


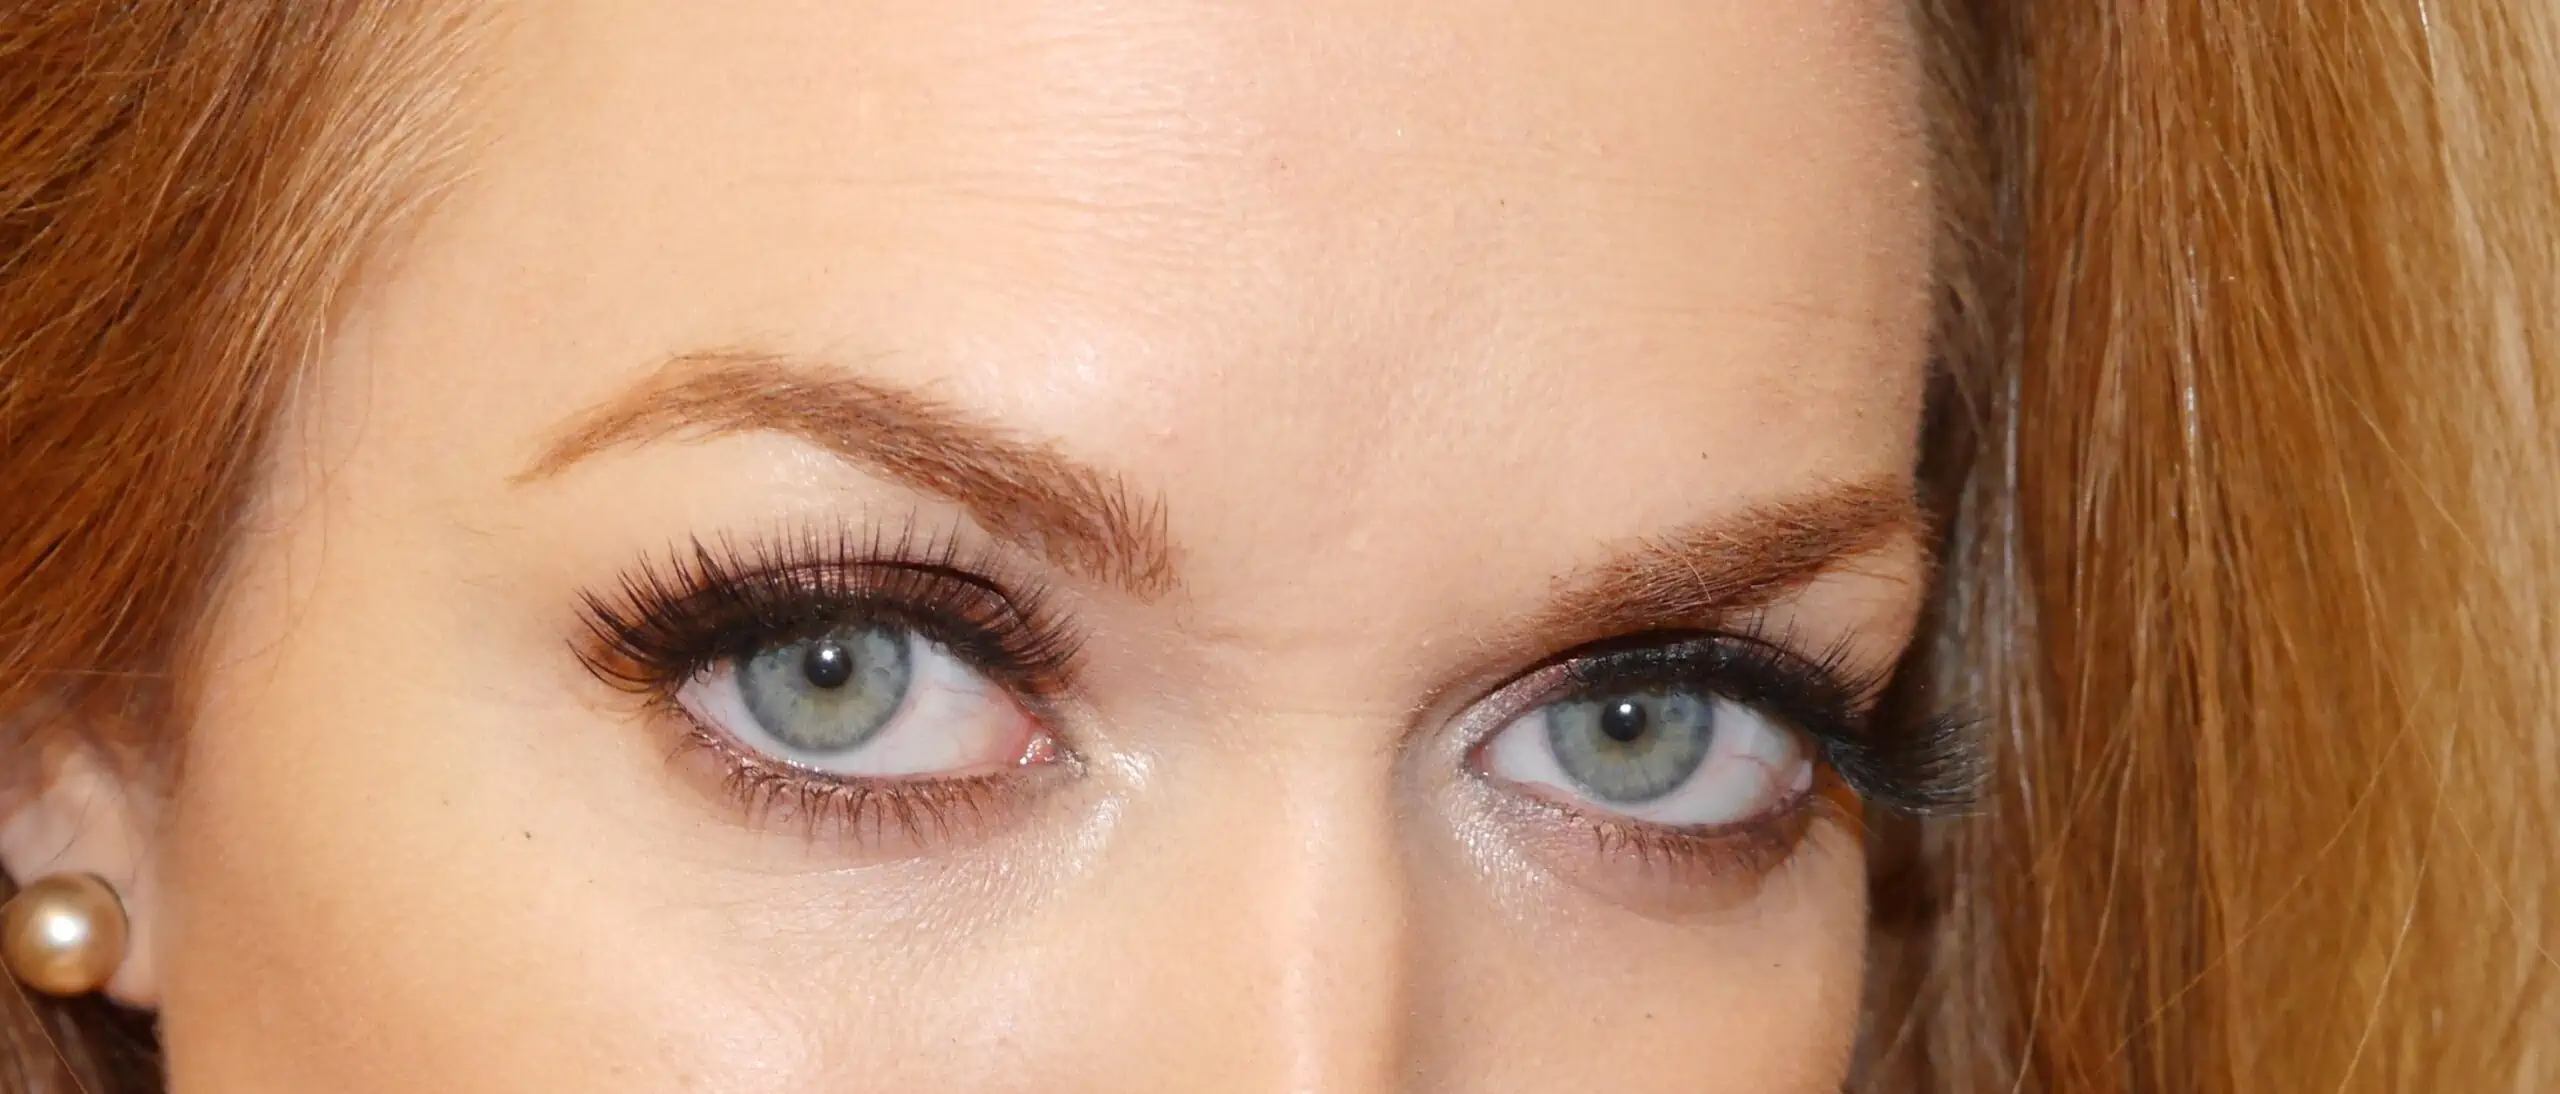
Step 2 | Your Best Lash Shape
I like to start placing my lashes down at the outer edge. I place it down a bit farther in than my natural lashes, for a lifted effect on my hooded and downturned eyes.
If you don’t know where to put down your first lash or want to make sure it’s looking natural, make sure the edge of the lash is going up-and-out, following the direction of your lower lash line.
Step 3 | Mind the Gap
Place the next lash down leaving a gap in between the first lash. This makes sure that your glue will get a chance to dry without any other lashes touching each other and causing twisting.
This was my biggest other trick when applying lashes on my makeup clients. Individual lashes can take longer than a strip, but by leaving that gap and filling it in after, it saved me so much time, because I didn’t have to fix any twisted lashes!
Also, I like to go from applying a lash on my right eye to my left and back, to really give all the glue a chance to set.


Step 4 | Front Lashes
Now that the outer lashes are placed, it’s time to frame out the lashes at the front. Grab the trimmed lashes and place them down where you want the lashes to start.
This can change every time based on how many lashes you want to use and the look you are going for. Then fill in the center lashes as needed.
Step 5 | Dry Time
I prefer to do my eye makeup first, this gives the glue time to completely set while I finish the rest of my makeup. I tap a lash curler over my natural lashes and the individual lashes, but am very careful not to touch the glue with the curler, only the lashes.
Once it’s all finished, I go back in with mascara, this tubing mascara is my favorite, and coat my natural and the false lashes.
One of my favorite tips for mascara is to coat the top side of my lashes as well. This really helps give the lashes a nice blend. Comb through with a metal lash comb for a fluttery effect.


Step 6 | Removing Individual Lashes
This was one of the most frequently asked questions I received as a makeup artist. People always wanted to know how to take the lashes off, so they wouldn’t pull out their natural lashes. I’m so happy people thought to ask me this!
First, I know, it’s tempting to keep them on as long as possible, but individual lashes do have to be removed after every wear. Sleeping with them in with put a strain on your natural lashes.
To remove them, add a drop of cleansing oil (I used to keep samples of the DHC cleansing oil in my kit and hand them to clients). This oil is applied dry, you let it sit for 30 seconds to a minute. You’ll feel the glue start to loosen up and then you can add water and rinse. The lashes will gently slide right off.
I hope this step-by-step tutorial are video are helpful! – Molly


LEAVE A COMMENT