


 You might also like
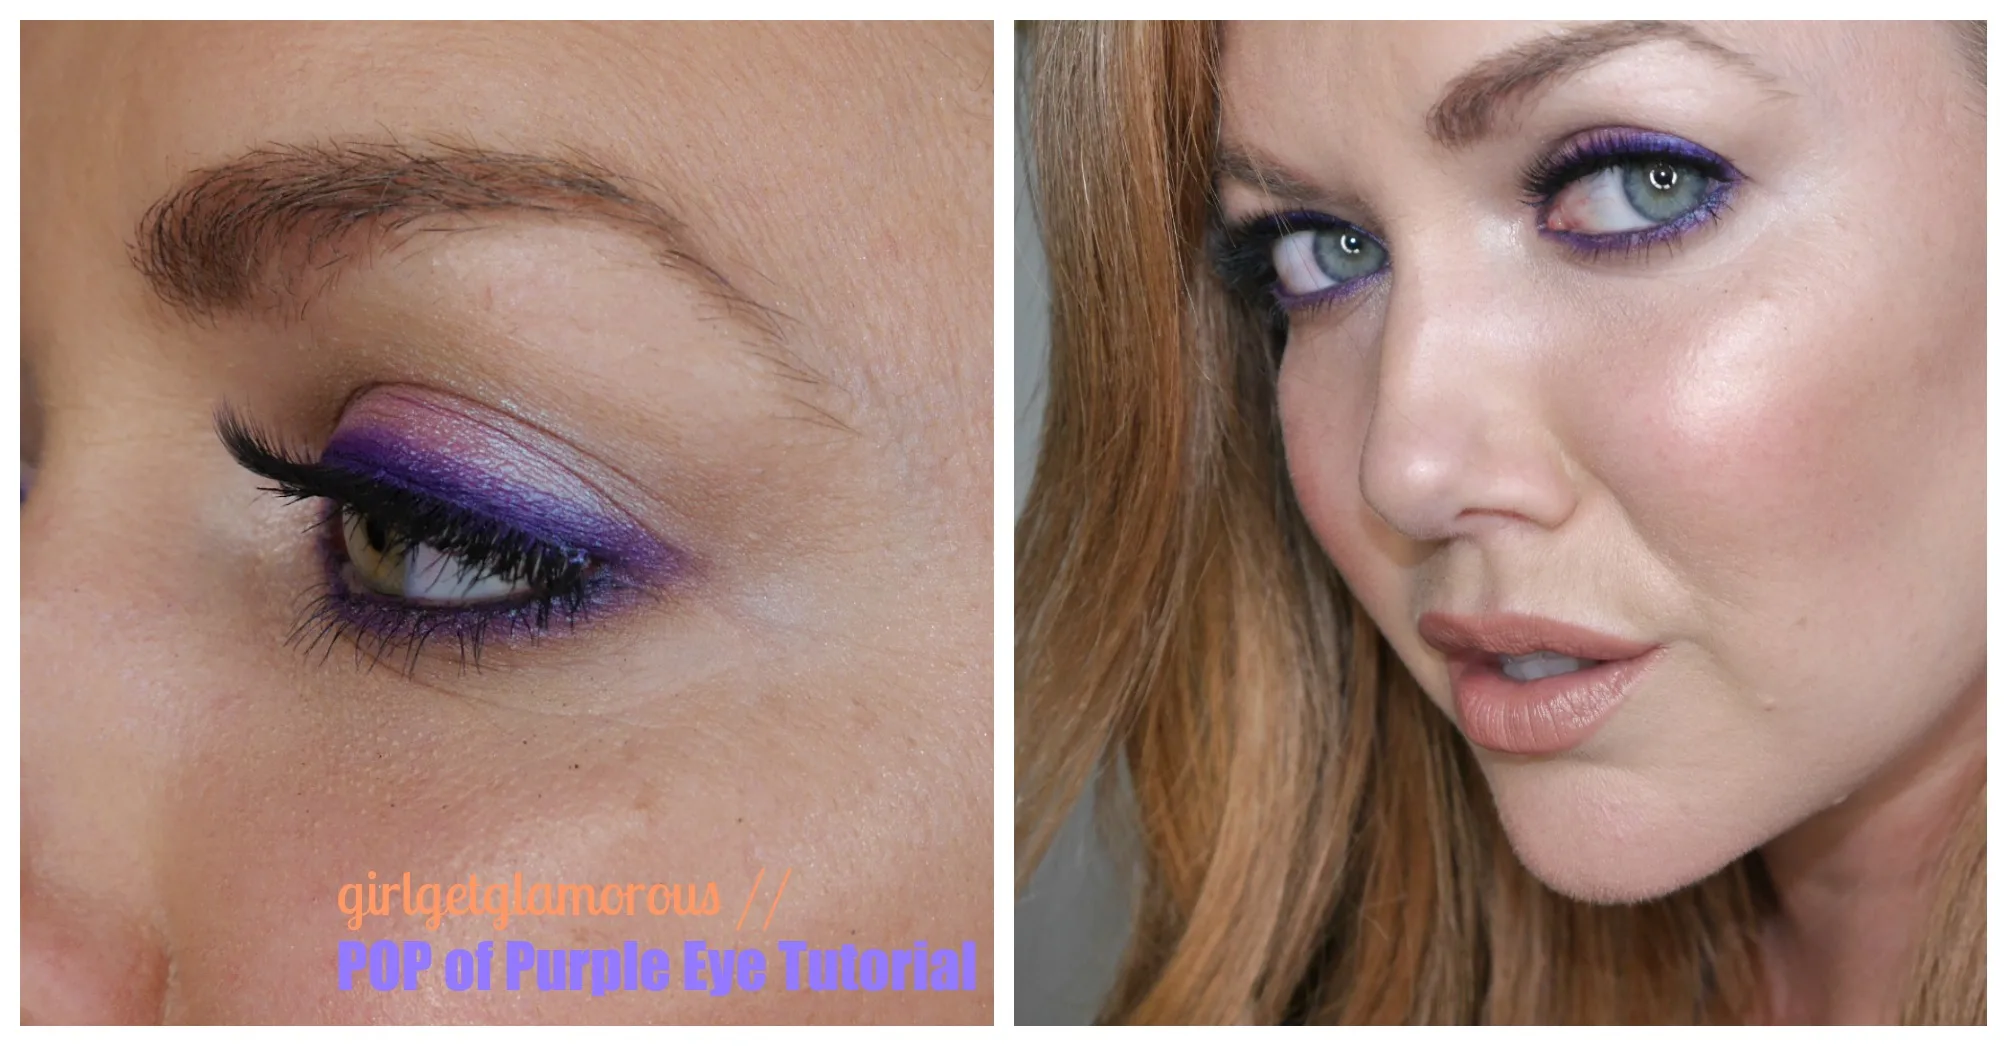
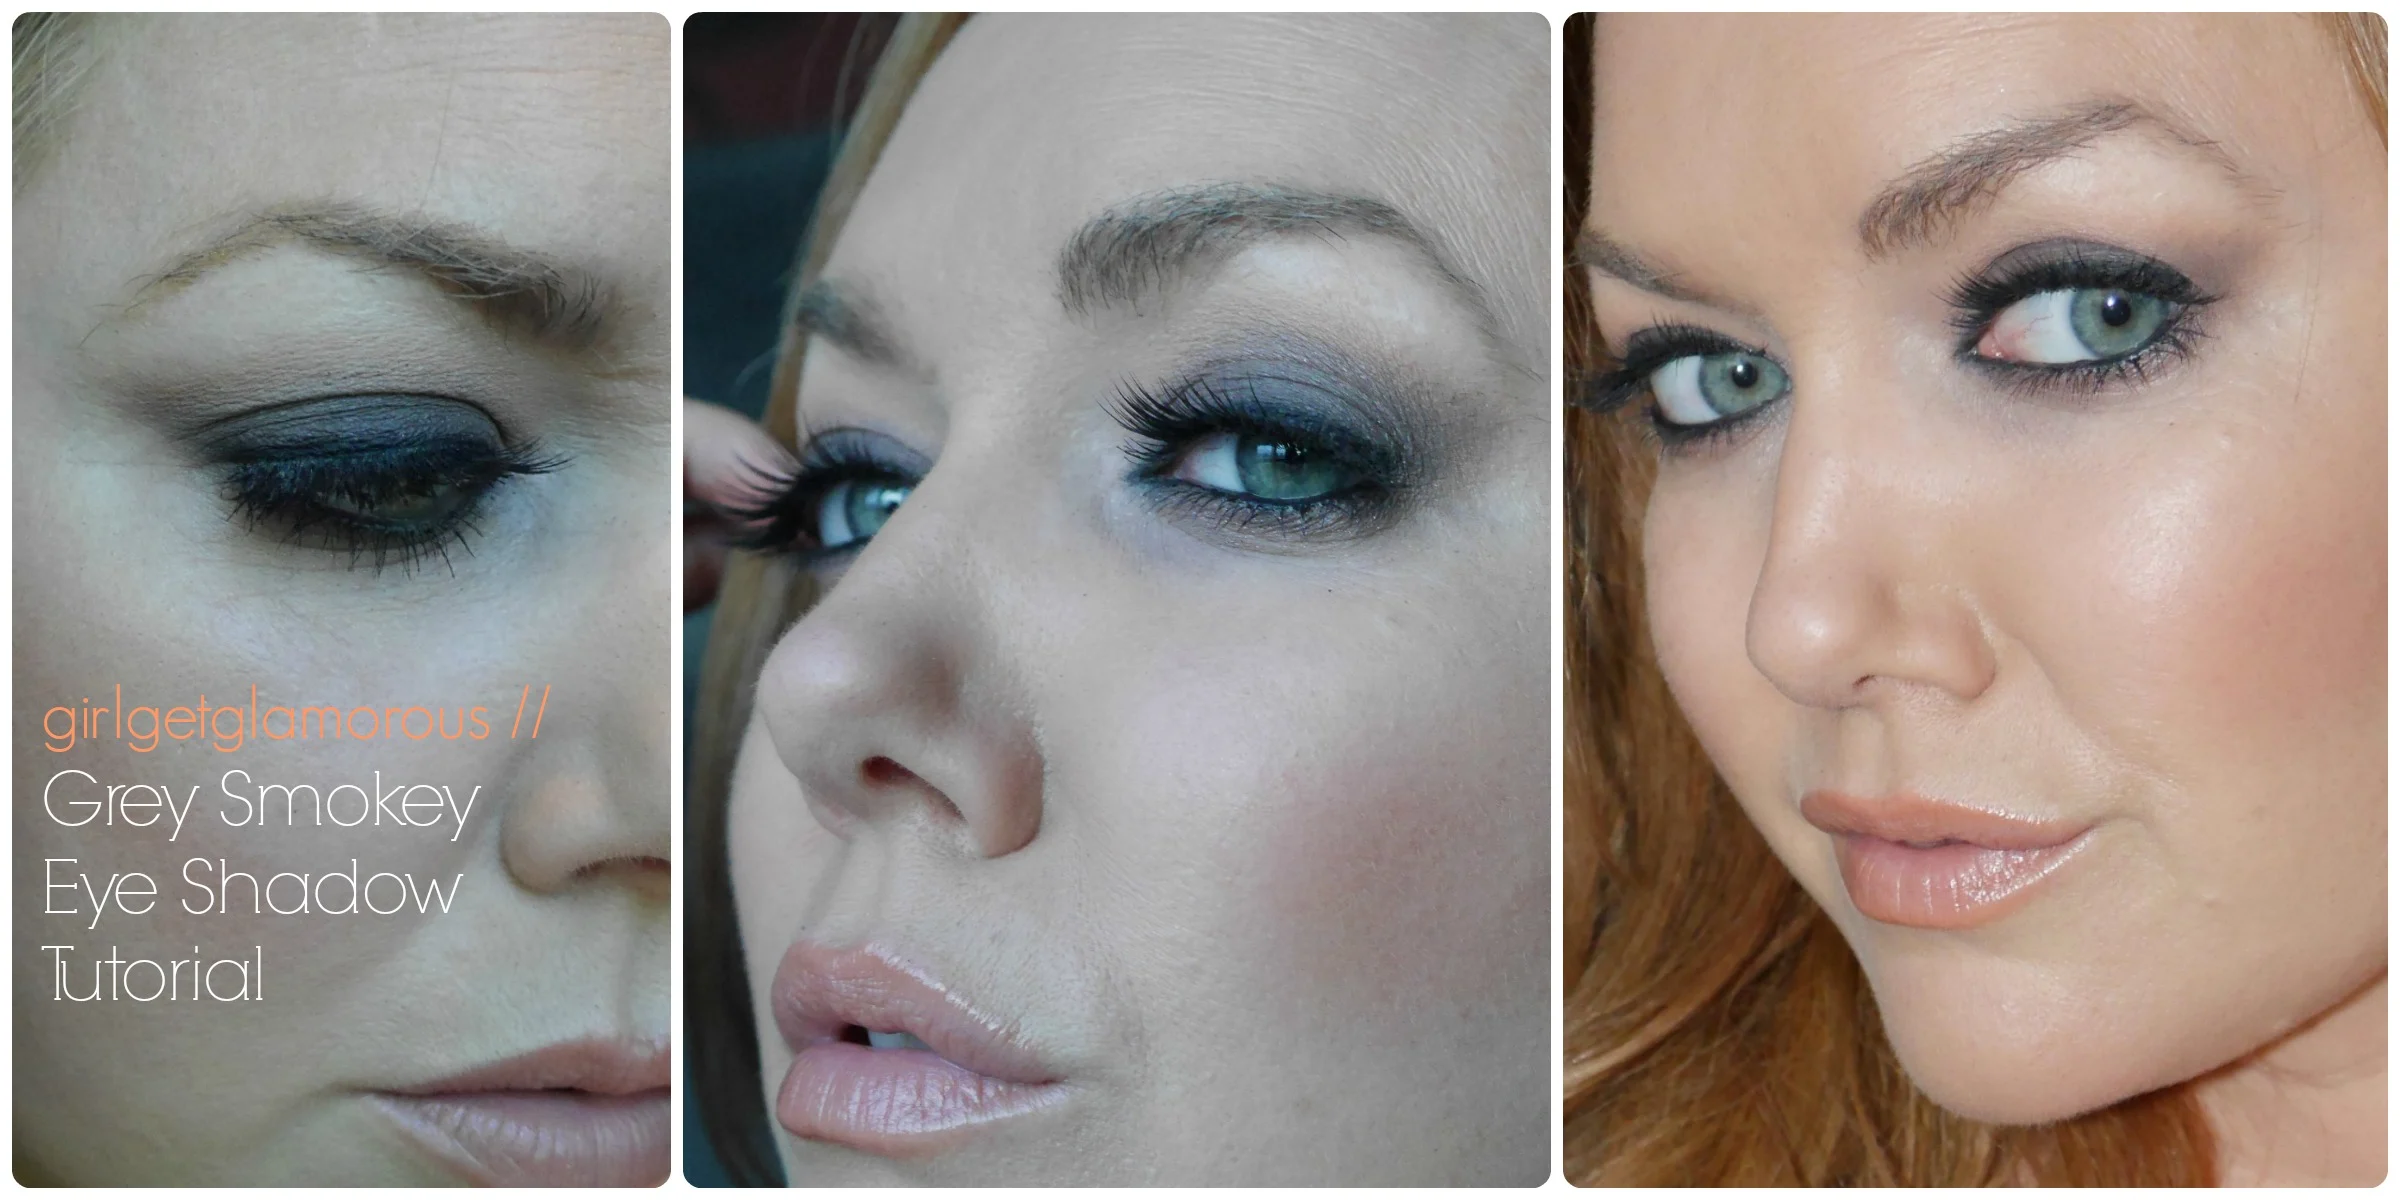
 Product Reviews
Product Reviews
Product Reviews 


Welcome to the GirlGetGlamorous blog!
Subscribe for monthly emails of the latest
blog posts and videos, sent right to your inbox.
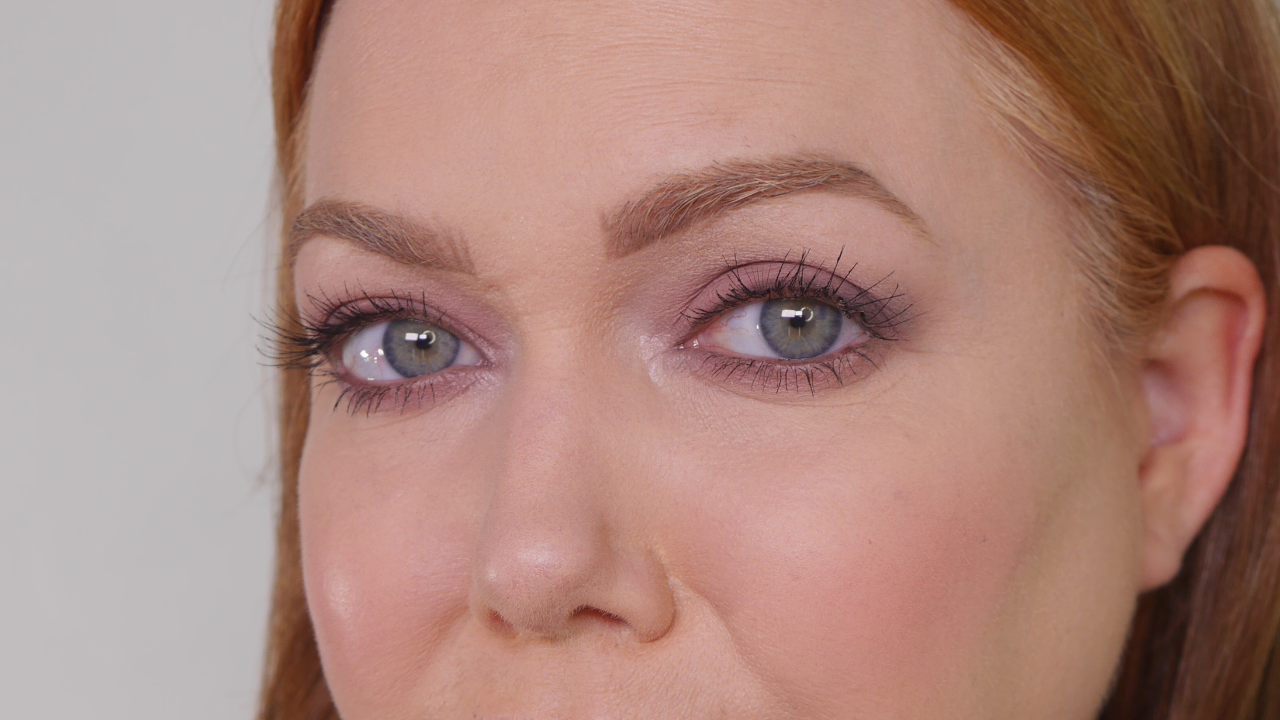
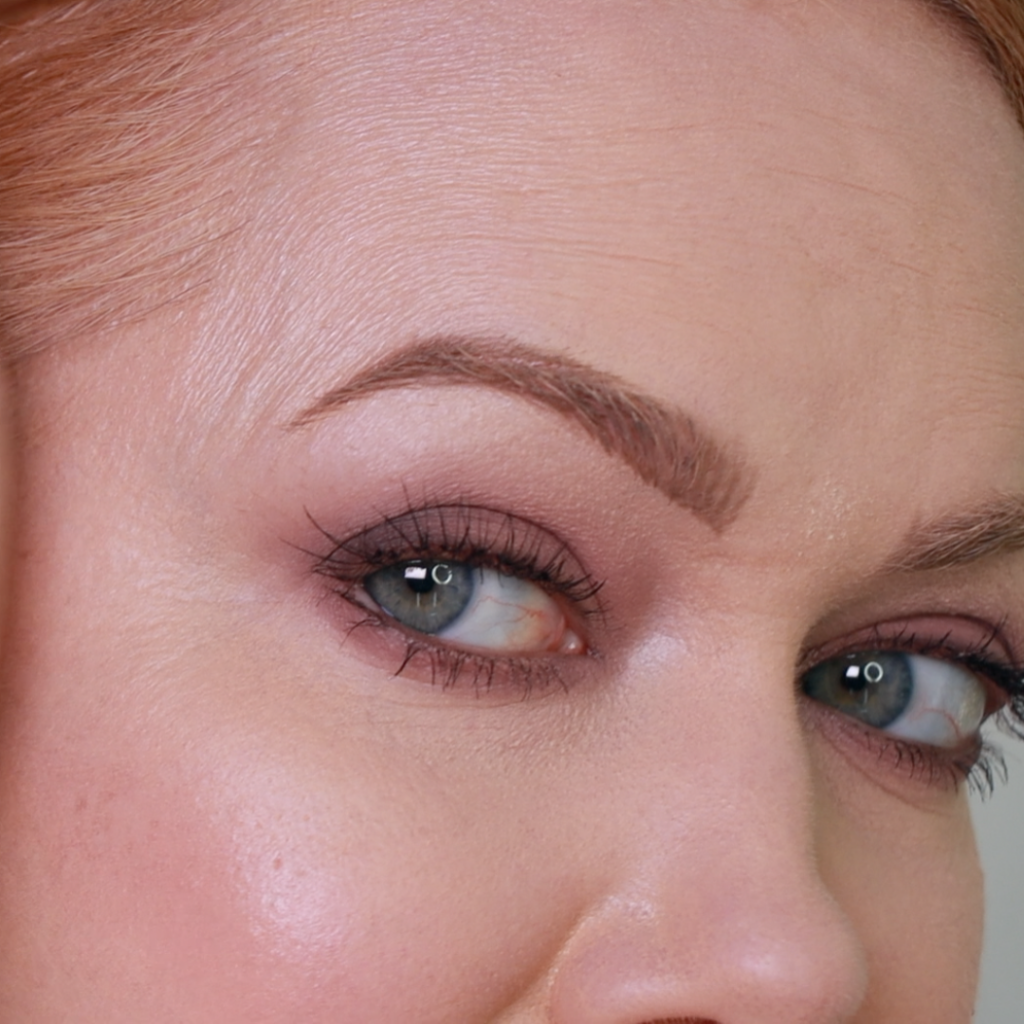
This is the easiest eyeshadow technique ever! It’s become my go-to lately because it’s so quick and comes out perfectly every single time.
This simple eyeshadow shade combos look clean and fresh. Sometimes, I’ll even use my bronzer as eyeshadow for a true monochromatic makeup look.
It’s also nice for hooded eyes because it really lifts the outer edge. The best part is that it’s both beginner and expert friendly.
If you are also craving a bit of simplicity and makeup minimalism in your life, this is the tutorial for you. Here is the simple three step technique, along with the products you’ll need.

STEP 1 | Prep
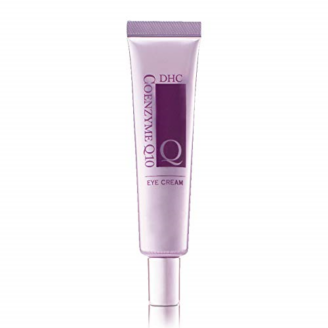
You’ll Need | Eye Cream + Eye Shadow Primer (or concealer)
The best eyeshadow results always happen with proper prep. I keep it simple for this technique with eye cream tapped on to my upper eye lid and below my eyes and then eye shadow primer over both lids.

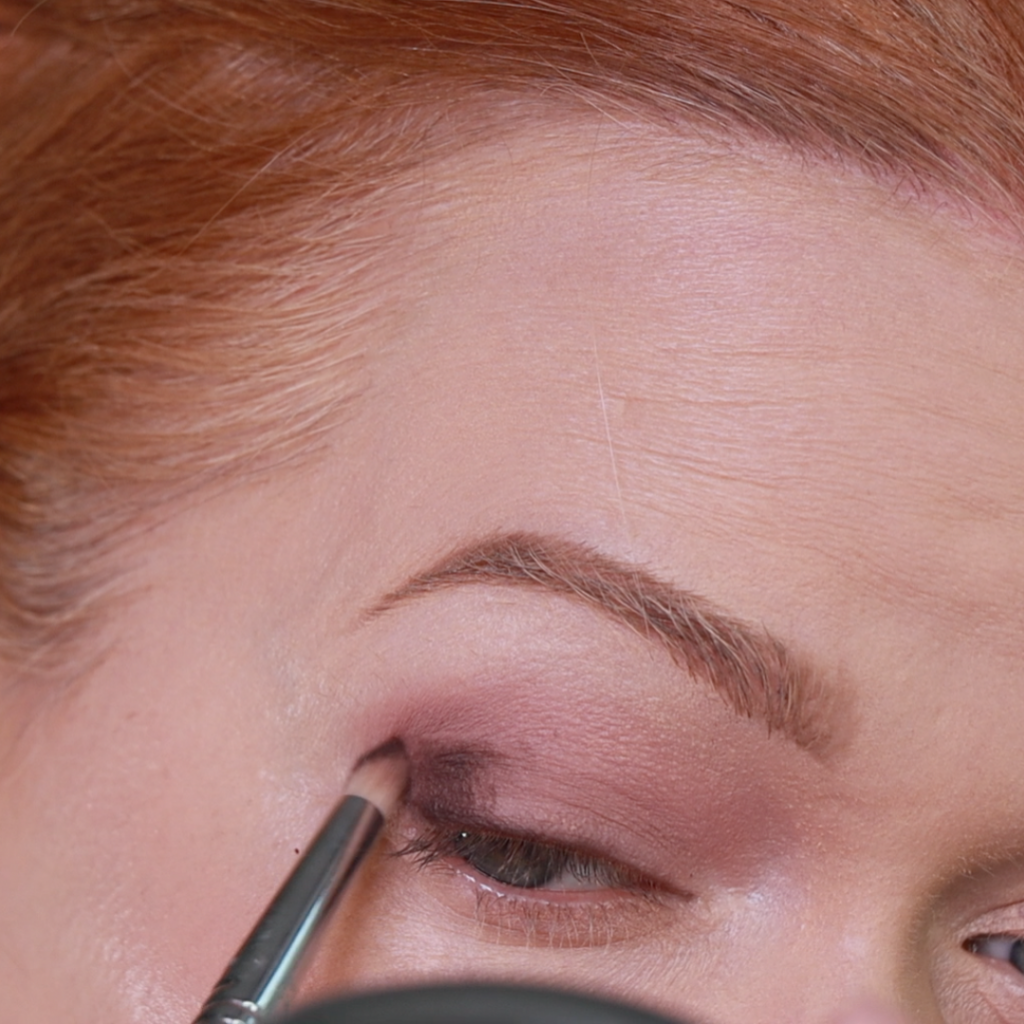
STEP 2 | Liner
You’ll Need | Eye liner
Taking my sharpened eye liner (always sharpen before applying!) I get the liner as close as possible to my lashes on my upper lid.
To lift up the look of my eyes, I flick the liner up subtly at the outer edge.
For my lower waterline, I usually use a skin tone shade liner to brighten my eyes and make my eyes appear larger. You can also use the same liner from the upper lash line on the lower lashes, for a smokey eye.

STEP 3 | All-Over Shadow
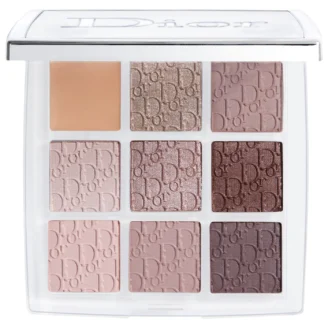
You’ll Need | (1) fluffy lid eyeshadow brush + (1) lighter eyeshadow
Using a slightly larger and fluffy brush vs my typical lid brush here allows me to apply color and blend quickly.
You can use any color you want for this step, I generally prefer a lighter shade that is only 1-2 shades deeper than my skin tone.
I have hooded and downturned eyes, so I start by tilting my head back slightly, so my lid is smooth to work on.
Then I tap the shadow into the outer corner, so that it goes on the lid and above the crease. If you don’t have hooded or downturned eyes, you can go right into the crease).
Repeat this on the other eye, so that the shadow positioning is in the same spot on each side.

STEP 4 | Lid Blending
You’ll Need | (1) fluffy lid eyeshadow brush
Now, with swirling or wind shield wiper motions, and without dipping the brush back in to your shadow color, start to pull that shadow in to the crease and then down across the lid. You can always build up the color as much as you’d like.
Lower Lash Line: If you like to have shadow on your bottom lash line, then grab your pencil brush and dip it in the same shadow and buff that in to your lower lash line, connecting it with the upper shadow.
This will give you a nice horizontal “V” shape at the outside of your eye.

STEP 5 | Smudge Liner + Shadow Melt
You’ll Need | (1) Smudge Brush + (1) Deeper Eyeshadow
Grab a smudge brush and a slightly deeper shade than your original eyeshadow. It should be fairly close to the shade of your eyeliner.
Smudge directly over the liner, to soften it and set the product.
STEP 6 | Corner Shading
You’ll Need | (1) Smudge Brush + (1) Deeper Eyeshadow + (1) Pencil Brush
Then, take your pencil brush and tap it lightly into the same deeper shade we just used for setting the liner.
Starting at the outer corner on the upper lid, place it down over the liner and pull in. Repeat this motion, pulling the shadows in, to blend the darker shadow in with the lighter shadow.

STEP 7 | Blending
You’ll Need | (1) Angled Blending Brush + (1) dome shaped pencil brush
I always like to make sure the edge of my shadows are really blending into my skin for a seamless look, so I grab two clean brushes with no product on them.
I prefer a fluffy angled brush for the upper lid and a small dome pencil brush for blending the lower lash line. Gently blend until there are no harsh lines between your skin and the shadows.
If the shape has gotten a little too blended at the outer edge, you can also always grab a concealer brush and a tiny dot of concealer, drawing a line with the concealer up-and-out, to clean up an sharpen that edge.
BONUS TIP | Setting
To prevent shadow from creasing (and mascara from flaking!), spray a bit of setting spray lightly over the lids after shadow is finished but before mascara is applied. Spray an extra spray directly into your pencil brush and run this over the inner corner and lower lash line to set your liner and shadow here.
Let me know how how this eyeshadow technique works for you!


LEAVE A COMMENT
Do the Elf pads that you use to quickly clean brushes have fragrance? I have done this with fragrance free wipes like the CVS generic of the Neutrogenia one, but mostly on greasy brushes like those I use for cream concealer and corrector, I am afraid wipes would make eye shadow brushes too wet. Thank you for beginning to review the Jones Road products. I learned to do makeup with the original BB products and have been distraught at the dessimation of the line and it’s best products by EL! I am desperate to find a corrector shade that is a dupe for the long discontinued Extra Light Peach! I was told to use the pink correctors forever and they washed me out horribly. By the time I discovered extra light peach it was discontinued. Your favorite correctors are a bit too pink for me. If you could get to the Jones Road face pencils and foundation, that would be extremely helpful
because they are not in retail stores currently. TY for everything!