 Hair
Hair  Hair
Hair 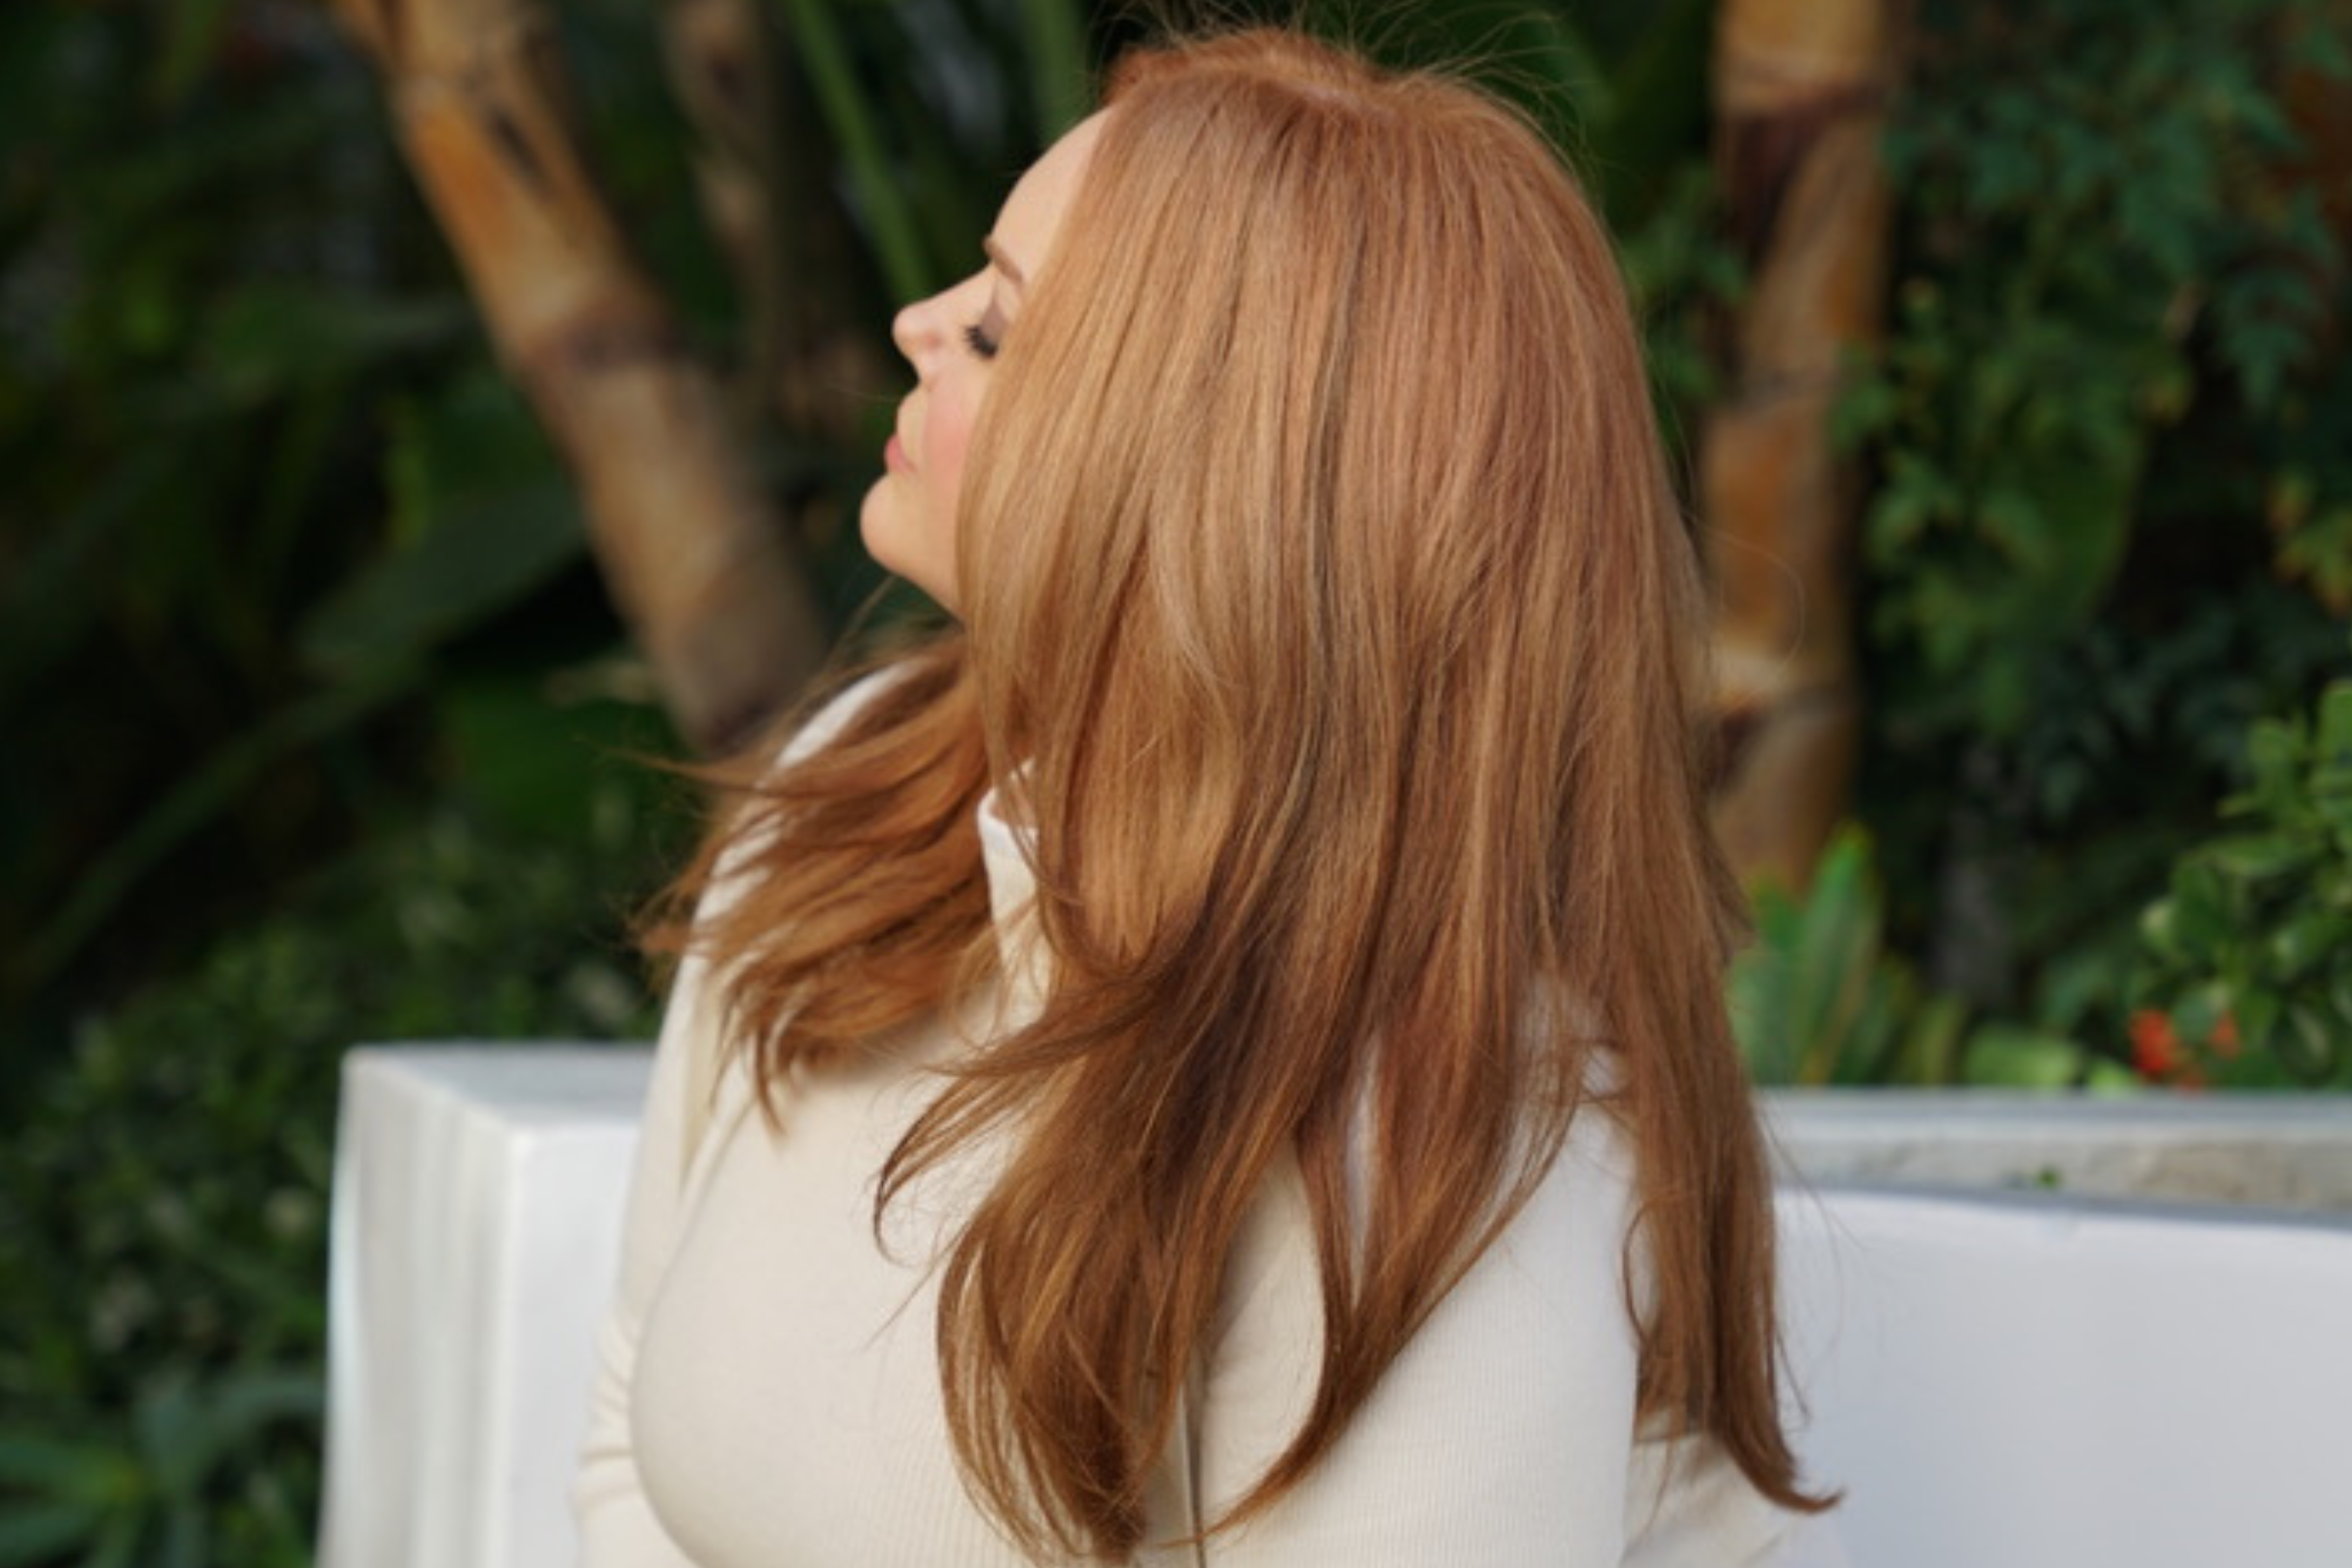
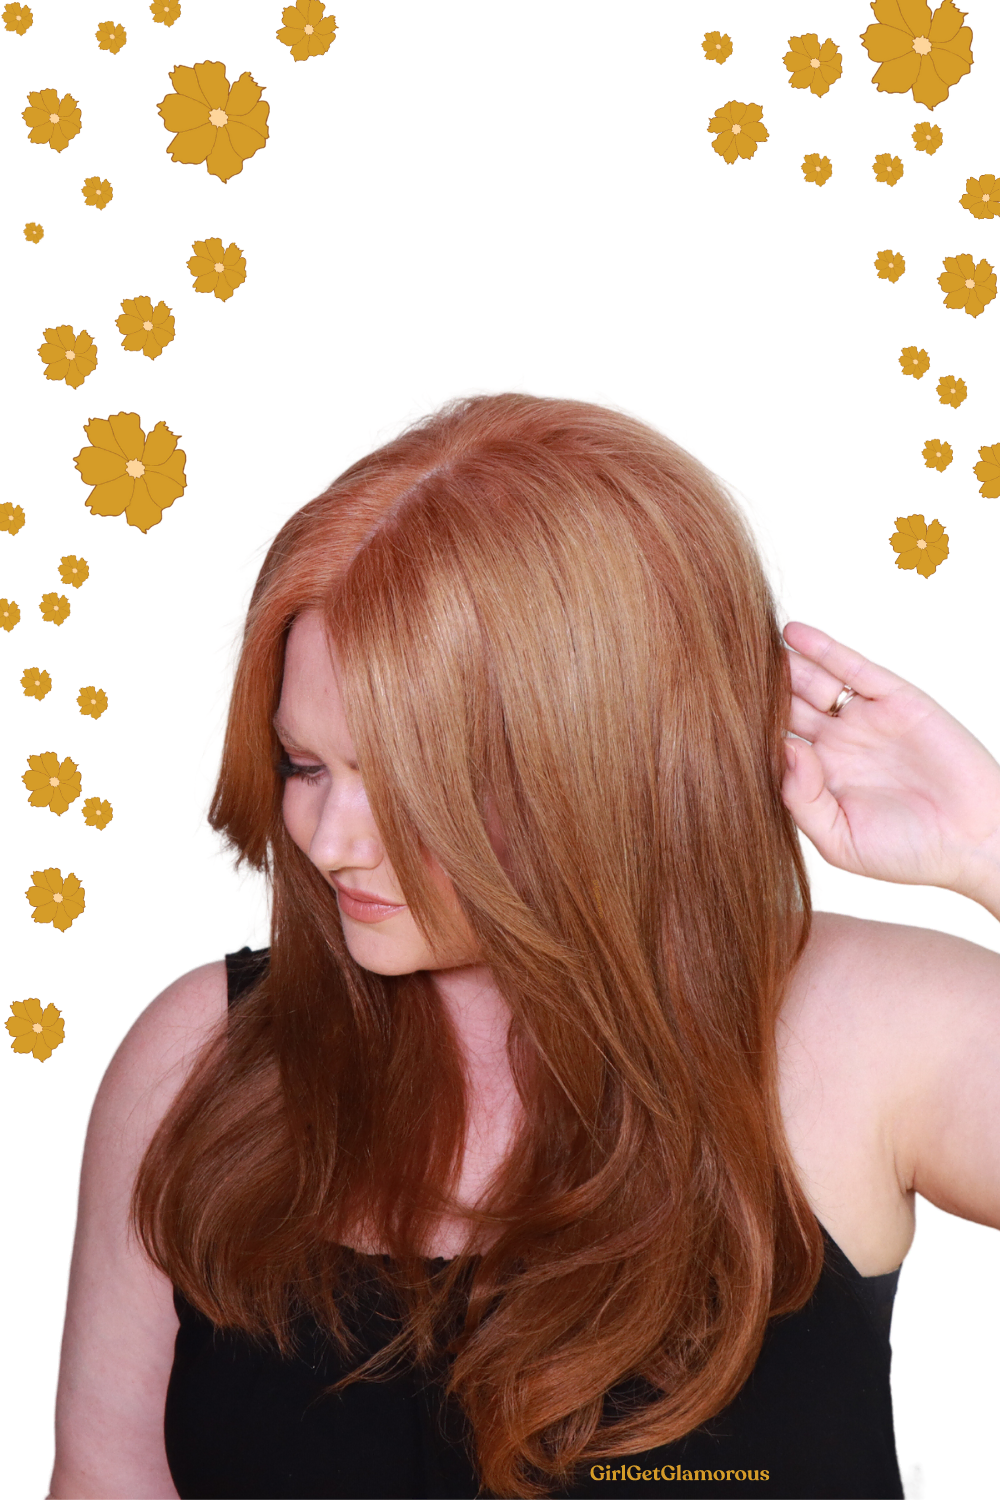
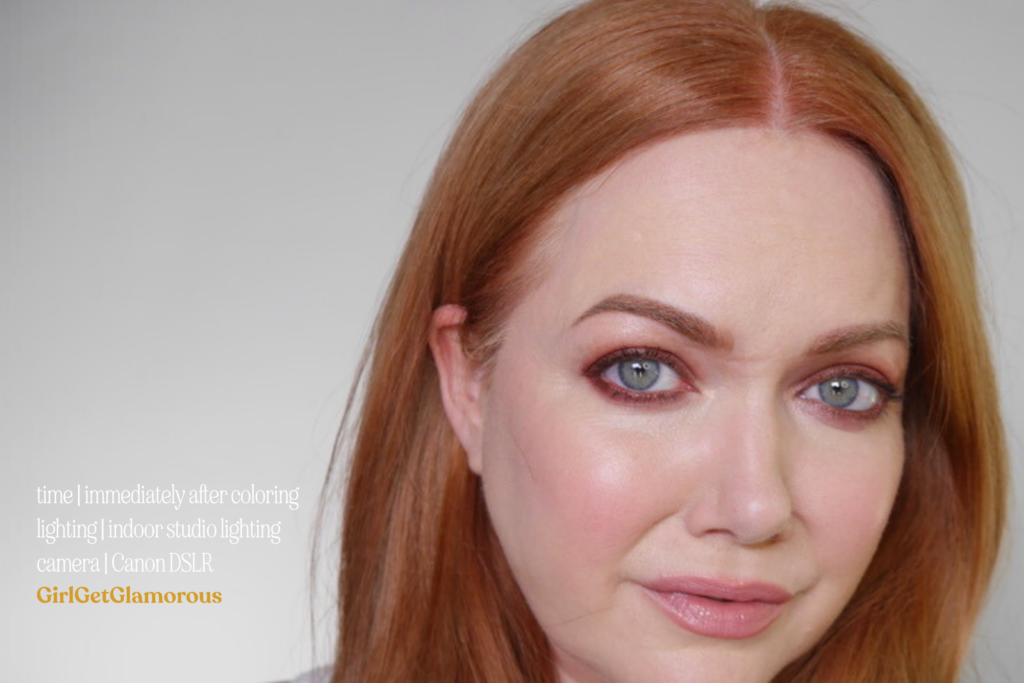
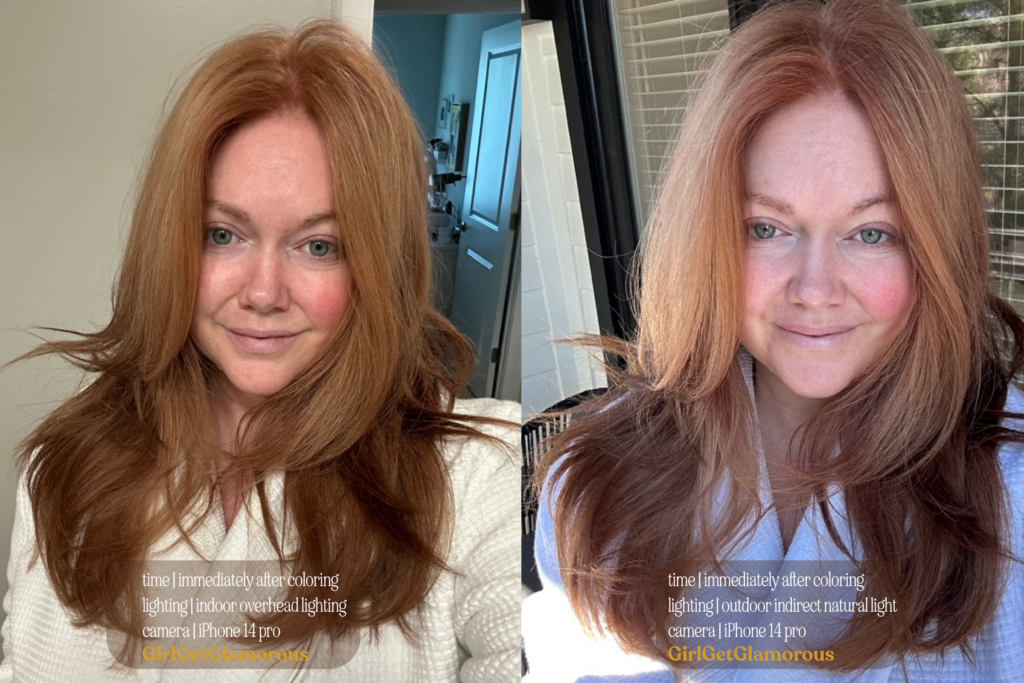
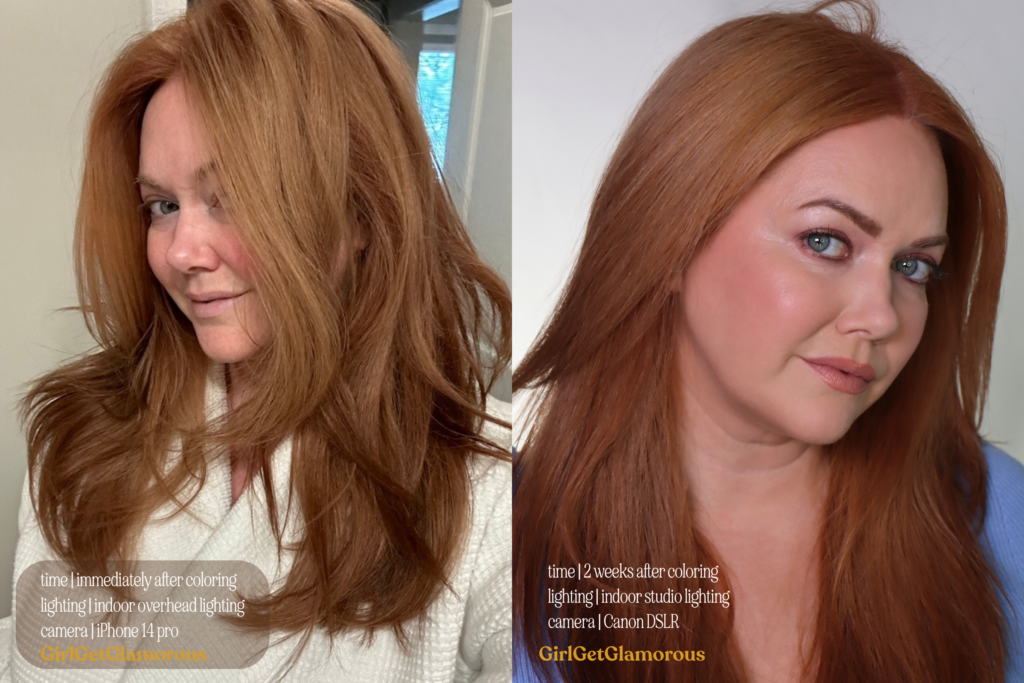
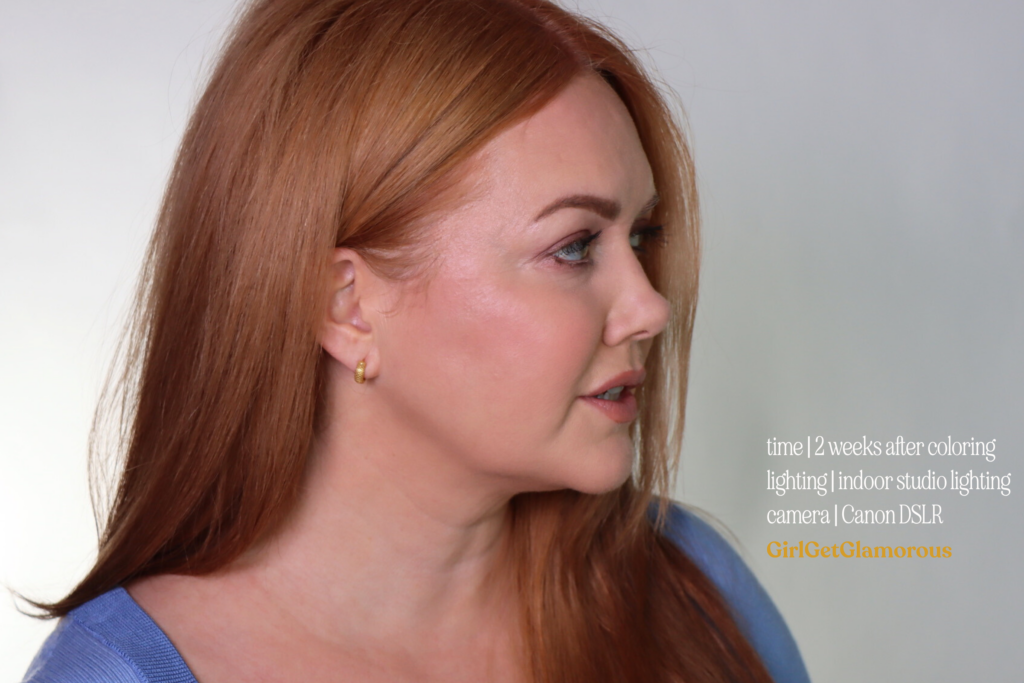
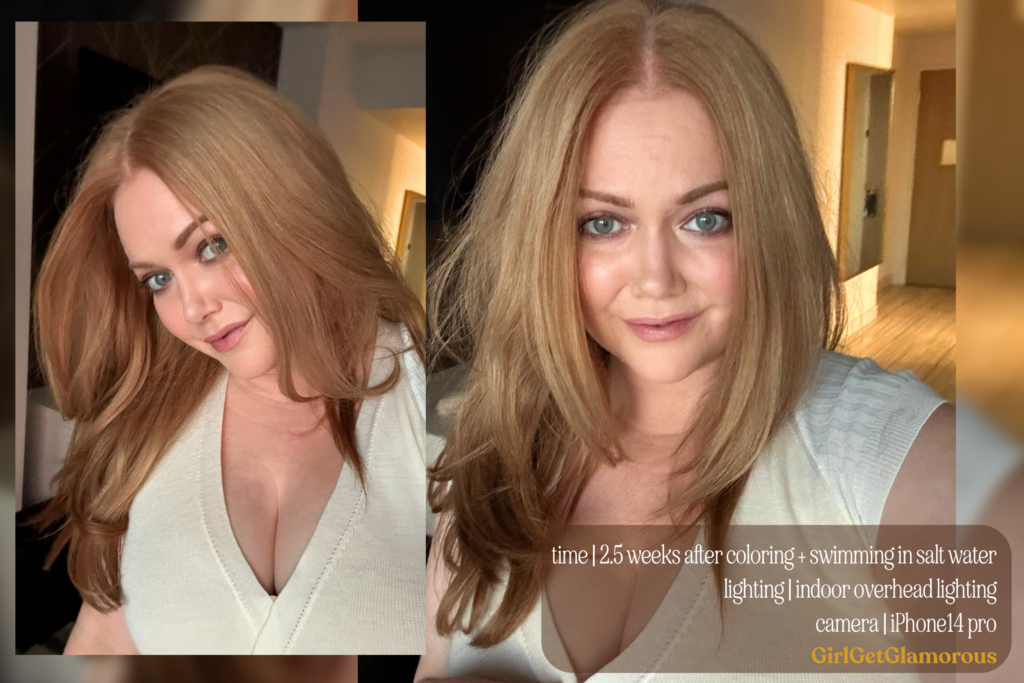
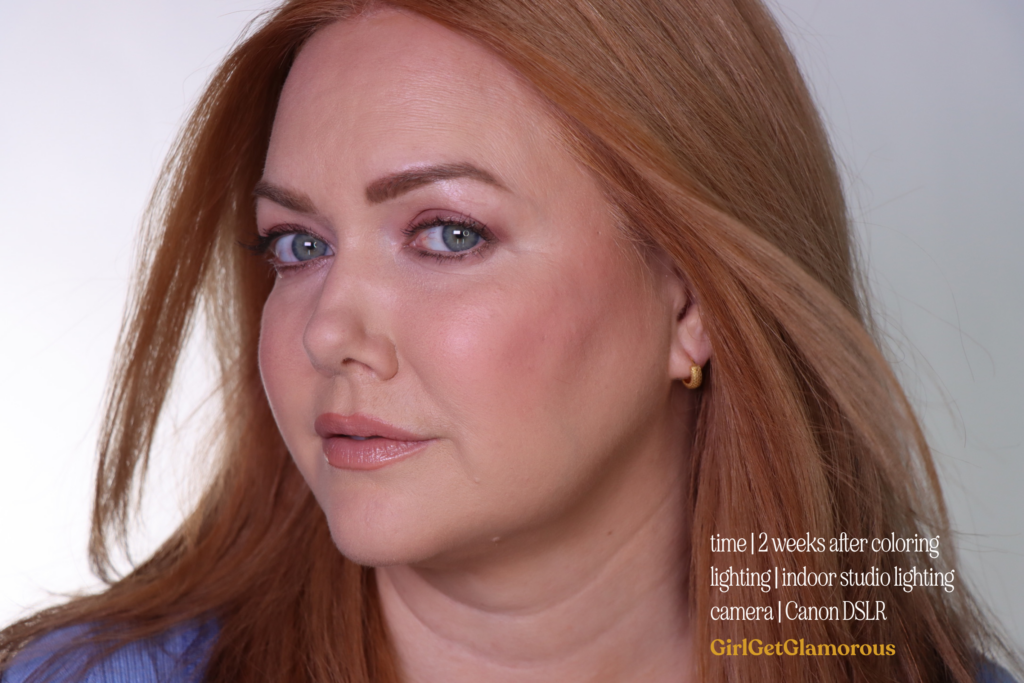
Here is my updated Strawberry Blonde at-home hair color formula for gorgeous light reddish blonde hair with no hot roots! I have been experimenting with different dye combinations and this one really seems to work for me.
For the first time ever, I am combining liquid and gel dyes, which has been the key for the roots coming out really soft and natural looking. These results lean a bit more golden than my other results, so i do like to maintain the red with a color depositing mask once a week.
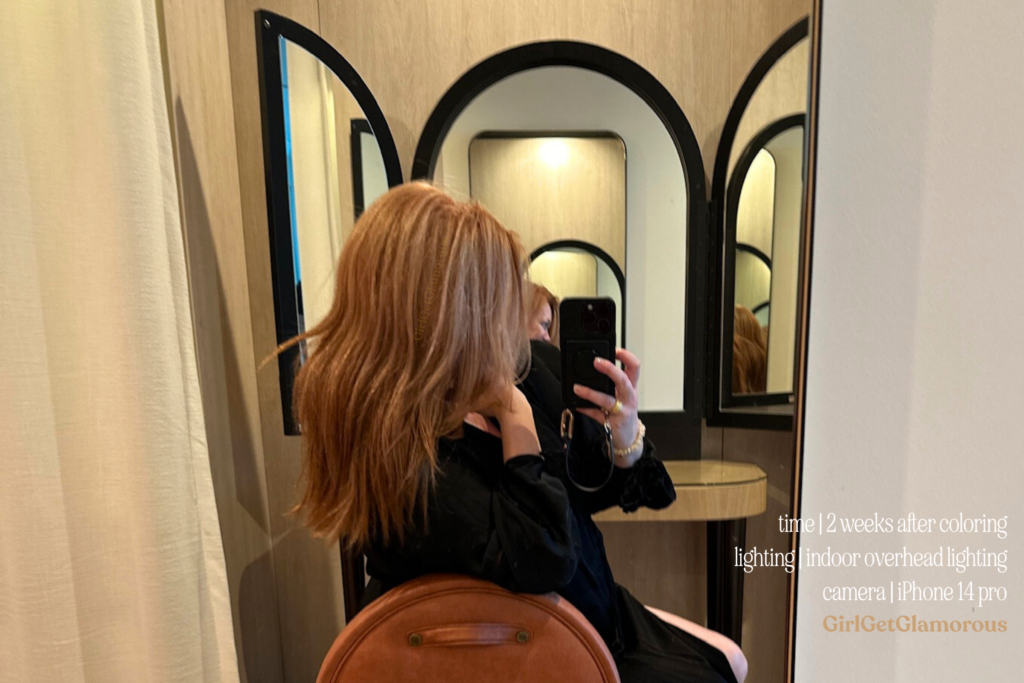
PREP | I’ve noticed that my color results come out more even when I use a protein treatment hair conditioner the day before I dye my hair.
I use this $8 K-Beauty mask and have purchased a few for friends as well. The brand is Elizavecca and you can save 10% with my code SHOPGIRL on Stylevana. My hair feels like silk after using this mask.
Step 1 | I brush my hair starting at the ends, then brush the middle and finally top to bottom. Once everything is smoothed out, I apply either a few drops of Anablue Treatment Oil or jojoba oil to the ends and driest bits of my hair, to prevent those areas from absorbing too much dye and turning darker or more red than the rest of my hair.
Step 2 | Add 1.4 oz of liquid 6RG and 1.1 oz of 8G gel into the mixing bottle. This is 2.5 ounces total of color.
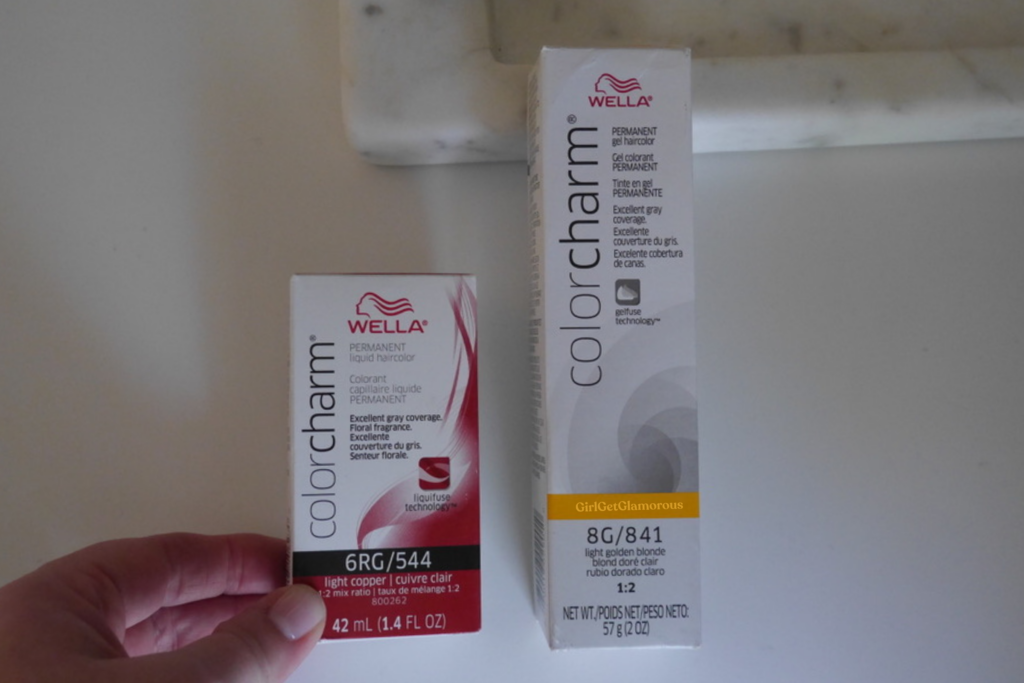
Step 3 | Then I add 5 ounces of the Level 20 developer. I like the Pravana brand, but you can use any brand you like.
I now have 7.5 ounces total in the bottle.
Step 4 | Start to shake it up (with a finger over the open end) until the both shades and the developer have completely mixed.
You want it to be completely mixed so your hair color comes out even, so really shake that bottle up.
Step 5 | I like to start at the back of my head and bring the bottle forward along my part, until I get to my forehead. This way I get the back of my head colored as evenly as possible, which can be tricky when coloring on your own! I like to go around my hairline as well, so those grays can really pick up the color. Then I finished the top and center back section and move to applying on the sides.
Step 6 | Once all the color is applied to my roots, I ask Siri on my iPhone to “set a timer for 30 minutes from now.”
If I am only doing a root touch up that day, I’ll let the color sit for 40 minutes and then hop on the shower, squeezing the color through the middle and ends before I rinse it out, for a very quick color refresh.
Step 7 | If I am coloring the roots and ends, then right before the 35 minute timer goes off, I’ll mix up my ends formula: 1.4 oz 6rg, 1 oz 8G, 4.8 oz Level 10 developer = 7.2 ounces total color.
Step 8 | I part my hair in horizontal sections and start from the bottom sections up, applying color from the bottle, brushing it through with my color brush, then moving up to the next section.
Once it’s all applied, I let it sit for only 1-2 minutes, as my hair does have more damage from years of coloring. If you hair is in good condition, you can leave this second mix on the ends for up to 10 minutes.
Step 8 | Once the timer goes off, at max 40 minutes of color time total (max 40 min total for roots only or full color), I hop in the shower.
Rinse the color out first, without any shampoo, until the water runs clear. I gently squeeze all the color down my hair, so that the middle and ends get a mini color refresh, without the product sitting on my hair.
Once the water is totally clear, then I shampoo as many times as needed. I usually have to shampoo three times.
MASKS | I follow up with the same protein mask that I use the day before I color my hair. If your hair is feeling more dry, a hydrating mask could work for you.
If I’ve only done a root touch up, I like to use a strawberry blonde color depositing mask to brighten the color up on the middle and ends of my hair. I use this Christophe Robin mask in the shade Chic Copper. I also use this mask once a week to keep my color fresh looking.
 You might also like
LEAVE A COMMENT