
 You might also like
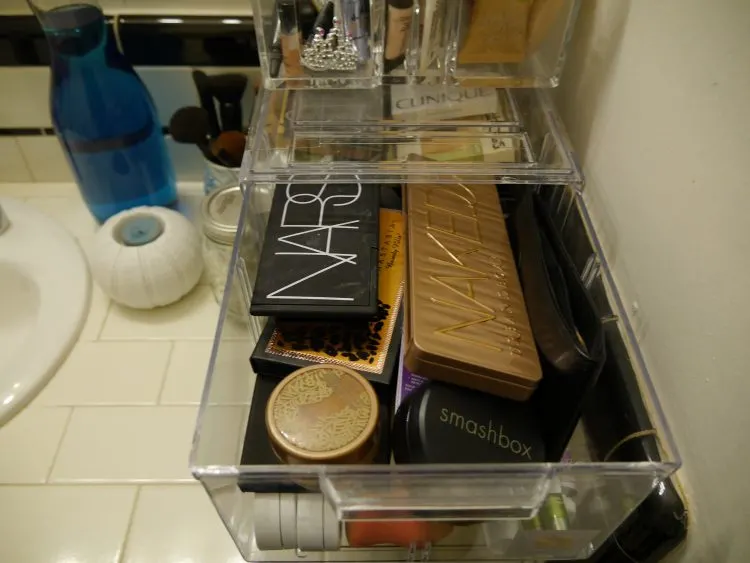 Hair & Makeup
Hair & Makeup
Hair & Makeup 


Welcome to the GirlGetGlamorous blog!
Subscribe for monthly emails of the latest
blog posts and videos, sent right to your inbox.

If you are a beauty enthusiast with a big collection of products, the Ikea Alex drawers are tough to beat for their functionality and storage capabilities. The drawer sizes are perfect for a range of makeup, hair, and nail products. However, every time I filmed, the gaps in the drawer front bothered me. I wanted my Alex drawers to look more like a nice piece of furniture vs. a storage drawer.
I put myself to work figuring out how to create an easy DIY hack to make the drawers more beautiful and elevated. The best part of this transformation? You don’t need a saw or power tools! For this Ikea hack, you’ll only need a sharp box cutter. I used a $5 package cutter to transform these Alex drawers.
I kept seeing tutorials for Ikea hacks that required so many expensive power tools, wood cutting tables, and s-p-a-c-e. I set out to come up with a way to completely transform the Alex drawers with my $5 box cutter and $30 handheld drill.
I had so much fun with this project. It took me tons of trial and error, trying to find the best materials and techniques, but I feel confident that you can easily recreate this tutorial and love your results! Let me know if you try this, I’d love to see your results. Tag me on Instagram, @girlgetglamorous.
Everything you’ll need for the Ikea Alex Revamp:

Step 1 | Measure
Line your stick up with the drawer front so that it’s covering the gap in the front of the drawer. Clamp the basswood stick in place.
Then with a pencil, draw a 90 degree angle from the top corners of the drawer, going in and down towards the center of the drawer front. Repeat for bottom piece.
Step 2 | Cut First Angle
On thick cardboard or cutting board, start tracing over the pencil lines we just drew with your box cutter. Basswood cuts fairly easily.
I got the cleanest cuts by using medium pressure and going over the line 5-6 times.


Step 3 | Line Up Side Angles
Getting these corner angles lined up perfectly took me so much trial and error! Here is the best method I found.
Once you have your top and bottom horizontal pieces cut and clamped to the drawer front, slide a piece of your wood trim under the corners.
Now trace with a pencil to get the perfect corner alignment.

How satisfying is this finished cut? A perfect fit!
Step 4 | Glue Wood Pieces
Once all your wood pieces are cut to size, start glueing them on to the drawer fronts. I used our chip clips (lol) to clamp them firmly in place.
I also used plain ol’ scotch tape at the side and corners to keep the wood firmly in contact with the drawer fronts. The clips didn’t fit here, so I had to improvise.
This tape trick was not fancy, but it worked! I would put a piece of tape over one end, pull to stretch it slightly (you get a tighter fit this way) and smooth it in place on the other side.
Tip: Make sure you leave enough loose tape at the ends to be able to peel it off the wood easily once the glue has dried.


Step 5 | Wood Filler + Sanding
Smooth wood filler over the seams where the wood corners meet.
Let this dry for a few hours, then sand.
This gave my drawer fronts a more seamless look.

Here are the corners after the wood filler dried and I sanded them down. The filler becomes so smooth and you don’t see any gaps in between the wood pieces.
Step 6 | Add Drawer Pull Holes
I measured and marked where each end of the drawer handle would be. This way I could make sure they were even spaced in the center of the drawer before I drilled anything.
Then, using my handheld drill, I predrilled on the pencil mark, then drilled through the drawer front.
Tip: Hold up all your drawer handles in place and really make sure you love them before drilling anything. Once the holes are drilled, you have committed to those handles.


Step 7 | Paint
Now it’s time to prime and paint! I found that the best primer to use with the Ikea MDF drawer fronts was this one. It’s worth taking the extra time and cost to prime, it’s the only way I’ve been able to get paint to stick to this Ikea material.
Also, the basswood sticks can be a bit porous, so this helps the paint apply evenly and not soak directly into the wood.
For paint color, I used SW Pure White, which is a a bright, clean white and matched 99.5% perfectly with the Ikea white color.
After the broader strokes of paint were finished with the roller, I went back in and touched up the nooks and crannies with a fine paint brush.

Step 8 | Adding Drawer Pulls + Furniture Legs
I let the paint dry overnight, then added a set of antique brass furniture legs to each set of drawers. These 4″ furniture legs added the perfect amount of height and reminded me of the Pottery Barn Blaire series drawers, but at only $33 for a set of 4!
Then I added some acrylic and brass drawer pulls for a really glam look. I was so pleased with how this Ikea “hack” turned out. I love the finished look!

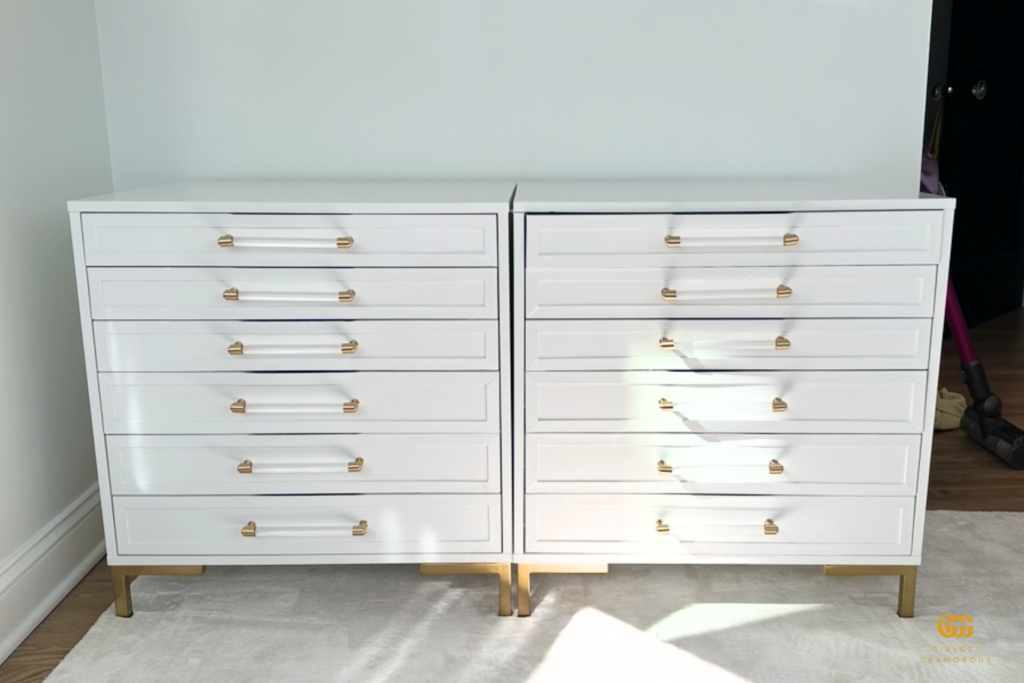
That’s the whole tutorial! From start-to-finish, transforming these two sets of Alex drawers took me four days, because I was trying so many different techniques. I’m hoping that it goes much, much faster for you, now that you know 1: what supplies to use (I had never even heard of Basswood!) and 2: the best technique for getting perfectly fitted corner angles.
I think this is such a beautiful way to upgrade an incredibly functional piece of furniture! If you are a beauty product lover, there is an Ikea Alex drawer size and shape that will suit any beauty collection size and space. With this tutorial, you can take any set of Alex drawers to the next level and upgrade your beauty space!
Shop The Post

Pin Now | Read Later


LEAVE A COMMENT