 Makeup
  Makeup
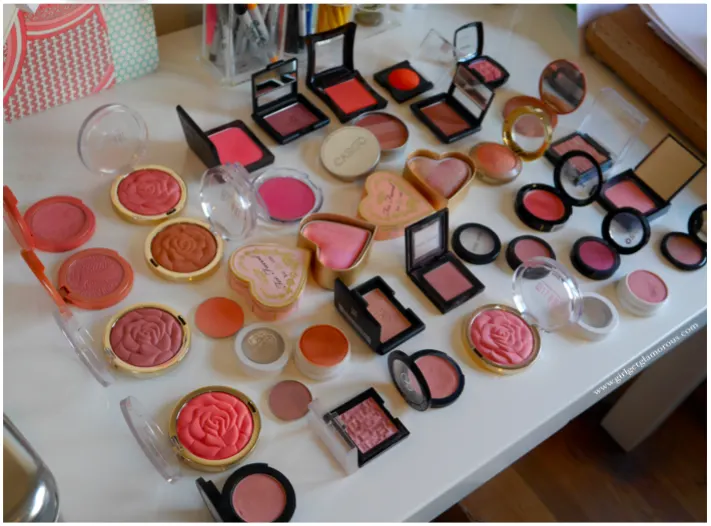
Blush, oh, blush. You are a tricky mistress. I love blush, honestly an unreal amount, but I feel like blush and I really only clicked this year.
WHY IS BLUSH SO HARD?
Here is what I learned:
{BLUSH FACT #1}
65% of the getting blush “right” is picking out the right shade for your skin tone. Seriously. I used to buy the brightest, pinkest blush I could find. And I am an adult woman, not a 7-year-old child. Then one day the Heavens smiled upon me and a light peach blush crossed my path. In that moment, I knew, I just knew, that I’d been picking shades too bright and too dark and things were about to change. Life was about to be different.
Fair-to-Light skin: peaches and lights pinks/roses, soft berry shades applied with a light hand for a more intense flush.
Favorites (click right on the name to shop):
Too Faced Sweethearts Blush in Peach Beach
Milani Baked Blush in Luminoso
E.L.F. blush in Peachy Keen and cream blush duo in St. Lucia
Medium skin tone: Can take the above tones up a notch deeper. Rose looks especially pretty.
Favorites:
Too Faced Sweethearts Blush in Candy Glow
Bobbi Brown in Tawny and Sand Pink (two of my most used shades on clients!)
Lorac Cheek Stain (powder) in Rosy Glow
Makeup Forever HD Cream Blush in Pink Sand and Rosy Plum
Deeper skin tones: pretty much any shade, except super light, which will look more like a highlighter. Dark skin tones can even wear neon shades. Berry and Raisin are also great shades.
Favorites:
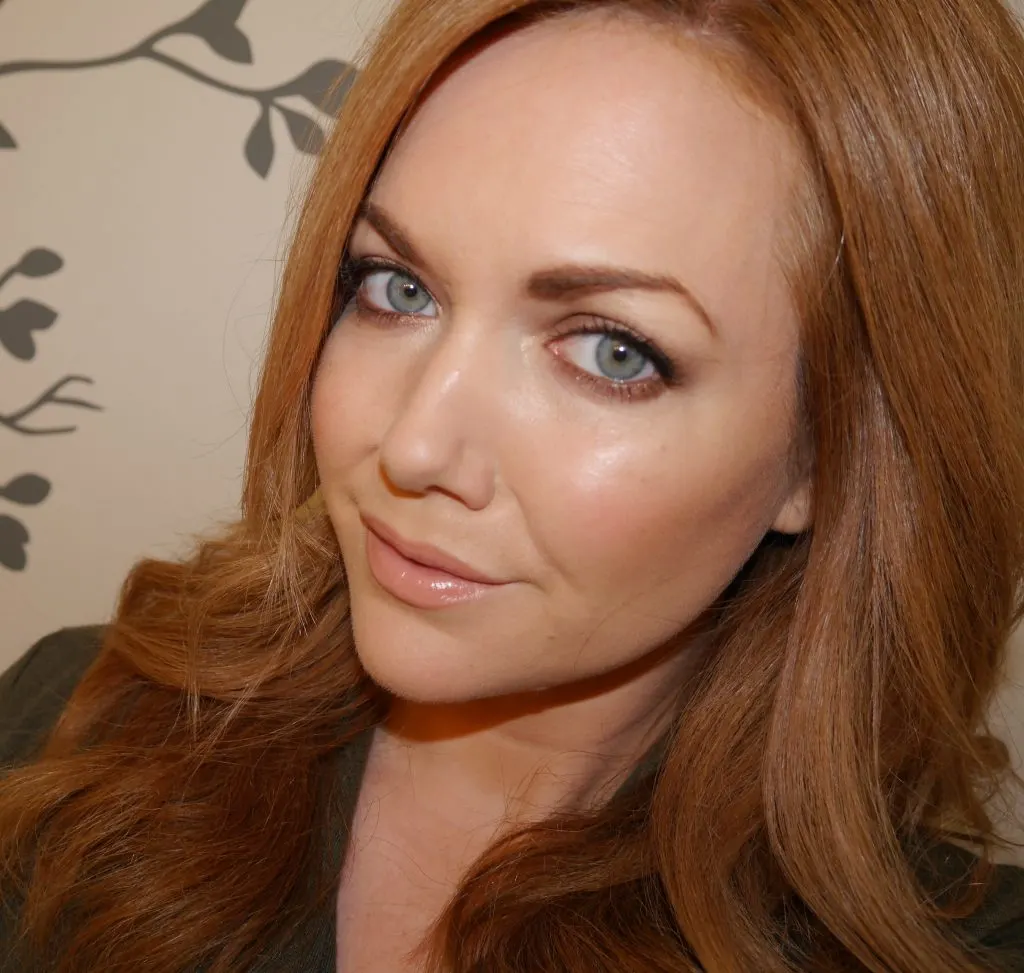
Kat Von D Everlasting Blush in Por Vida (shown) and Heartagram
E.L.F. blush in Mellow Mauve, Berry Merry, and Pink Passion (FAV color)
Makeup Forever HD Cream Blush in Indian Rosewood
Bobbi Brown Blush in Flame and Berry
Too Faced Sweethearts Blush in Something About Berry
{BLUSH FACT #2}
There are two main types of blush: cream and powder. I like to use a cream blush first, then set it with a powder. In winter, when my skin gets dry, I stick with cream blush only. Super hot and sweaty summer days, powder only.
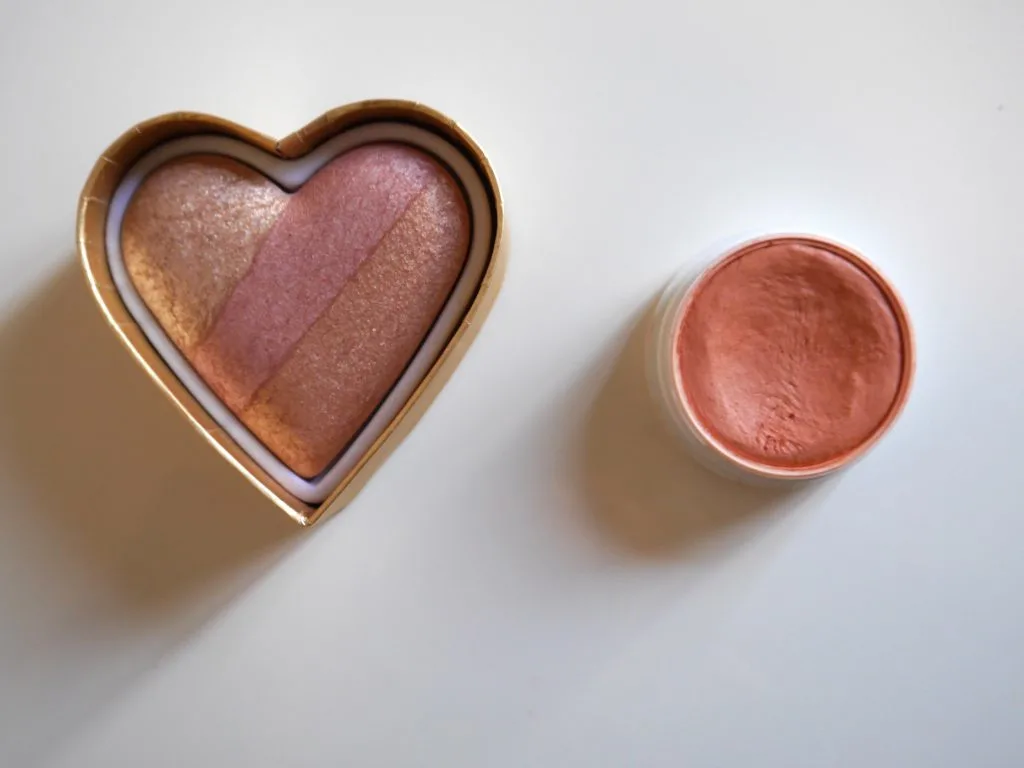
Cream blush: as the name applies, this blush is creamy and soft. Cream blush looks the most natural. I honestly think every makeup beginner should start with a cream blush. I apply mine with a small stippling brush. It can be applied and blended with your fingers as well. Cream blush is amazing for dry skin. It blends in with skin instead of sitting on top, as a powder can. It’s also great for people who don’t wear foundation, because it doesn’t need a liquid to cling to, as powder does. It shows up and stays on it’s own. The con of cream blush is sometimes it doesn’t define cheekbones the way powder can.
Powder blush: when most people think of blush, they think usually think of powder blush. Powder blush is great at defining cheekbones or the apples of your cheeks. It also can last a long time. The cons of powder is that it can be easy to over apply and can sometimes just look like…well, like powder sitting on top of your skin.
{BLUSH FACT #3}
A lot of how your blush turns out depends on your brush’s size and quality of the bristles. I used to use a big ‘ol blush brush and just pile it on. Then I realized I actually have kind of a tiny face and maybe let’s takes things down a notch, ‘k, Molly? I found some smaller sized blush brushes that fit my face better and learned what the heck a stippling brush is and life was golden. A stippling brush, btw, has two lengths of bristles in it. The base is really thick and supportive because it has both lengths of the bristles held together nicely (so that the ends don’t splay out everywhere) and the ends only have the longer length and are a bit wispier. The sparser ends have a lighter touch and blend beautifully. A stippling brush is a lovely thing.
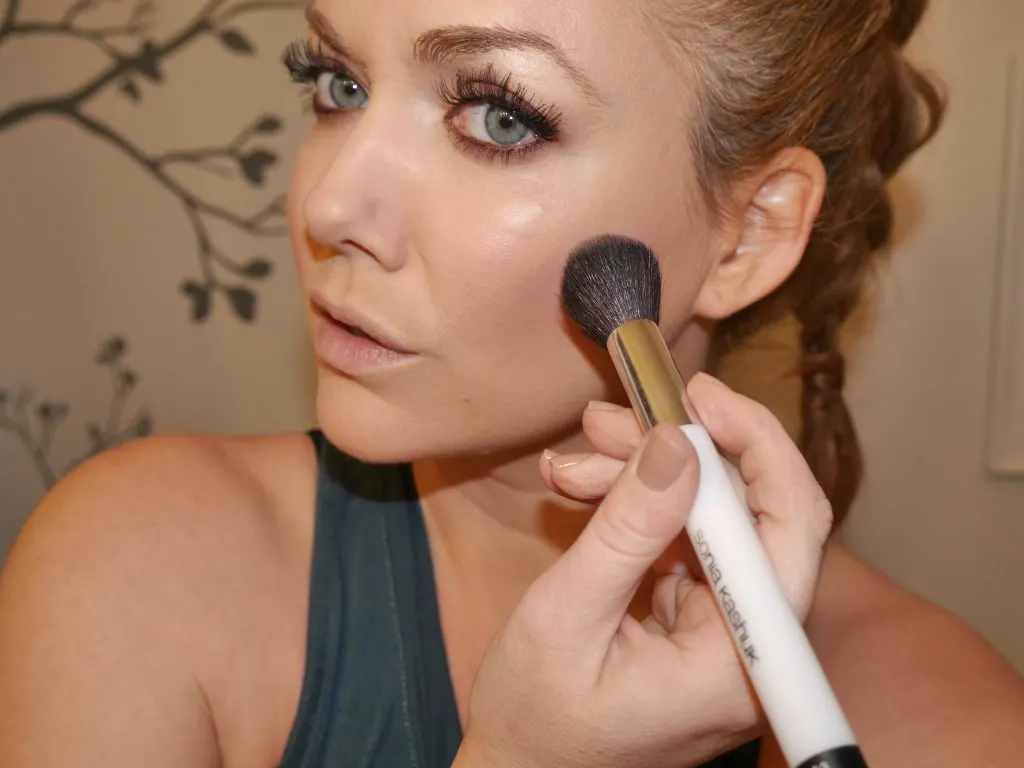
The quality of the brush bristles is also really important, especially for powder blushes. Natural bristles are best with powders and synthetic bristles are best for cream blushes. There are some brushes I feel like, get whatever, but for blush, get the best you can. This doesn’t mean you have to spend a zillion dollars, my favorites are all under $20: Sonia Kashuk small blush brush with the black handle, Makeup Geek stippling brush ($9!), and Morphe brushes. If you want a long term investment blush brush, I’ve been eyeing this NARS brush forever. It’s beautiful and one of the softest brushes I’ve ever felt. My go-to combo is the Makeup Geek stippling brush and the Sonia Kashuk cream blush, set with Too Faced powder blush in Peach Beach lightly dusted on with the Sonia Kashuk core blush brush ($9 – good for light application). BUT if anyone wants to get me this $96 blush brush I won’t stop them.
{BLUSH FACT #4}
There are two ways to apply blush.
– For more defined cheekbones, start by placing your brush at the middle of your cheek, just directly below your cheekbone. (Wondering where that is? Suck your cheeks in and feel above the sucked in part for a bone.) Start swirling your brush in small circles, going IN, towards the apple of your cheek. Smile when you get to the apple of your cheek and swirl whatever is left on your brush onto the apples of your cheeks.
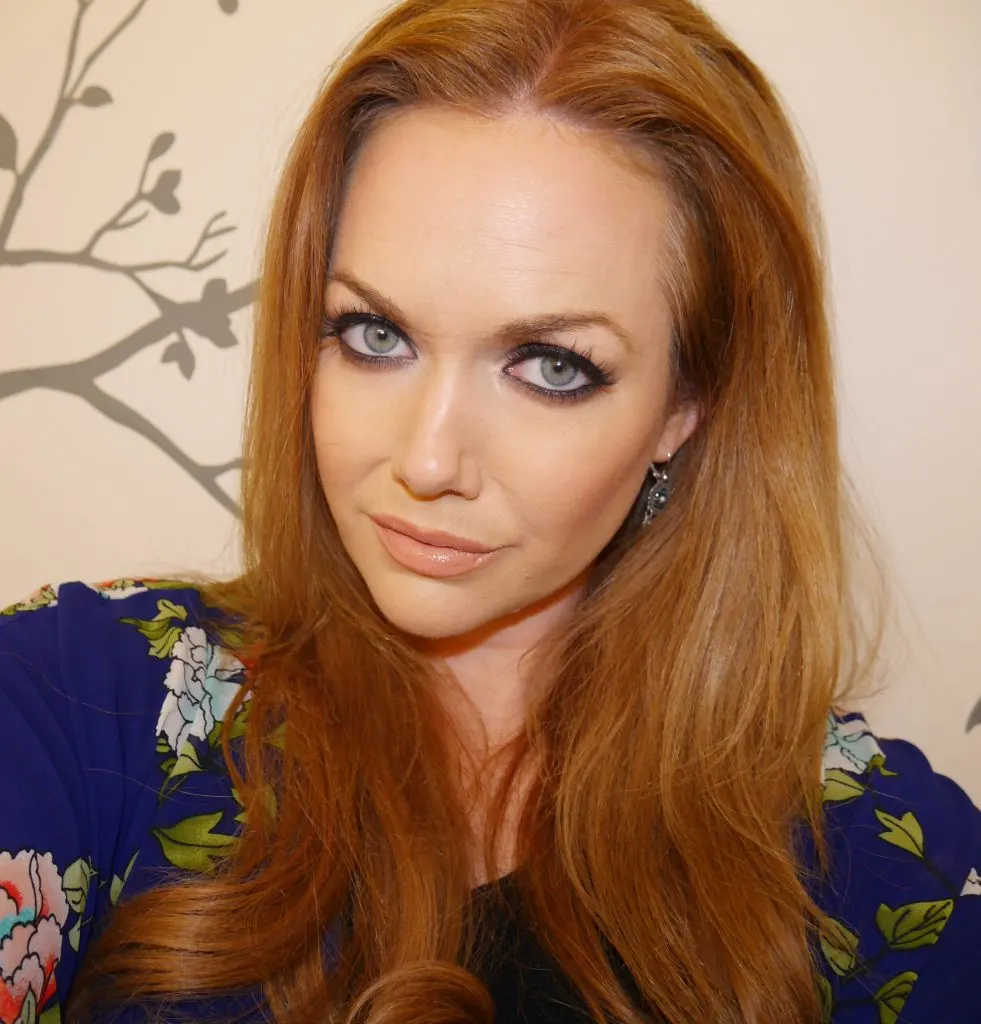
I like this method because I have a rounder face and like to define my cheekbones a little more. If you have a more narrow face and don’t want to look gaunt, then…
– Smile and place your brush on the apple of your cheek (the part that turns into a small ball when you smile). Swirl it around the apple in small circles and then work whatever blush is left on the brush OUT towards your ears, stopping about mid cheek, where you would naturally flush.
{BLUSH FACT #5}
To have your blush last forever, and I mean forever, layer your blushes. Start with a cream blush, allow it to set slightly, then dust a powder blush on top. Your blush will last all night and then some. Honestly, I feel like this should be mandated to teach in schools. Like, right before prom it should be required learning for all students.
I hope this helps! Any blush questions you still have? Ask below!
Thank you for reading. If you like this post and want to share it with your friends and families and people who you met once who friend requested you that same night, share this post on the ‘ol Book with the button below, “Like” girlgetglamorous on Facebook, pin any pics to Pinterest an you can follow me on Instagram @girlgetglamorous. I appreciate you all being a part of the blog so much!
Go Get Glam!
 You might also like
LEAVE A COMMENT
[…] packaging alone makes me want to buy this blush and the other selling point is that I saw it on Girl Get Glamorous’ blush post and I trust everything that G3 recommends. On Wednesday April 1st it will be 50% off making it […]
Ooo, I’ve heard so much about The Balm, will have to check them out!
More importantly, I’d like to know what mascara you’re using here? 🙂
I’m wearing individual false lashes, super heavy to make them look like a full strip. I can do a video on it, if that would help!
So awesome!!
Thank you, glad you like it!