
 You might also like
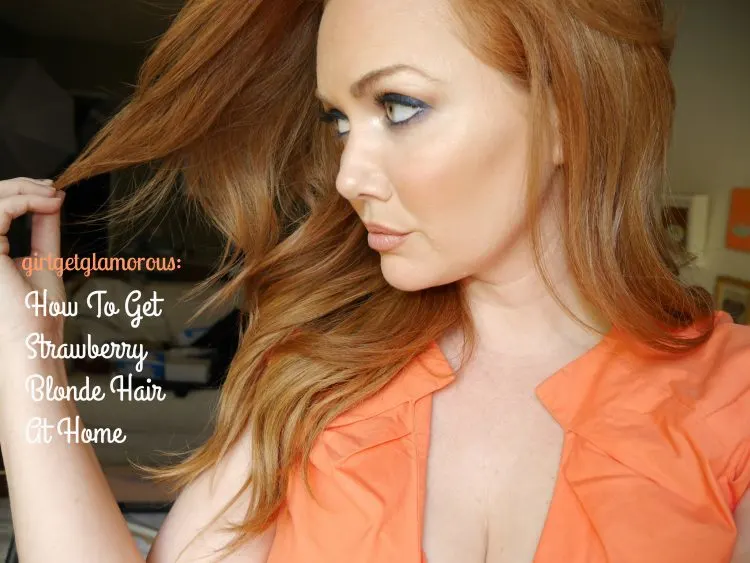 Strawberry Blonde Hair
Strawberry Blonde Hair
Strawberry Blonde Hair 


Welcome to the GirlGetGlamorous blog!
Subscribe for once weekly emails of the latest
blog posts and videos, sent right to your inbox.

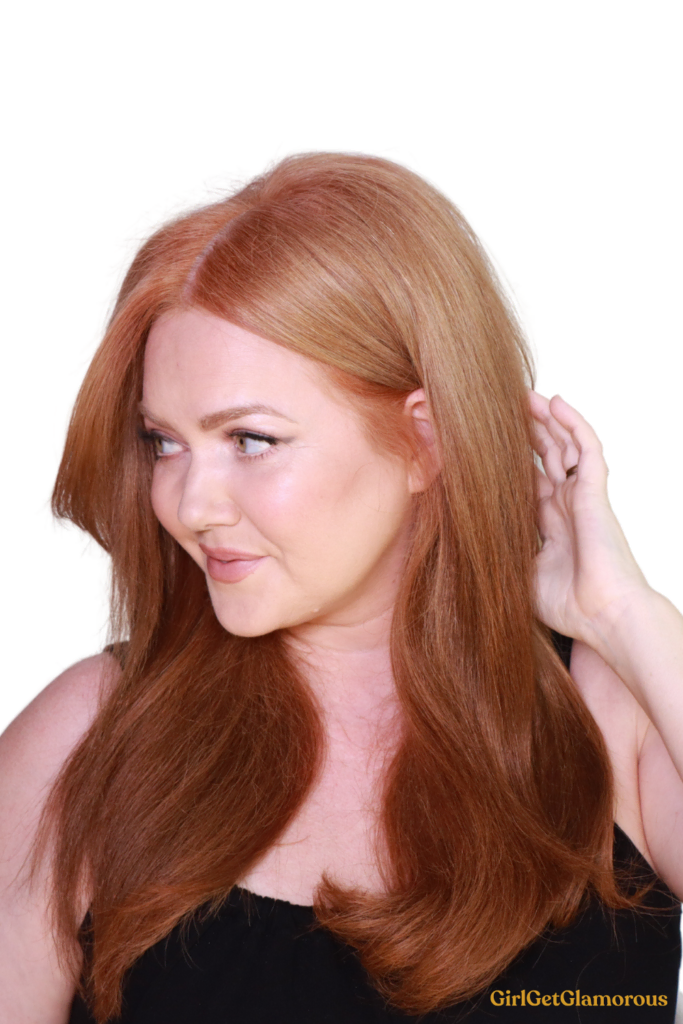
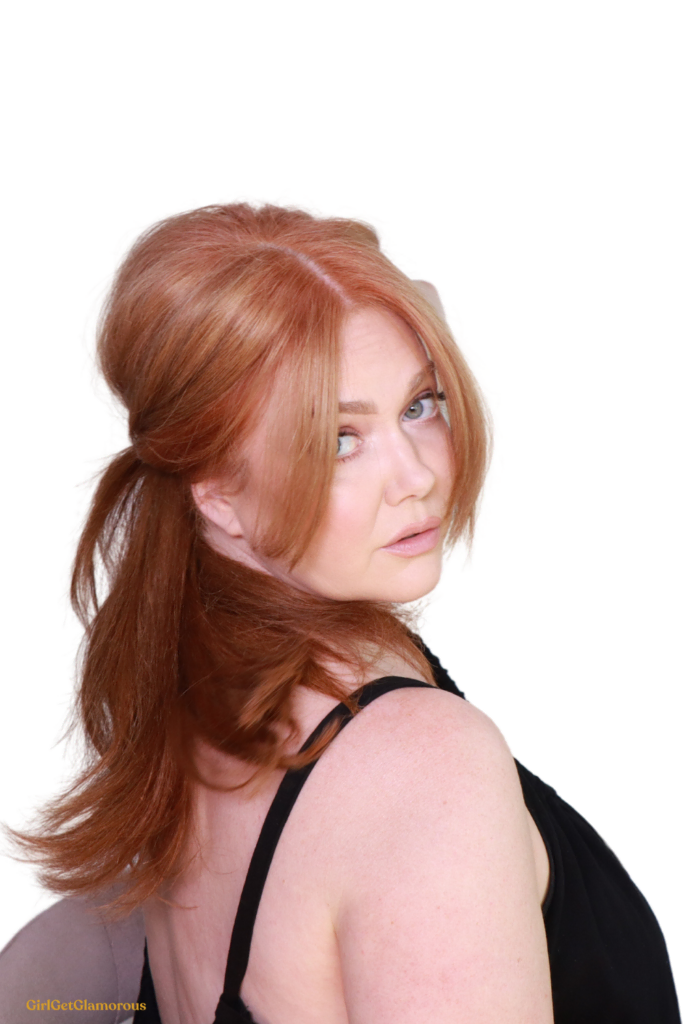
This is my go-to formula for when I want my hair color to be a bit more on the blonde side of Strawberry Blonde. What I love about this formula is that I feel like the results look more natural around my face. The results are still reddish, but a bit softer. I keep the red tones up between coloring with a color depositing mask, more details on those below under “weekly color refresh.”
I used this formula all last summer and really loved the softer reddish blonde shade. After experimenting with more mixes (I can not help myself!) I decided to go back to using this mix.
As always, full disclosure, I am not a licensed cosmetologist, so I can’t tell you what to do with your hair. However, I do love sharing my formulas in case you want to try them for yourself!
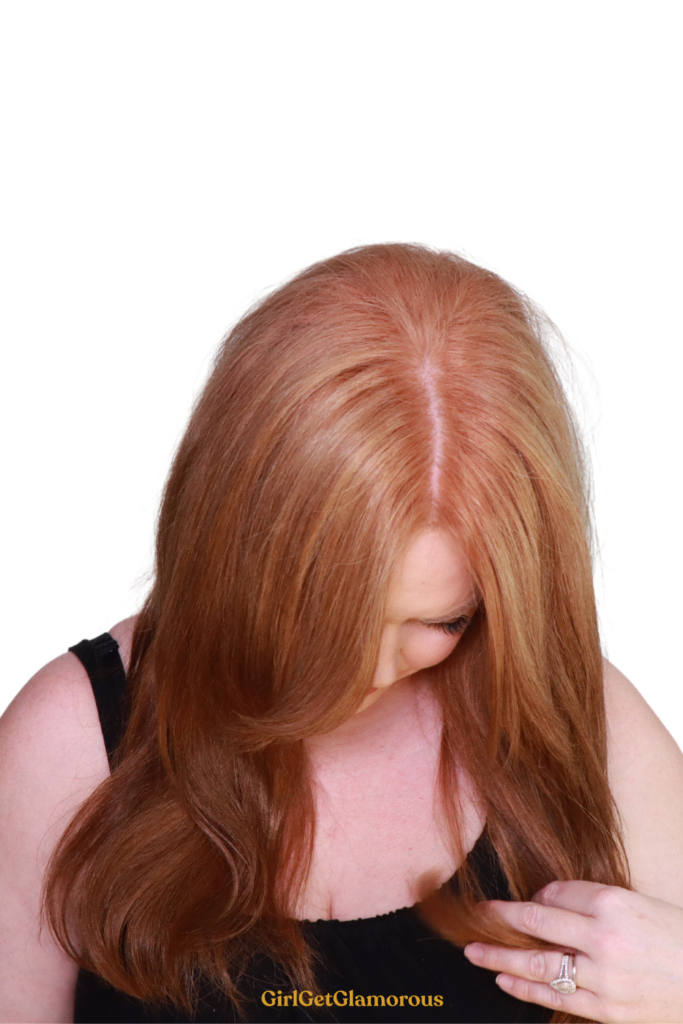
Big update from my last formula: I do a separate mix for my roots with a level 20 developer and another mix for rest of my hair with Level 10 developer, which has less lift. If you are new to at-home hair color, this hair color 101 post goes way more in-depth about tips I wish I knew before I started coloring my own hair.
* click directly on the shade name to shop *
6-8 pea size drops of 7G | 7 Golden
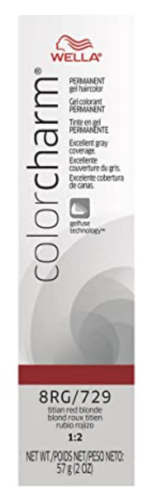
1 oz of 8RG | Titan Red Blonde
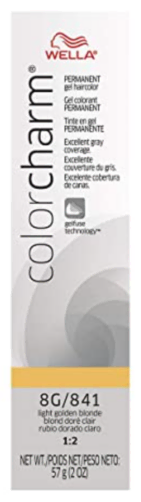
2 oz of 8G | 8 Golden Blonde
6 oz of Level 20 developer
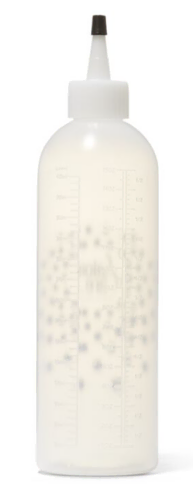
Large Mixing Bottle (minimum 12 oz size) with measurements on side (you will need two bottles, one for the roots formula and a fresh one for the ends formula)
total formula: 3 oz color + 6 oz developer = 9 oz total in bottle
Step 1 | I put my gloves on and apply color all around the edge of my face and scalp.
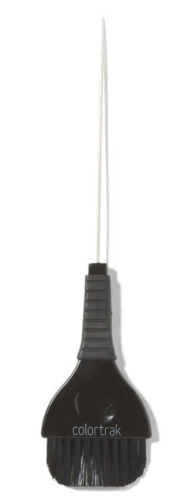
Step 2 | I use my color brush with the pin divider to get really clean lines, going vertically from the bottom of my scalp all the way to my forehead on the top portion of my head.
Step 3 | Then I apply the color starting from the bottom of my scalp all the way to the front. This helps me make sure that I get the most coverage in the back, which can be a little tricky when coloring your own hair.
Step 4 | Now I flip the brush around and use the bristles to help push the hair color in to my roots, making sure to stop the color right at the line of regrowth and previously colored hair.
Step 5 | I repeat this all over, until I get to the sides of my hair and then I start making the lines horizontal instead of vertical.
Step 6 | Once all the color is applied and while I am still wearing my gloves, I massage my scalp really gently. This helps make sure that no areas are missed with color. The key, I have found, is to use a very light touch, so you don’t pull any color off of areas by rubbing too hard.
Step 7 | Now I take off my gloves, wash my hands quickly, and set a time for 30 minutes. I have found the best way to set this timer is by using Siri on my phone and requesting “Siri, please set an alarm for 30 minutes from now.” No doing the “time math” required!
* click directly on the shade name to shop *
1 oz of 8RG | Titan Red Blonde
2 oz of 8G | 8 Golden
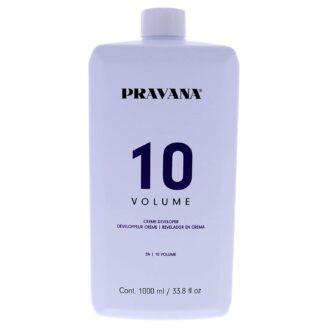
6 oz of Level 10 developer
clean Large Mixing Bottle with measurements on side
total formula: 3 oz color + 6 oz developer = 9 oz total in bottle
Step 1 | Just before my timer goes off, I mix up this formula for the middle and ends of my hair.
The reason I uses a bigger bottle (12+ oz size for 9 oz of formula) is so that I have plenty of room for the color to get totally mixed up. I want this to be thoroughly mixed, so that my results come out really even.
Step 2 | I divide my hair into 4 or 5 horizontal layers. I start at the bottom layer, because my hair has more damage from previous color and heat styling on the top layer and I don’t want the top pieces to absorb too much color. If they absorb too much color, I get muddy greyish brown ends that take several washes to get out.
Step 3 | I zig zag the color from the roots to the ends of the layer I’m working on, then use the brush and/or my hand to quickly blend it through so that the entire piece is saturated with color. I repeat this on the other layers, working my way to the top layer.
Step 4 | If my hair doesn’t have too much damage, I’ll leave this formula on the body of my hair for 10 minutes. If I can feel that my hair is not in the best shape (usually when I am experimenting with a ton of new formulas) then I’ll only wait about 2 minutes before rinsing it all out.
Step 5 | Hop in the shower and rinse until the water runs clear. I like to use a scalp scrubber to really get all the formula out at my roots. Once the water turns clear, I shampoo with this color-safe shampoo one to two times.
Step 6 | This final step I’ve added in has made the biggest difference for my hair!
I used to use a moisturizing deep conditioner after coloring, but since I switched to this Elizavecca K-beauty protein mask (only $8 also!) my hair has never felt better after coloring. It leaves my hair feeling like silk. I use it once a week to make sure my hair has enough protein. It’s been a game changer for me, maybe it will be for you too!
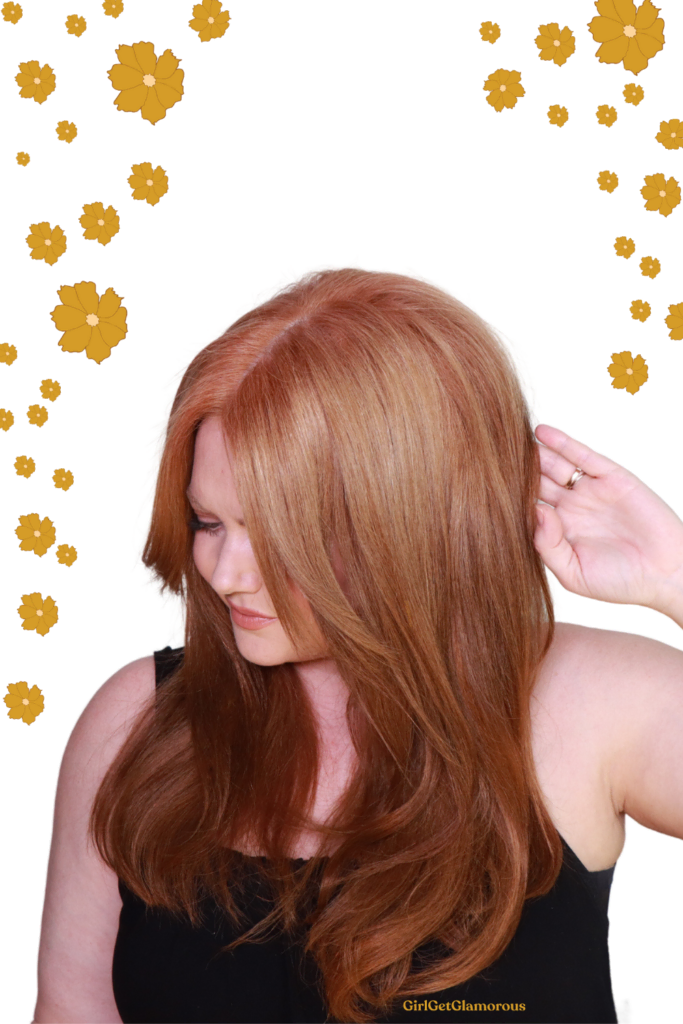
That is the whole formula!
Switching to level 10 developer for my middle and ends of hair has made a big difference for me. Also, the protein and the color depositing masks have made a really noticeable difference for me in terms of my hair looking and feeling healthy and retaining the Strawberry Blonde shade as the month goes on.
I do touch up my roots every 4-8 weeks, depending in my schedule and motivation level!
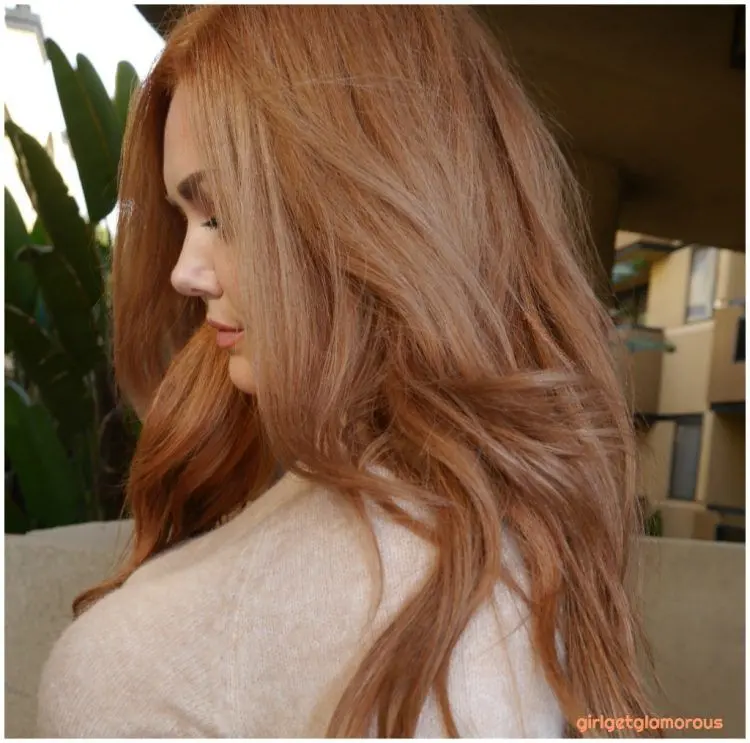
This formula does have the red fade out a bit faster than with my older, more red formula. I have started using this color depositing mask from Christophe Robin in “Chic Copper” to add reddish blonde tones back in. I’ve very picky about tones and the Chic Copper is a perfect natural reddish blonde shade. For a more affordable pick, I like this option in “Copper.”
I use the color depositing mask once a week, on a different wash day that the protein mask. On other days, I use the ColorProof moisturizing conditioner.
RELATED POST | The Best Shampoos + Conditioners for Color Treated Hair
amazon . sally’s . brush . mixing bottle . developer (Level 20) . developer (Level 10) . gloves


LEAVE A COMMENT
Thanks for the update. I’m over 40 and graying with some fade (the fantastic peach blond shade), and none of the mail order colors for men were right. I have always had what I call sandy red (strawberry dark golden blond/light brown) and boxed color was too red, too orange, or too pinkish. Your formula is more natural and doesn’t fade out peachy like my natural hair does! Three major men’s online services said most men don’t want reddish tones but for those of us with Kevin O’Connor hair naturally, the lack of a correct blend with some strawberry looks ghastly. Thanks for sharing.