
 You might also like
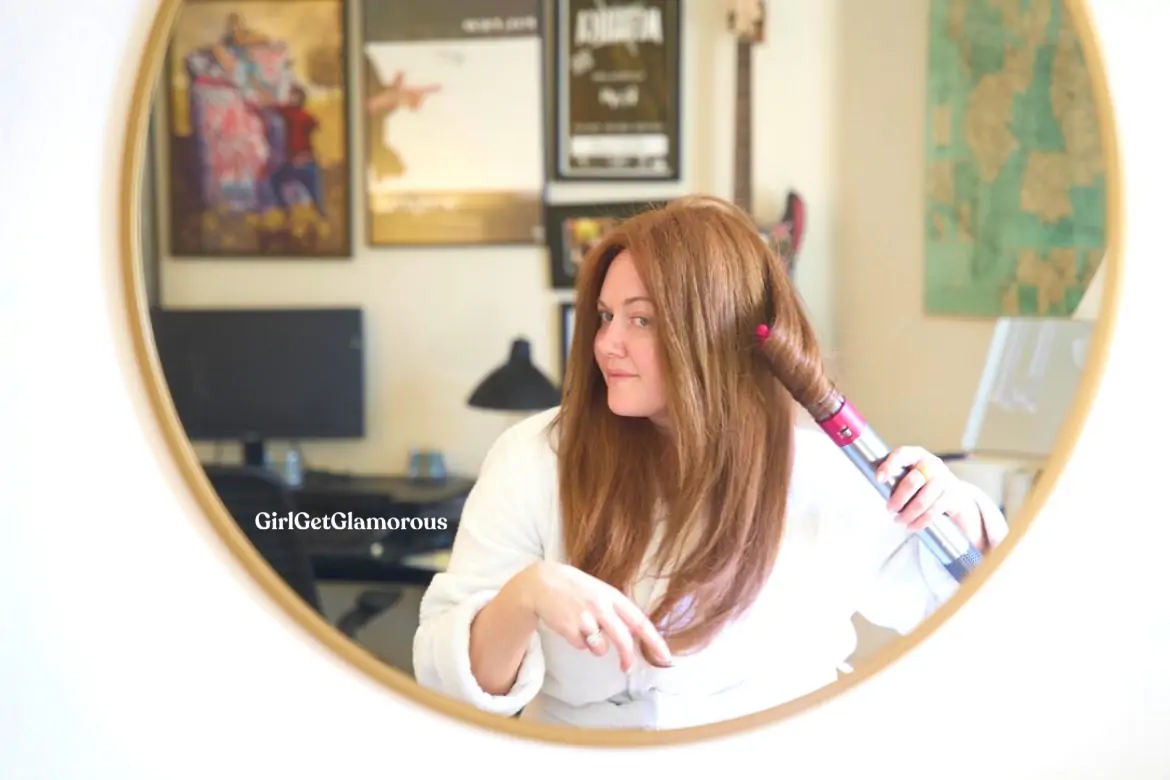 Hair
Hair
Hair
Hair 


Welcome to the GirlGetGlamorous blog!
Subscribe for monthly emails of the latest
blog posts and videos, sent right to your inbox.
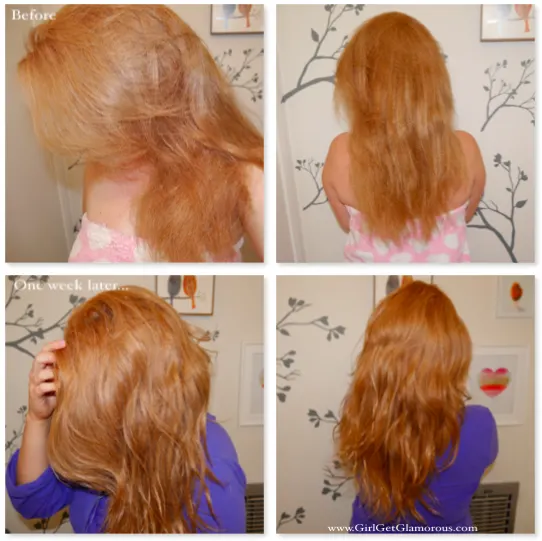
The Dyson Airwrap was such a big investment for me, but remains one of my favorite beauty purchases. I use some combination of the drying and styling attachments every time I style my hair. I love the Airwrap for two reasons, mainly: I was never been able to blow out my own hair before and secondly: my hair is the healthiest it’s ever been after using the Airwrap for two years now.
All that being said, there was definitely a learning curve for me with learning how to blow out, curl, and straighten my hair with all of the styling attachments. I wanted to share my tips to hopefully shave down this learning curve time for you and help you get the best style each time.
PRODUCT INFO
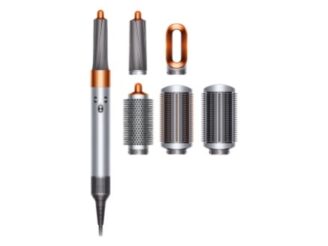
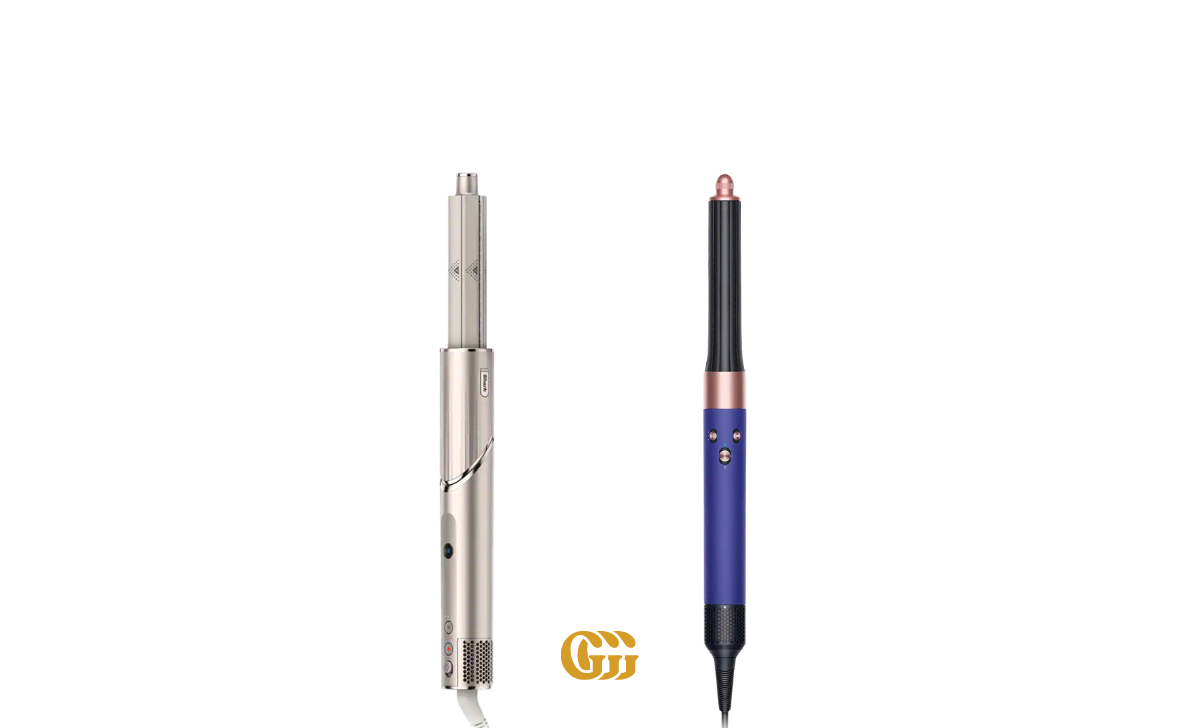
product | Dyson Airwrap
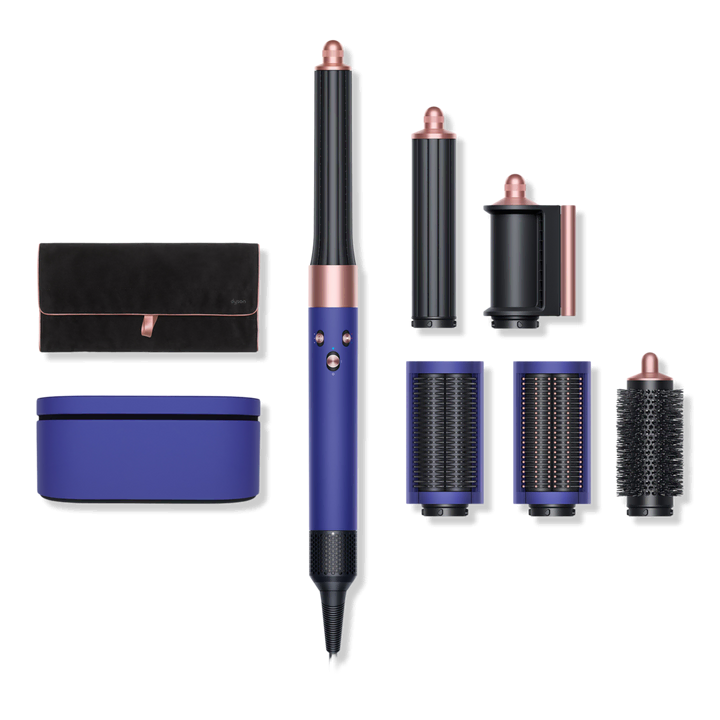
Blow dryer wand + dryer head with: two straightener attachments, two sizes of curling attachments, and one round brush attachment
shop Dyson Airwrap now at | Ulta Beauty . Sephora . Saks 5th Ave . Neiman Marcus . Nordstrom
RELATED POST | Is The Dyson Airwrap Right For My Hair Type?
1 | PREP
First, you want to prep your styler by using the cleaning attachment to clear out any dust from the filter. This will help make sure your device is running at 100%. It only takes a few seconds and becomes second nature once you start doing before each blowout.
Take the “c” ring with bristles that comes in the box with the styler and twist it back and forth over the filter at the base of the wand. It’s that easy!
Second, clear out any hair that is stuck in the round brush. Hair running over hair creates static, so you want this brush to be clean. This will help you get your smoothest hair.
Third, you’ll want to prep your hair to hold the style. Using products that fight frizz makes a huge difference for me in the final outcome of my hair. I have some suggestions at the bottom of this post on some specific products that work for me, use the arrows to scroll and click the photo to shop.
Essentially, you want a product that will block humidity.
To illustrate this point, imagine if you poured a glass of water on a piece of cake. The cake would be a soggy mess. But that slice of cake was wrapped in a piece of plastic wrap or tupperware, it would be fine. A “no frizz” product will wrap your hair in a protective coating to keep external moisture (what causes frizz) out.
2 | EAR PLUGS
Once you’ve done a blow dry with ear plugs in, you’ll wonder how you have ever dried your hair without them.
I bring my ear plugs everywhere now, the hair salon, flights, etc. There is nothing better than shutting out all the outside noise and protecting your hearing.
3 | SECTION YOUR HAIR
After drying my hair to about 70% dry, I part and clip hair into smaller sections, about the size of whatever attachment I am using. Your hair will feel damp, but not dripping, nor dry to the touch.
I section my bangs first, when they are only about 50% dry. Because I blow my bangs out last, I like to keep them a bit more damp than the rest of my hair. If they still are too dry when you go to style them, just wet them with water in a spray bottle.
4 | HAIR TENSION
In a salon, the hairstylist has the advantage of getting more tension based on the angle of them standing above you and (generally) using a round boar bristle brush. To create a similar tension, hold your hair at the bottom as you style each piece.
Tension is key to getting hair smooth, even when using the curling attachments.
shop Dyson Airwrap now at | Ulta Beauty . Sephora . Saks 5th Ave . Neiman Marcus . Nordstrom
5 | OVER DIRECTING
To create lift at the roots and increase tension (again, tension = smooth), pull the hair in the opposite way that you want it to lay.
For example, if I want my hair straight and smooth on the left side, I’ll dry that piece of hair by pulling it up towards the ceiling and over to the right side.
This is called over direction and it’s a great technique for creating subtle volume.
6 | CHANGING ATTACHMENTS
This is the part of the blow out that to me, shows the true magic of the Airwrap. It’s such a versatile tool.
1: I like to start with the drying attachment all over, then 2: switch to the thin smoothing brush to smooth and dry my hair in sections. You can use whichever size smoothing brush suits your hair best.
3: Then, when my hair is 95% dry, I switch back to the drying attachment and hit my roots one more time. This has really helped me make sure the base of my hair is totally dry so that I don’t get frizz at the scalp.
If I am somewhere humid, I’ll also run the round brush attachment through my hair on medium heat, then cool heat to really lock in that smoothness. I LOVE the round brush attachment, but it is the only one in the Airwrap set that has a metal base. Metal is more damaging on hair, so I try to keep my use of this particular attachment to a minimum for hair health.
4: I prefer a bouncier curl to the end of my hair, so for my last step, I use the curling attachments on the ends of my hair.
The great part about the Airwrap is that it takes only seconds to switch attachments, so it’s a lot faster than it would be to switch between using and plugging in a blow dryer, flat iron and curling iron.
Once again, the order in which I use the attachments goes:
7 | SANDWICH TECHNIQUE
While I am drying each piece of hair, I make sure to dry one pass holding the brush under that piece of hair. Then, I’ll do another pass holding the brush on the top side of that section. I call it “sandwiching” the hair and it helps me get the smoothest possible style.
8 | CHANGING HEAT SETTINGS
As I am drying my hair, I switch from the “hot” setting while using the dryer attachment, to “medium” while using the styling. This helps to make sure I am keeping my hair healthy by using the lowest possible heat settings.
It is so important to vary the heat settings! You don’t want to fry your hair with unnecessary heat.
To lock in the style, smooth or curly, always use the cool setting and cool shot button as your last move with the styler. The last blast of cool air makes such a big difference for me.
9 | SETTING YOUR HAIR
Once my hair is finished, I grab four creaseless hair clips and sometimes a few curl setting clips, if I want to set my ends and keep them bouncier.
I also grab a large velcro roller. I take a two inch wide and one inch deep section at the crown of my head and roll that down, setting the roller with a curl clip. This helps lock in the volume at the crown, without any teasing.
I clip the hair layers around my face with the flat clips, so that those pieces frame my cheekbones. I curl the bottom few inches of my hair back into the curl shape, then clip those curls.
Let all of these clips and the roller sit in your hair until it’s totally cool when you touch it. I usually style my hair first, then sit down to do my makeup. If I’m drying my hair at night, I’ll just leave all the setting clips in while I make dinner or watch a tv show.
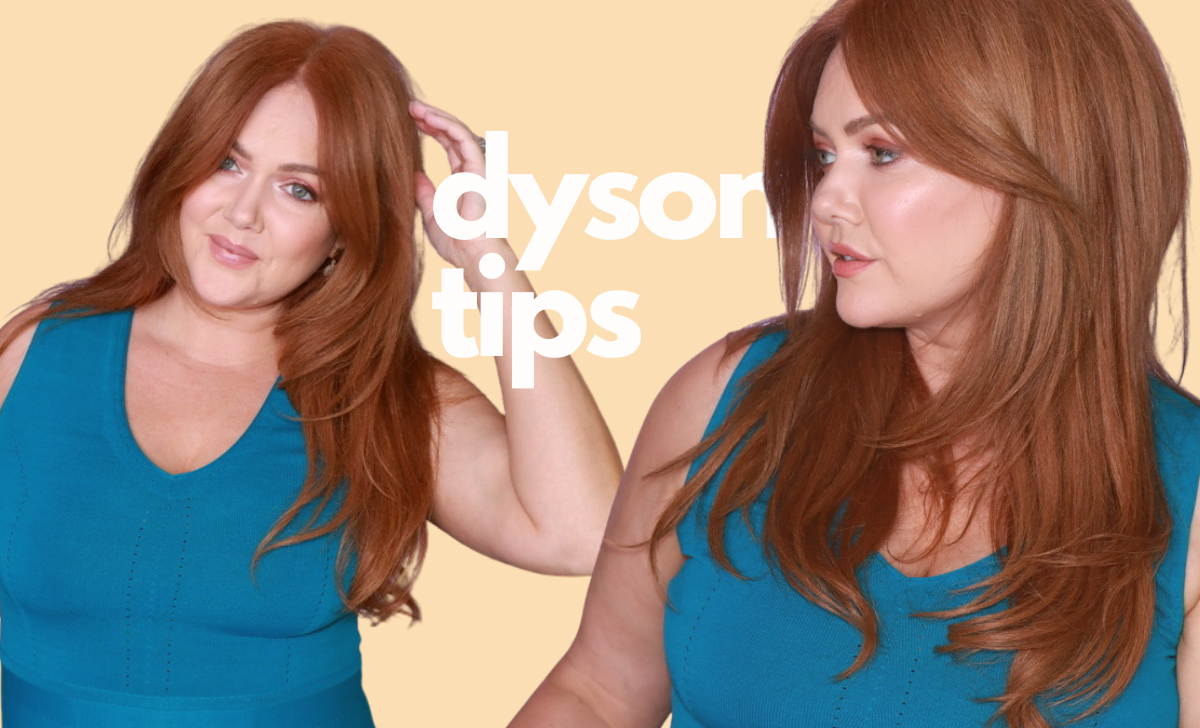
I hope these tips help you! They’ve really made a difference for me and I’d love for the learning curve to be reduced for you and for you to be happier with the outcome of your hair. Let me know if these work for you in the comment section, or feel free to add any tips that have worked for you!
shop Dyson Airwrap now at | Ulta Beauty . Sephora . Saks 5th Ave . Neiman Marcus . Nordstrom

Dyson
Colorwow
Living Proof
LA'DOR
Agave Healing Oil


LEAVE A COMMENT