My team.
Cheekbones! This is my first thought every time I open a magazine or see a photo online from fashion shows. Hello, New York Fashion Week. And yes, there is a lot of genetic gifting going along with those cheekbones, but let’s be honest. There is also a lot of makeup.
Specifically, contouring and highlighting.
I wish I could remember the exact moment I learned how to contour and highlight, which I will call C & H because I am lazy, but I do know that since I have started to C & H my LIFE HAS CHANGED FOREVER. I know that might sound like a gross overstatement, but you have to keep in mind that I don’t have a lot going on.
Trust me, things have been different.
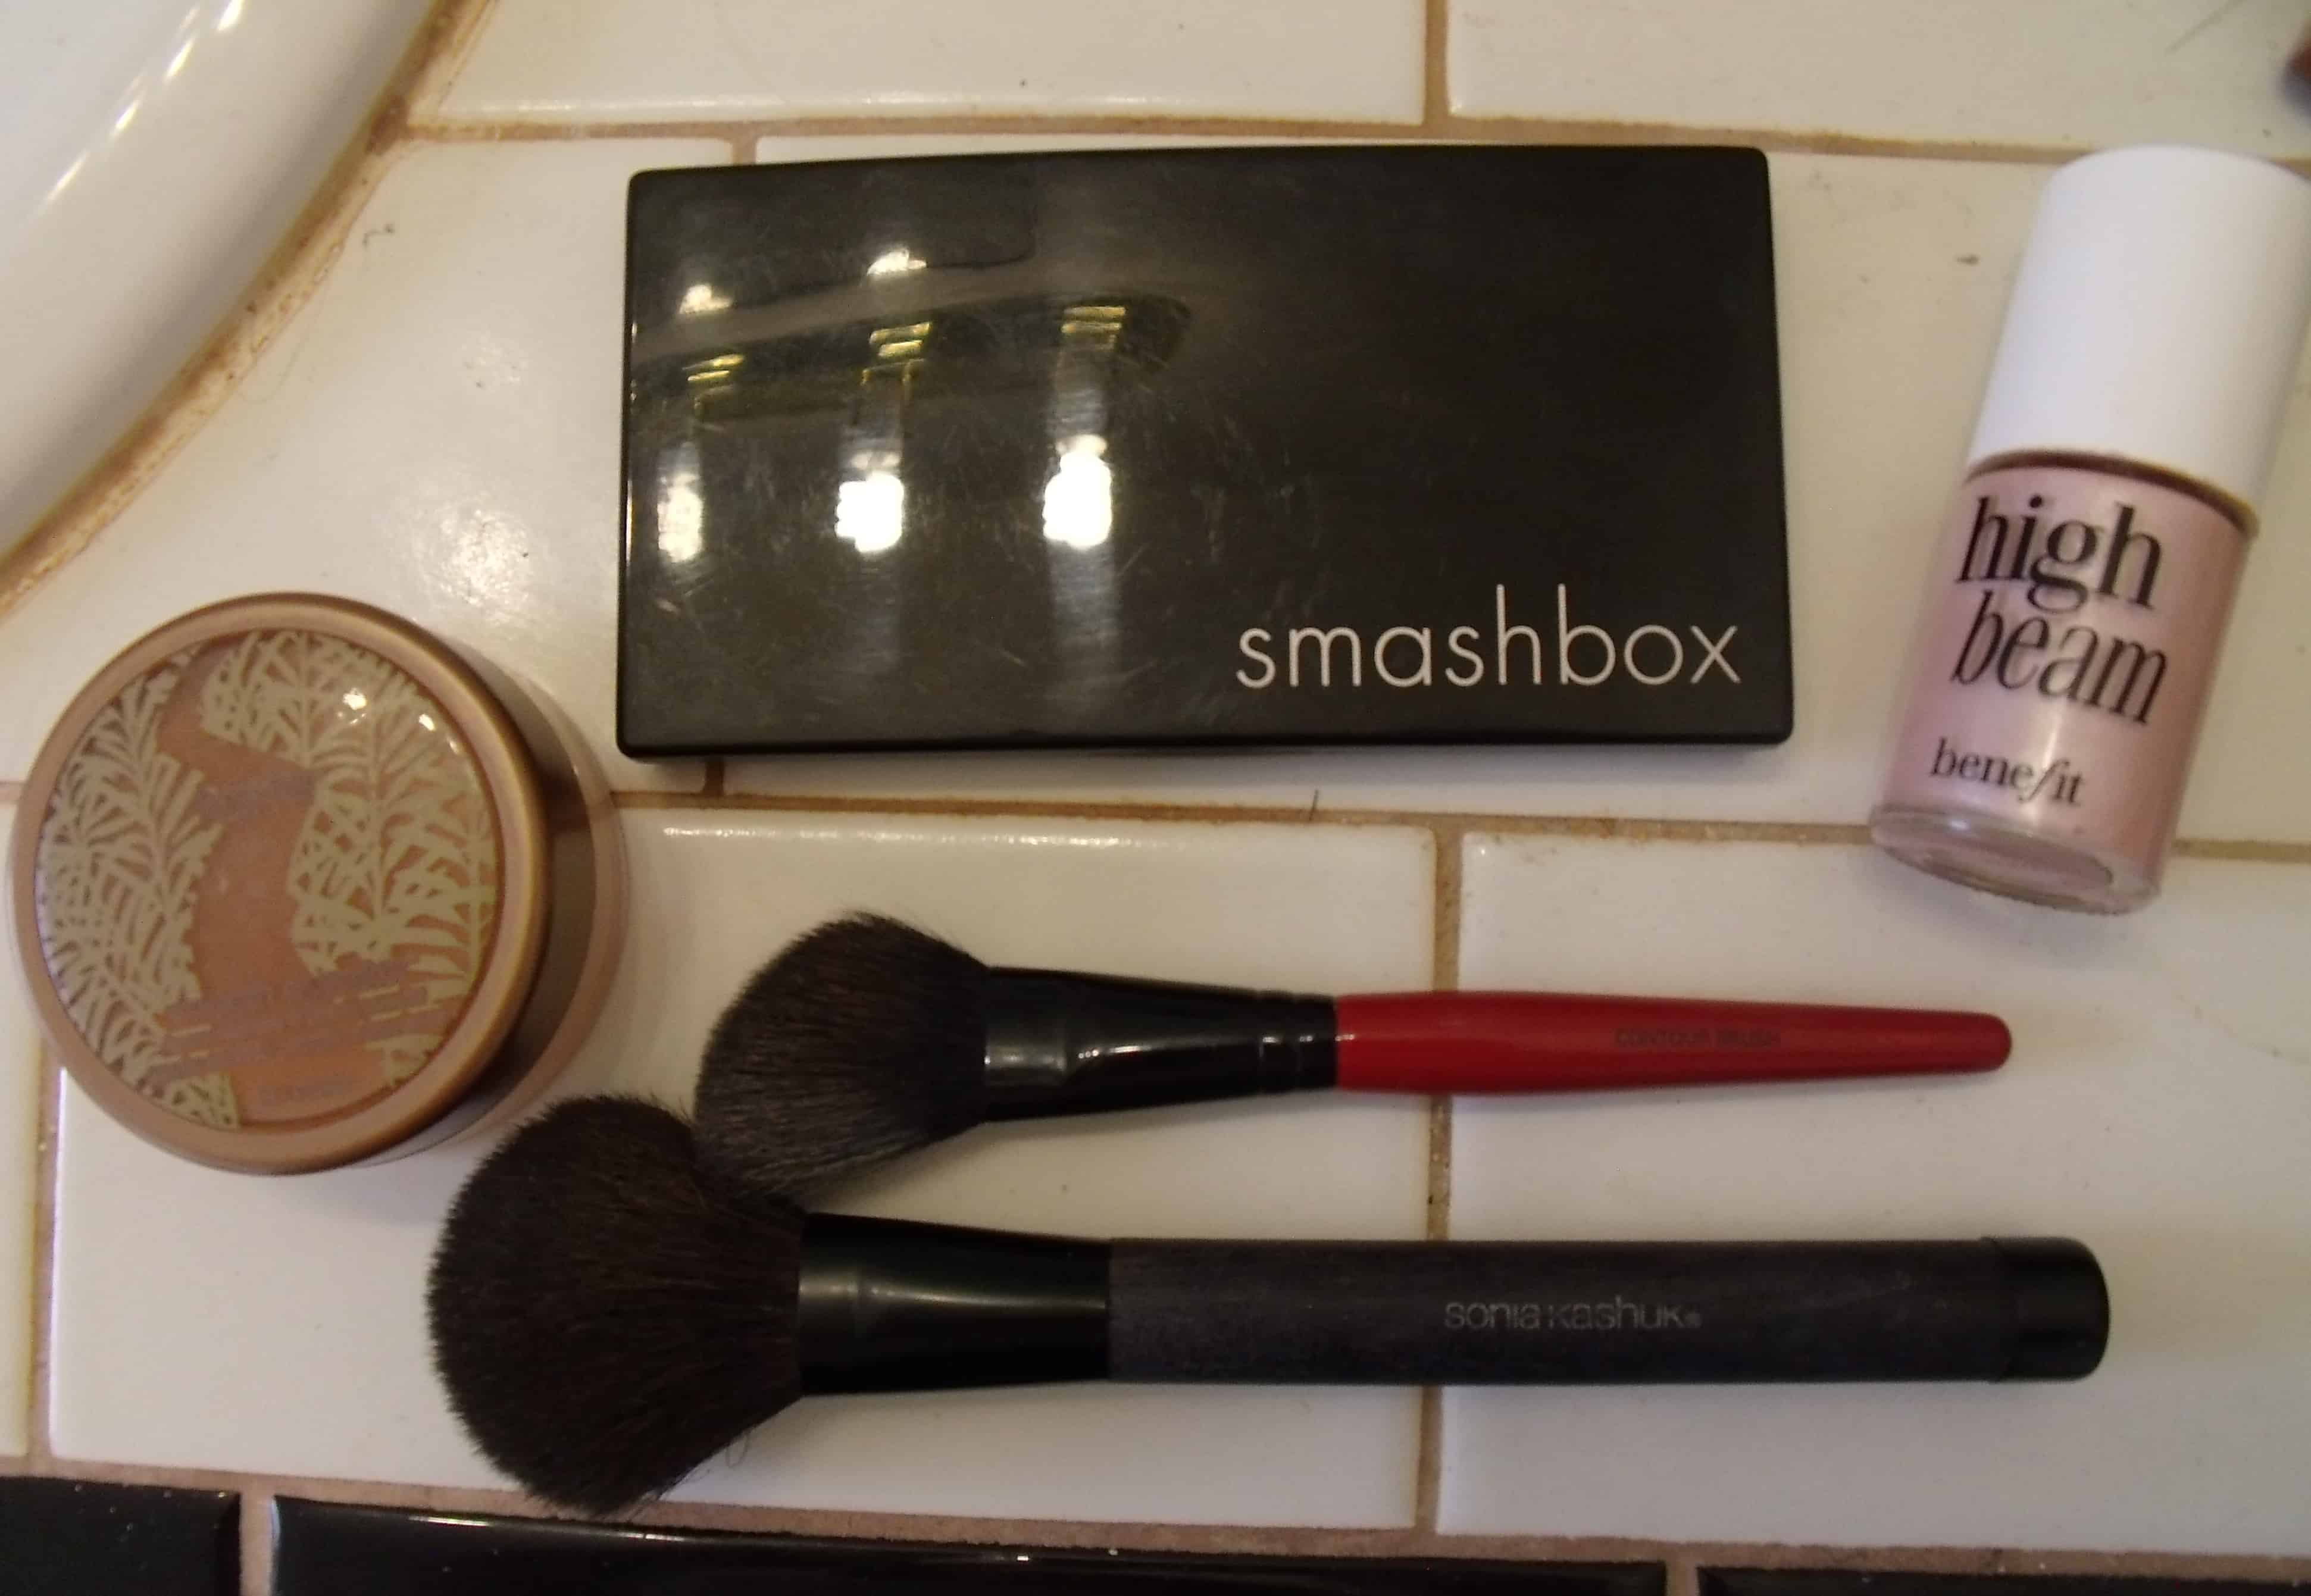
What you’ll need:
Highlighter: I prefer liquid, because I have drier skin. Some people prefer powder, do your thing. I think liquid is easier to work with and looks more natural. My holy grail illuminator is Benefit High Beam. I’ve tried a lot, and I’ll be honest, kids, it’s worth the $26, even to the cheapie writing this post.
Bronzer: You’ll need one that is only one or two shades darker than your skin. NYX makes a great and inexpensive Matte Body Bronzer that I use on my face and body.
Contouring Bronzer: This can either be a foundation that is 2 to 3 shades darker than your skin or a bronzer in a deeper shade. I have done it both ways and like the results of both. In the summer, because of the heat, I prefer the powdered bronzer for longevity and intensity, just make sure its matte with no shimmer.
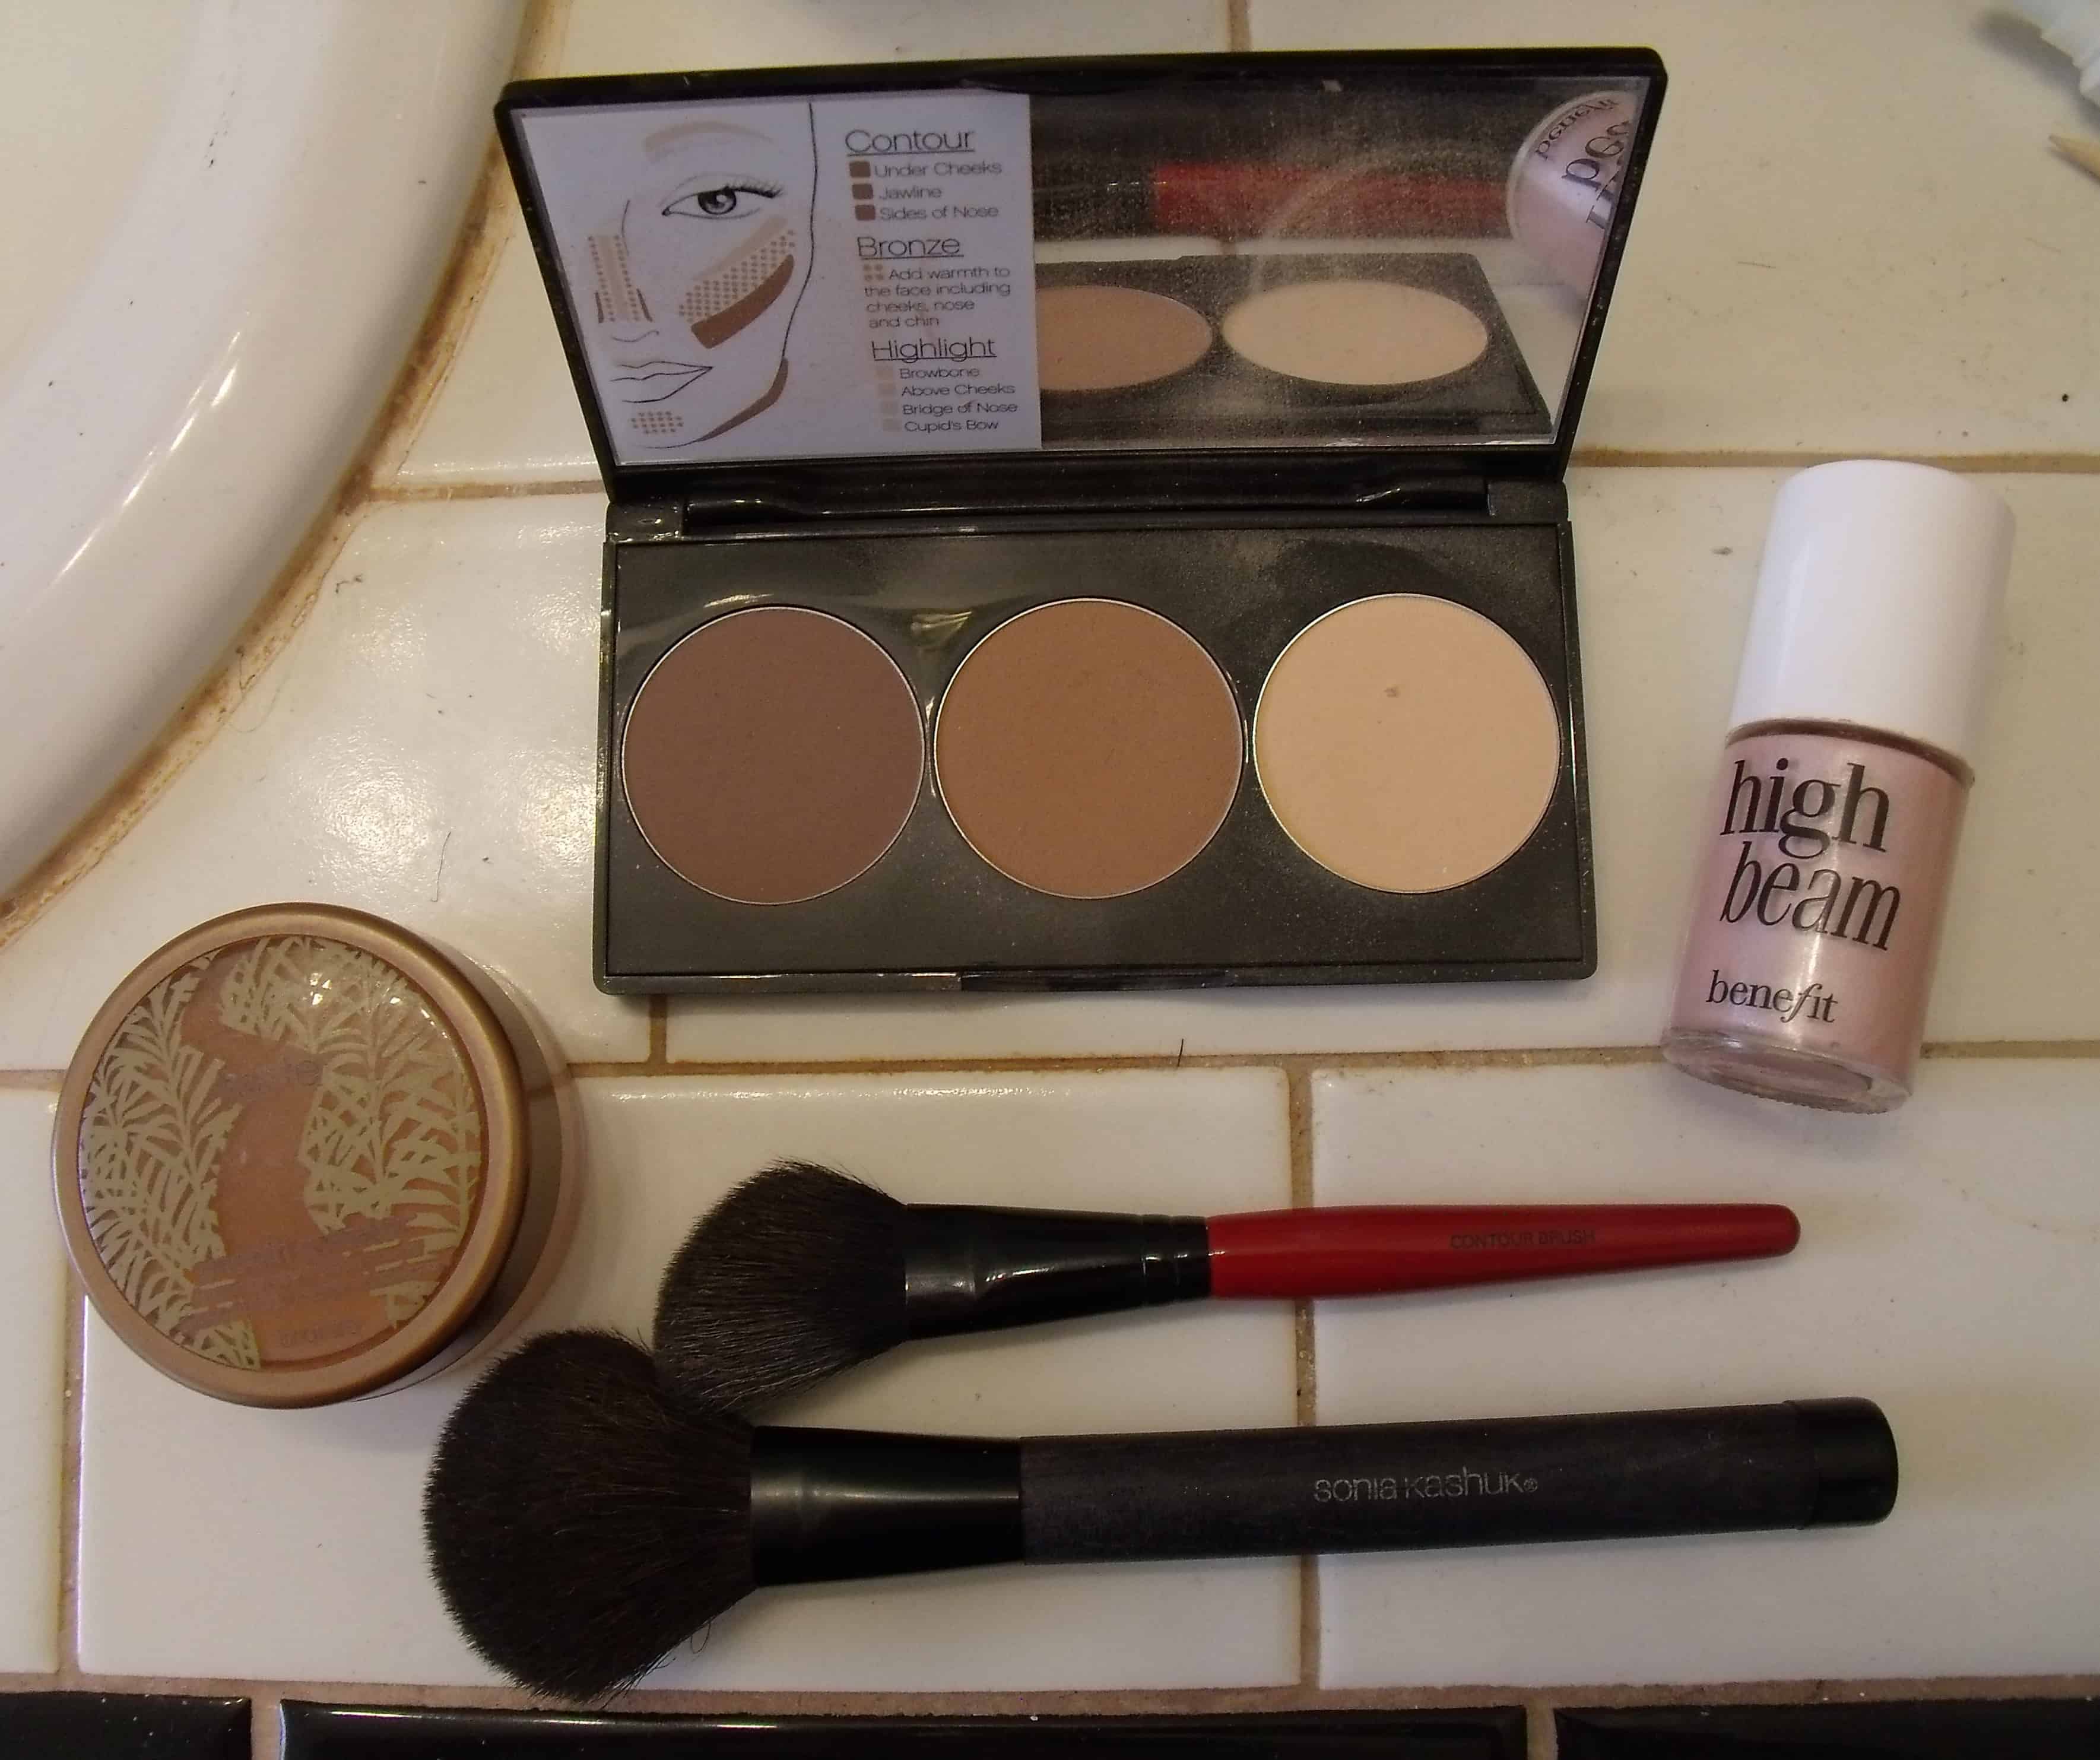
I bought a contour kit from Smashbox a few months ago and not going to lie, it feels like cheating. It’s so easy because they coordinated three powder shades for you. It was $45, OUCH, but hot dang they made it perfect. It was limited edition, they’ll probably come out with it again around the holidays.
Brushes: One tapered blush brush to apply the contour, a blending brush (I forgot to put this brush the in pic, I’m using the Cargo ‘Magic’ Brush, it’s so good at blending), and a larger fluffier brush for overall blending.
Here’s the video if you prefer to watch instead of read! Click below.
** Highlight & Contour Video **
How to Highlight & Contour:
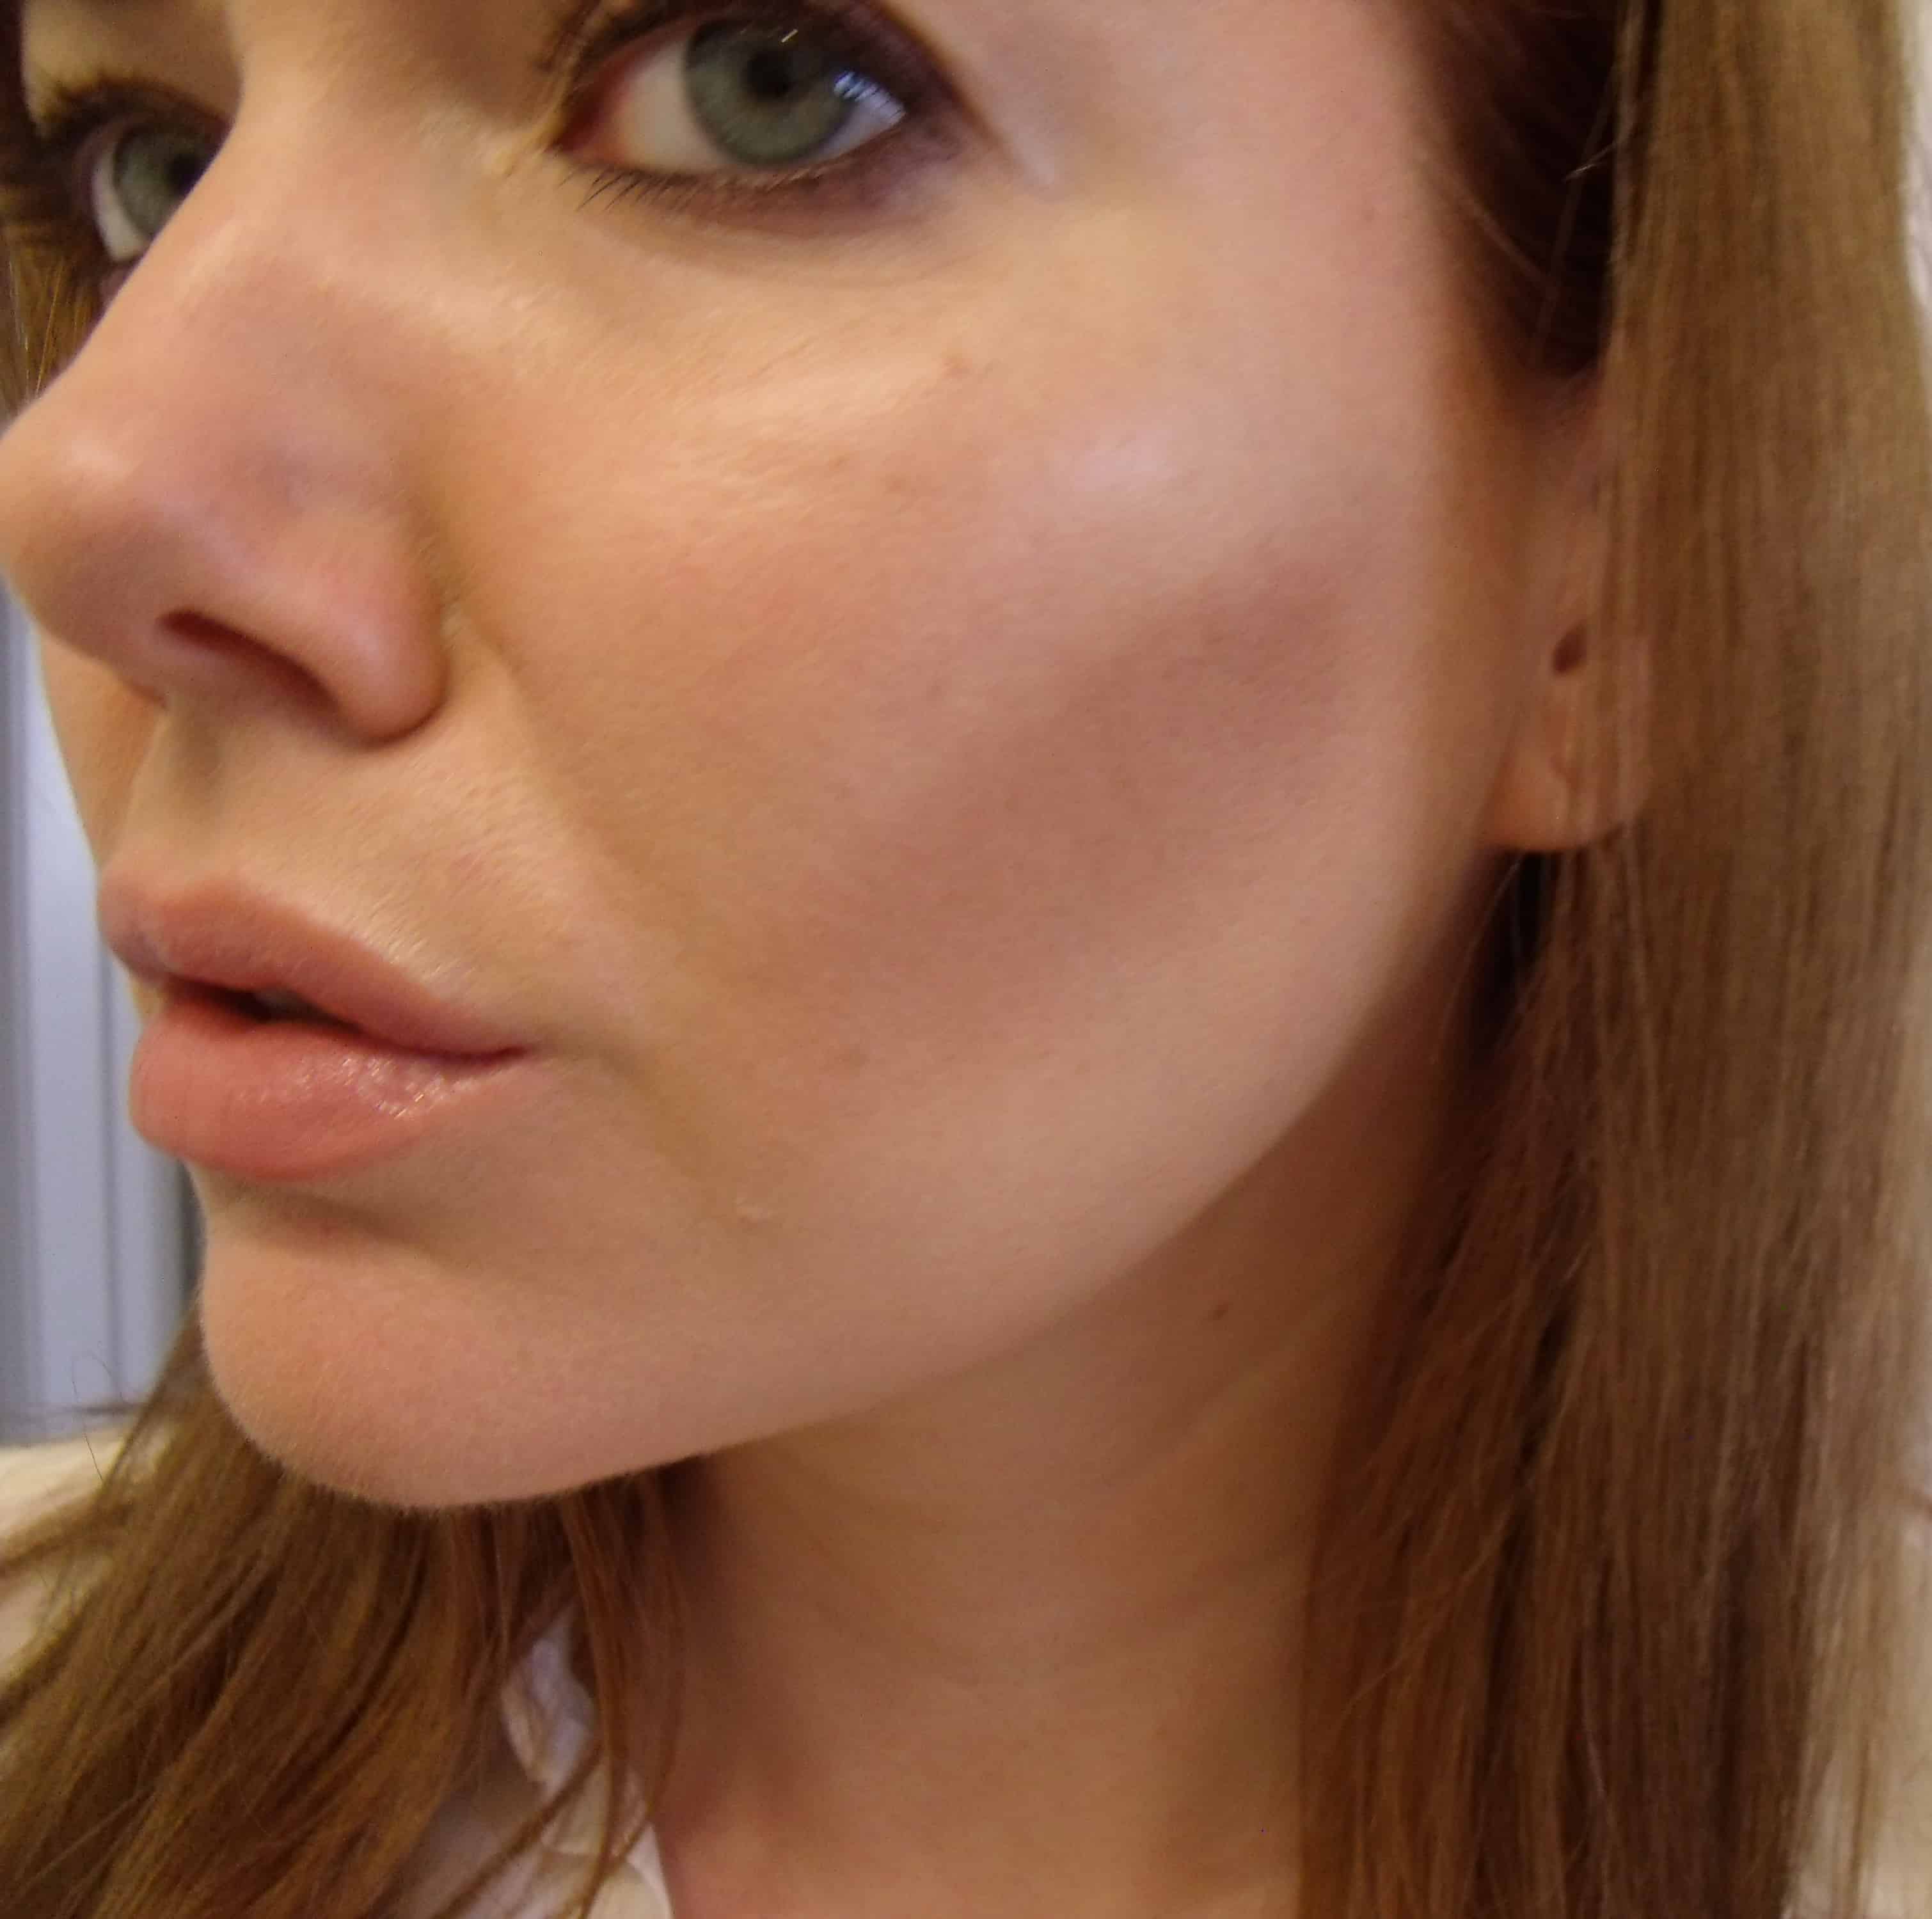
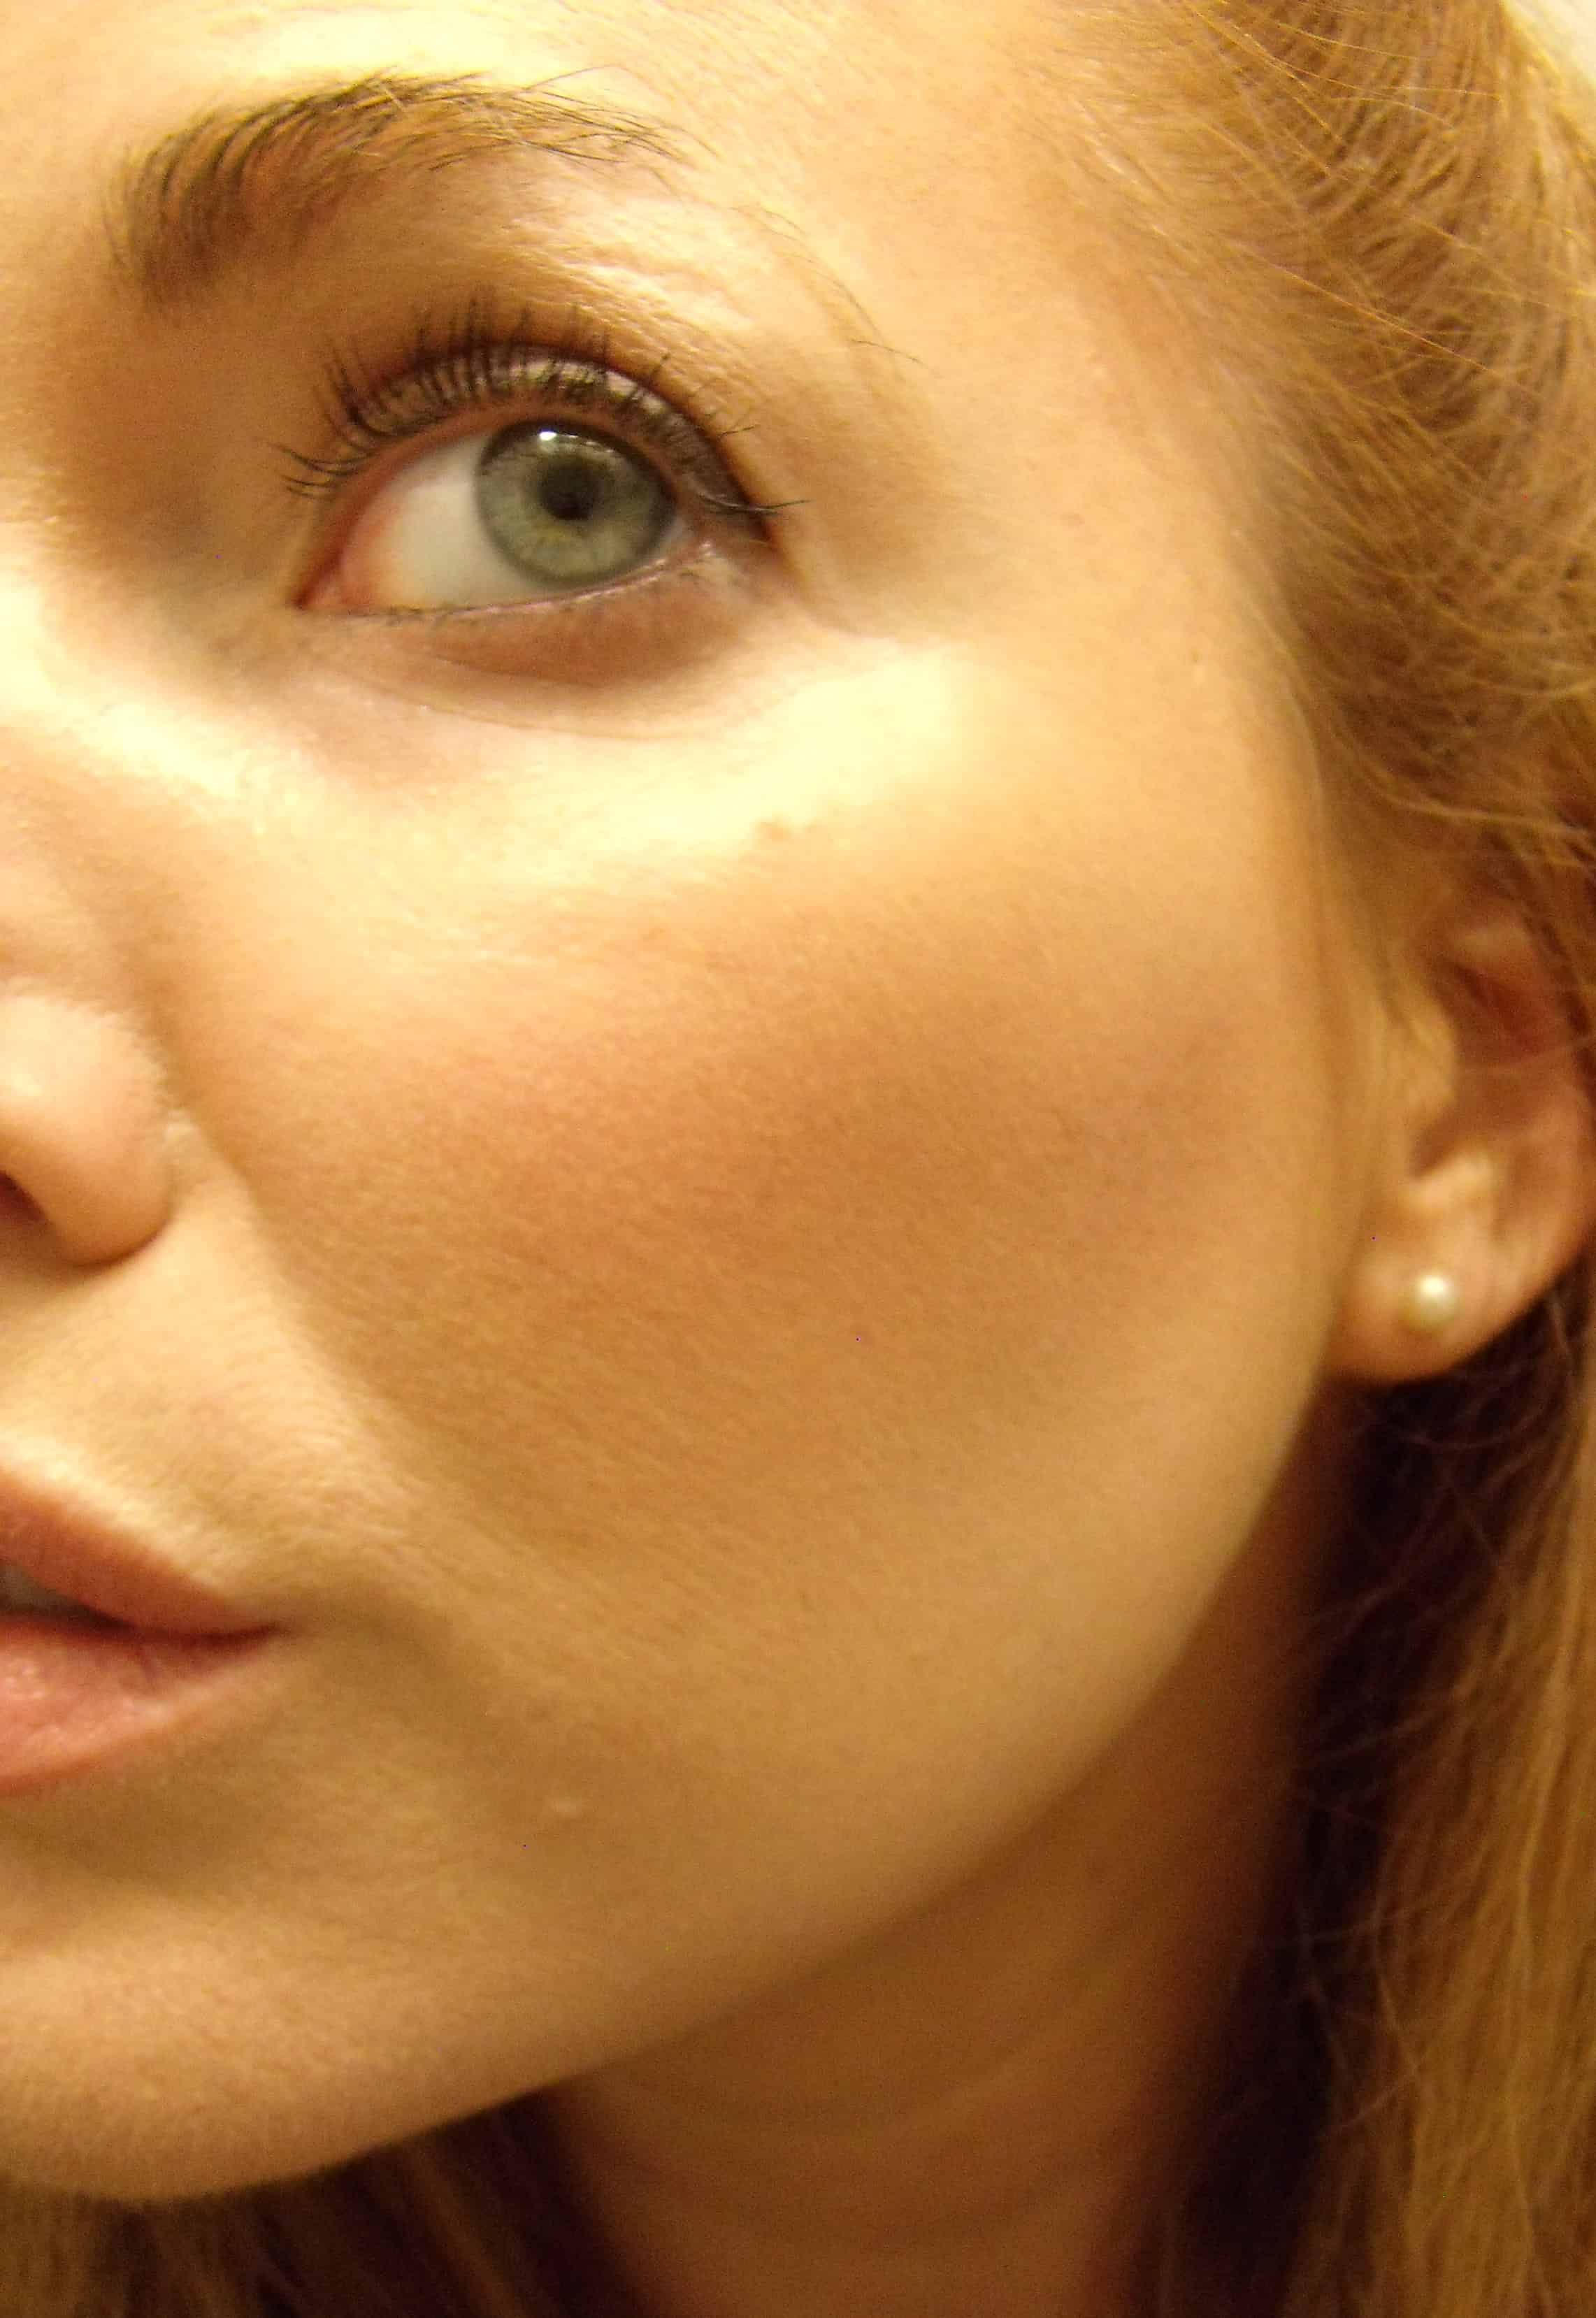
1. I like to highlight first, because I’m using a liquid highlighter and powdered bronzer. Liquid over powder is no bueno, so I start with my High Beam.
-Dot three tiny dots of it on your cheekbone.
-Add two more above the apples of your cheeks.
-Draw a thin line down your nose.
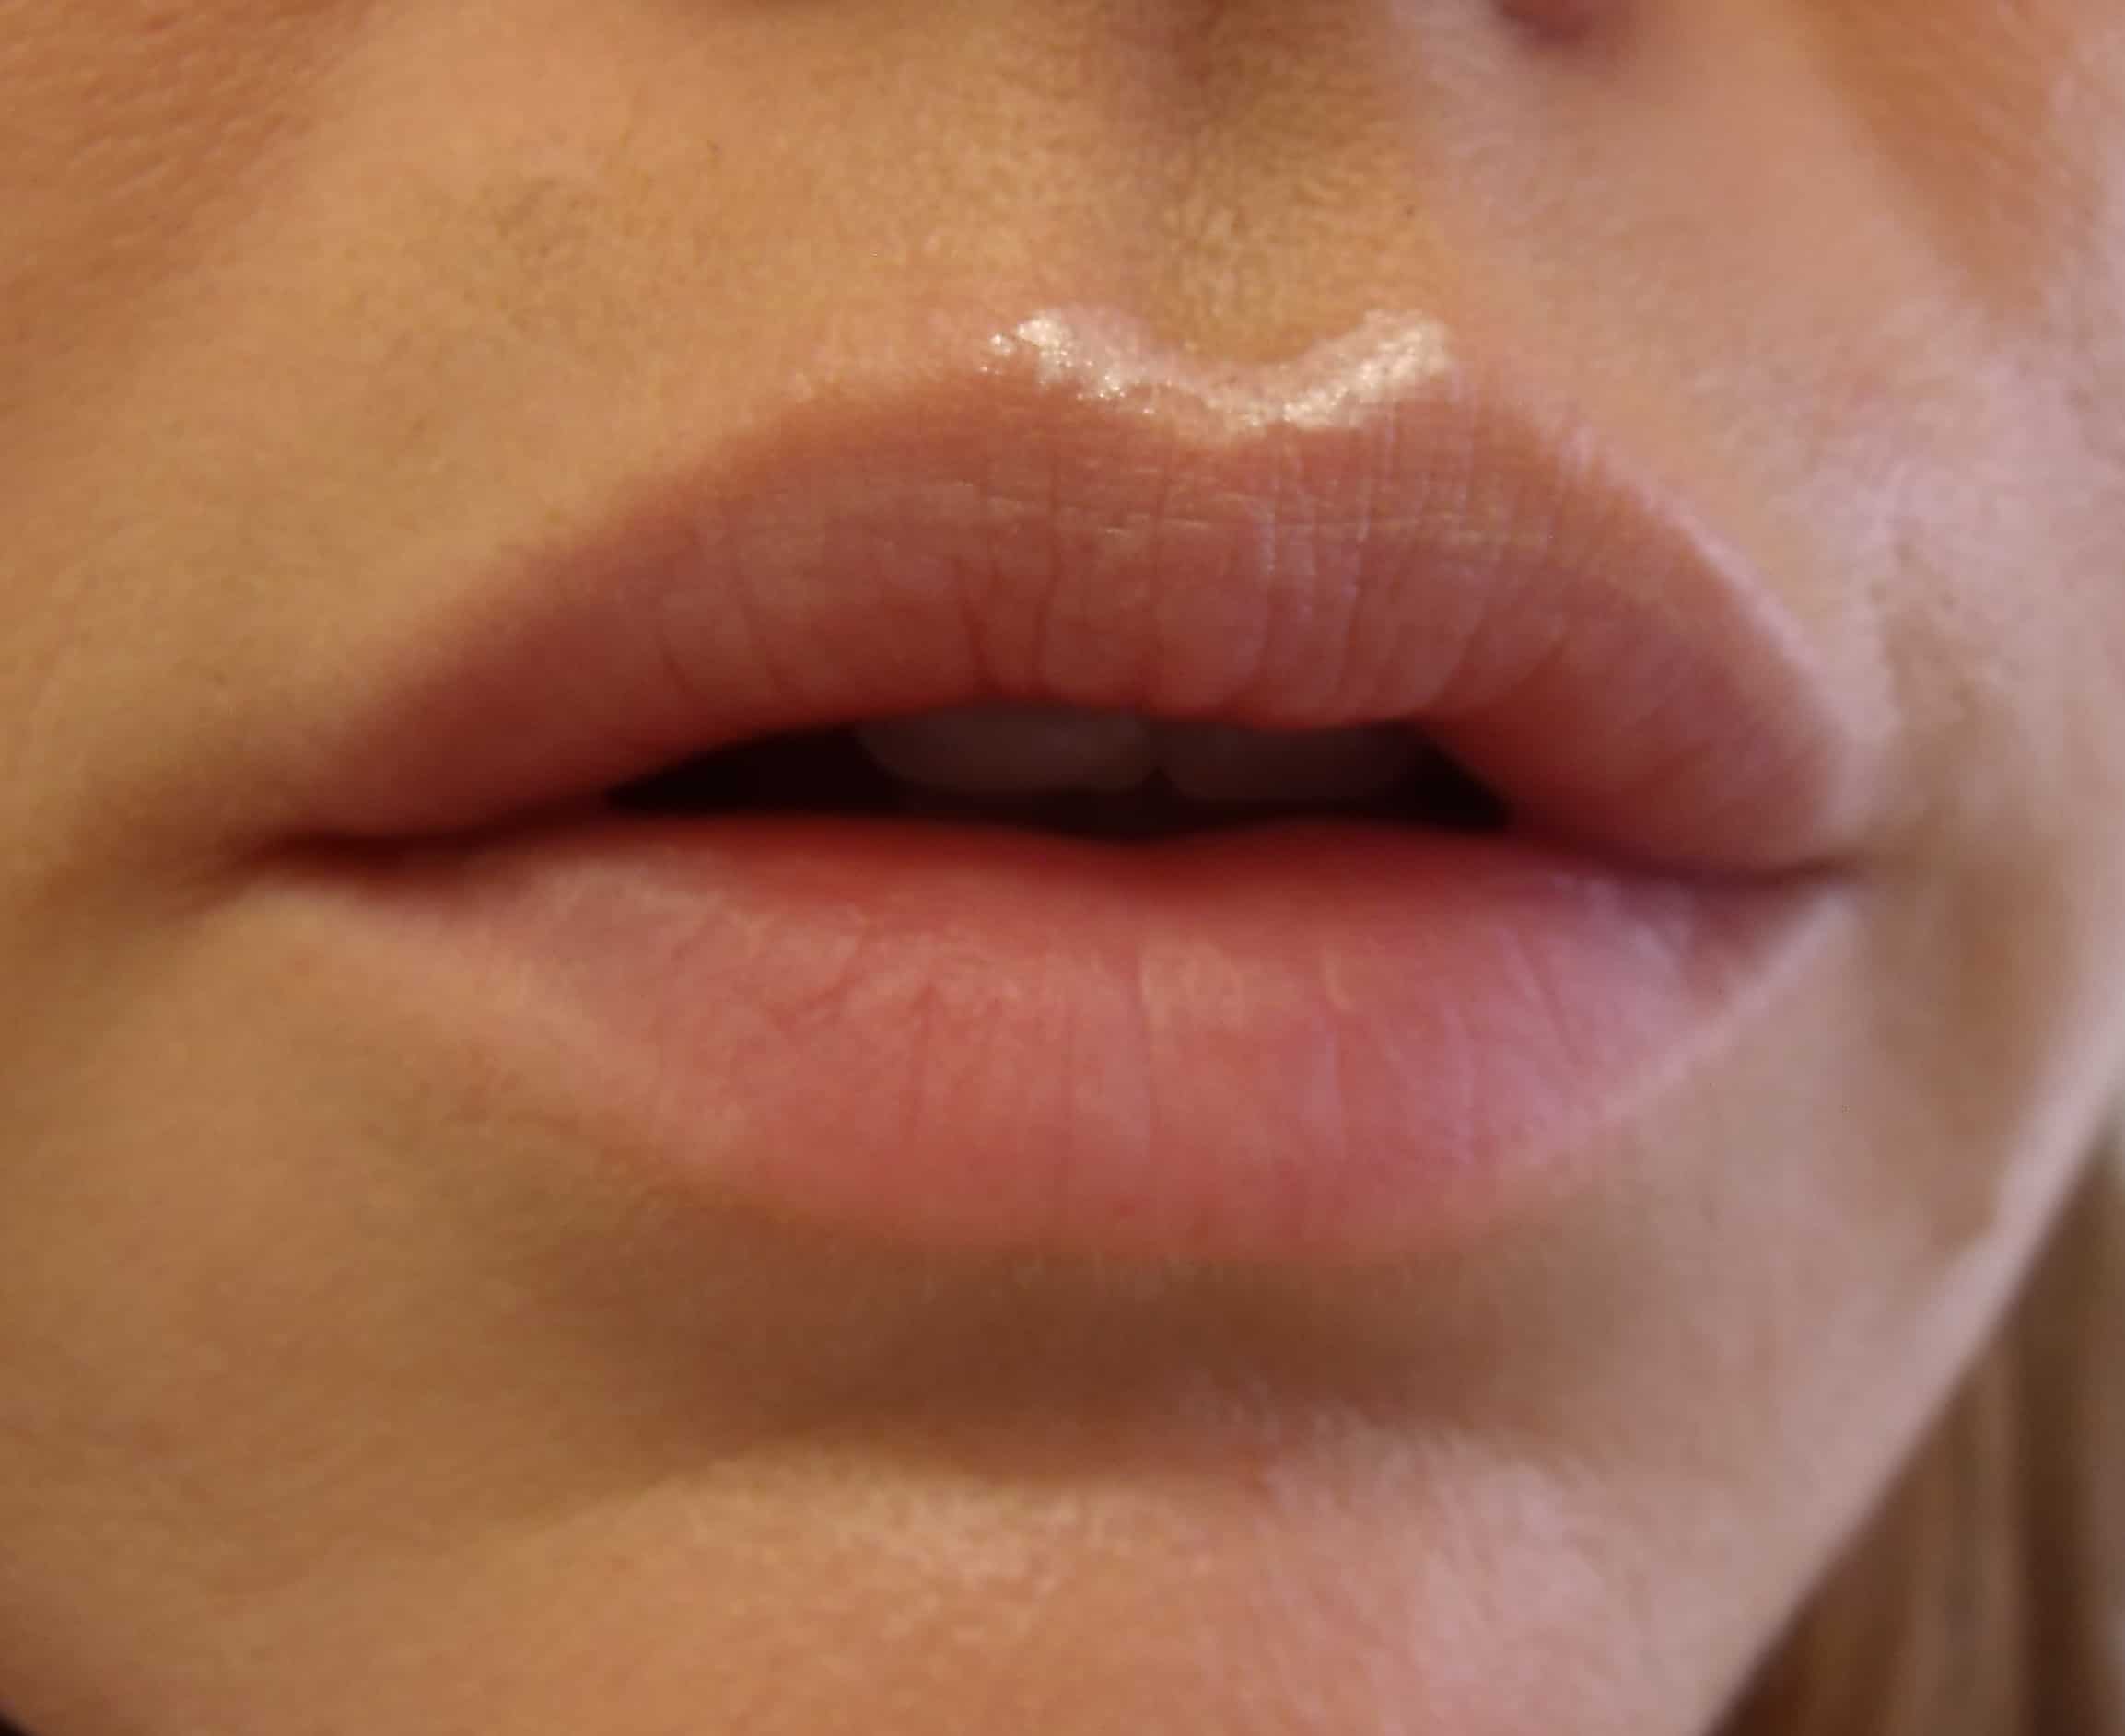
-Draw a tiny “V” above the v of your top lip.
-Blend.
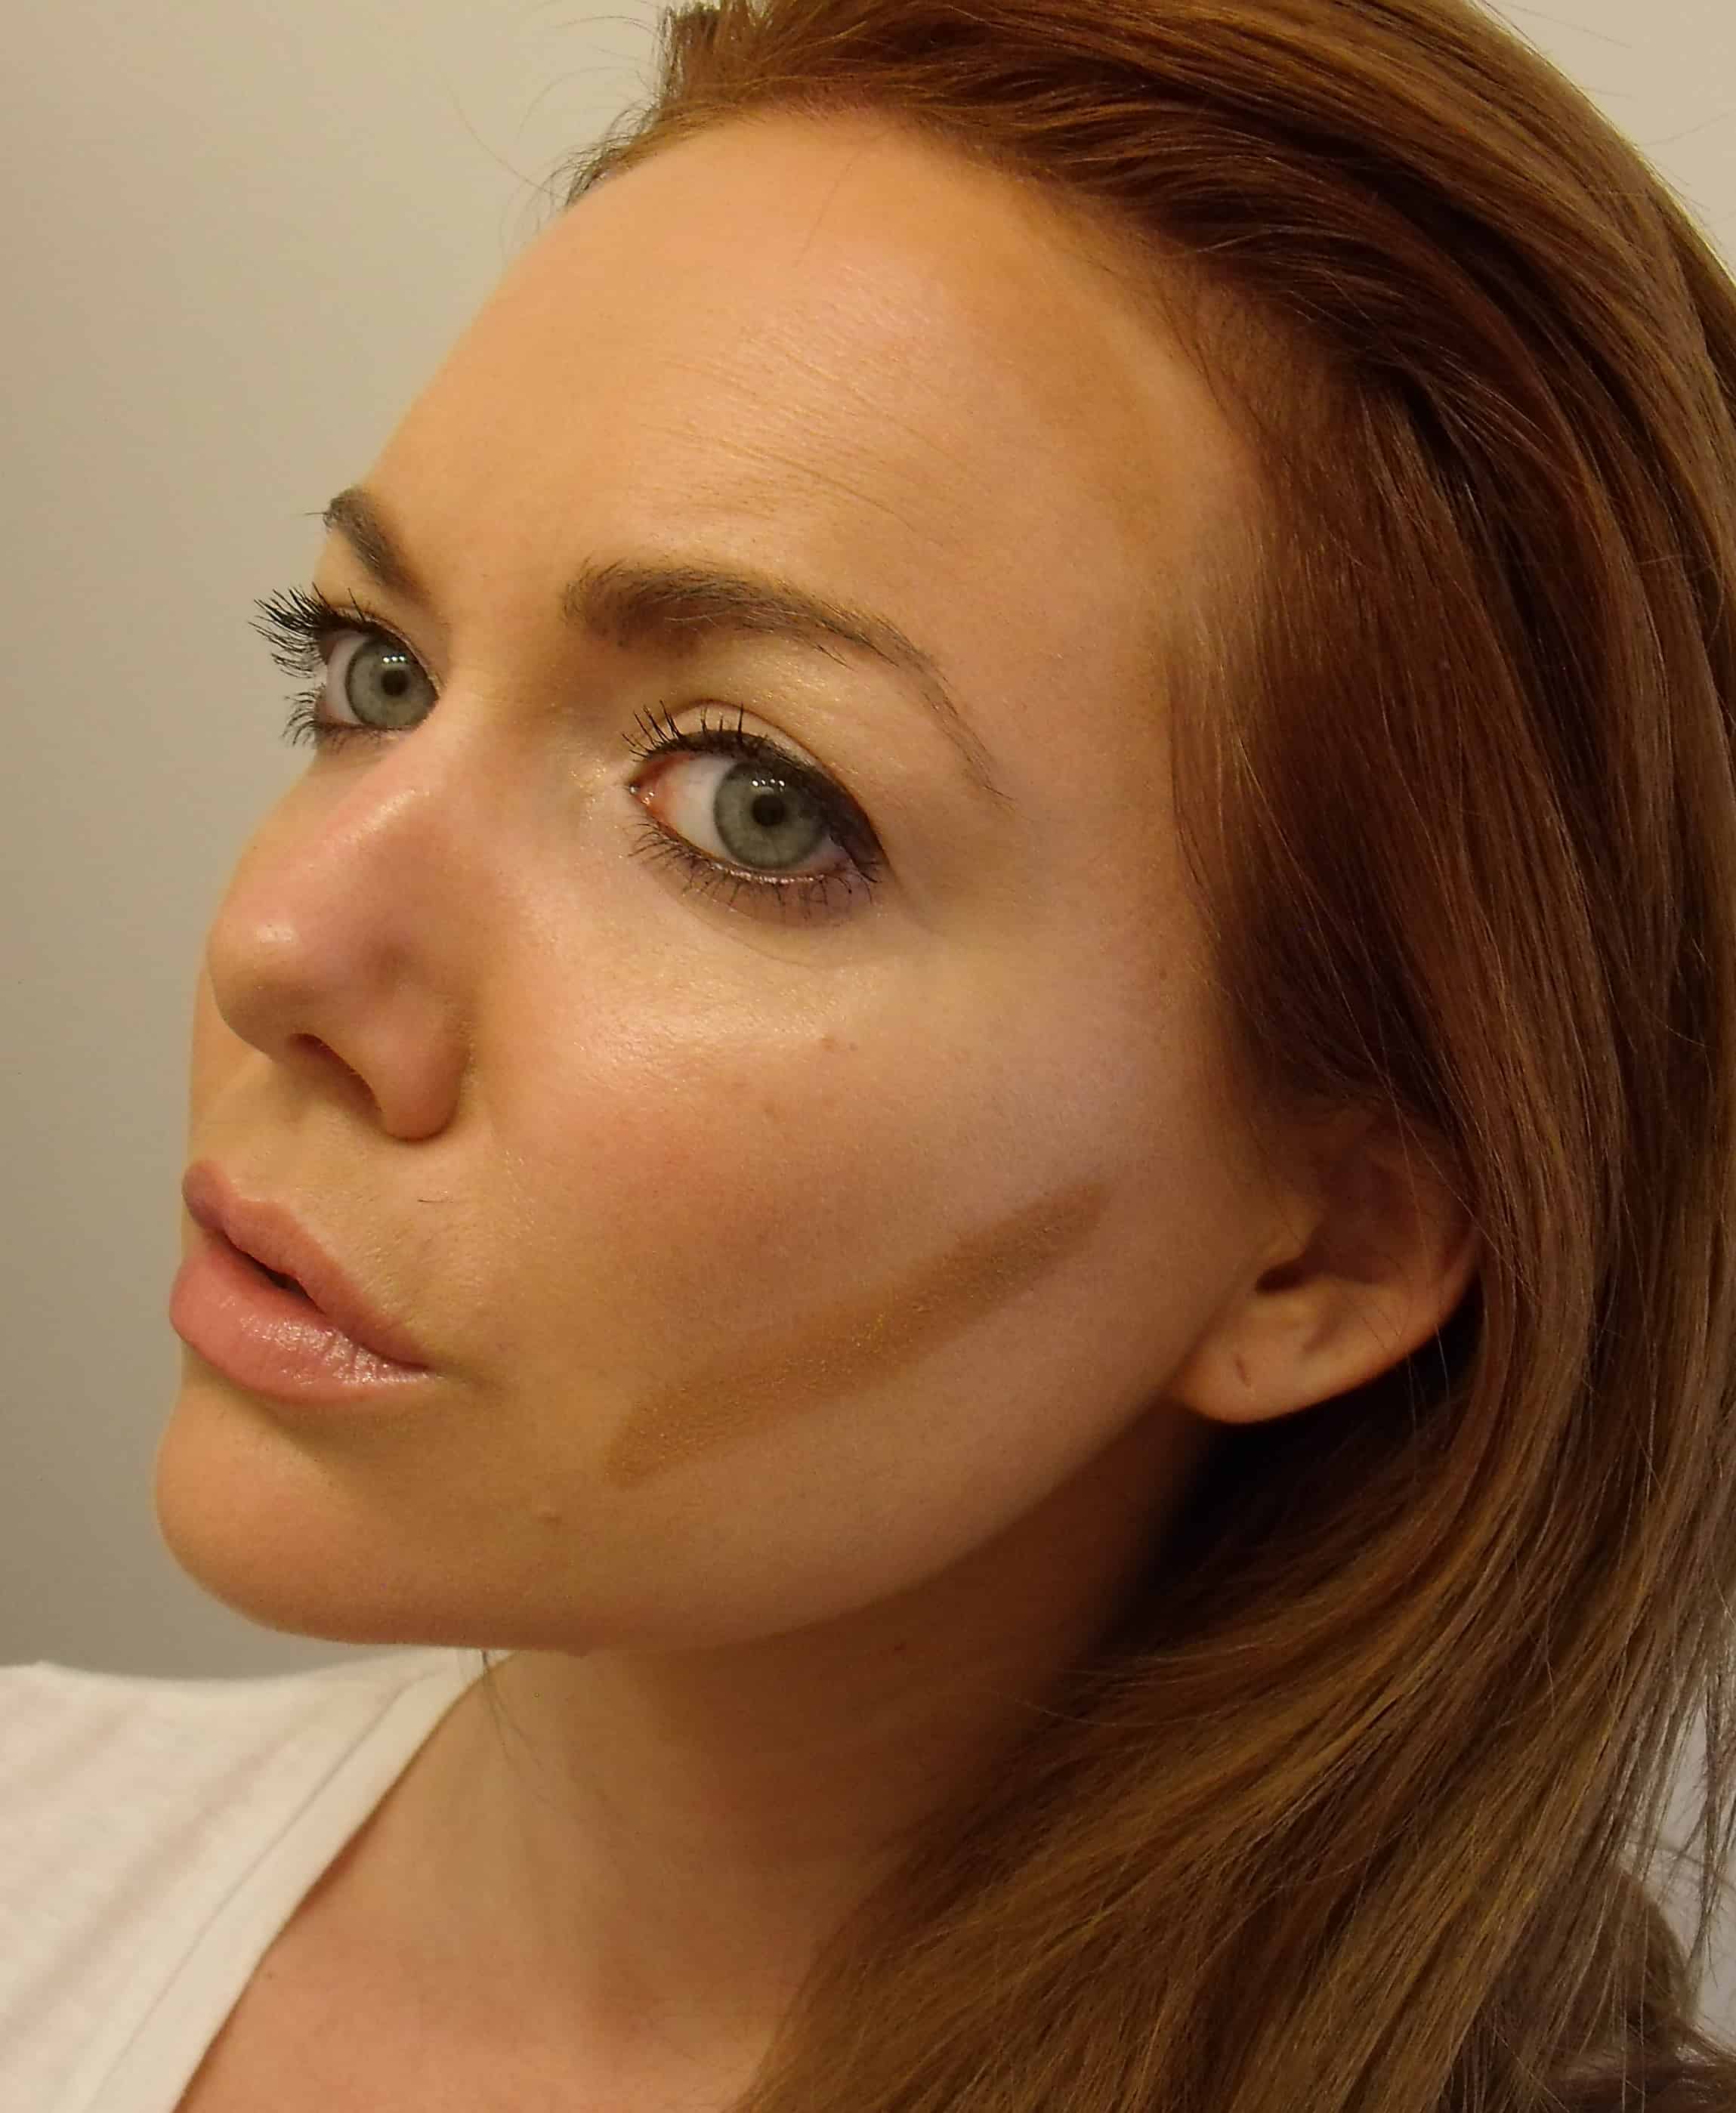
2. Contour.
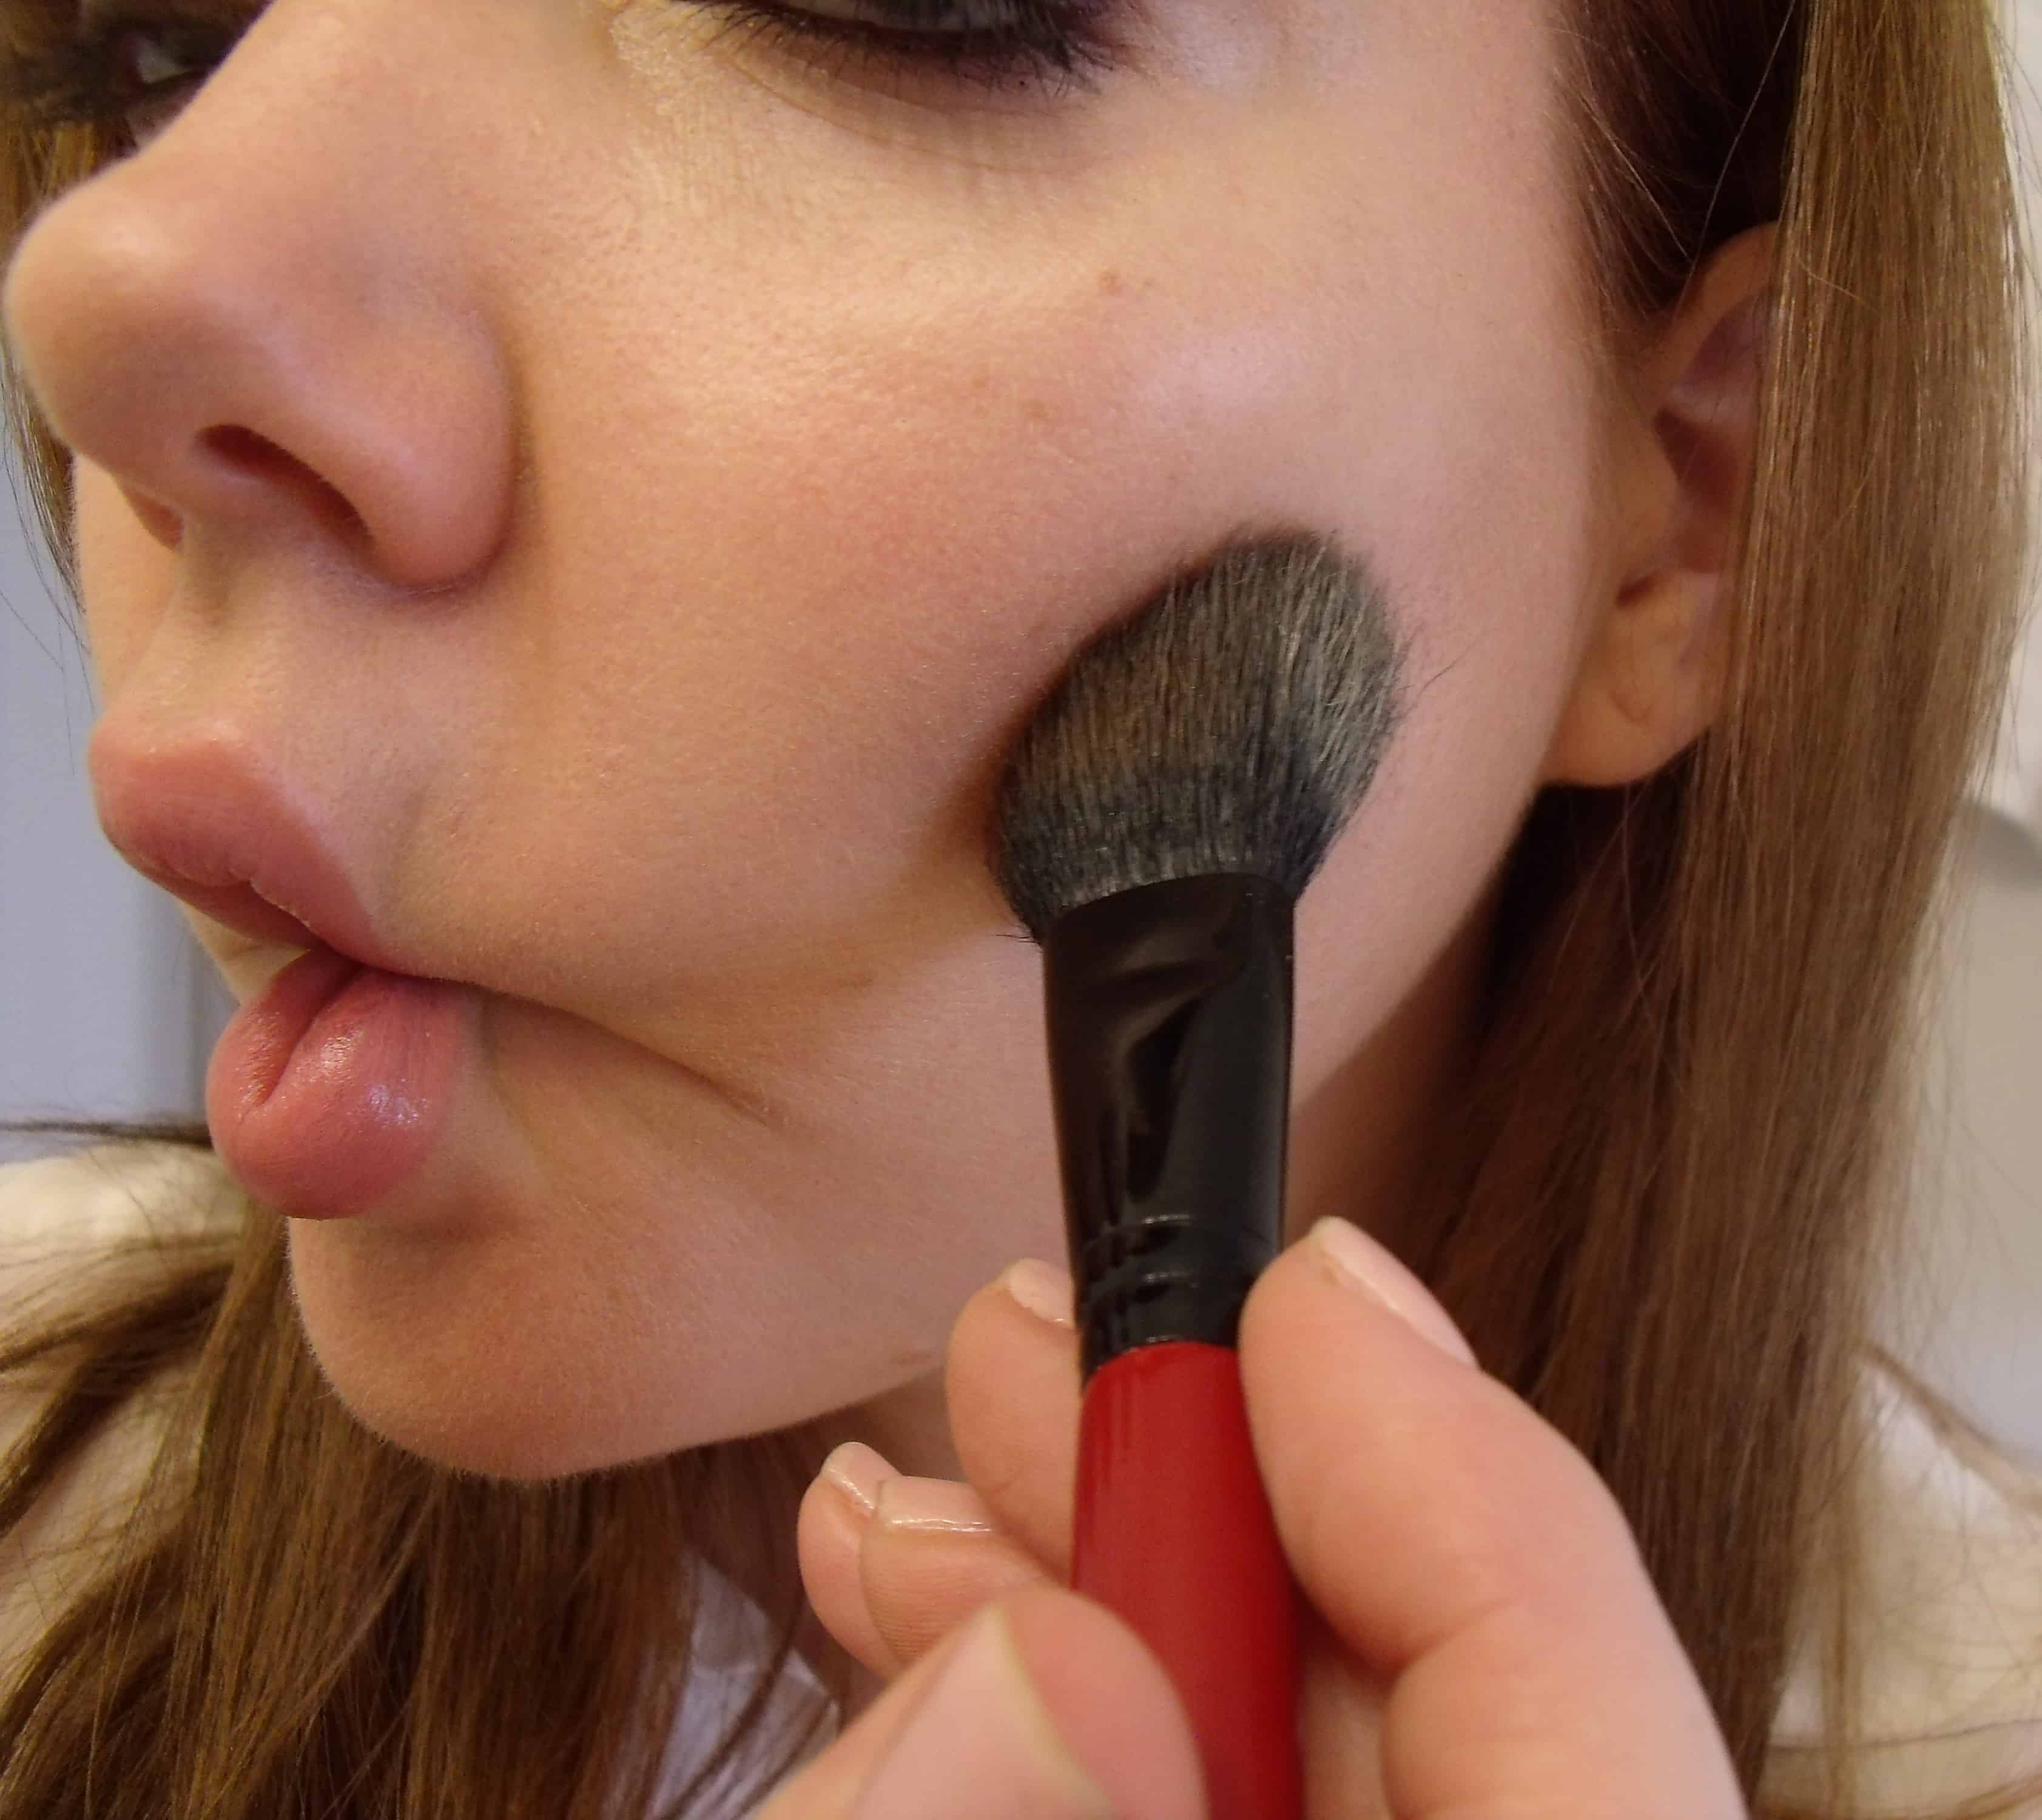
-Taking your darkest shade, suck your cheeks in to make hollows.
-Dust bronzer in a thin line over the hollows.
-Dust the remainder of what is on your brush along your jaw line and the temples of your forehead.
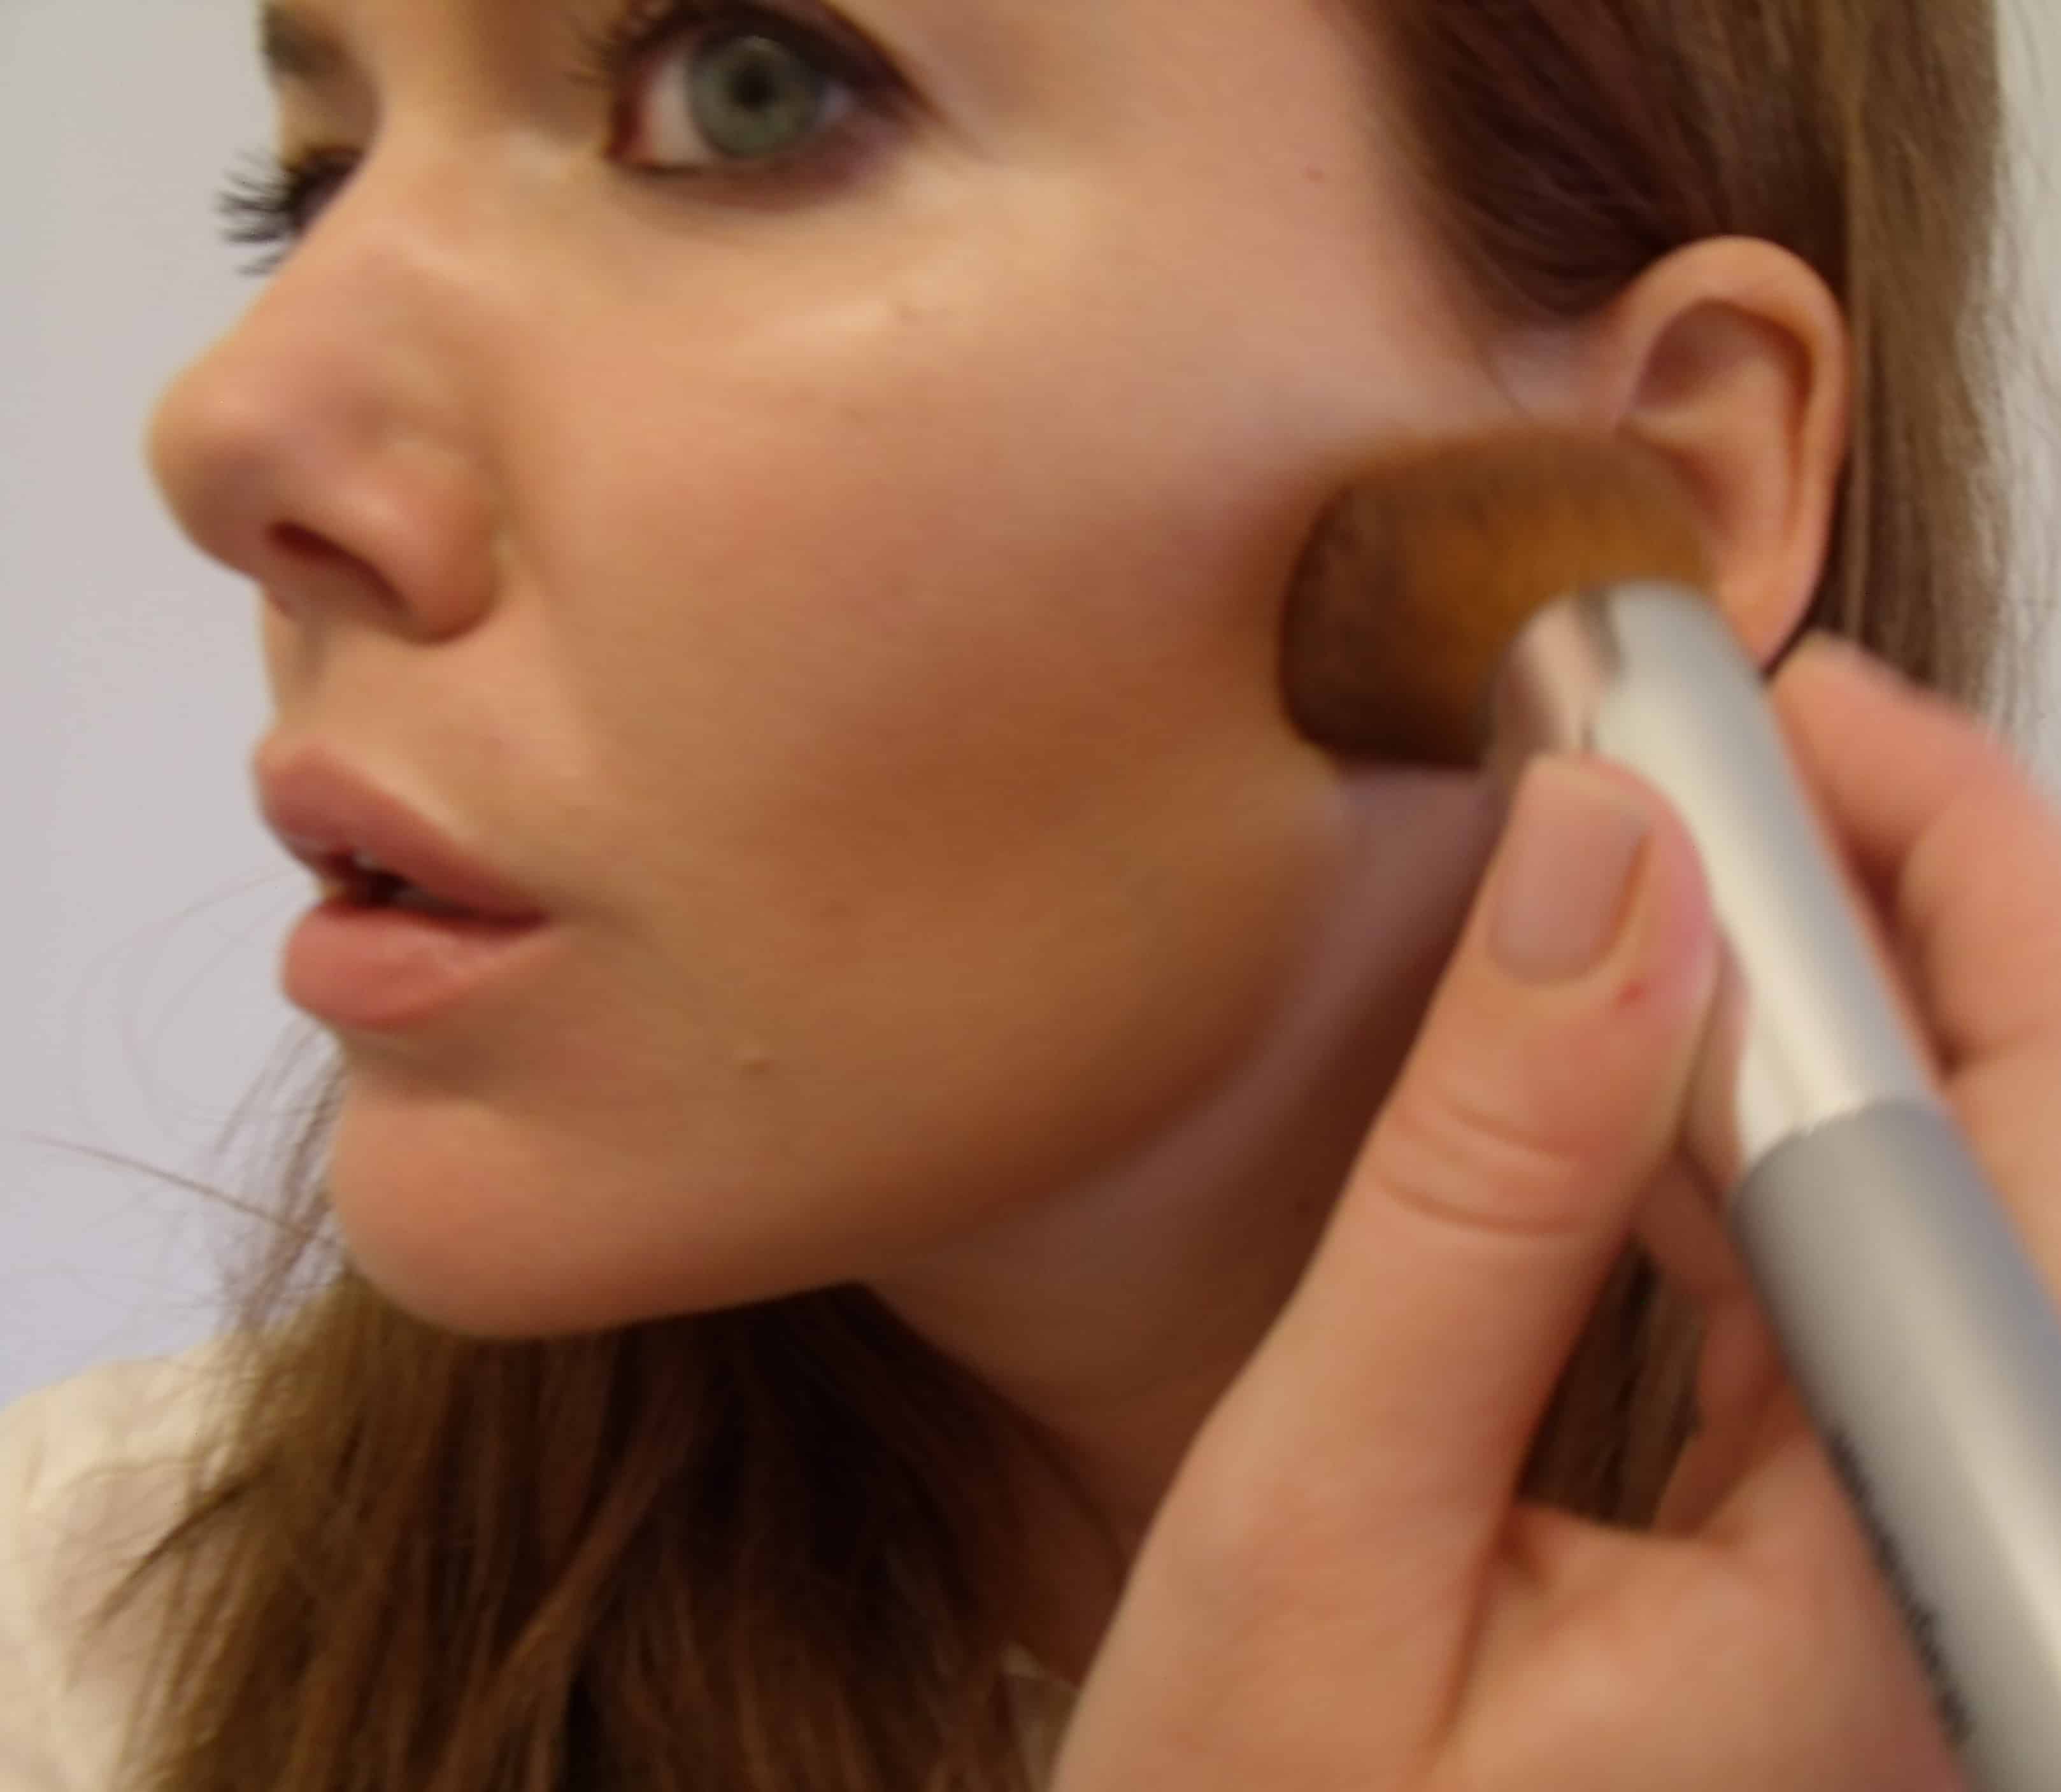
3. Bronze.
-Using the flat side of your brush, lightly dust bronzer slightly above where you just applied contour. This will help define the contouring, but also soften the line at the same time. I didn’t do this step for a long time, and I think it give you a more natural, less stripey contouring look.
-Again, dust what is remaining on your brush under your jaw/along edge of forehead.
-Using a larger, fluffier brush, apply bronzer across your forehead, and in an “E” or backwards “E” shape along the sides of your face.
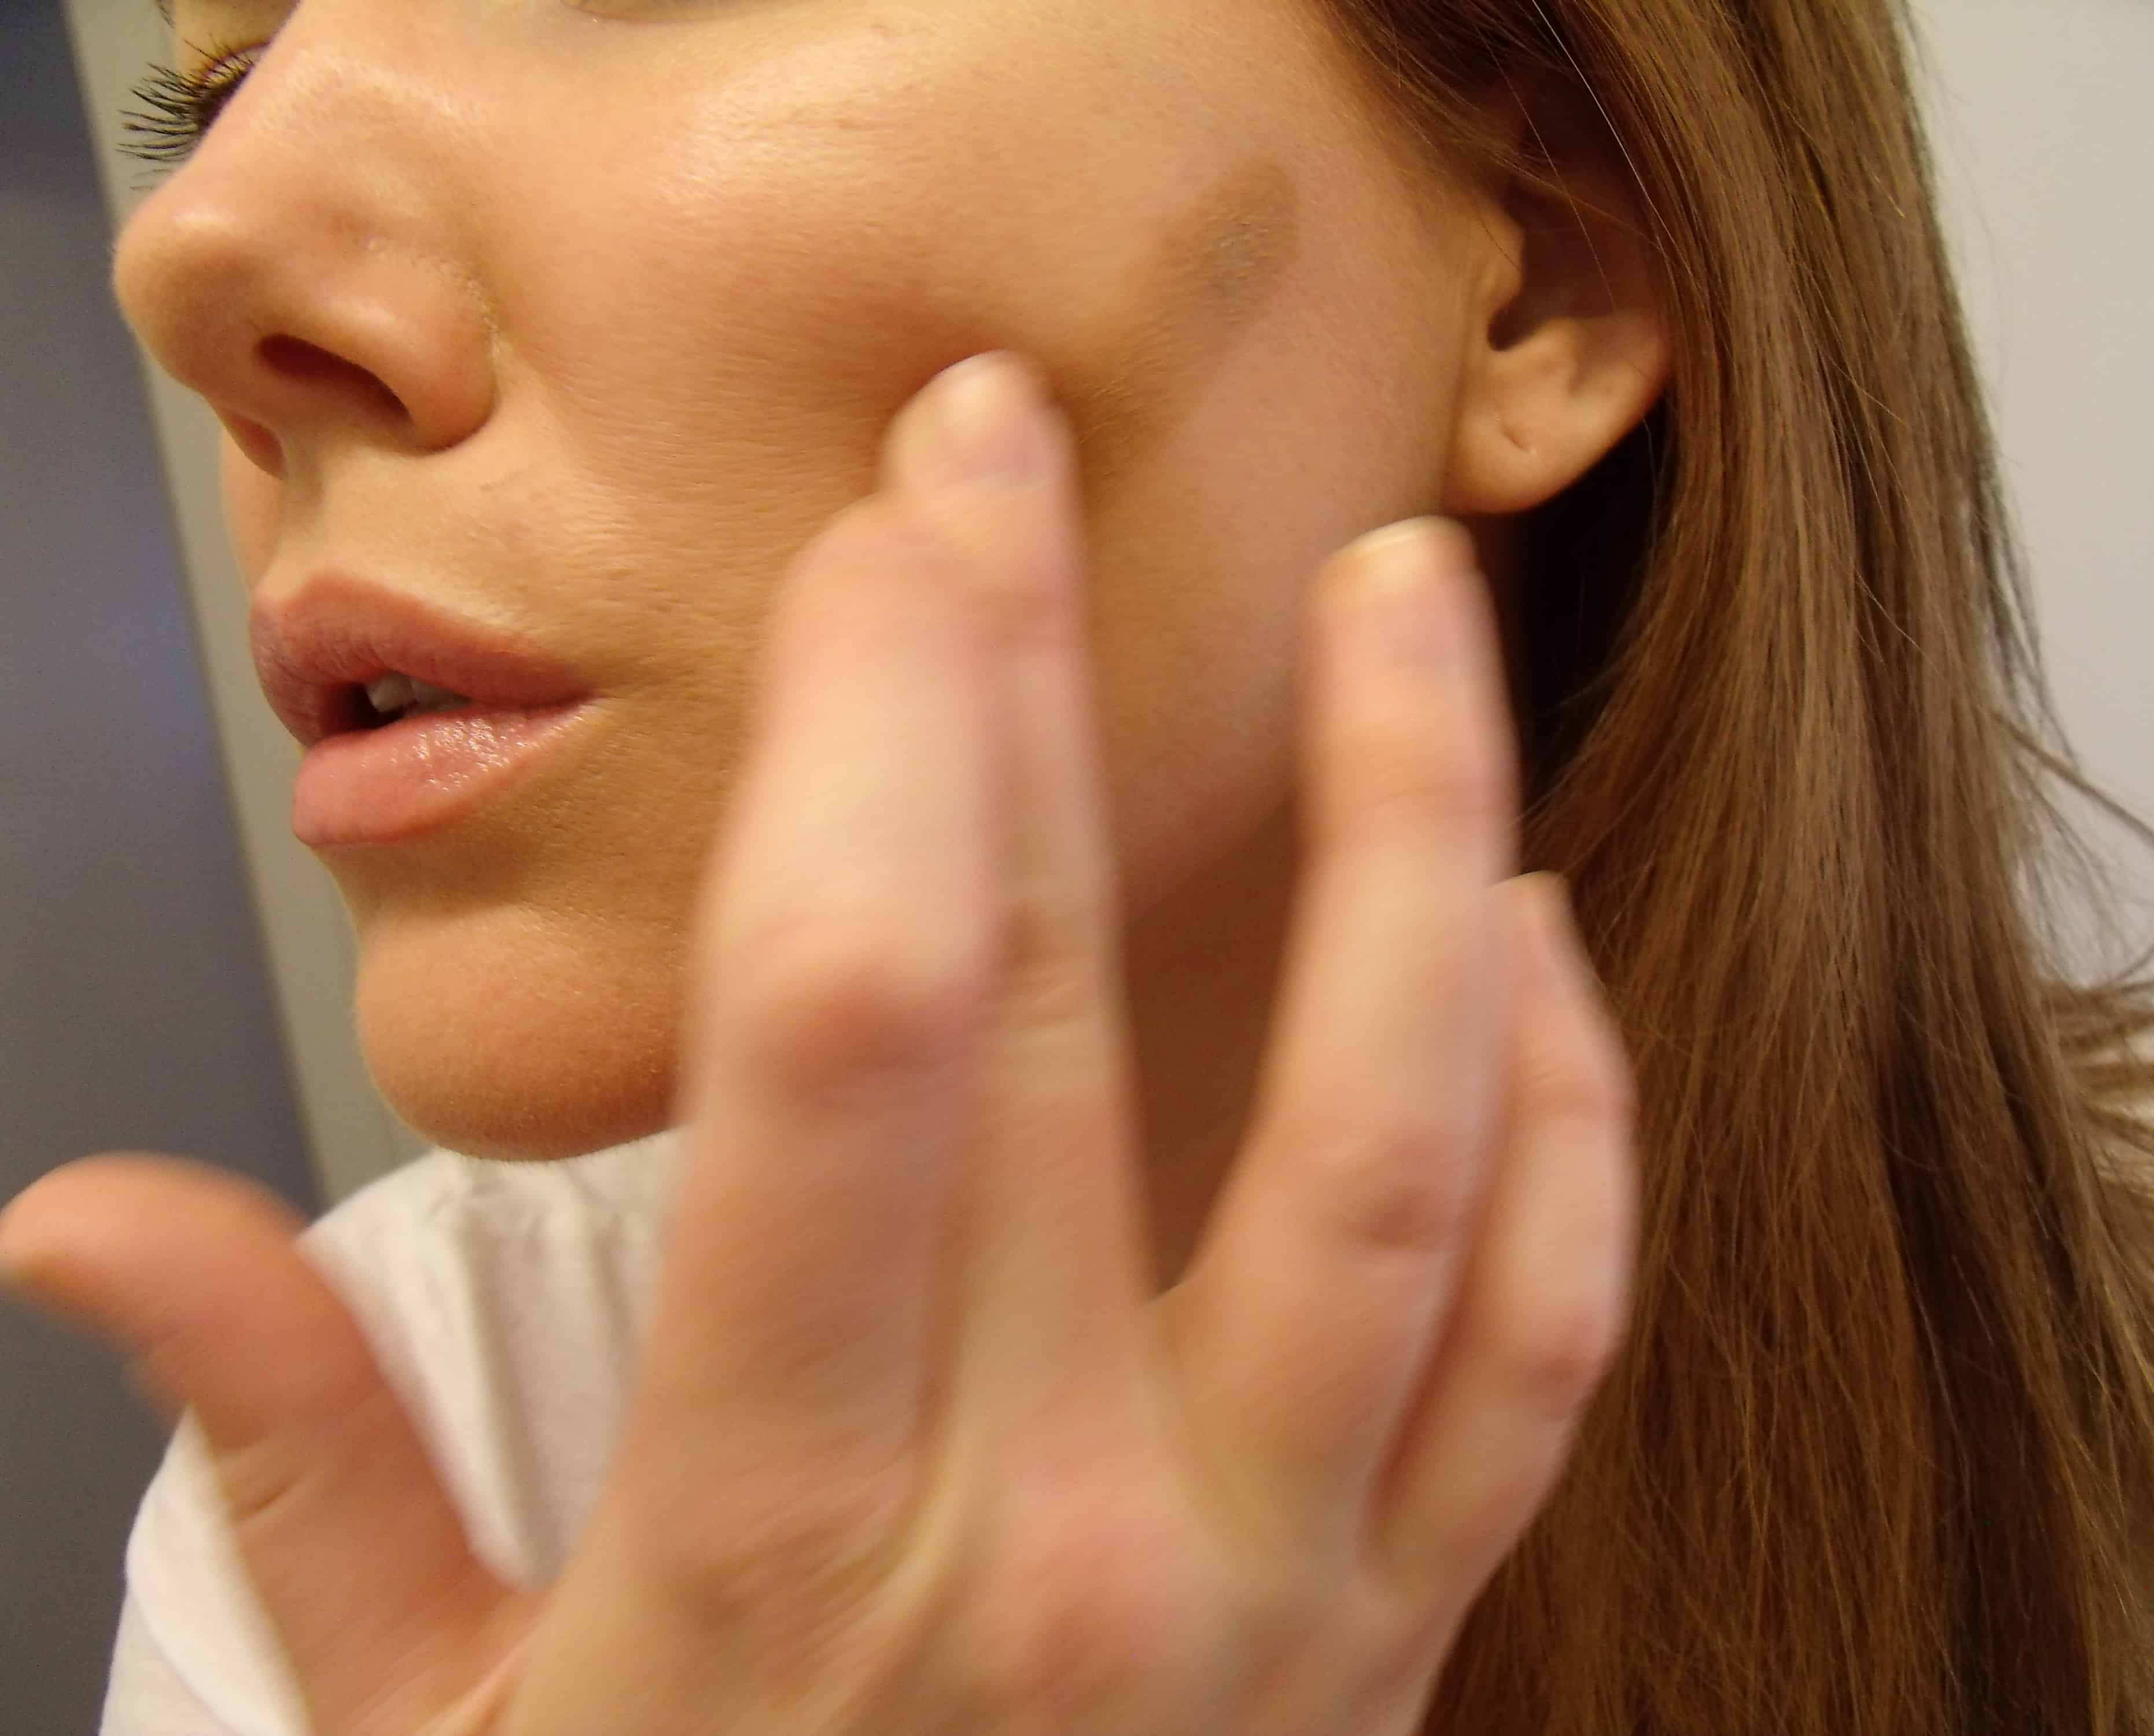
4. Blend.
-Taking a clean brush, blend the contour and bronzer together into your cheeks. Tap it to remove any excess of makeup, then run it across your forehead and in the “E” shape again to really blend any bronzer into your skin. Think “lit-from-within-glow.” 🙂
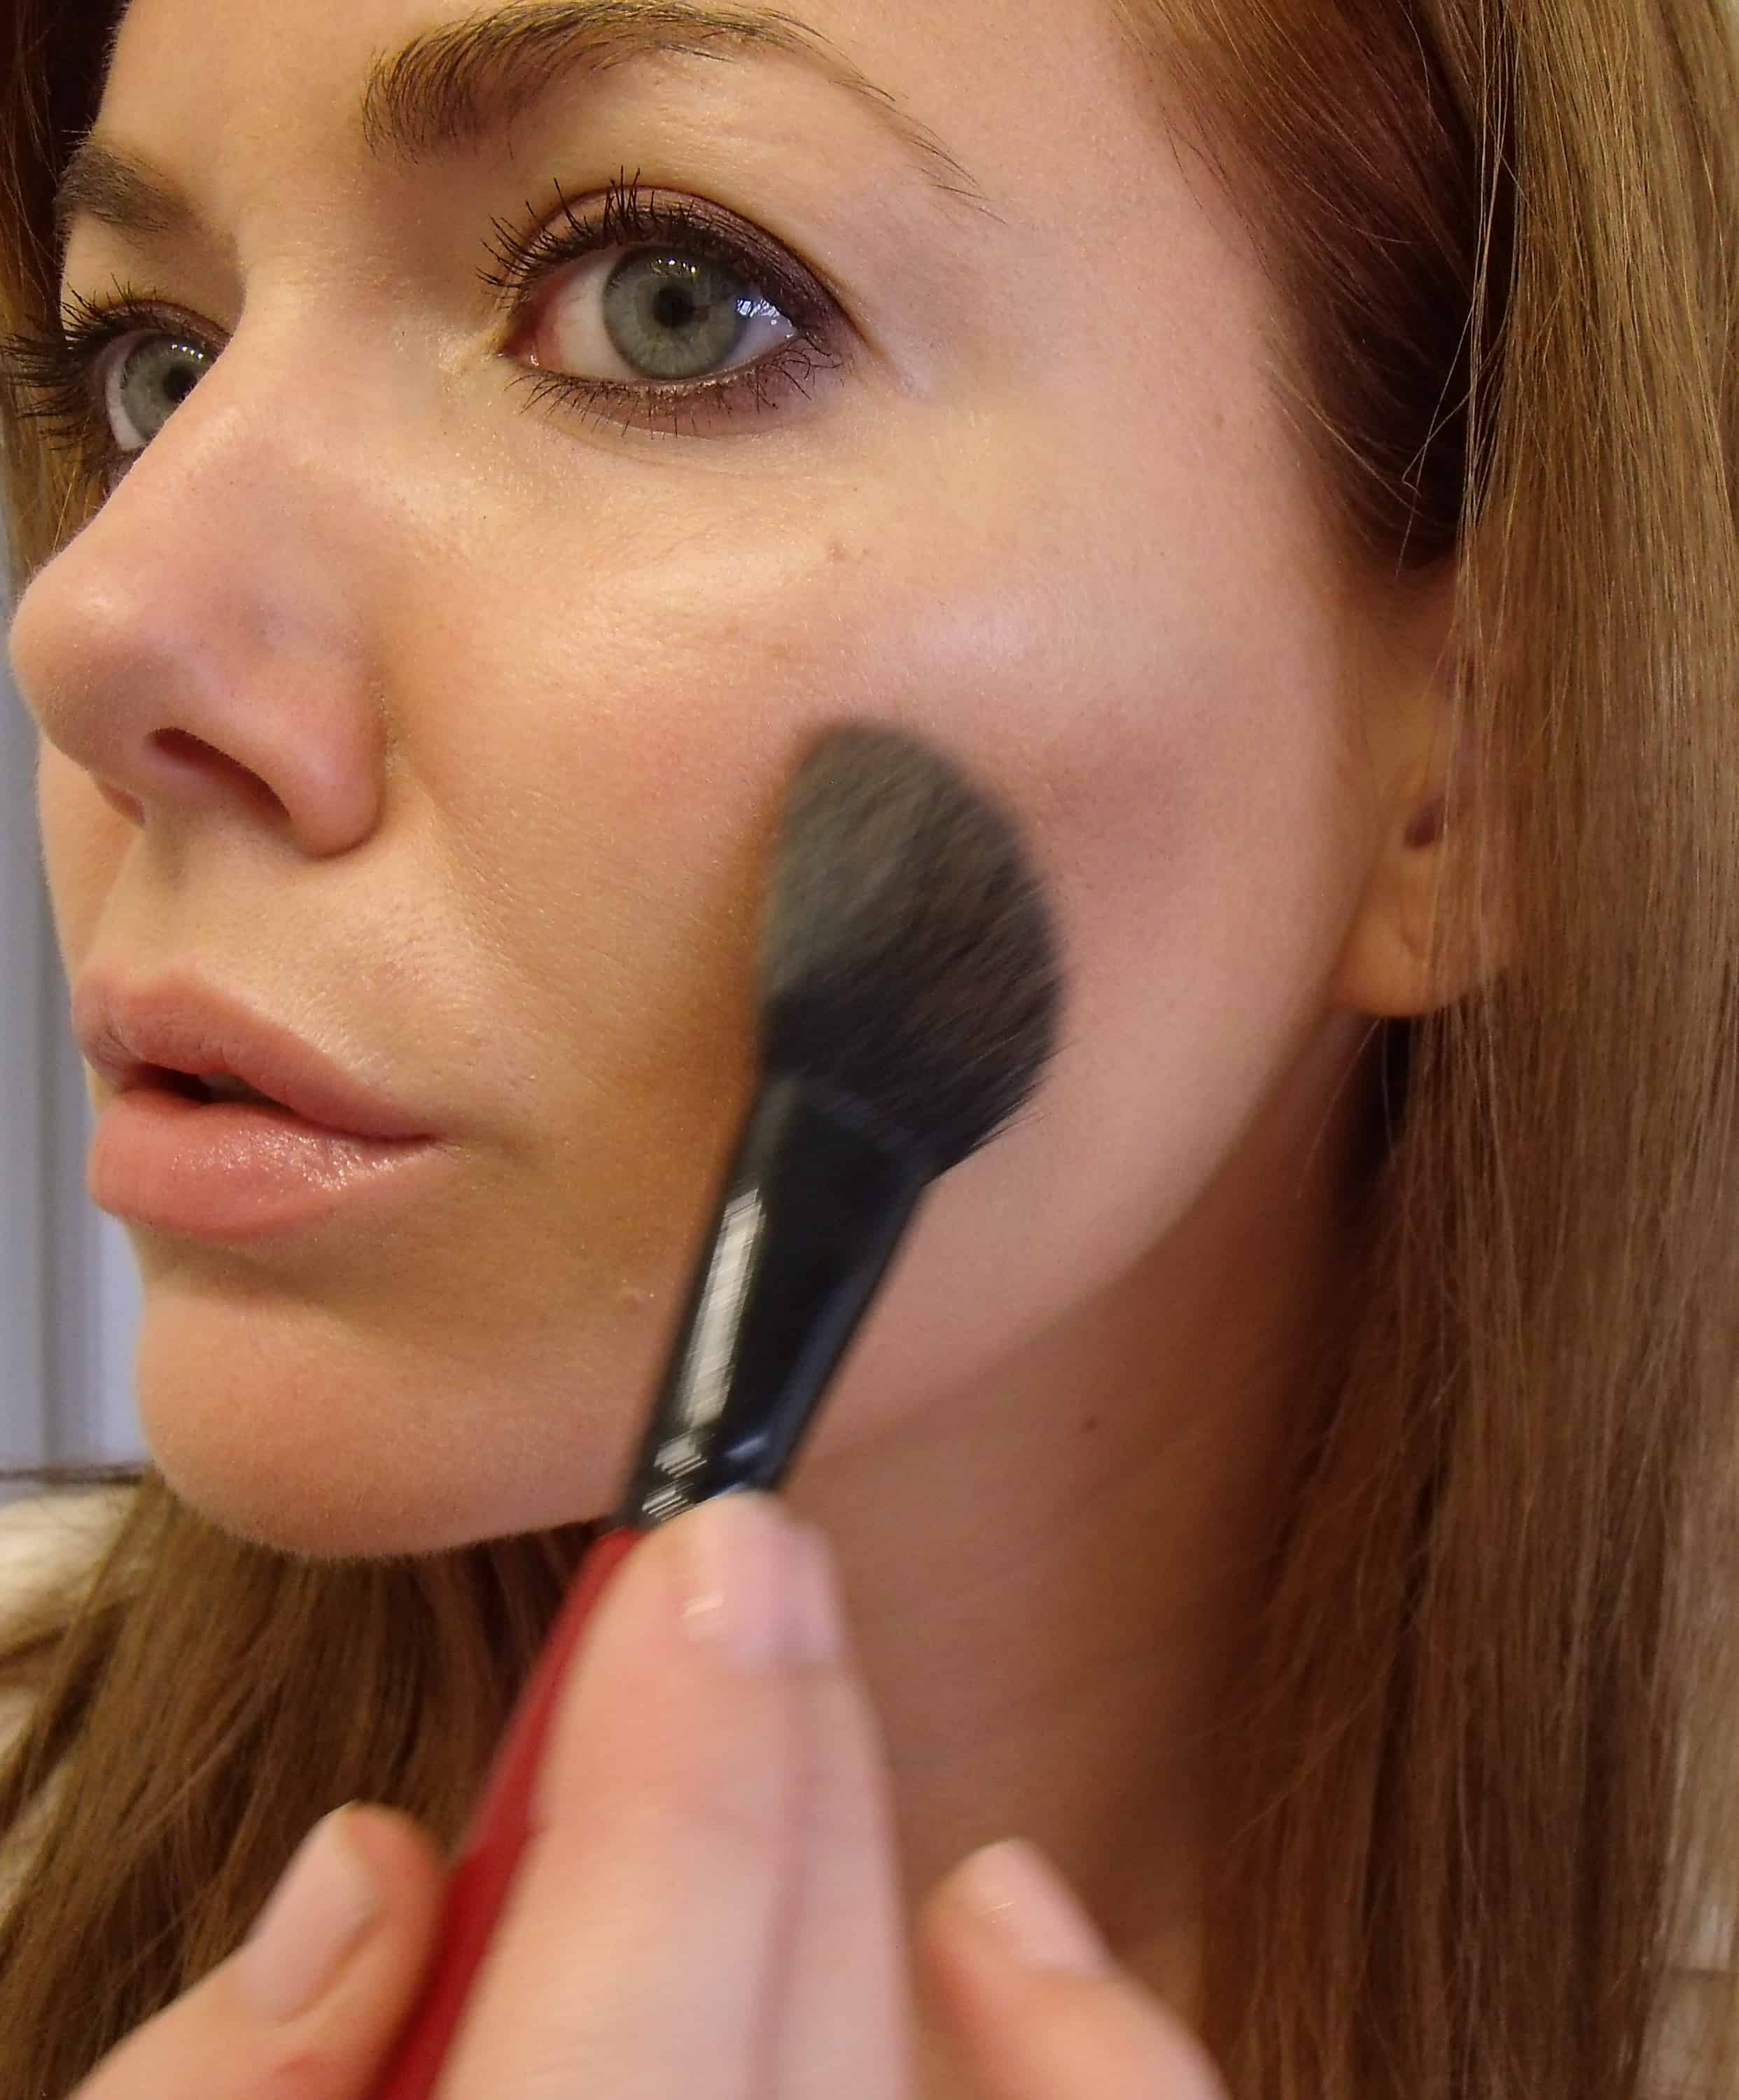
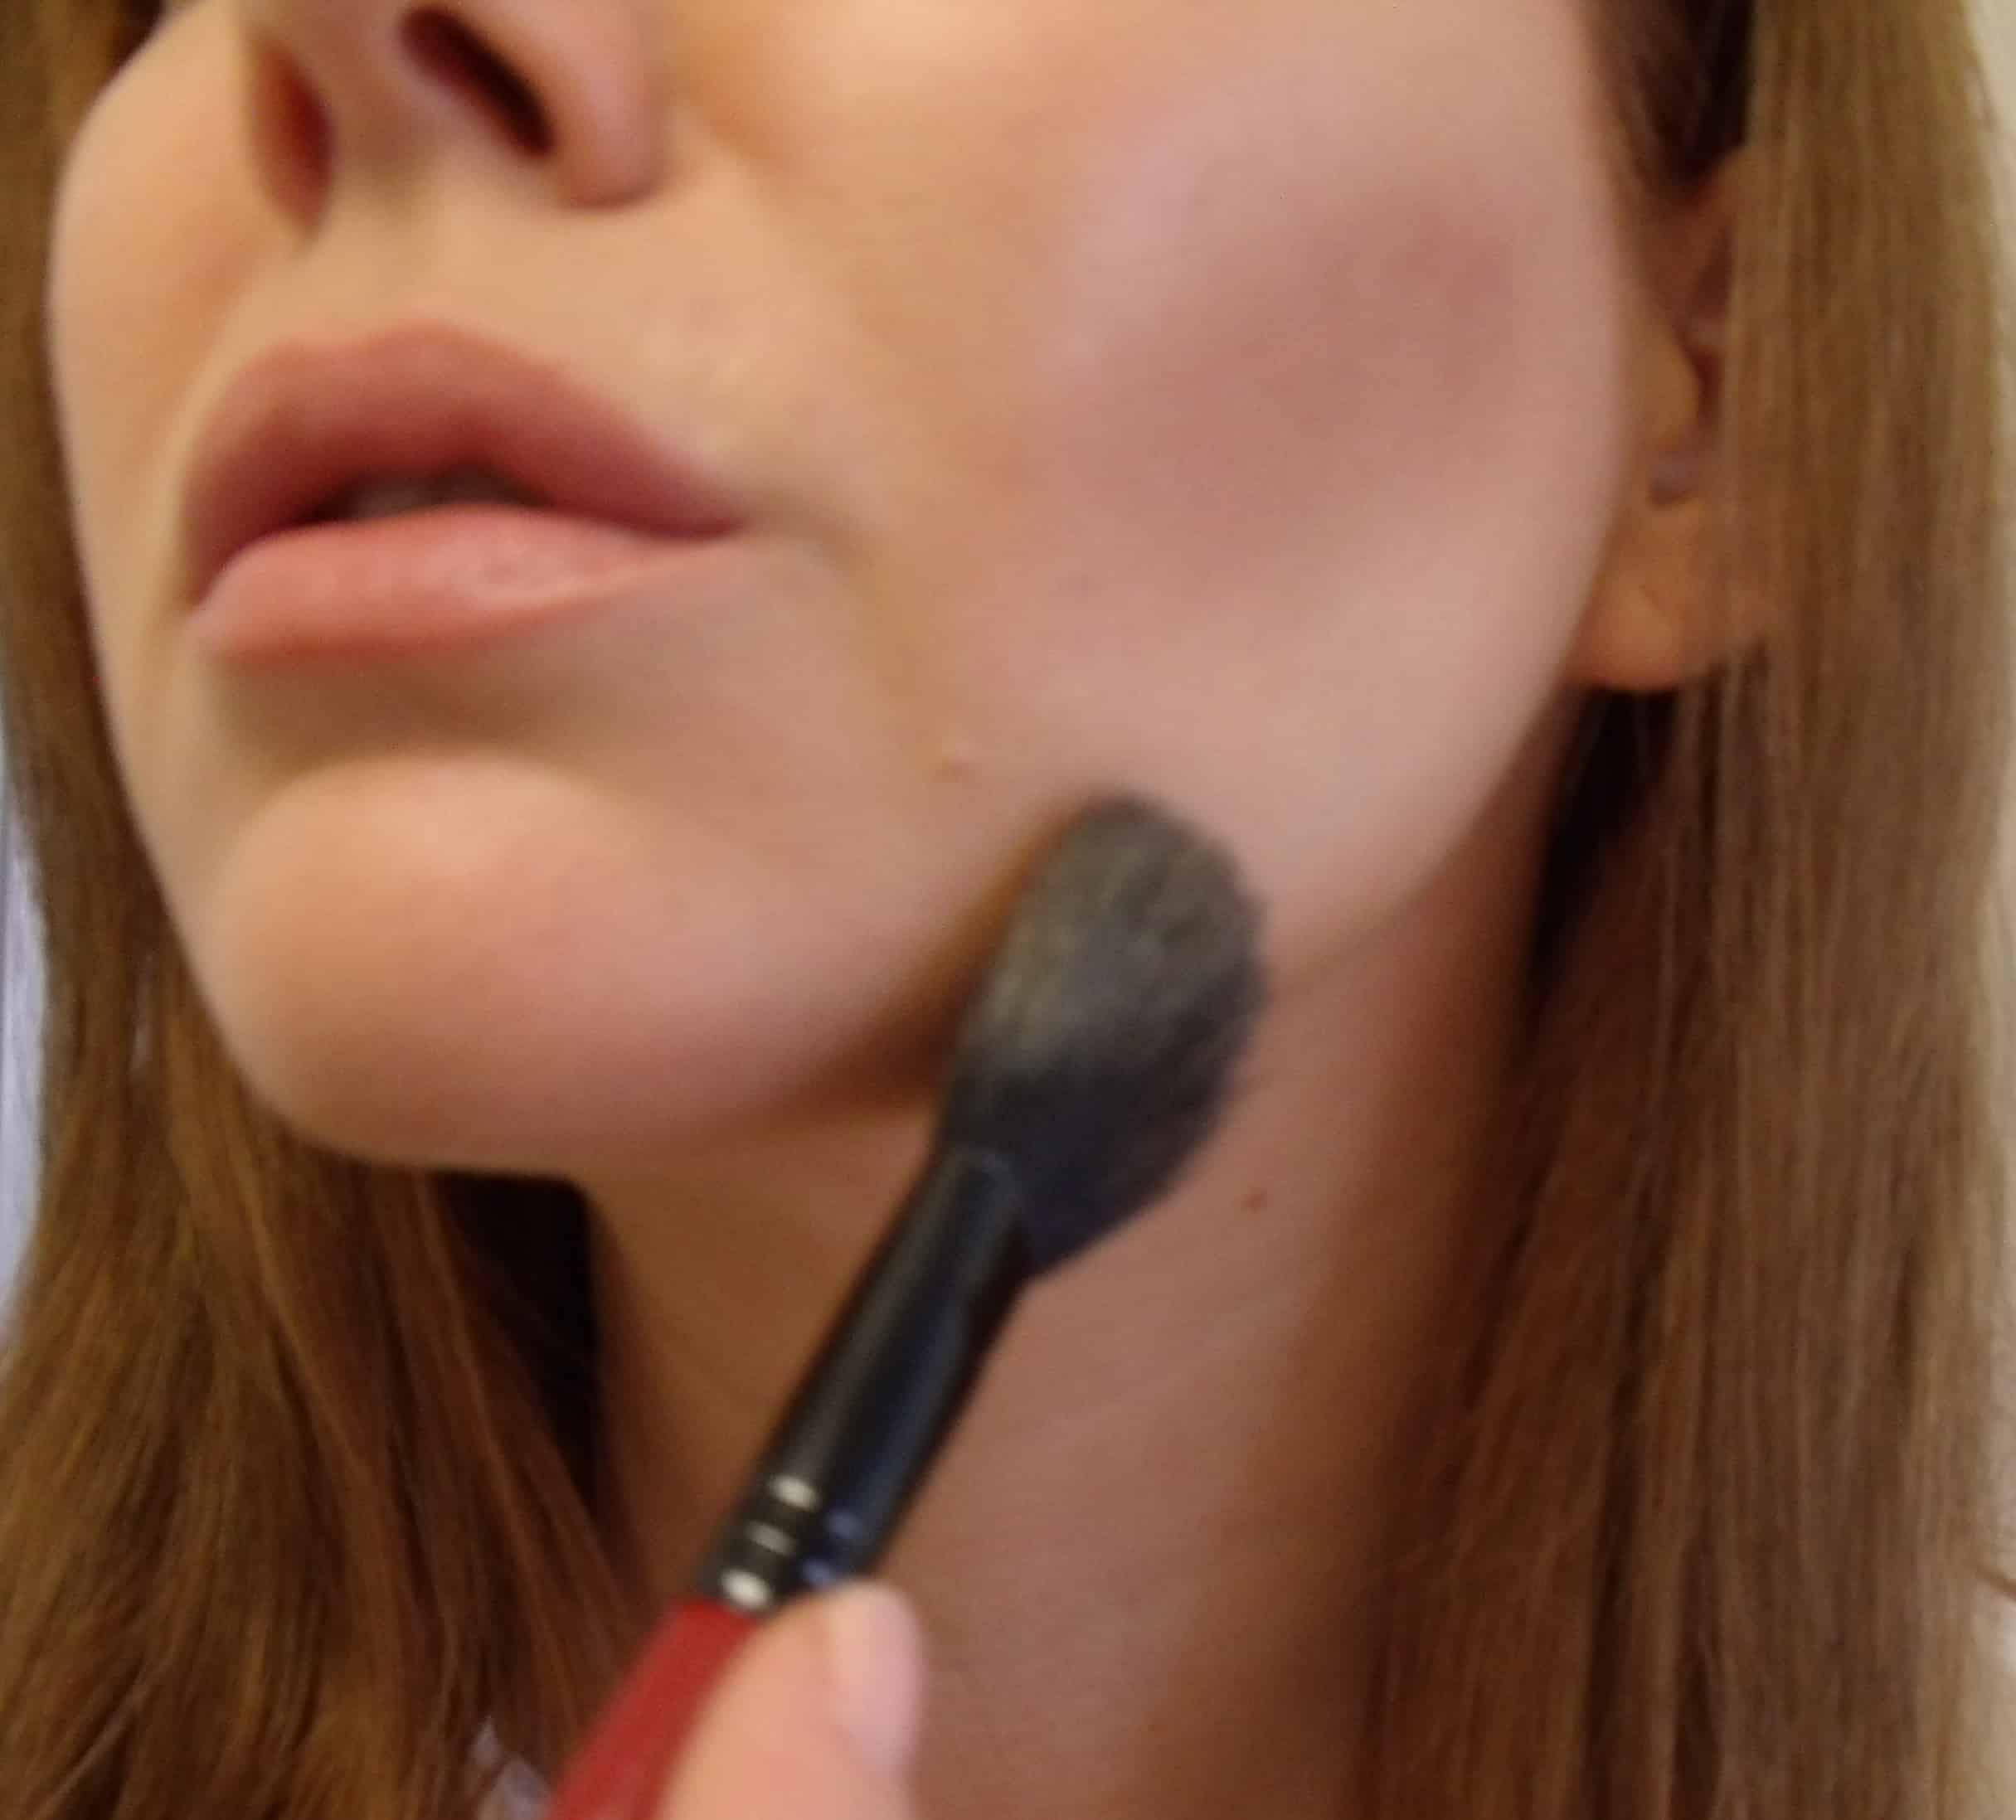
5. Blush.
-Using a blush brush, suck in your cheeks again and add a dusting of blush in that hollow and swirl over the apples of your cheeks.
-Take your large clean fluffy brush again and blend.
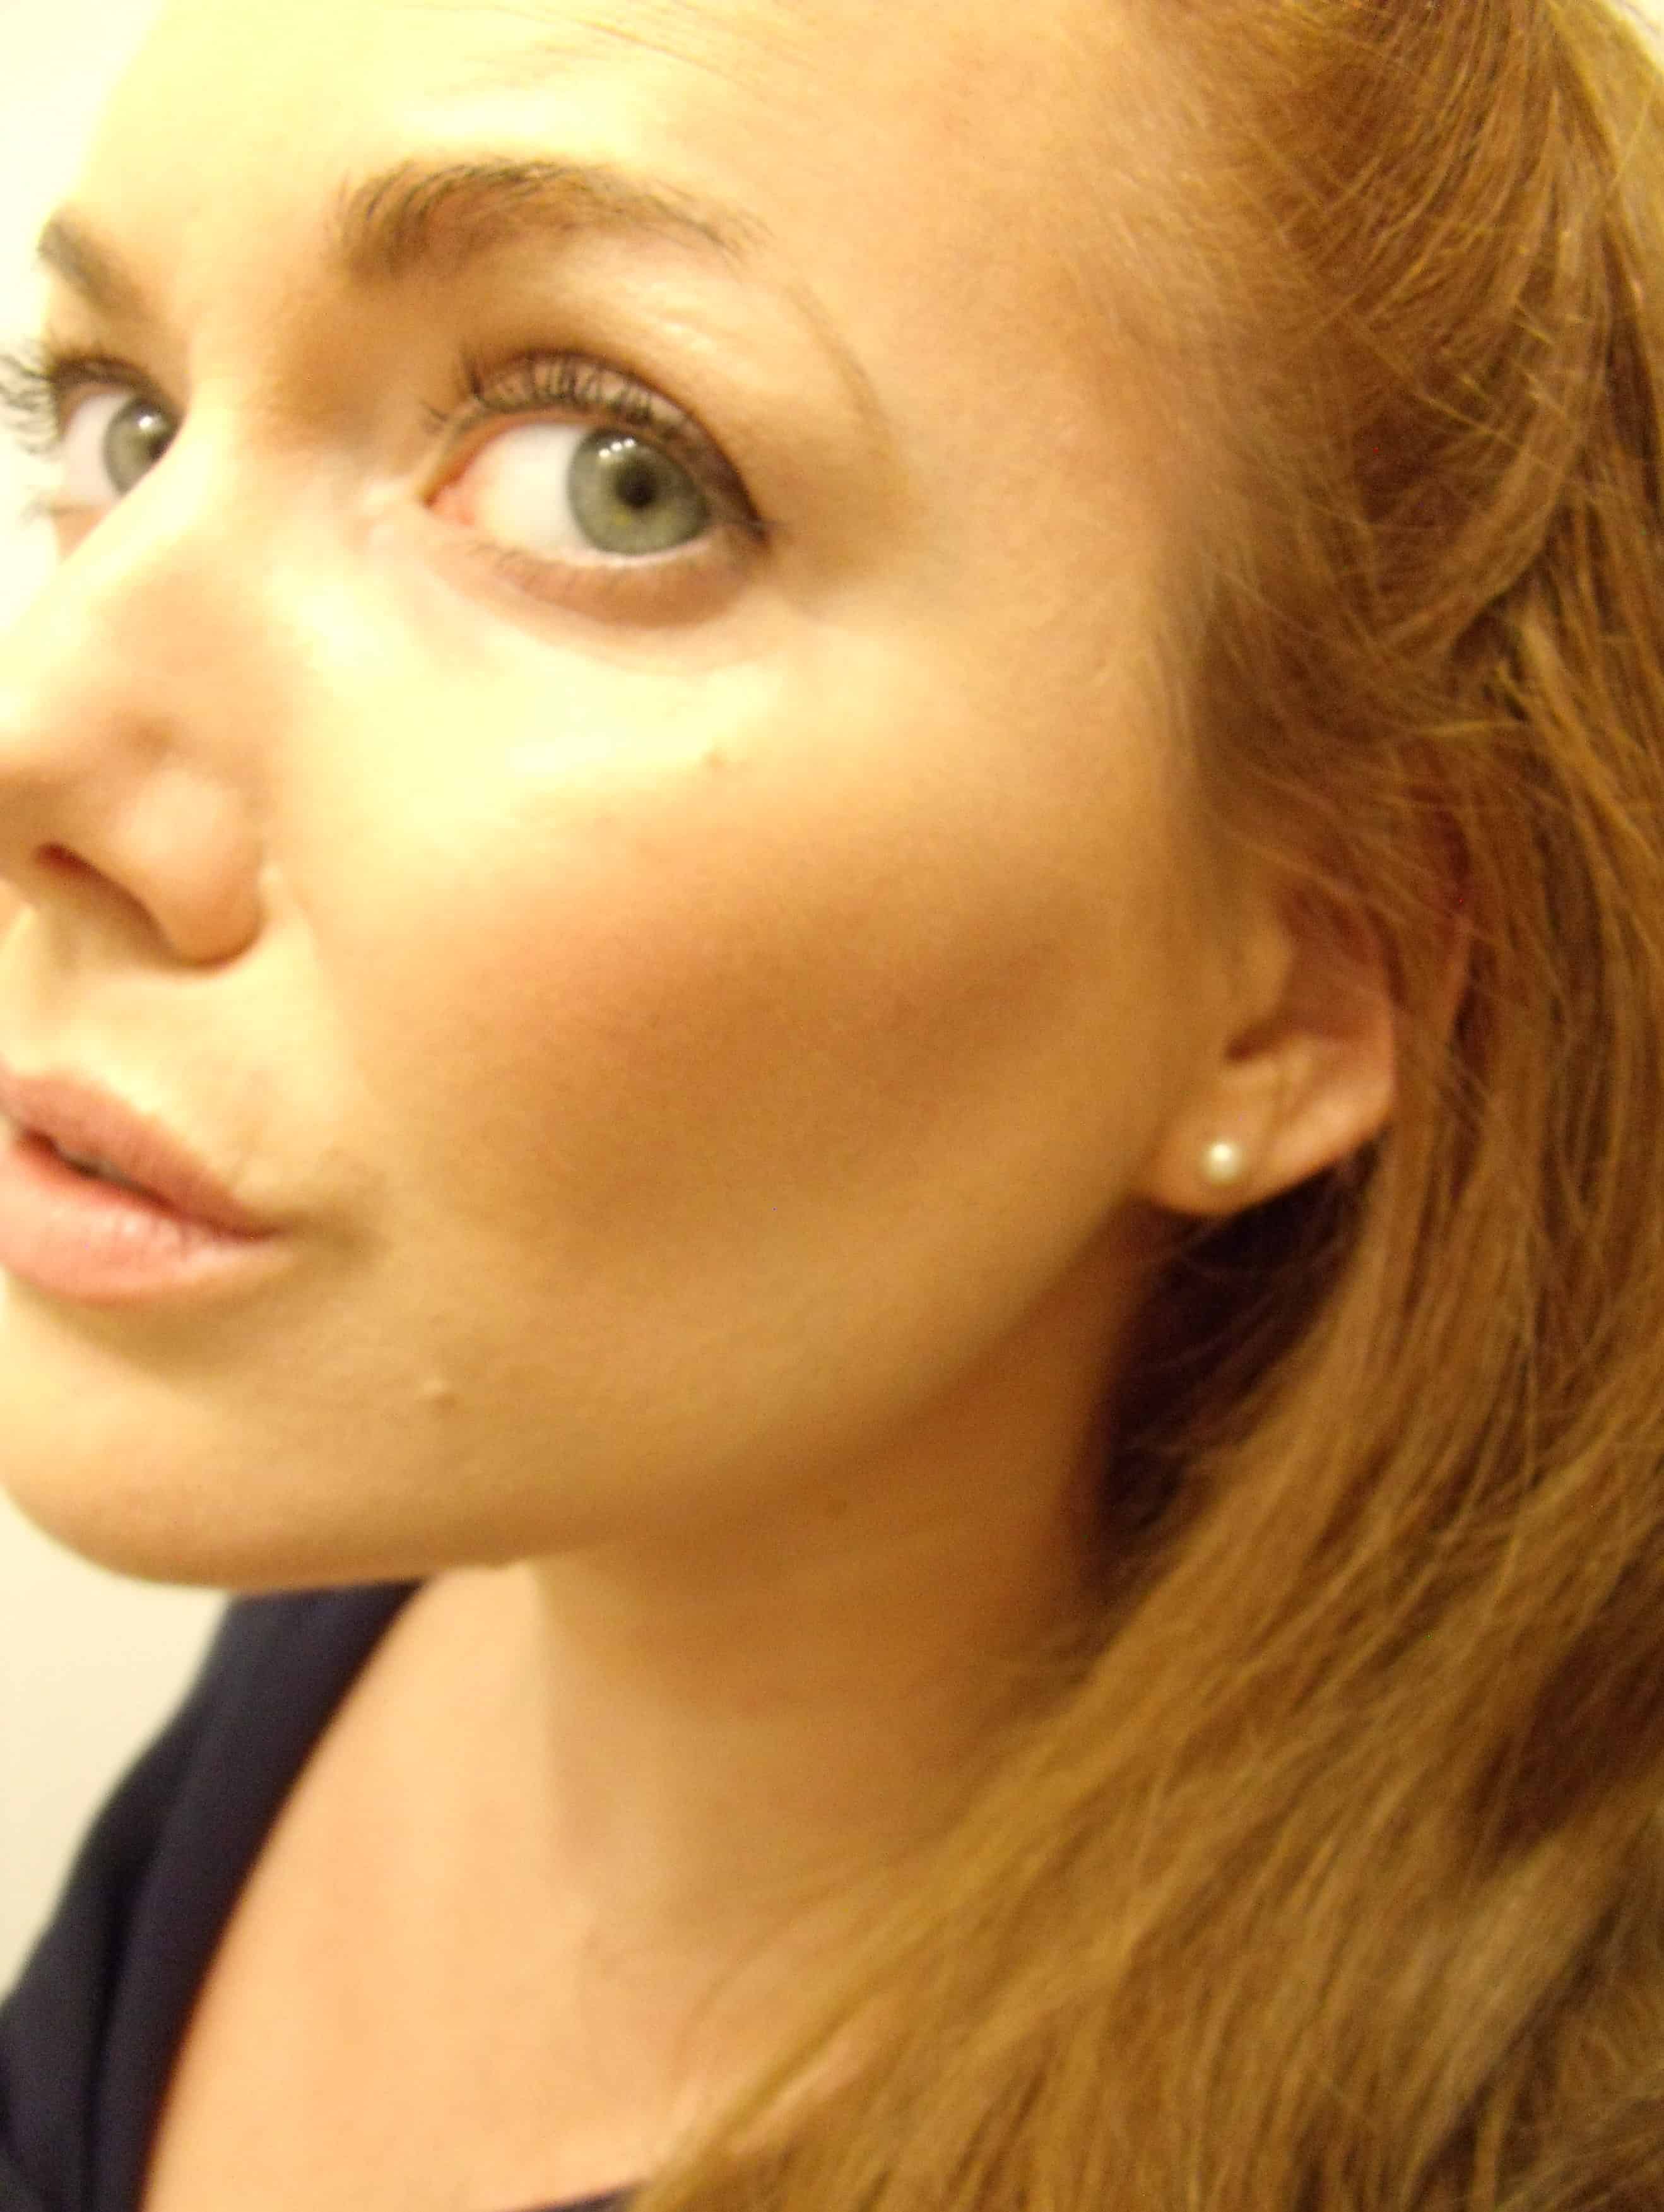
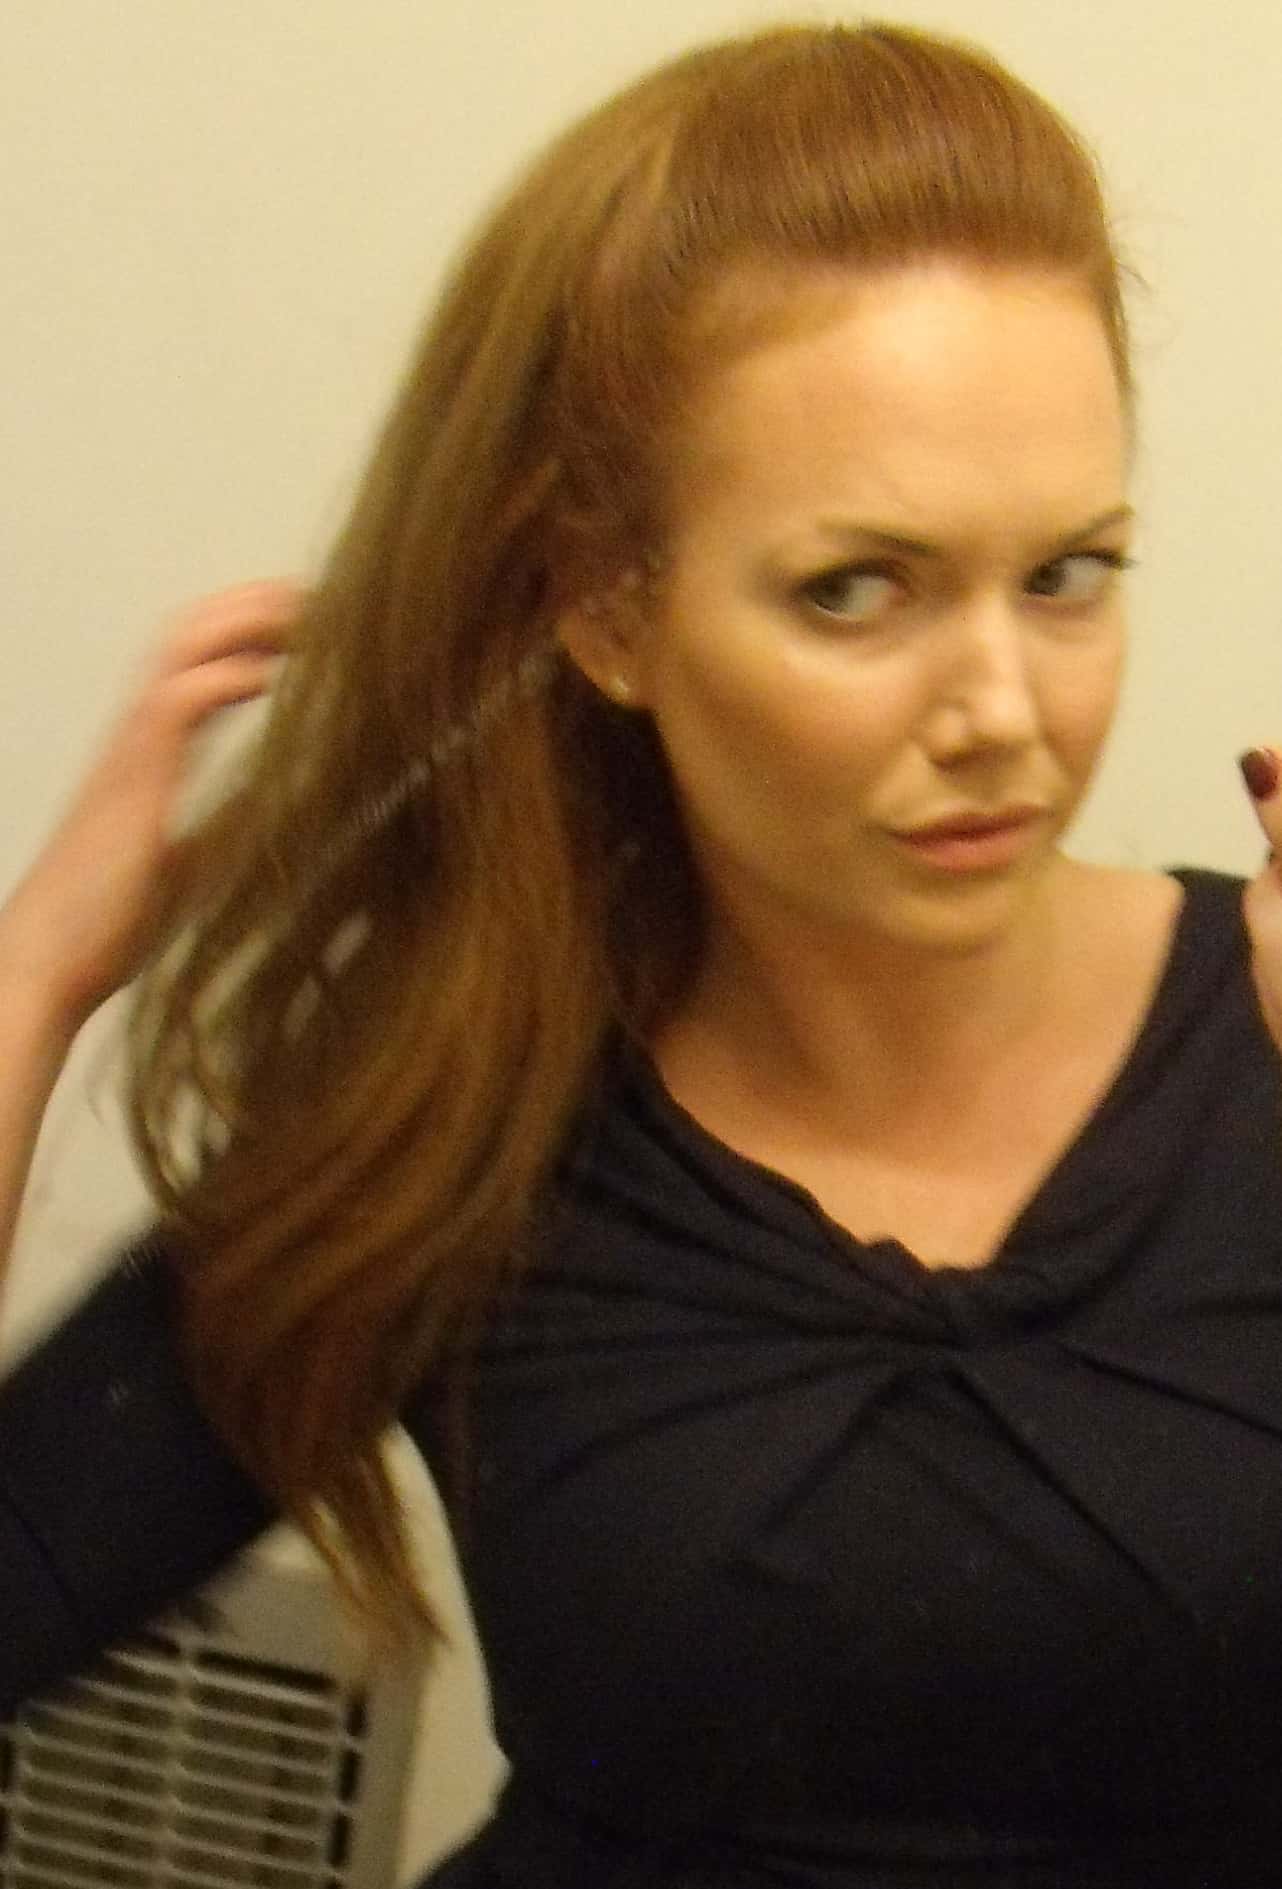
Contoured and Highlighted! This technique can take a little bit of practice. I’ve definitely seen some photos of myself that were more “look at all that makeup!” and “racing stripe on my cheeks” than “lit from within glow” and “great cheekbones!”.
I had to tweek my shades. I went too dark and blending can only do so much when you’ve picked the wrong color. I also used brushes that were too big, resulting in some less-than-precise applications. I’ve gone too heavy overall, this I now know. Thank you, Facebook photos that someone else posted of me. Untagged, but never Forgotten. I guess my point is, don’t beat yourself up if you have to practice a few times before you feel like it’s a technique you have down and can do everyday. I sometimes practice before I wash my face. That way, if I get the lines wrong or go too heavy, the only person who has to see is me and my sink. Have fun with it!
xoxo – Girl Get Glamorous
Here is my updated Strawberry Blonde at-home hair color formula for gorgeous light reddish blonde…
Ilia has just released their newest complexion product, the Skin Rewind foundation stick. Ilia Beauty…
In today's post, I have swatches and a review of one of the best selling…
This post and video are part of my new Makeup 101 series on the blog…
Jones Road Beauty is one of the most requested brands I've been asked to review…
After four years of wearing Honeylove shapewear, I've really been able to see which pieces…
View Comments