Is it better to be on the bandwagon than to have never tried the bandwagon and experienced flawless foundation at all? That is the question. The beautyblender has been wildly popular for years.
It’s not new. Everyone loves it. Why hadn’t I tried it? Two reasons: 1. I’m cheap and didn’t want to pay $20 for a sponge. 2: I HATE beauty sponges. They never got my foundation quite right and soak up a ton of product.
But I am now a proud sponge carrying member of the OMG I LOVE THE BEAUTYBLENDER club.
Can we be honest? The first time I used the beautyblender I thought, “meh.” I know. I know. That’s a bit sacrilege to say in Club Blender for Life. But I decided to stick with it, because if blogging has shown me anything, it’s that I need to try a product for about a month before I truly know how to use something and can recommend it. And here we are today, obsessed.
I find myself using the blender two different ways, depending on the coverage of foundation or CC cream I’m using. The first time when I used the blender and didn’t love it, I put a light coverage foundation on the back of my hand and used the blender to pick up and apply the foundation.
It blended it in super lightly, which would be fine with no scars, but I needed to it cover my light scars and redness. I knew I had to experiment with how the sponge would work best for me. I decided to try it with a full coverage foundation the next day. And the love affair commenced…
HOW I USE MY BEAUTYBLENDER
My tricks -I have found that the beautyblender works best for me this way. I have dry skin, so I do make sure I have on a great moisturizer or skin oil to start, or my skin can feel a bit tight when I’m all done.
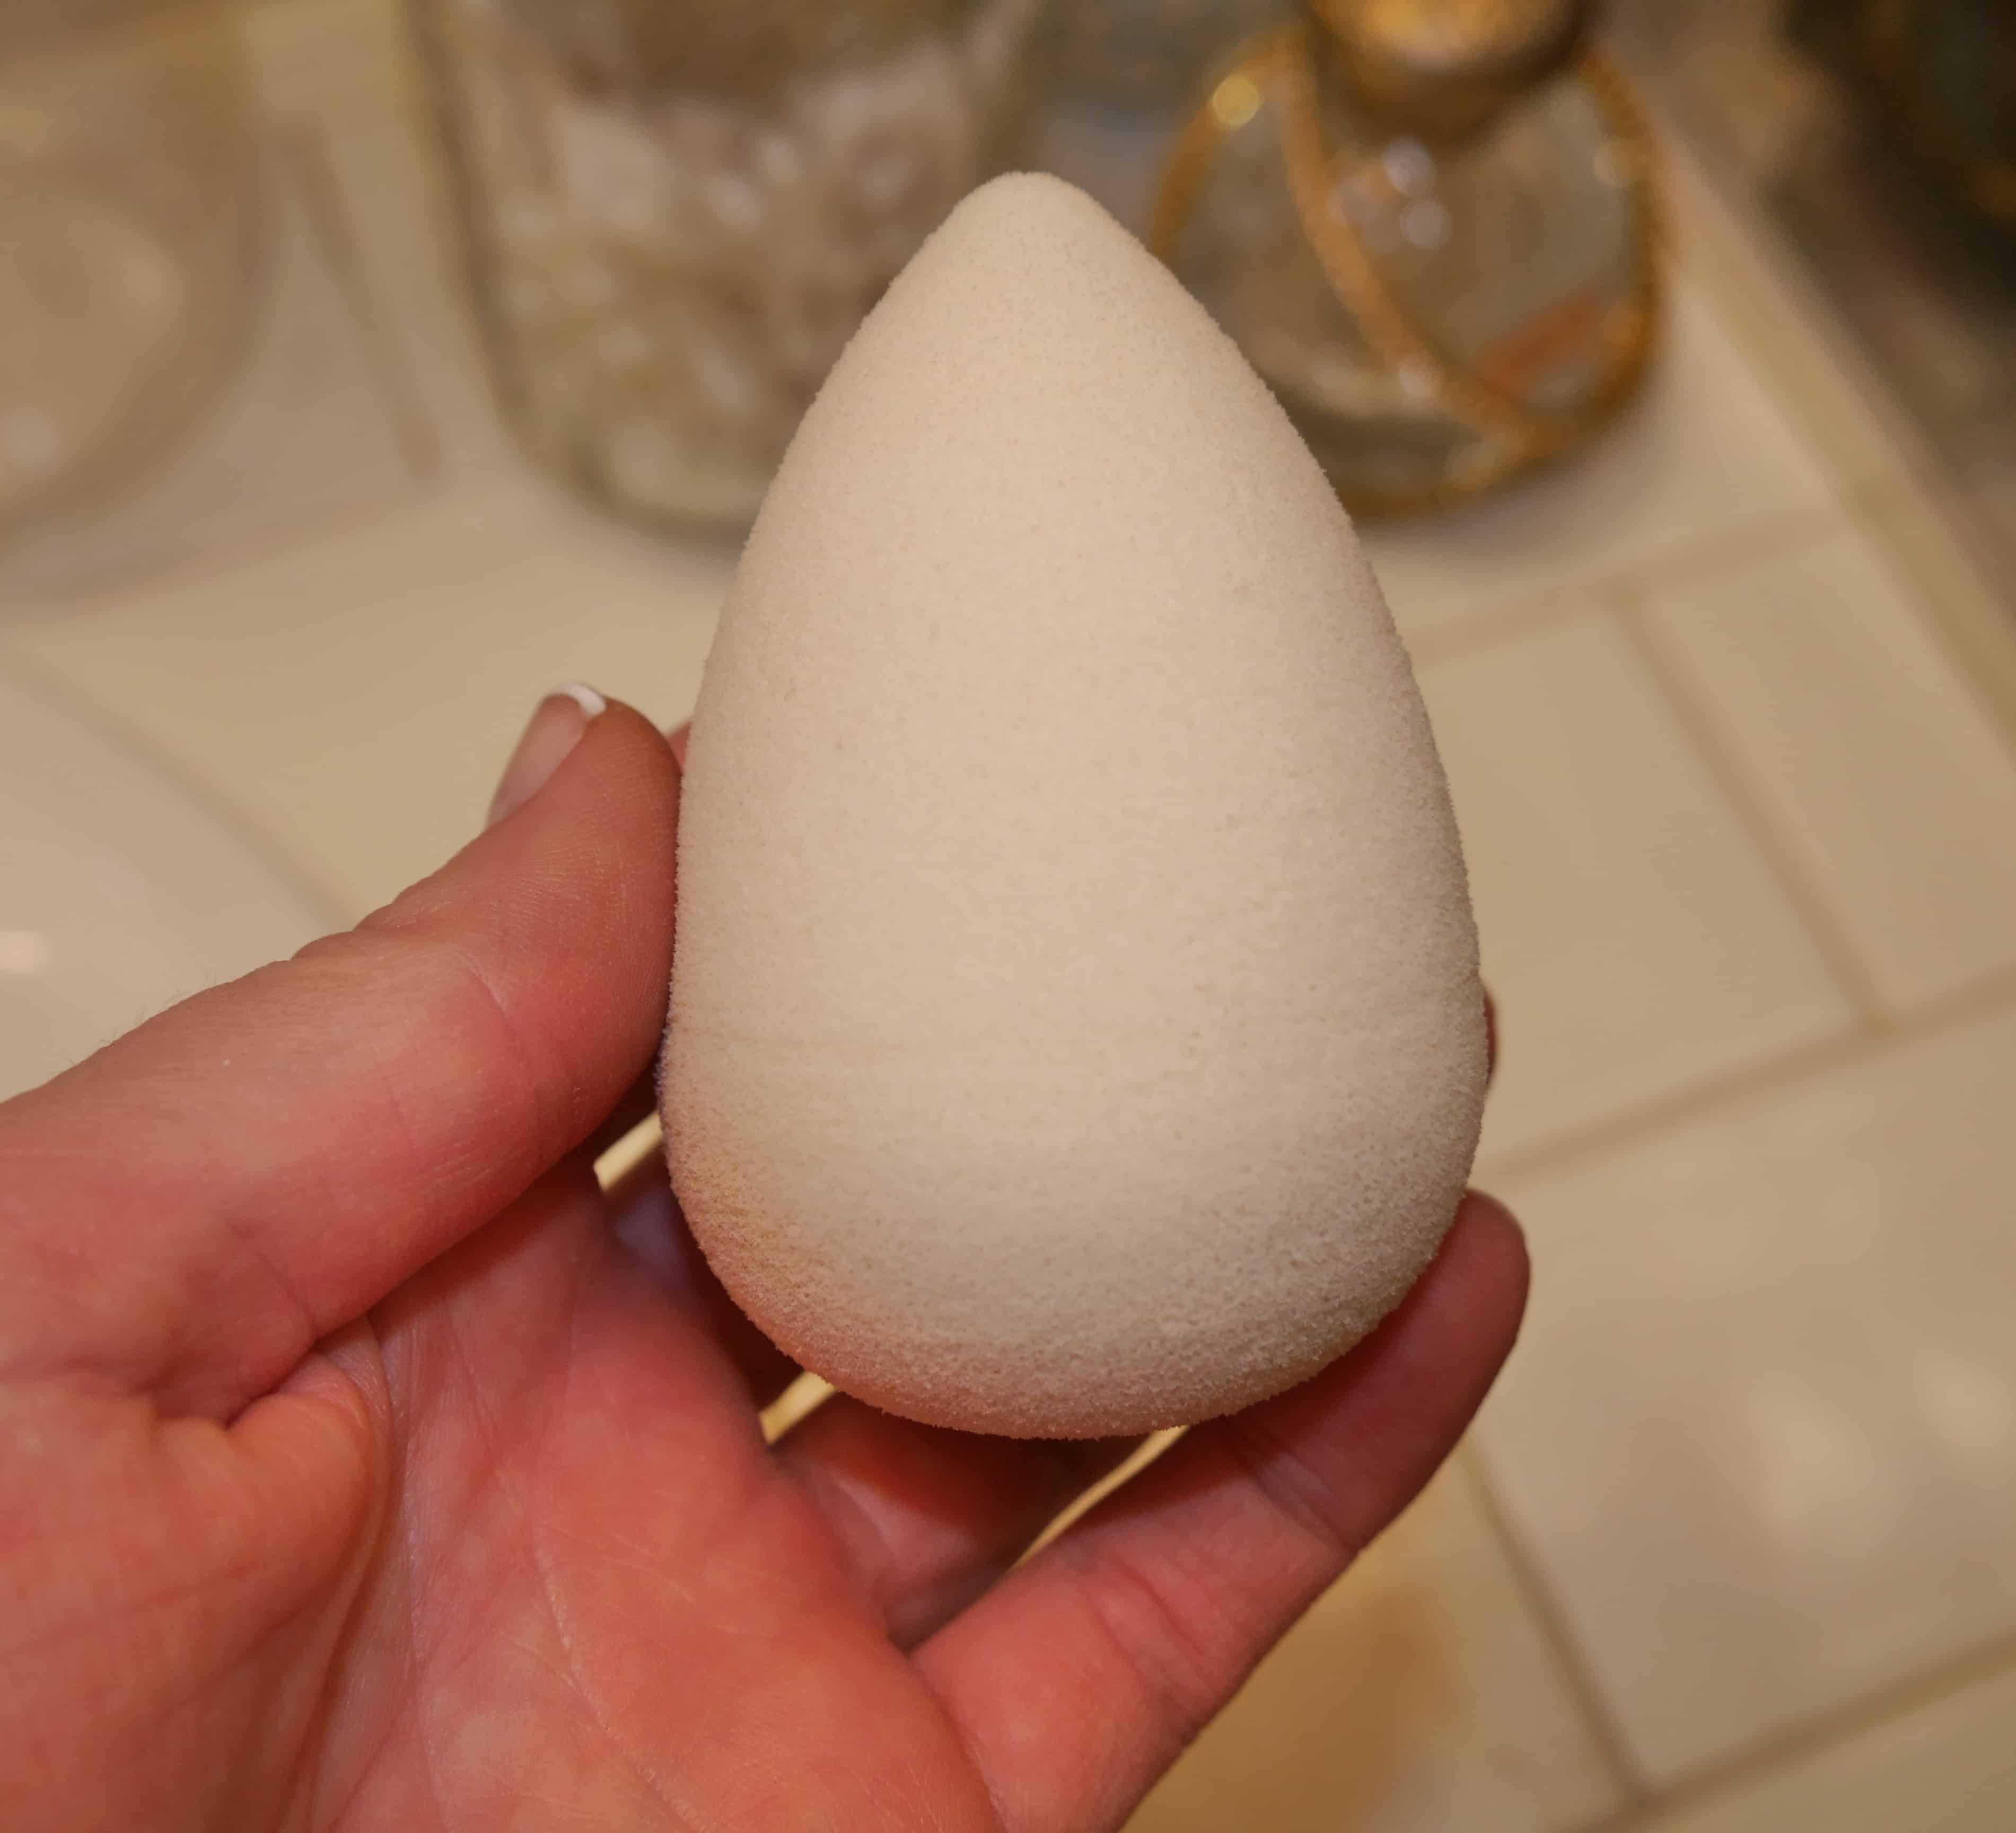
I dampen my blender by holding it under medium temperature water and lightly squeezing the water through it. It doubles in size as it gets wet.
It reminds me of those dinosaur sponges that started out as pellets that grew into full size sponges that your mom would buy you if you were really well behaved at the supermarket when you were a kid. Remember those?
Now imagine if they gave you perfect skin, lol!
After it’s doubled, squeeze the extra water out gently, then squeeze the blender again into a towel. This gets it the perfect amount of “damp” for me. It’ll feel super squishy and light, but no water will come out.
Then, I apply my foundation or CC cream with my fingers or a brush and blend as I normally would. Then I take my damp beautyblender and bounce the rounded side over my skin.
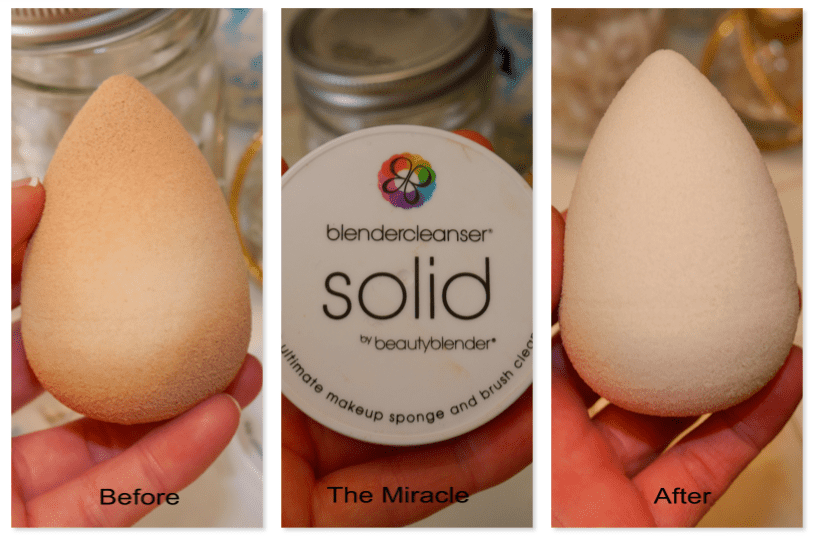
When I am ready to clean it, I run it under warm water again, squeezing the water out. Then I swirl it in circles on top of the cleansers, making sure to hit all the sides. Then I gently massage the blender in my palm, working the cleanser all the way through the sponge as gently but thoroughly as I can before I rinse all the makeup out.
Some days I have to wash certain spots twice. When I’m done rinsing, I lightly squeeze the blender in a towel and pop it back up on it’s plastic container to dry.
I have become so beautyblender obsessed, I’m glad I stuck it out and learned how to use it in a way that works for my skin. I’ve truly never had better looking foundation. It’s the best $20 I have ever spent and I don’t say that lightly. It even makes inexpensive foundation look flawless, so I think it’s a great initial investment, because then you can just spend $10 on your foundation and have it look fancy.
Have you tried the beautyblender yet? Let me know if you are as obsessed as me!
Thank you for reading, subscribing, liking, etc. I like you too.
Go Get Glam!
Here is my updated Strawberry Blonde at-home hair color formula for gorgeous light reddish blonde…
Ilia has just released their newest complexion product, the Skin Rewind foundation stick. Ilia Beauty…
In today's post, I have swatches and a review of one of the best selling…
This post and video are part of my new Makeup 101 series on the blog…
Jones Road Beauty is one of the most requested brands I've been asked to review…
After four years of wearing Honeylove shapewear, I've really been able to see which pieces…
View Comments
I really have to try it...But the price holds me back a little.
Pin-Up Jet latest post : Zoeva brushes review
I know. The price held me back for so long, but now I can't even do my CC cream without it!! It's truly worth every penny.