
 You might also like
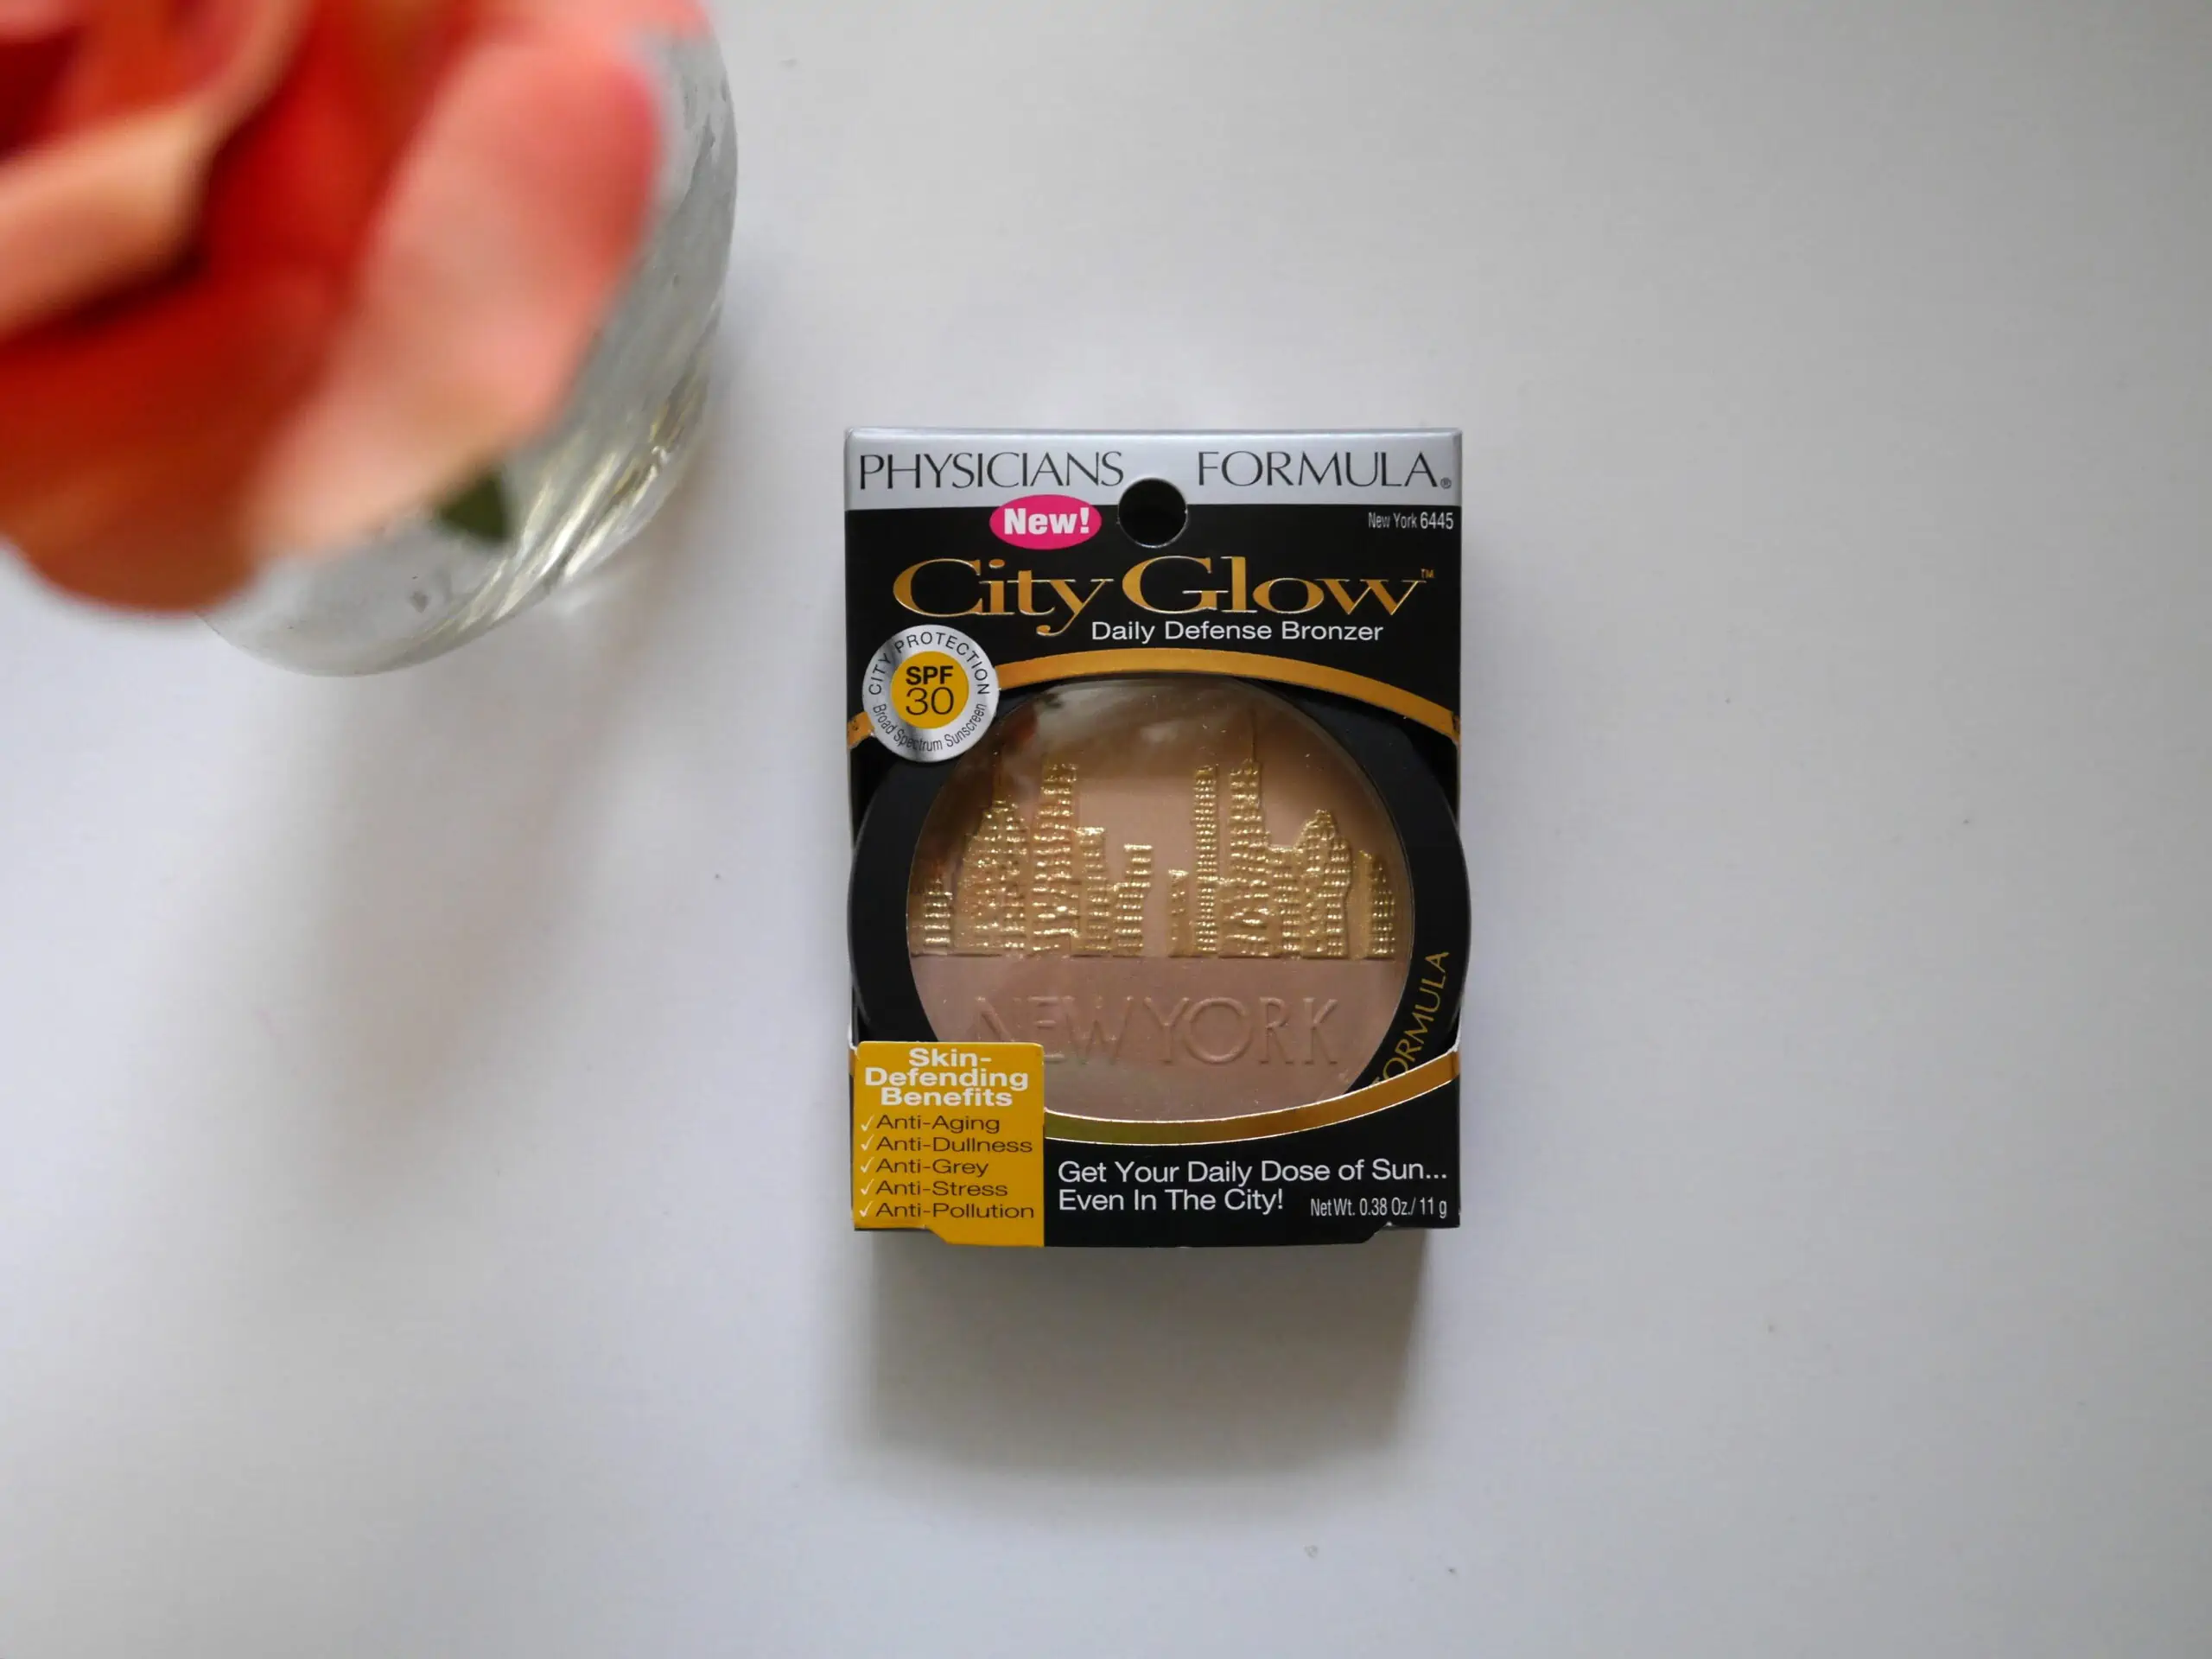 Beauty Deals
Beauty Deals
Beauty Deals 


Welcome to the GirlGetGlamorous blog!
Subscribe for once weekly emails of the latest
blog posts and videos, sent right to your inbox.

Exciting update | I came out with my own line of hair extensions after doing so much research and wanting to develop the BEST possible extensions possible! Check them out here: www.girlgetglamorousHAIR.com
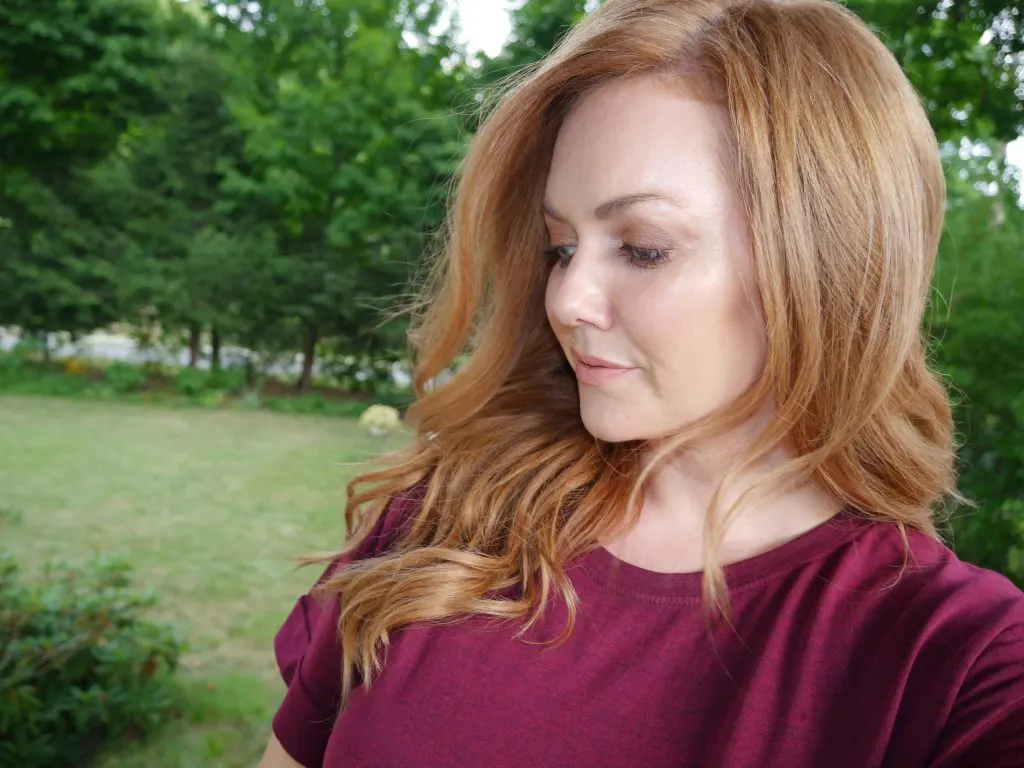
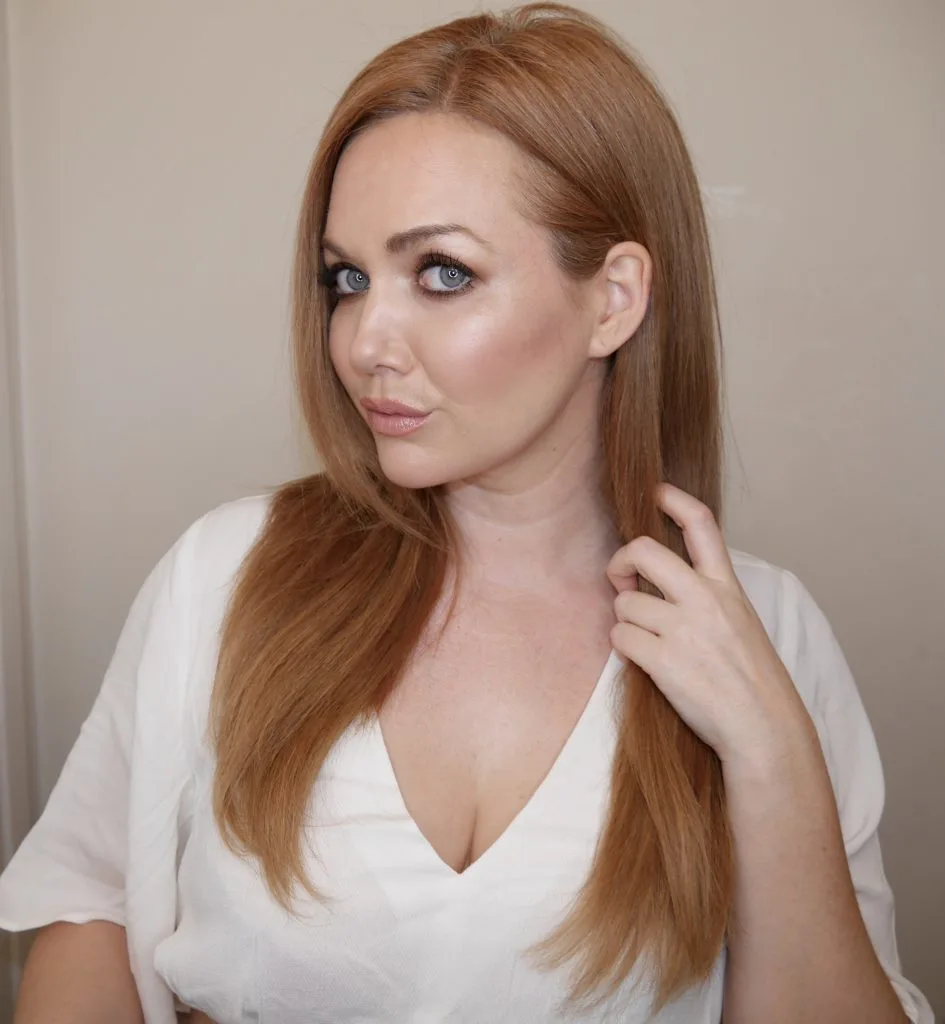
Over the past 4 years I’ve tried a few different styles of hair extensions. They can be a bit of an addiction when you start wearing them, consider yourself warned! The following is my advice and opinions on what I liked and could do without when it comes to the different ways hair extensions can be installed. I’ve been crazy for the last year about growing my natural hair out, and my next post will go into detail about that. I think the tape in extensions helped me grow my natural hair longer, as the extension hair tends to take most the abuse from the blow dryer, curling iron, and flat irons.
I’ve tried the following methods of adhering the extensions to my head. 1: Clip In extensions, 2: Micro Link or Link (silicone inside a metal tube) extensions, 3: and Taped In extensions.
You can also use a keratin bond (heated or cold) or have the extensions braided in, a.k.a. Tracks. I haven’t tried either of these. My hairstylist really recommends Tracks, which is a technique where they braid your natural hair then they sew the extensions into the braid. He says it causes no damage to your natural hair, so I might try tracks if I decide to do extensions again. While I have never done the bonded in (keratin) extensions, I have had friends that have done them and they were super damaging in my opinion. I’ve had to help cut the extensions out of their hair when they (and several stylists) couldn’t get them out. I would never ever use a keratin bond in my hair, based on that experience.
Clip In Extensions: The first style of extensions that I used was clip ins. I purchased them online for around $100 for 100 grams, after looking through many online and in store options. I ordered the #27 strawberry blonde shade, in the 20” length. If you don’t know what shade you are, most companies will let you order a sample for under $5. I highly recommend this. I’ve ordered samples before and the shade that looked right online was too red or too blonde/brown, etc in real life. So order a sample before you pay the big bucks for a full set. I didn’t order REMY hair the first time around and the hair quality was still top notch, but I do think REMY hair is superior. I trimmed these to fit my hair, to about 16” to 18”. I wanted a longer layered look.


A full set usually comes with seven pieces. Three wider pieces for the back, then four to six smaller 1” wide pieces to add length at the front around the face. You can order hair at almost every length now. I like 16” to 18” as a final finished length after the are installed and trimmed. But obviously, everyone’s taste varies. I just think 18” looks the most natural. So order a 20” so you can have them trimmed to the perfect length. Always give yourself at least an inch longer so you can get them cut to the right length.
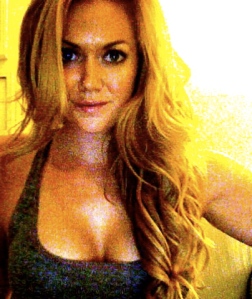
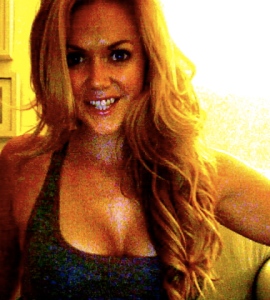
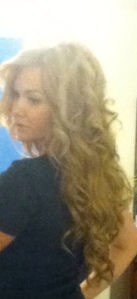
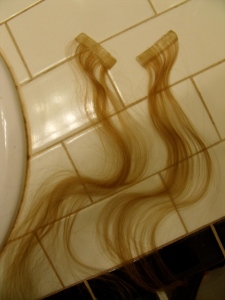
To me, the biggest giveaway that you are wearing extensions is to have thick, one length hair, as this is pretty rare. By the time your hair gets long, the ends are usually not as thick as the rest of the hair, from breakage and layered cuts. You should either trim the extensions yourself or ask your stylist to cut them to fit your hair on your next haircut. I think it’s a really important step so that people can’t tell that you are wearing extensions. These pics show my first clip ins, right out of the package. You can see what I mean about needing to get them trimmed and these needed a little color to help them match my own hair more.


I purchased a pair of clip in bangs to try out bangs and I even had to trim those too. Everything needs to be customized, no matter the length.

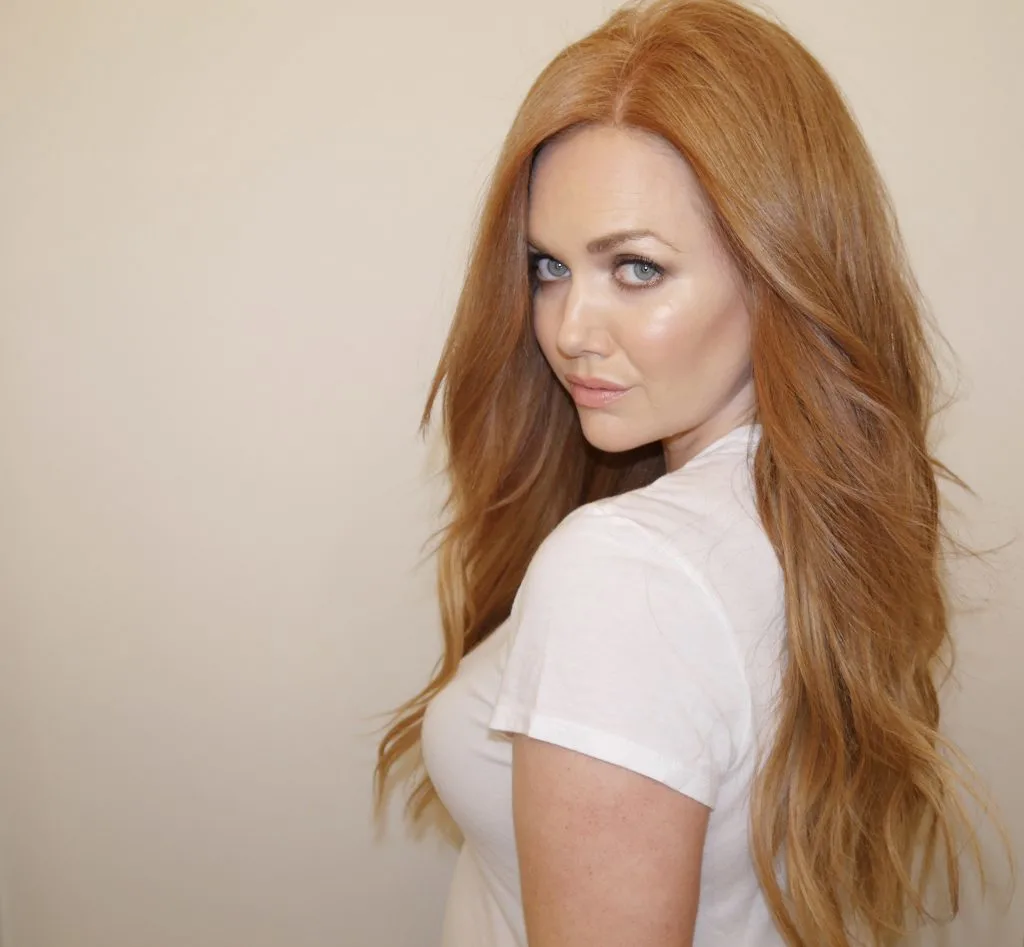
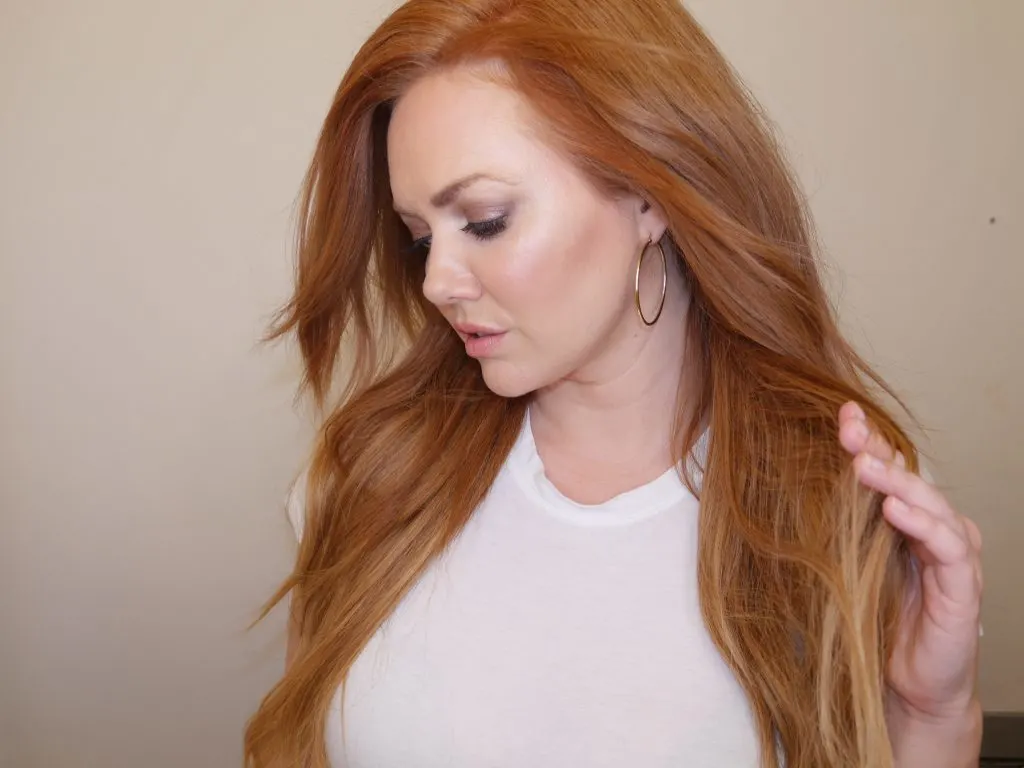
*THIS IS MY GOLDEN RULE OF EXTENSIONS: In my opinion, hair extensions should be like makeup. We shouldn’t be able to see them! If you can see that you are wearing extensions, you are wearing too many. Have them trimmed and blended into your natural hair. People should be surprised to find out that you are wearing extensions.*
How to wear clip ins:
1. Set out your clip ins from the bottom level, middle level, top level, and then side pieces.
2. Divide your hair into clean, sharp, horizontal lines. (Mine could be sharper below, I got lazy.) You will have three lines, but I divide them one at a time as I go to make it easier. I like to do the dividing with a teasing comb that has a skinny rod on the opposite side. **After you get your first section of hair divided, spray a bit of dry shampoo onto the part. This will help the clip in hold better. Also, wiggle the clip at the roots before you clip them, this will also help them hold.**
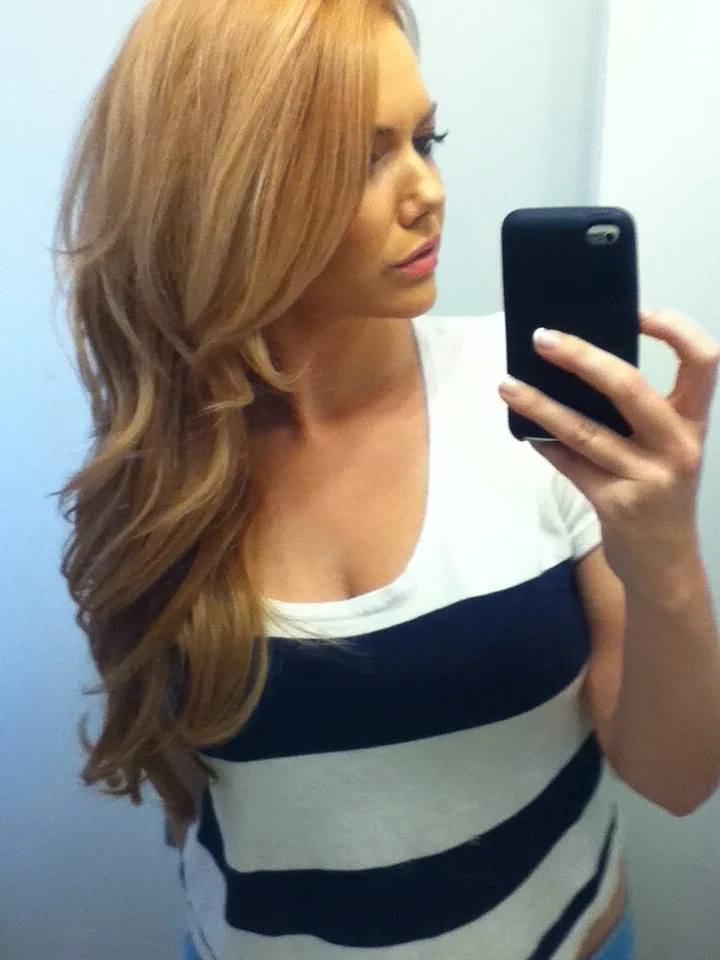
3. Clip in your first (lower) level and then repeat for the middle, and top level. Move to the front and decide if you need 2 or 3 front pieces to add length at the front of your hair to match the back. Tease at little at the top, this will help cover the clips. I finally colored the extensions to match my hair, as you can see below.


Pros of clip ins: 1. They are super affordable. You can get a set for under $100. 2. They aren’t permanent. Take them in and out for auditions, meetings, a wedding, a night out, etc.
Cons of clip ins: 1: It feels a little weird to “take out” your hair at the end of the day. I’m single now, but when I was at my boyfriend’s house before, it was awkward to come home from a night out, stuff my hair into a drawer, and pretend like nothing was different with my hair. 2: Because you are taking them in and out each wear, you don’t always clip them in on the same spots each time on your head. So they can look a little “choppy” at times. For this reason, I think clip ins look best curled or worn as a ponytail to add thickness. 2. They can be heavy and hurt after wearing them all day.
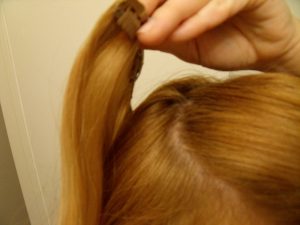
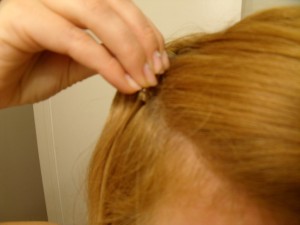
Link or Microlink method: These are individual extensions that are installed single tube by single tube. They can easily be removed with what looks like a wrench. You can buy one at almost any beauty supply shop. These take two to four hours to install, depending on how much hair you install and the speed of your stylist. Mine took almost five hours to install, but I’ve had friends say theirs took just a little over two hours. You can see the metal links when you flip your hair, so make sure your stylist doesn’t put them too close to the roots! I mean, they are tiny metal links so they look pretty crazy, if we’re gonna be honest. You can wear your hair up in a ponytail without them being seen. I had too many in my hair I think, it was almost two full packs of hair. I also left them in too long, you should have them taken out and replaced every two to four months. I think I left mine in almost six months. GROSS of me to do and damaging to my hair. When I took these out, my hair was thinner. I wouldn’t do these again because I couldn’t wear my hair half up and they took too long to install.


How to Install Microlink Extensions: These must be installed by a trained stylist.
Pros of microlink: 1. Easily goes up into a ponytail. 2. As they are individual, the hair moves a little more naturally at the roots. When the extension are wider at the roots, like with clip ins or tape ins, the hair does move as naturally.
Cons of microlink: 1. Felt damaging to my natural hair. 2. Couldn’t wear hair half-up without seeing links. 3. Harder to sleep on, you can really feel the links on your head. 4. Took too long to install. 5. Can look stringy and “extension-y”. 6. They are installed close to the scalp, so for the first week they pull a bit the first week and your scalp gets itchy because you can’t really shampoo under them.
Taped In extensions: There are two styles of taped ins. With one method you can see the tape, and another called skin weft that looks like actual scalp that the hair is attached to. I’ve only done the tape ins. I was a hair model for a company that was just starting to carry tape ins, which is how I first learned about them. We went a little too thick and a little too long for the shoot, but these are super easy to take out and of course, I got them trimmed.


Tape ins have by far been my favorite method for “permanent” hair extensions. They are lighter and install in a half hour to 45 minutes. Removal takes about the same amount of time. The width of each piece is a good compromise between the super wide clip in pieces and the stringy individual extensions. Each tape in piece is about one to two inches wide. You can see the tape if you move your hair around too much. Because they are installed horizontally, and not vertically (and for a ponytail you pull your hair horizontal) tape in extensions aren’t ideal for high buns or high ponytails. Sounds like a weird small detail, I know, but as buns are having their moment right now, it is something to consider. I would wear a wrap around headband and low ponytail most days to work out. One day I was running late and threw my hair in a fast high ponytail to do a Bar Method workoutclass. There was a piece of tape sticking out from my ponytail the entire time, needless to say, I looked insane. I couldn’t figure why the instructor kept staring at me until I looked in the mirror halfway through the class and saw what looked like half of an art project sticking out of the side of my head. Got a good workout though. I might try skin wefts in the future. They look like hair growing out of skin (scalp) so you cant see the tape. Less of a chance of me embarrassing myself in public. My personality is enough of an embarrassment, so I do have to be careful with my weave.
To install Tape In Extensions: 1. Wash your hair with a special shampoo that removes oil and products from your hair. This can be purchased from a hair and wig supply store. It will feel a bit dry. Then flat iron it so that the tape will adhere without bumps. 2. Starting with the front pieces, layer two or three 1” wide pieces around your face. 3. Zig zag the back pieces across the back of your head to layer them. Each “piece” is actually two pieces that each have tape on the inside. You put the bottom piece against your real hair, then layer the top piece on top so that no tape is exposed. Then you smoosh them together, like a sandwich.
To remove them, you spray a solution that has an oil that dissolves the tape. You can then open the extension “sandwich” and remove the hair. You have to get all the tape off of the extension if you plan on reusing the hair. If you are careful about removing the tape you can reuse the hair 2 to 3 times for a total of six months to a year. It does need to be reinstalled every 2 to 3 months, depending on how much you workout, sweat, shower, winter vs summer, etc.
Pros of tape ins: 1. Fast to install. Love this. 2. The tape is lighter than the metal links, so they are lighter overall on your head. 3. They lay flat against your head, so if someone hugs you or feels the back of your head they won’t feel bumps. Also, they are more comfortable to sleep on. 4. Easy to remove. 5. Not damaging to your own hair when removed after two months.
Cons of tape ins: 1. You can see the tape if you flip your hair around. 2. Have to be reinstalled every two months, maybe three, which is a bit more frequently than the links. 3. If you workout a lot, the edges of the tape starts to peel up. I work out five to six days a week so this is a problem for me. 4. They are installed close to the scalp, so the first week they can be itchy as, it’s harder to shampoo your scalp. 5. You have to be careful not to get oil near the tape, as it weakens the tape. I love Argan oil, so I have to be careful about applying it.
Bottom line: If I decide to have permanent extensions again, I’d go with tape ins, or try the skin weft tape ins. My second option would be getting “tracks” a.k.a. having it braided in. I hope this guide to hair extensions has been helpful. Please follow my blog and comment below with any questions! Thank you!
Also, you can check out my new clip-in extensions at www.girlgetglamorousHAIR.com. I’m so proud of them!!

Stay Glam!


LEAVE A COMMENT
I want to start wearing tape in extensions. The thing is I want to wear them only for special occasions or a trip not all the time. Can I do this? wear them for about a week and remove it? I really need someone to guide me as I am totally lost. I live in India where tape ins are not common so I cannot go to a salon to get them done. Can I do them by myself and then take out in 5-7 days?
Hi there, I think clip in extensions might be a better option for you. The tape ins need to be professionally installed and last two months. Then they need to be taken out by a professional so they don’t pull out your own hair. Clip ins can go in and out for special occasions and can be clipped-in in the morning and taken out at night as well. I hope this helps!
So, I’m having thyroid issues apparently, and half my hair fell out after my last baby (18 months ago), and it isn’t coming back in yet. I keep cutting it off above the shoulders to make it look better. I’ve investigated various types of extensions. All my stylist said is that any leave in kind would leave me with bald spots bc they are so heavy. Have you experienced that with the tape ins? I also have serious concerns about the cost. The other thing is I color my hair and it always pulls red, no matter what color I choose. I love that about my hair, but I don’t know how to match that color to extensions. So I’m worried about making my hair patchy and matching my color. I’m trying to resolve my thyroid issues, but that takes time, and then it will take time for my hair to grow back in. I’m so tired of this. Bleh.
Okay, so I’ve been really thinking about this. Because I don’t want to give the wrong advice and have it damage your hair. I think if your natural hair is still strong and not weakened from the thyroid issues, then you could do tape in extensions. The key would be to have someone who really knows what they are doing install them. It’s actually just a very small section of hair that goes between each tape in. To prevent pulling on your real hair, loosely braid the extensions at night. Then the most important part to prevent damage is removal! There is a dissolvent spray that is used to loosen the adhesive on the tape. This has to sit for at least five minutes so that when you pull the extensions apart, it glides apart and doesn’t pull out any real hair. Then I would wear clip ins for about 2-3 weeks before reinstalling tape ins. Before, I didn’t wait long enough with the dissolvent spray and did pull out a small amount of my real hair. So now, I wait and pull them out very, very gently. As far as cost goes, you can order the tape ins yourself from a hair supplier to save money and have your stylist color them when she does your hair to make them match perfectly. A less expensive set ($200 range) will probably only last one or two uses before you have to replace the hair. A more expensive set (extensionsplus.com) can last up to a year, but the investment is slightly more upfront. You can reuse all hair by purchasing a new roll of tape (around $6) and replacing the tape on the inside of each extension. Just make sure when you take the hair out that you roll off all the old adhesive that the dissolvent loosened and wash the extensions before redoing the tape. I really hope this helps, please let me know if you have any more questions!!
Thank you for your awesome extension posts! I’m obsessed with hair too (I have tape ins in right now) and i just learned a lot. Thank you!!! Feel free to post more about hair and try a weave bc I’m soooo curios about that
[…] I feel like this is a hot topic (in my brain): Clip In vs. Semi Permanent hair extensions. I have a constant mental debate going about “putting the girls back in” for a couple months. So from out of my brain onto the Onlines, here are my pros and cons of each. Btw, if you are looking for more of a guide about what each type of extension adhesion technique is, read my post on that by clicking HERE. […]
there is no different methods when sewing in weave. You still have to have your real hair braided before sewing it
in. at the crown, you would leave a little hair unbraided to
blend in with the curls(you would curl your hair or leave it straight).
To keep the hair looking its best, you just take care of it like you would your real hair.