

 You might also like
 Makeup
Makeup
Makeup 


Welcome to the GirlGetGlamorous blog!
Subscribe for once weekly emails of the latest
blog posts and videos, sent right to your inbox.

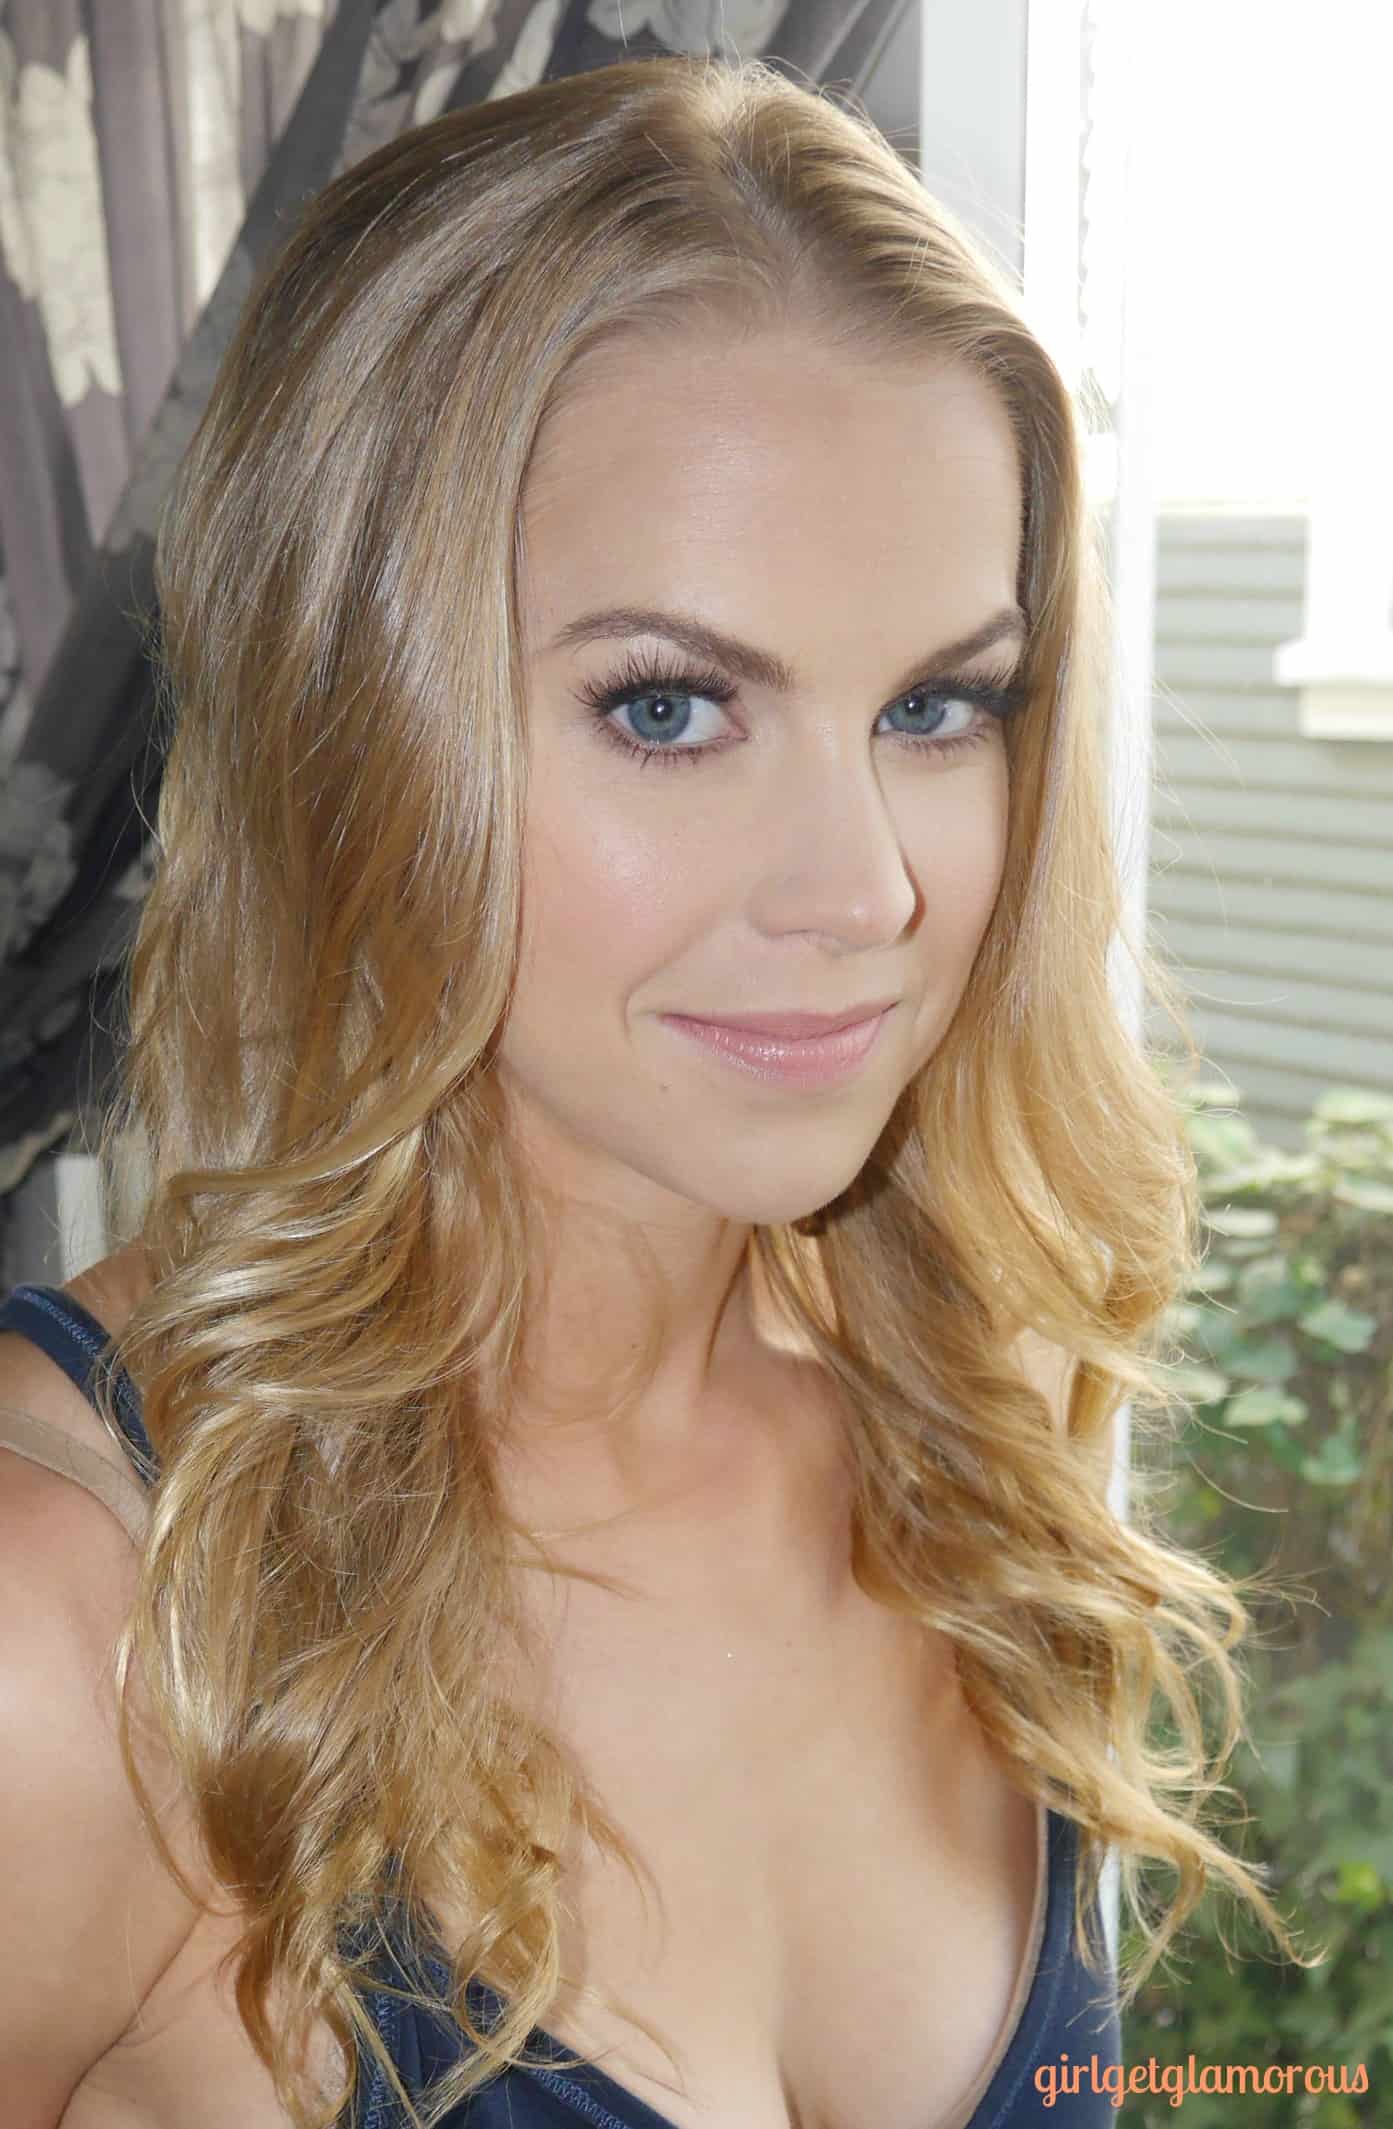
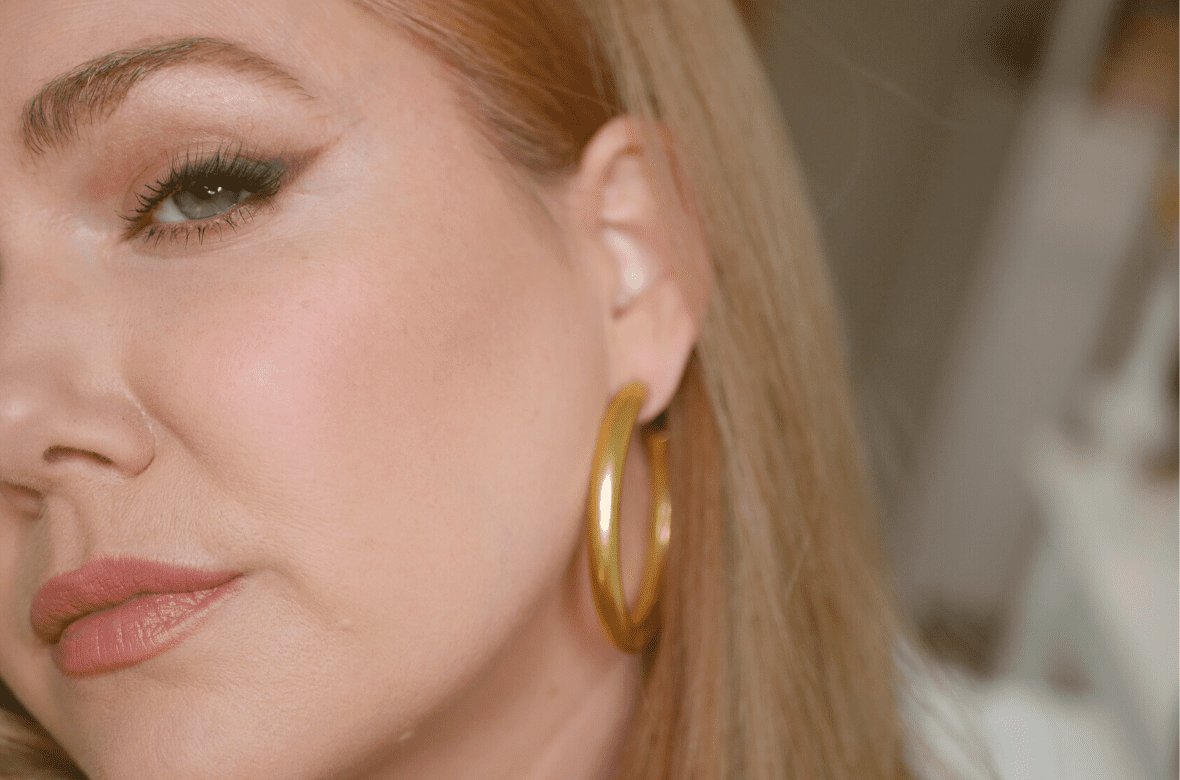
When the “no-makeup” makeup look became really popular last year, I’m not gonna lie, I wasn’t super into it at first. I just always felt like I looked tired and not like myself.
But I kept trying and tweaking it, because I loved how it looked on other people. Now it’s become my go-to look for every day makeup!
Here are my top 7 tips for your best no-makeup makeup.
TIP 1 | You might need more coverage than you think.
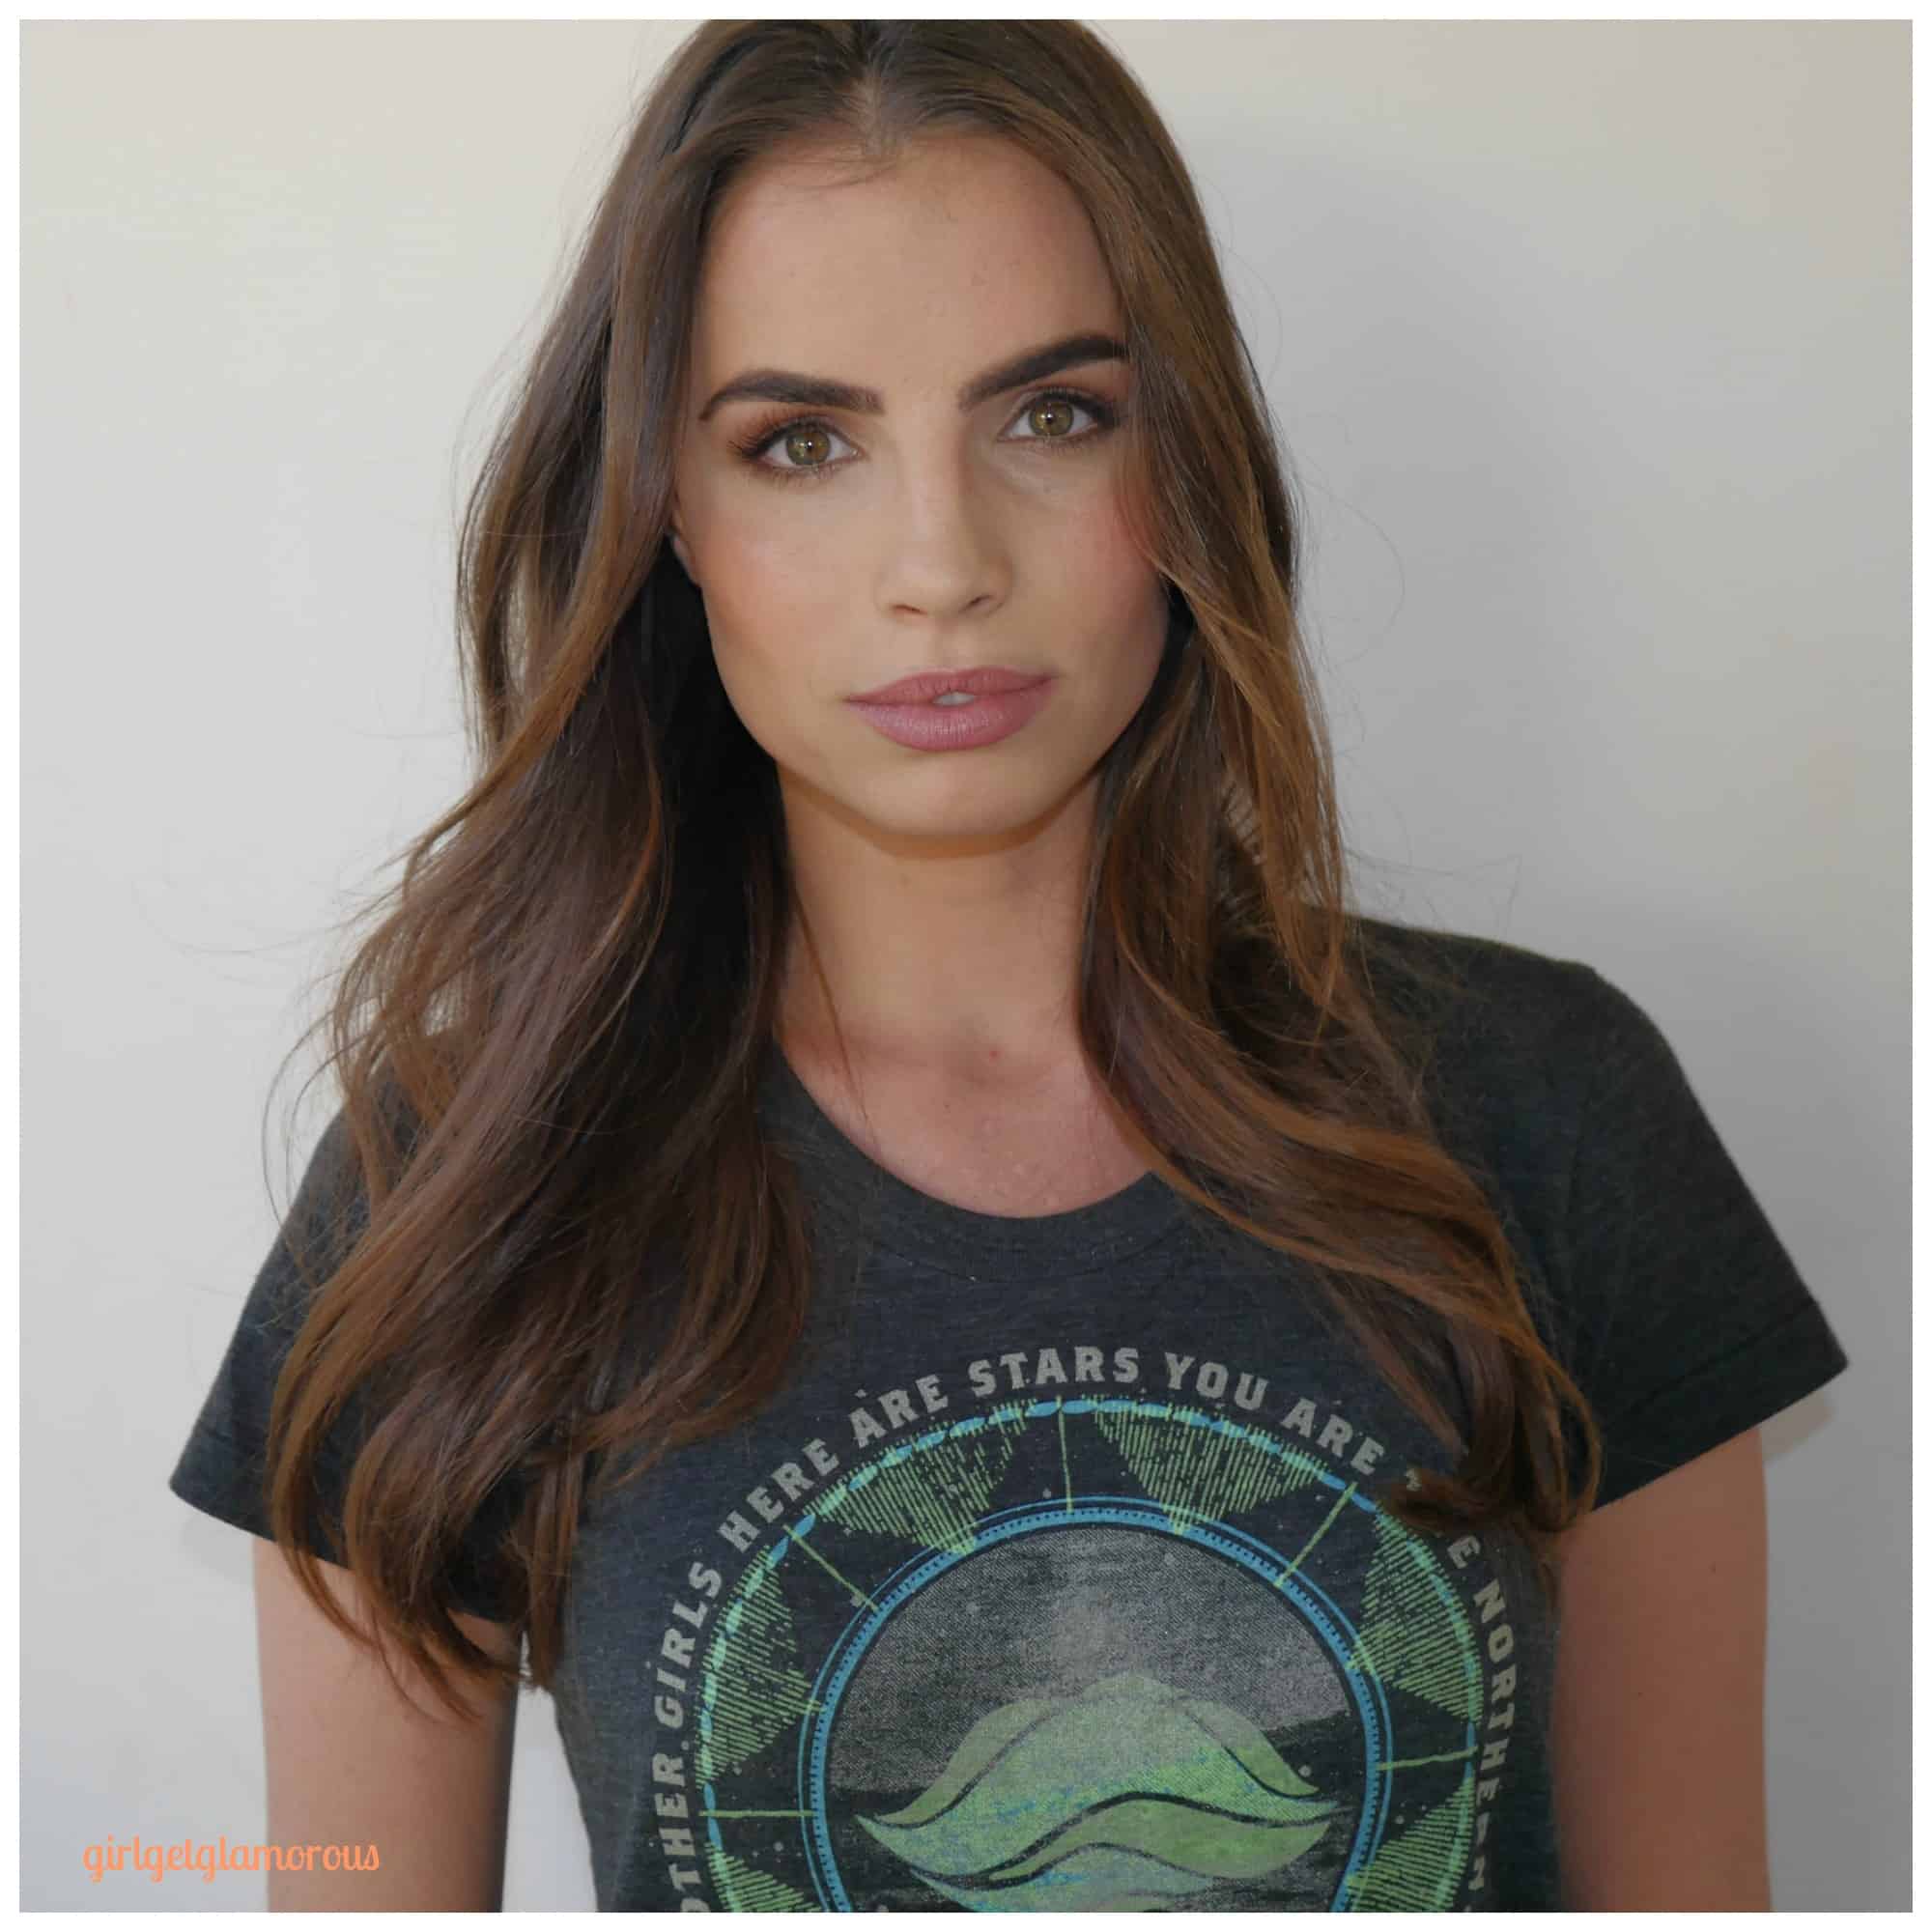
The most important part of a perfect natural makeup look is to have a flawless base.
Most people are surprised that going a bit heavier on your foundation or CC cream will actually allow to you wear less makeup overall. When you even out your skin, the focus shifts to your beautiful features (eyes, cheekbones, lips, etc.).
Make sure to use a skin-like primer first, which adds hydration to the skin and makes foundation look more natural.
Then, the key to making medium coverage foundation look like second skin is to really blend foundation. I blend with my fingers first, then use a beauty blender to finish and give it an airbrushed look.
Related Post | Flawless Foundation Tutorial for 35+ Mature Skin
TIP 2 | Filled In, but blotted lips look the most natural.
For natural lipstick, start by applying a lip liner that matches the color of your lips all the way around the natural line of your mouth. I use MAC liner in Whirl.
If you don’t use a lip liner, the lipstick can slide off the edge of your lips and into the fine lines around your mouth, making the lipstick look more noticeable.
Then apply full coverage swipes of your lipstick on both your upper and lower lips (I love Charlotte Tilbury in Penelope Pink). If you try to do light coats on each side it will be too hard to get an even amount of pigment and will end up looking splotchy.
Then, use your middle or ring finger to pat the color into your lips to soften the look of the lipstick.
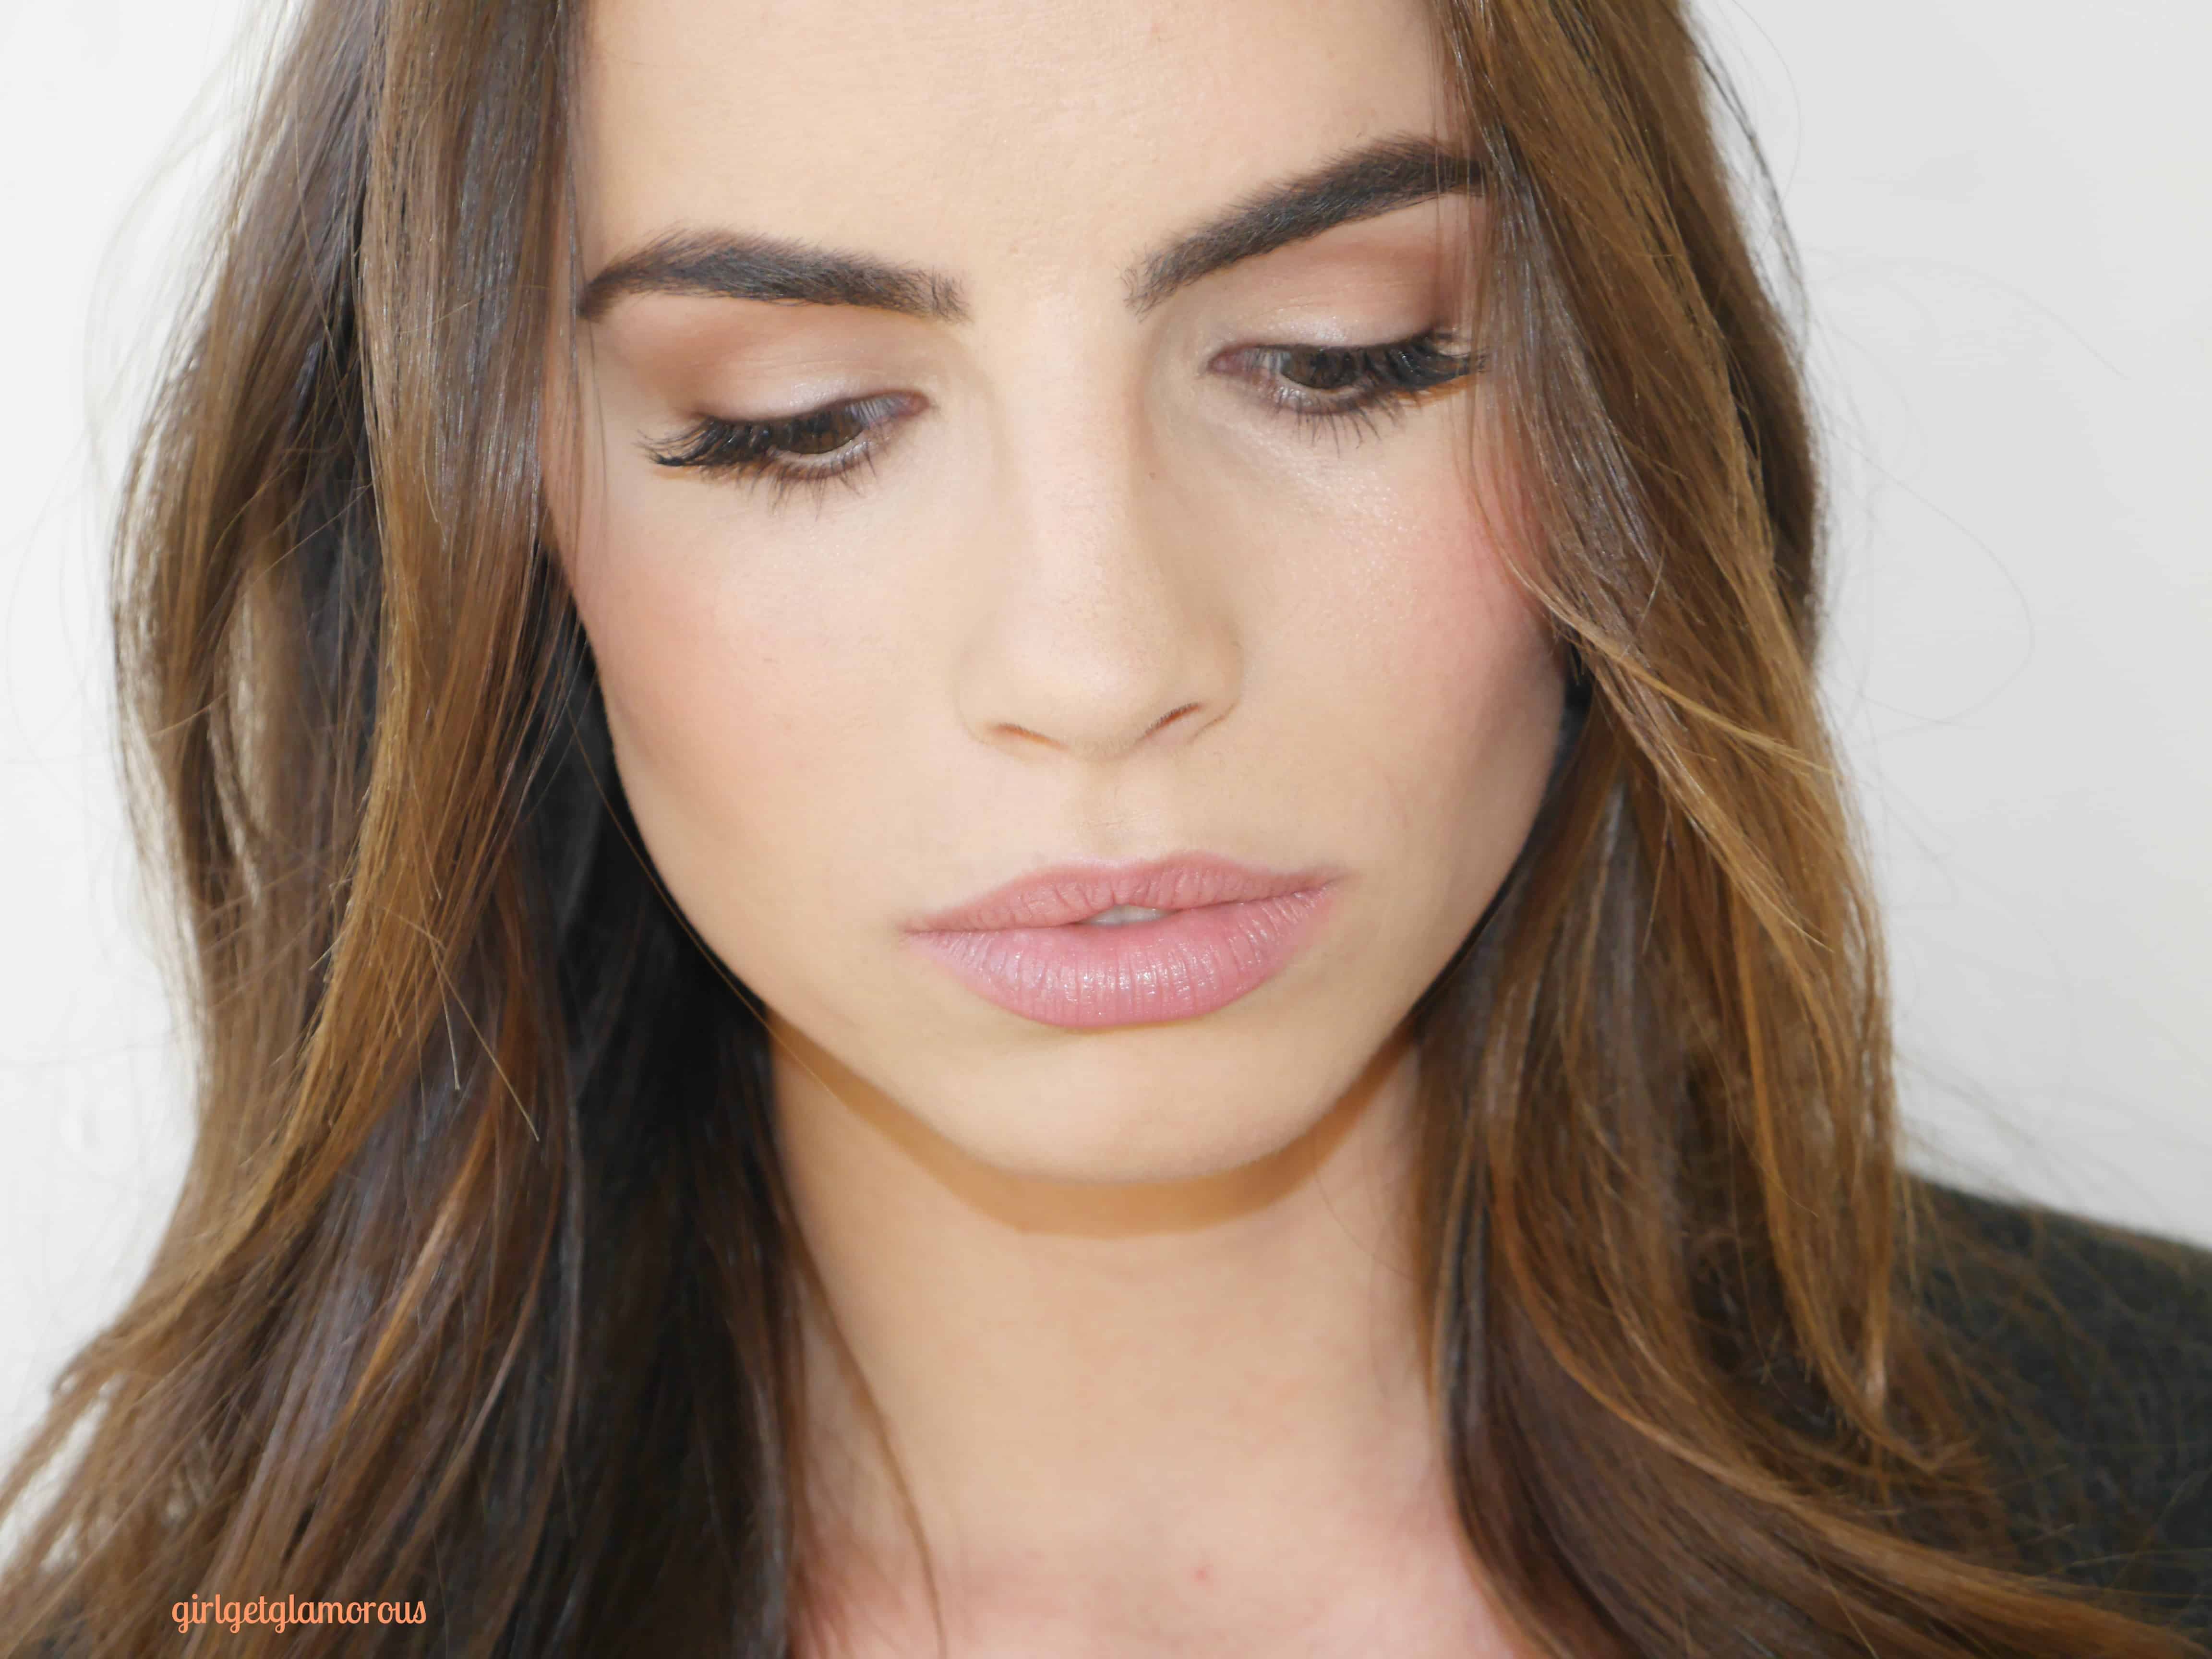
TIP 3 | Pick softer eye product shades.
Switch to taupe eyeliner and brown mascara. Unless you have naturally darker hair, the brown and taupe shades will read much softer against your eyes and skin. I like the Julep and Pat McGrath taupe eyeliners and Lancome brown mascara.
A little taupe or cool brown eye shadow right over the liner will soften it and set it for all day wear.
TIP 4 | Skip the second coat of mascara and add a few clusters of individual lashes instead.
Individual lashes are kind of tricky to learn, but once you get the hang of them, they make a HUGE difference. Full post here on how I apply them.
I like to smudge my taupe liner right into my lash line, then apply individual lashes from the center of my eyes to the out edge. I use shorter length on the center or my eyes and medium length in the outer corner.
Then I let them dry and add a coat of mascara. People always think they are my real lashes. It ends up looking way more natural than trying to add a second or third layer of mascara.
TIP 5 | Create a wider looking eye.
Pick an eyeshadow crease shade that is only one shade deeper than your skin tone. I like Mac Wedge and Kjaer Weis Grace.
You can swipe this into the crease of your eye and it it will open up your eyes and make them look bigger without looking like you are wearing eyeshadow.
TIP 6 | For blush, pick a shade with less red in the formula.
I prefer a cream formula, Kjaer Weis in Suntouched in my favorite. Cream formulas look the most natural as they blend with your skin, but there are some powders that are beautiful as well.
TIP 7 | Fill in brows, but start at the arch.
Start at the arch for the most natural look, then fill in the front of your brows. Naturally, brows are generally deeper at the outer edge.
A micro pencil or using a thin brush and brow pomade will give more natural and hair-like strokes. This post details my full brow tutorial.

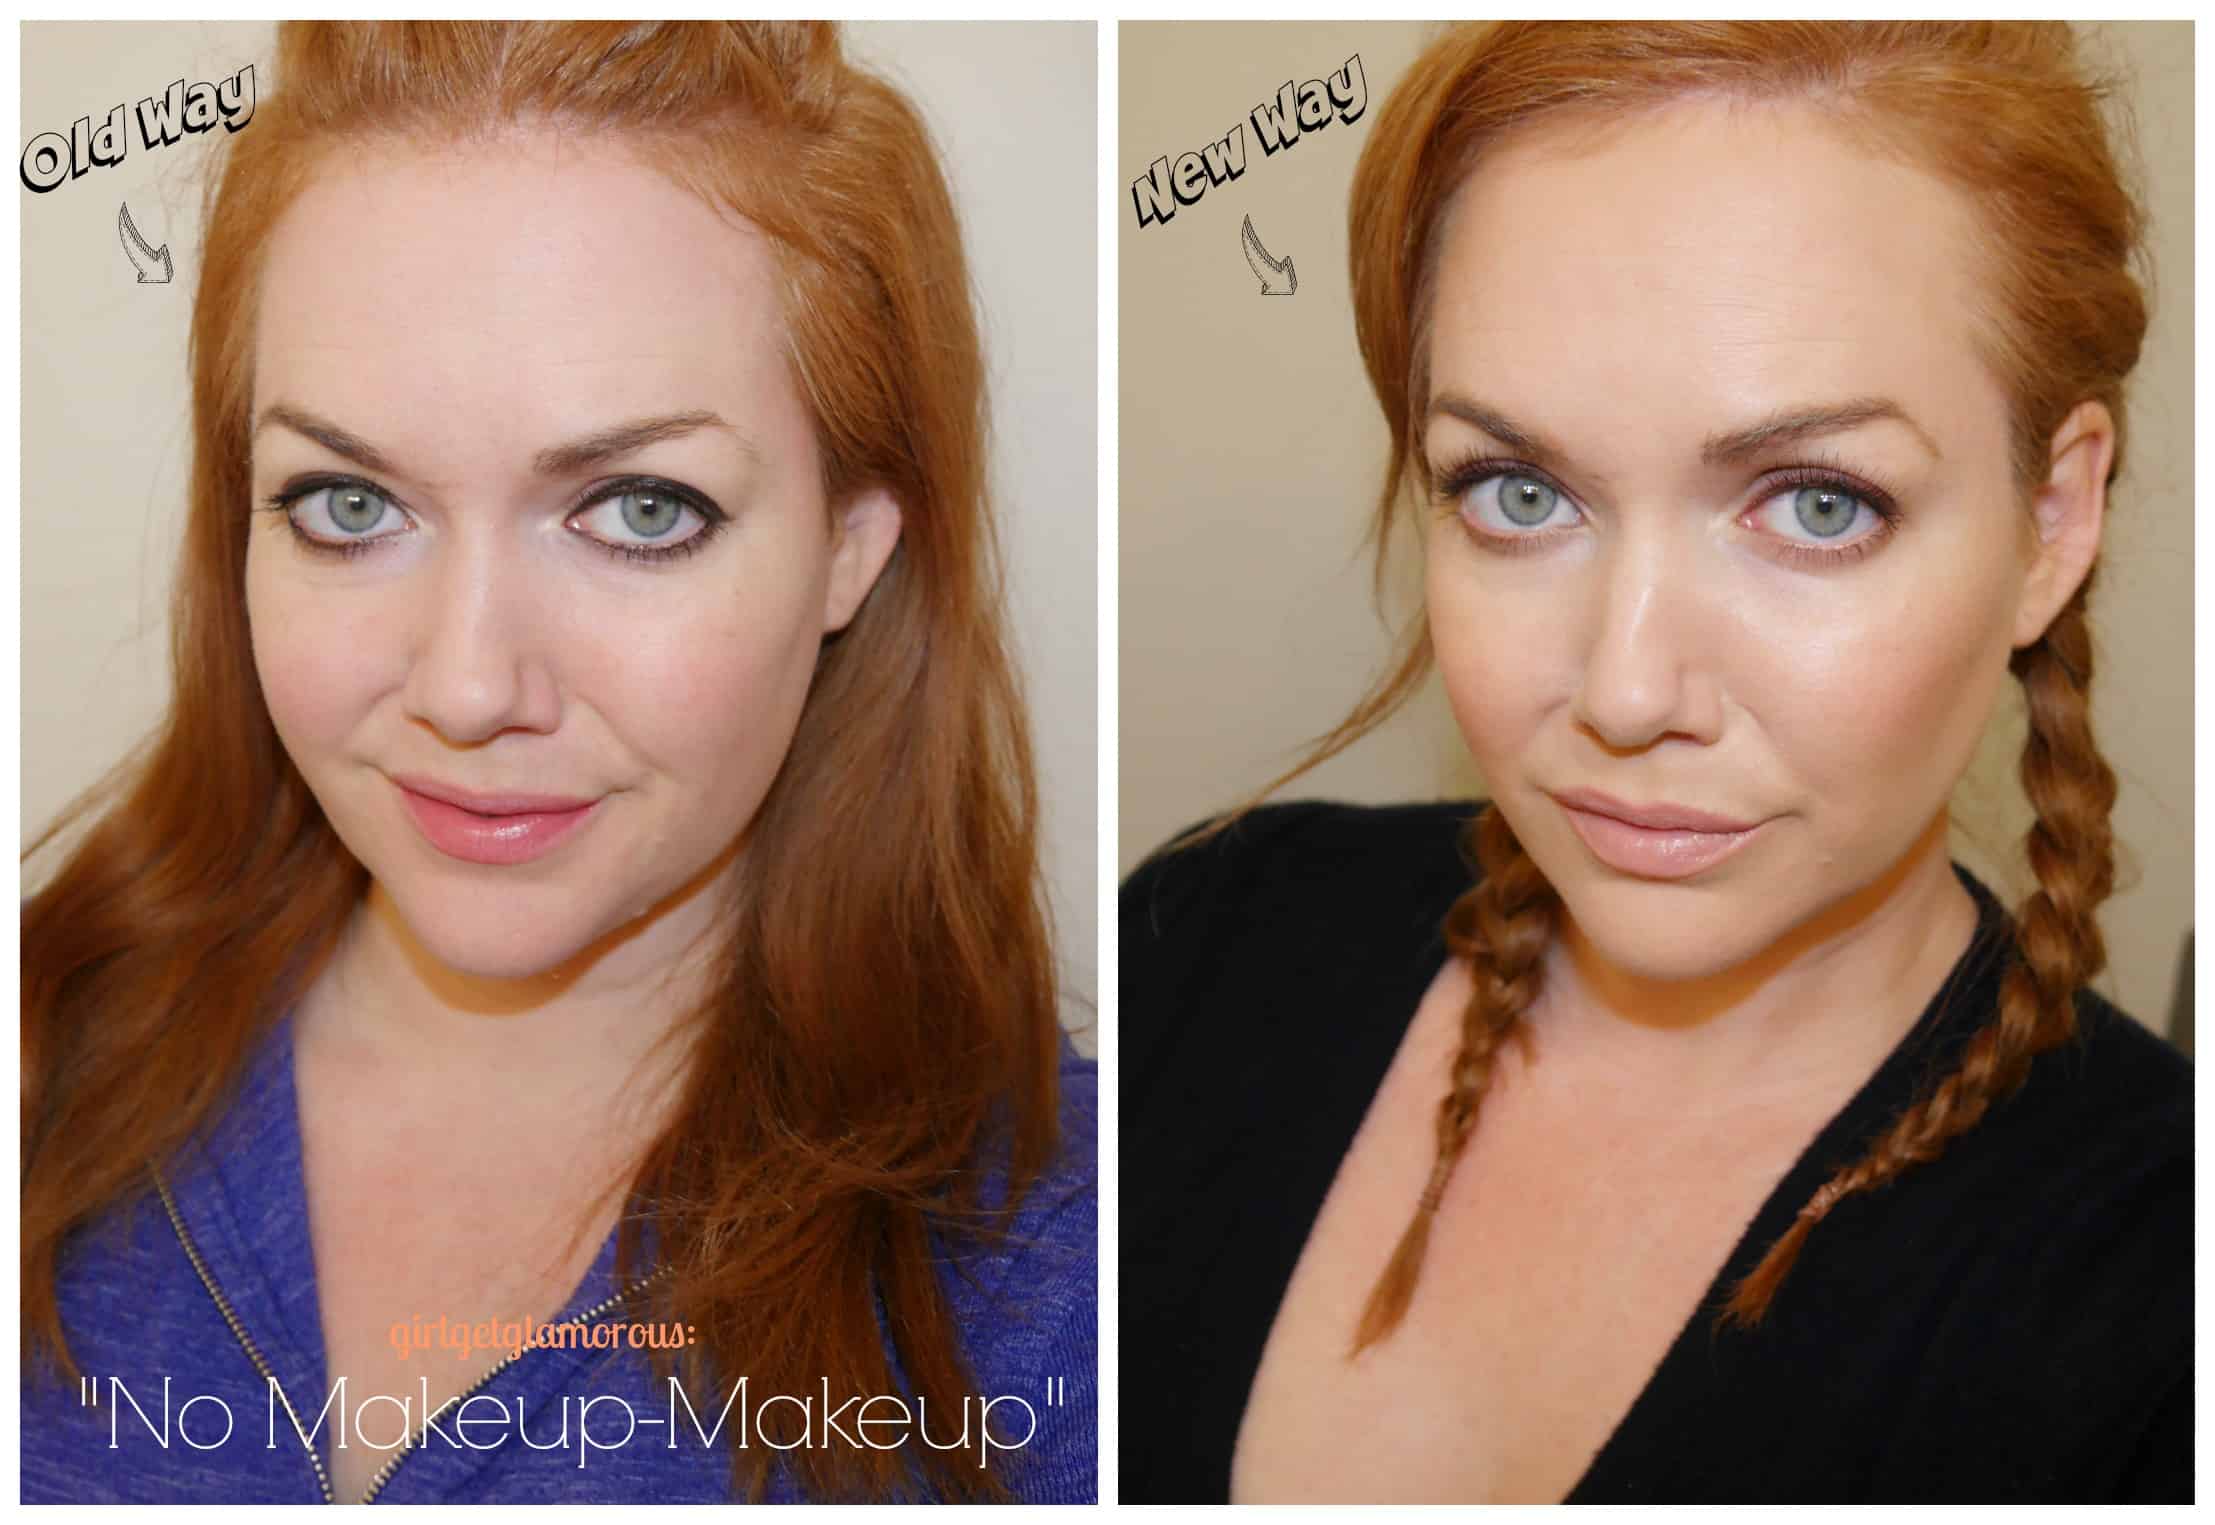
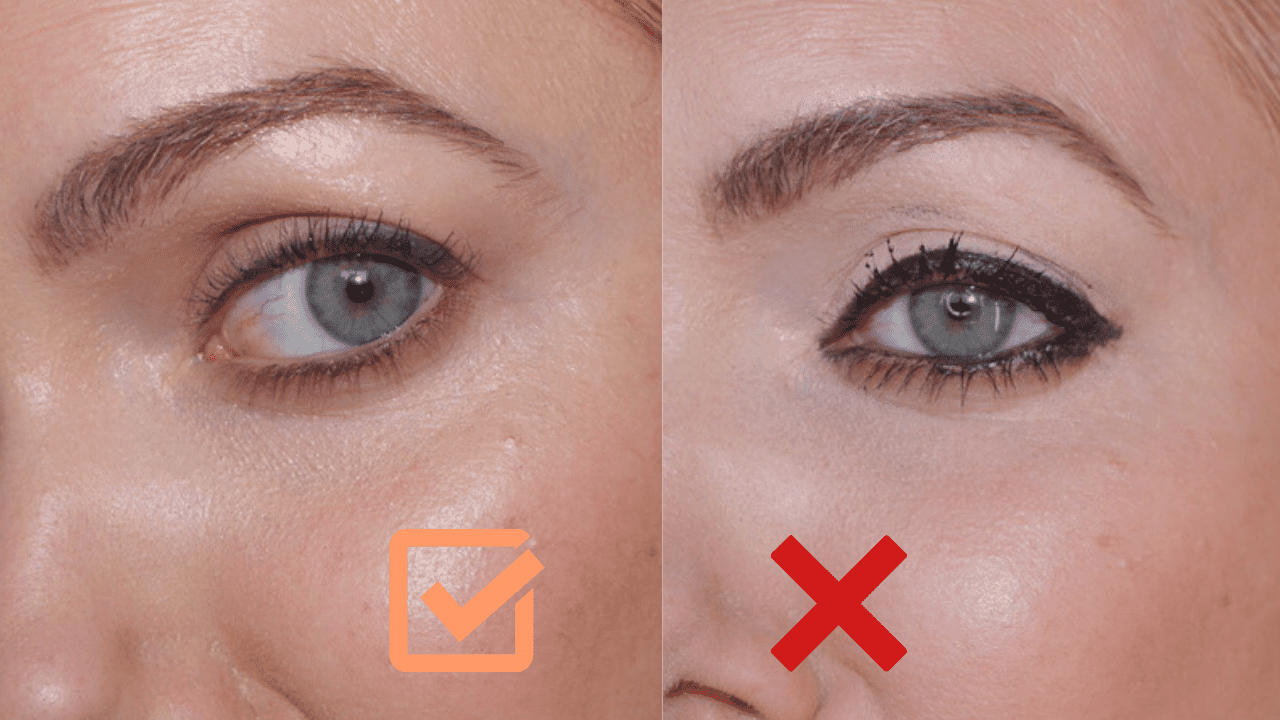
In the “before” photo I am wearing: one light layer of foundation, concealer, black liner, mascara, and lipstick.
In the “after” I am wearing: two blended layers of foundation, concealer, taupe eyeliner, brown mascara, and natural lipstick.
Here are some favorite makeup looks I’ve done:
READ MORE
SOCIAL LINKS
Thank you for reading and being a part of the blog! – Molly


LEAVE A COMMENT
This is such an helpful and informative post! I was wondering what lipstick shades would you recommend? The link isn’t working for me and all your other suggestions have been amazing. Thank you !
Hi! Thank you, so kind of your to say and I am glad the posts and suggestions have been helpful! My favorite lipstick shade for neutral lips is Penelope Pink, I updated the link, thank you for letting me know! | https://rstyle.me/+EsktEb7voR0xyGHeoTKjJw
Hi Molly,
Can you share the colors you use for your “No Makeup” natural makeup look please? Not all of the links are working and don’t link to color that you used.
Also, what liner or shadow did you use for under eye please?
Thanks Molly!